Spring Data JPA - Part 1
Take a look at this tutorial that demonstrates how Java Object Relational Mapping works as a method of managing relational databases in Java.
Join the DZone community and get the full member experience.
Join For FreeObject Relational Mapping (ORM)
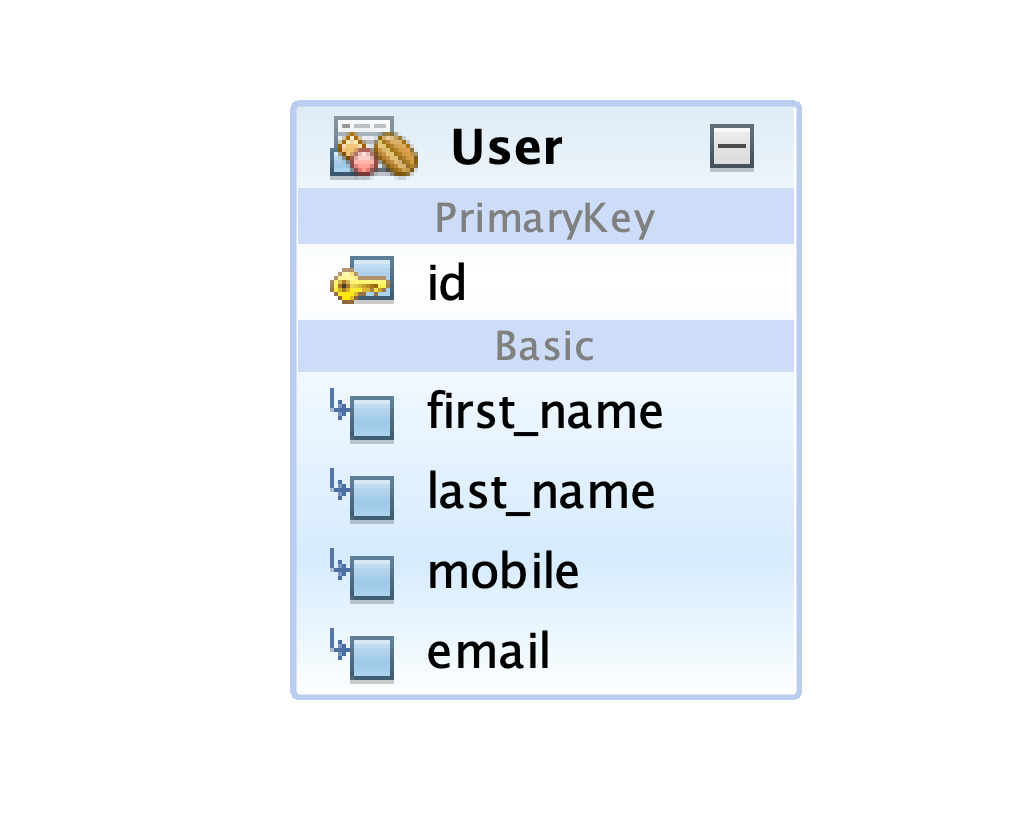
A Java Object is mapped with a table in the database. The fields in the class corresponds to fields in the database.
(name = "t_user")
public class User {
(strategy = GenerationType.IDENTITY)
private Long id;
private String firstName;
private String lastName;
private String mobile;
private String email;
}
This shows a typical representation of how the fields in the class are mapped to fields in the table.
We annotate the Class with @Entity. We can also specify the table name. The fields in the class will correspond to the fields in the database.
Major ORM frameworks include Hibernate, Ibatis, EclipseLink and there are many more.
JPA stands for Java Persistence API. It is the standard for mapping Java Objects to a relational database. All the frameworks adhere to this specification. Here, we will use Hibernate, which conforms to JPA specification. All annotations like @Entity, @Table, @Id which we have used above forms part of the JPA framework.
When we talk of Spring data JPA, it simplifies everything for developers. The data access and CRUD operations are made very simple with Spring Data JPA. We can have Java Interfaces called repositories which extends the JPA Repository, which has many finder methods that comes with the implementation. Spring Data JPA comes with ease of implementation of paging, sorting, auditing and even supports native query operations.
Let us see a small demonstration of our first implementation.
I use the following:
- JDK 1.8
- IDE - IntelliJ
- Database - PostgreSQL
- PostgreSQL Tool - PgAdmin.
We will use the same user table as above. I will name it as t_user. Let us see the folder structure.
- The entity package with user entity.
- The repository package with UserRepository.
The User Entity
xxxxxxxxxx
package com.notyfyd.entity;
import javax.persistence.*;
(name = "t_user")
public class User {
(strategy = GenerationType.IDENTITY)
private Long id;
private String firstName;
private String lastName;
private String mobile;
private String email;
public Long getId() {
return id;
}
public void setId(Long id) {
this.id = id;
}
public String getFirstName() {
return firstName;
}
public void setFirstName(String firstName) {
this.firstName = firstName;
}
public String getLastName() {
return lastName;
}
public void setLastName(String lastName) {
this.lastName = lastName;
}
public String getMobile() {
return mobile;
}
public void setMobile(String mobile) {
this.mobile = mobile;
}
public String getEmail() {
return email;
}
public void setEmail(String email) {
this.email = email;
}
}
The @Entity annotation specifies the class is an entity and is mapped to the database table. Here we specify the table name with the @Table annotation. We are giving it the name "t_user."
Note: Have fun with the table name as User. You are going to get errors. Check it out.
@Id annotation is used to mark it as the primary key and the generation type we are using it as Identity. All the values are autogenerated sequentially without using a separate sequence.
The UserRepository
xxxxxxxxxx
package com.notyfyd.repository;
import com.notyfyd.entity.User;
import org.springframework.data.jpa.repository.JpaRepository;
import org.springframework.stereotype.Repository;
public interface UserRepository extends JpaRepository<User, Long> {
The repository extends JpaRepository which gives us access to many finder methods and delete methods. It also has methods which return Optional<User> which is very handy since we don't have to check for null values. They have methods like isPresent which is very useful to check the existence of Object.
The application.properties File
| server.port=2003 |
| spring.datasource.driver-class-name= org.postgresql.Driver |
| spring.datasource.url= jdbc:postgresql://192.168.64.6:30432/jpa-test |
| spring.datasource.username = postgres |
| spring.datasource.password = root |
| spring.jpa.show-sql=true |
| spring.jpa.hibernate.ddl-auto=create |
- The server port is the port on which I am running the application.
- You need not change the driver name unless if you are using another database.
- show-sql will give you the SQL statements created by Hibernate printed to the console. It is good to see that for your understanding.
- I am using
ddl-auto = createsince Hibernate is going to create the tables for me automatically. Make sure you have already created the database.
My dependencies in the POM file:
xxxxxxxxxx
<dependencies>
<dependency>
<groupId>org.springframework.boot</groupId>
<artifactId>spring-boot-starter-data-jpa</artifactId>
</dependency>
<dependency>
<groupId>org.springframework.boot</groupId>
<artifactId>spring-boot-starter-web</artifactId>
</dependency>
<dependency>
<groupId>org.postgresql</groupId>
<artifactId>postgresql</artifactId>
<scope>runtime</scope>
</dependency>
<dependency>
<groupId>org.springframework.boot</groupId>
<artifactId>spring-boot-starter-test</artifactId>
<scope>test</scope>
<exclusions>
<exclusion>
<groupId>org.junit.vintage</groupId>
<artifactId>junit-vintage-engine</artifactId>
</exclusion>
</exclusions>
</dependency>
</dependencies>
You can run the application and see the user table created by Hibernate.
You can find the source code at GitHub.
You can find the video tutorial here:
Opinions expressed by DZone contributors are their own.

Comments