Old vs New: Approaches in Managing PostgreSQL Schemas
This article will present two different ways of managing a PostgreSQL schema. One is the classic way, using the Postgres shell and psql, the other one is a newer, more visual approach.
Join the DZone community and get the full member experience.
Join For FreeGetting to understand the basics of schema management is crucial for building and maintaining an effective PostgreSQL database. In this article, we are going to look at the traditional way of managing a Postgres schema and at a newer, more effective way to do it visually, without having to write any line of code.
What is a PostgreSQL Schema?
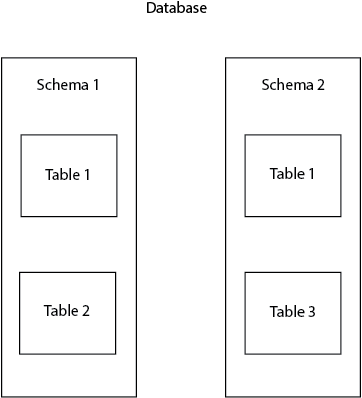
First, to lay the groundwork for the article, let’s clear off some terminology. In Postgres, the schema is also referred to as a namespace. The namespace can be associated with a family name. It is used to identify and differentiate certain objects in the database (tables, views, columns, etc.). It’s not allowed to create two tables with the same name in one schema, but you can do it in two different schemas. For example, we can have two tables both named table1 present in public and in postgres schemas.

Why Use Schemas?
Schemas are very useful to organize database objects into logical groups and avoid name collision. Besides this, schemas are often used to allow different users to work with the database without interfering with each other. A common example is when each database user works on its own schema, without interfering with other users and avoiding conflicts.
The classic way of managing PostgreSQL schemas
All the queries below will be executed from inside the PostgreSQL shell.
Creating a Schema
When you create a new database in Postgres, the default schema is public. A new schema can be created by executing the next query:
CREATE SCHEMA schema_1;
Before adding some tables to it, I will explain two important concepts: qualified and unqualified names.
A qualified name is the schema name and the table name separated by a dot. This will specify the schema in which we want to create our table:
xxxxxxxxxx
CREATE TABLE schema_name.table_name (...);
An unqualified name consists of only the table name. This will create the table in the selected database which is public by default. This can be changed via the search_path, but we’ll detail it later. An example of unqualified naming is:
xxxxxxxxxx
CREATE TABLE table_name (...);
The columns of the tables will be defined inside the brackets from the queries above (...).
To create a new table in our new schema, we will execute:
xxxxxxxxxx
CREATE TABLE schema_1.persons (name text, age int);
To drop the schema, we have two possibilities. If the schema is empty (doesn’t contain any table, view, or other objects), we can execute:
xxxxxxxxxx
DROP SCHEMA schema_1;
If the schema contains database objects, we will insert the cascade command:
xxxxxxxxxx
DROP SCHEMA schema_1 CASCADE;
In PostgreSQL it’s also possible to create a schema owned by another user with:
xxxxxxxxxx
CREATE SCHEMA schema_name AUTHORIZATION username;
Search Path
When executing a command with an unqualified name, Postgres follows a search path to determine what schemas to use. By default, the search path is set to the public schema. To view it, execute:
xxxxxxxxxx
SHOW search_path;
If nothing was changed in your database, this query should bring the next result:
xxxxxxxxxx
search_path
--------------
"$user",public
The search_path can be modified so the system will automatically choose another schema if you use an unqualified name. The first schema in the search path is called current schema. For example, I will set schema_1 as the current schema:
xxxxxxxxxx
SET search_path TO schema_1,public;
The next query will use an unqualified name to create a table. This will automatically create it in schema_1:
xxxxxxxxxx
CREATE TABLE address (city text, street text, number int);
The New Way: Manage Without The Code!
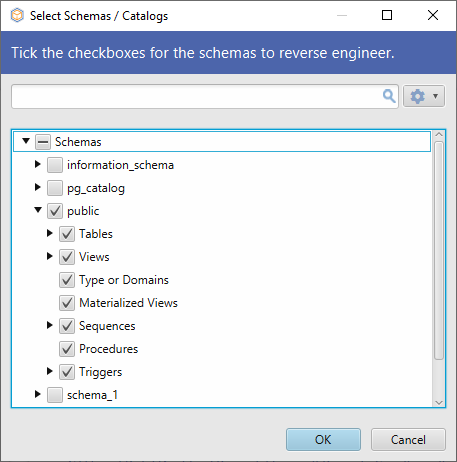
There is a simpler way to do all the schema management tasks, without having to write any line of code. Using DbSchema you can execute all the queries above from an intuitive GUI with just a few clicks. Connecting to the database will only take a few seconds. From the beginning, you can select on what schema to work.

The selected schema or schemas will be reverse-engineered by DbSchema and showed in the layout.
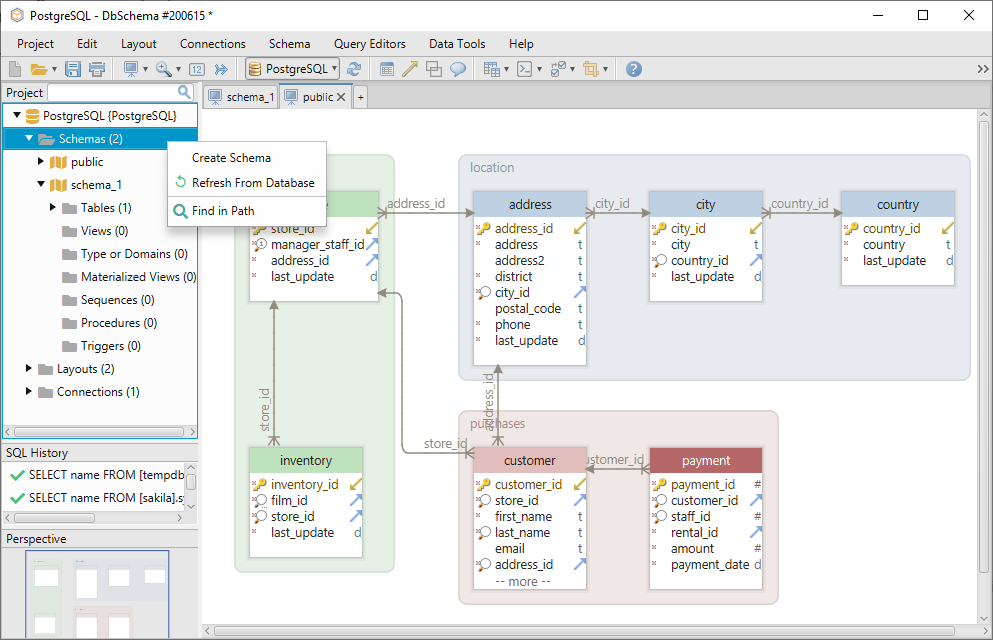
To create a new schema, just right-click on the schema folder on the left menu and select Create Schema.

To create a new table in the schema right-click on the layout and choose Create Table.
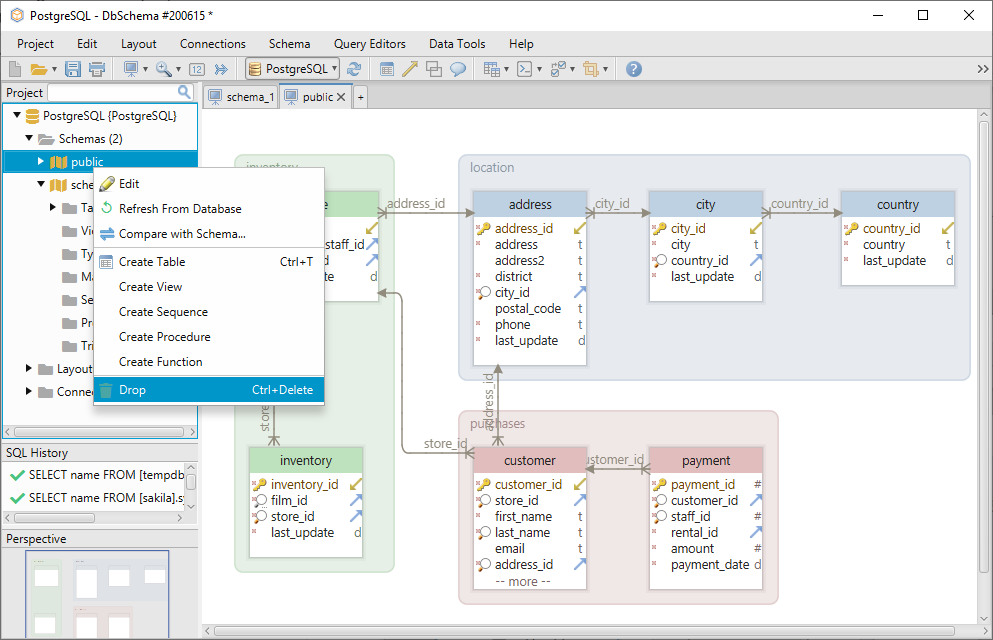
The schema can be dropped by right-clicking on its name from the left menu.
To add another schema from the database, choose Refresh From Database.

Using DbSchema, you won’t need to use the show_path syntax because you can create the tables right in the layout. A layout can be compared to a drawing board on which you can add the tables and edit them. Each layout has one schema associated with it, so if you are on the schema_1 layout, the tables will be automatically created there.
Work Offline
DbSchema stores a local image of the schema in a local project file. This means that the project file can be opened without database connectivity (offline). While offline, you can do all the actions presented above and more, but without data. After reconnecting to the database, you can compare the project file with the database and choose what actions to keep or drop.
The same thing can be done between two different versions of the same project file. For example, if you work in a team, it may be the case that there are multiple schemas (production, testing, development) each with its own project file. If a change appears in development and you want to implement it over the other two schemas, you can just compare and synchronize the two project files.
Conclusion
Understanding the concepts listed above will help you to easily manage your PostgreSQL schemas. Using a visual designer such as DbSchema will make your work even easier by enabling you to do everything visually, without having to write a single line of code.
Opinions expressed by DZone contributors are their own.

Comments