Mule 4 - Client ID Enforcement
In this article, we discuss how to implement client Id enforcement in a Mule application to better manage our API security.
Join the DZone community and get the full member experience.
Join For FreeHello, everyone! Today, I will try to explain in detail how to implement Client Id Enforcement in Mule 4. The purpose of the Client ID Enforcement policy is to allow access only to authorized client applications.
The Client Id Enforcement policy is used to restrict access to a protected resource by allowing requests only from registered client applications. The policy ensures that each request, which contains valid client credentials is able to access protected resources.
The client application has to be registered on the AnyPoint platform to generate client credentials (client_Id and client_secret). After client application registration, all subsequent requests have to pass client_id and client_secret, as part of the request while invoking an API.
There are some policies which internally enforce client application credentials. Those are:
- Rate Limiting - SLA-Based Policies.
- OAuth 2.0 Access Token Enforcement.
- JWT Validation.
Before a client application is allowed to consume an API protected by a Client ID Enforcement policy, the client application must request access to the API. After an approved contract exists between the client application and the API, every request must include the client application credentials, according to how the policy is configured.
For example, if the policy is configured to expect a client ID and client secret as headers, the application must send those credentials in the request, using the corresponding headers:
You may also like: Four Ways to Keep Kubernetes’ Secrets Secret.
Obtaining Credentials Using HTTP Headers
#[attributes.headers.['client_id']]
#[attributes.headers.['client_secret']]
In this example, the policy is configured to expect two headers: client_id and client_secret, with the pair of credentials. The policy is flexible to allow other types of headers also. This is the default configuration for the policy.
Obtaining Credentials Using HTTP Query Parameters
#[attributes.queryParams.'client_id']
#[attributes.queryParams.'client_secret']
The requester must send the two specified query parameters with the request. Although this is a supported configuration, it poses possible security risks. The recommended method is to use headers.
Obtaining Credentials Using HTTP Request Payload
#[payload.client_id]
#[payload.client_secret]
Although you can configure the policy to obtain the credentials from the request payload, this option is not recommended because it is harder to reflect in the API specification.
Client ID based policies by default expect to obtain the client ID and secret as headers. To enforce this in the API definition a trait can be defined in RAML as shown below. This trait must then be applied to the resource or methods using the
|
The following are the steps we will take to create the project and apply our policy:
Design API using RAML
#%RAML 1.0
titleproduct-service
versionv1
descriptionProduct Service
protocolsHTTP HTTPS
documentation
titleProduct Detail Service API
contentProduct DetailAPI Content
traits
client-id-required
headers
client_id
typestring
descriptionclient Id provided by API Manager
requiredtrue
client_secret
typestring
requiredtrue
descriptionThe Client secret key provided by the API Manager
responses
401
descriptionUnauthorized or invalid client application credentials
500
descriptionBad response from authorization server, or WSDL SOAP Fault error
types
ProductDetail
typeobject
properties
productId?number
productName?string
productPrice?number
/products
descriptionRetrieve All Orders
post
is
client-id-required
descriptionGet Order Information by CLient Id
responses
200
body
application/json
typeProductDetail
example!include examples/all-products.json
all-products.json
xxxxxxxxxx
[
{
"productId": 1001,
"productName": "Apple",
"productPrice" : 300
},
{
"productId": 1002,
"productName": "Google",
"productPrice" : 1000
},
{
"productId": 1003,
"productName": "Samsung",
"productPrice" : 100
}
]
Publish API in exchange
In the Anypoint platform, we publish API to the exchange.
Create an API specification project in API Manager using published API in exchange (make note of API id)
After the API is published in Anypoint, create an API Specification Project
Click Manage API from Exchange

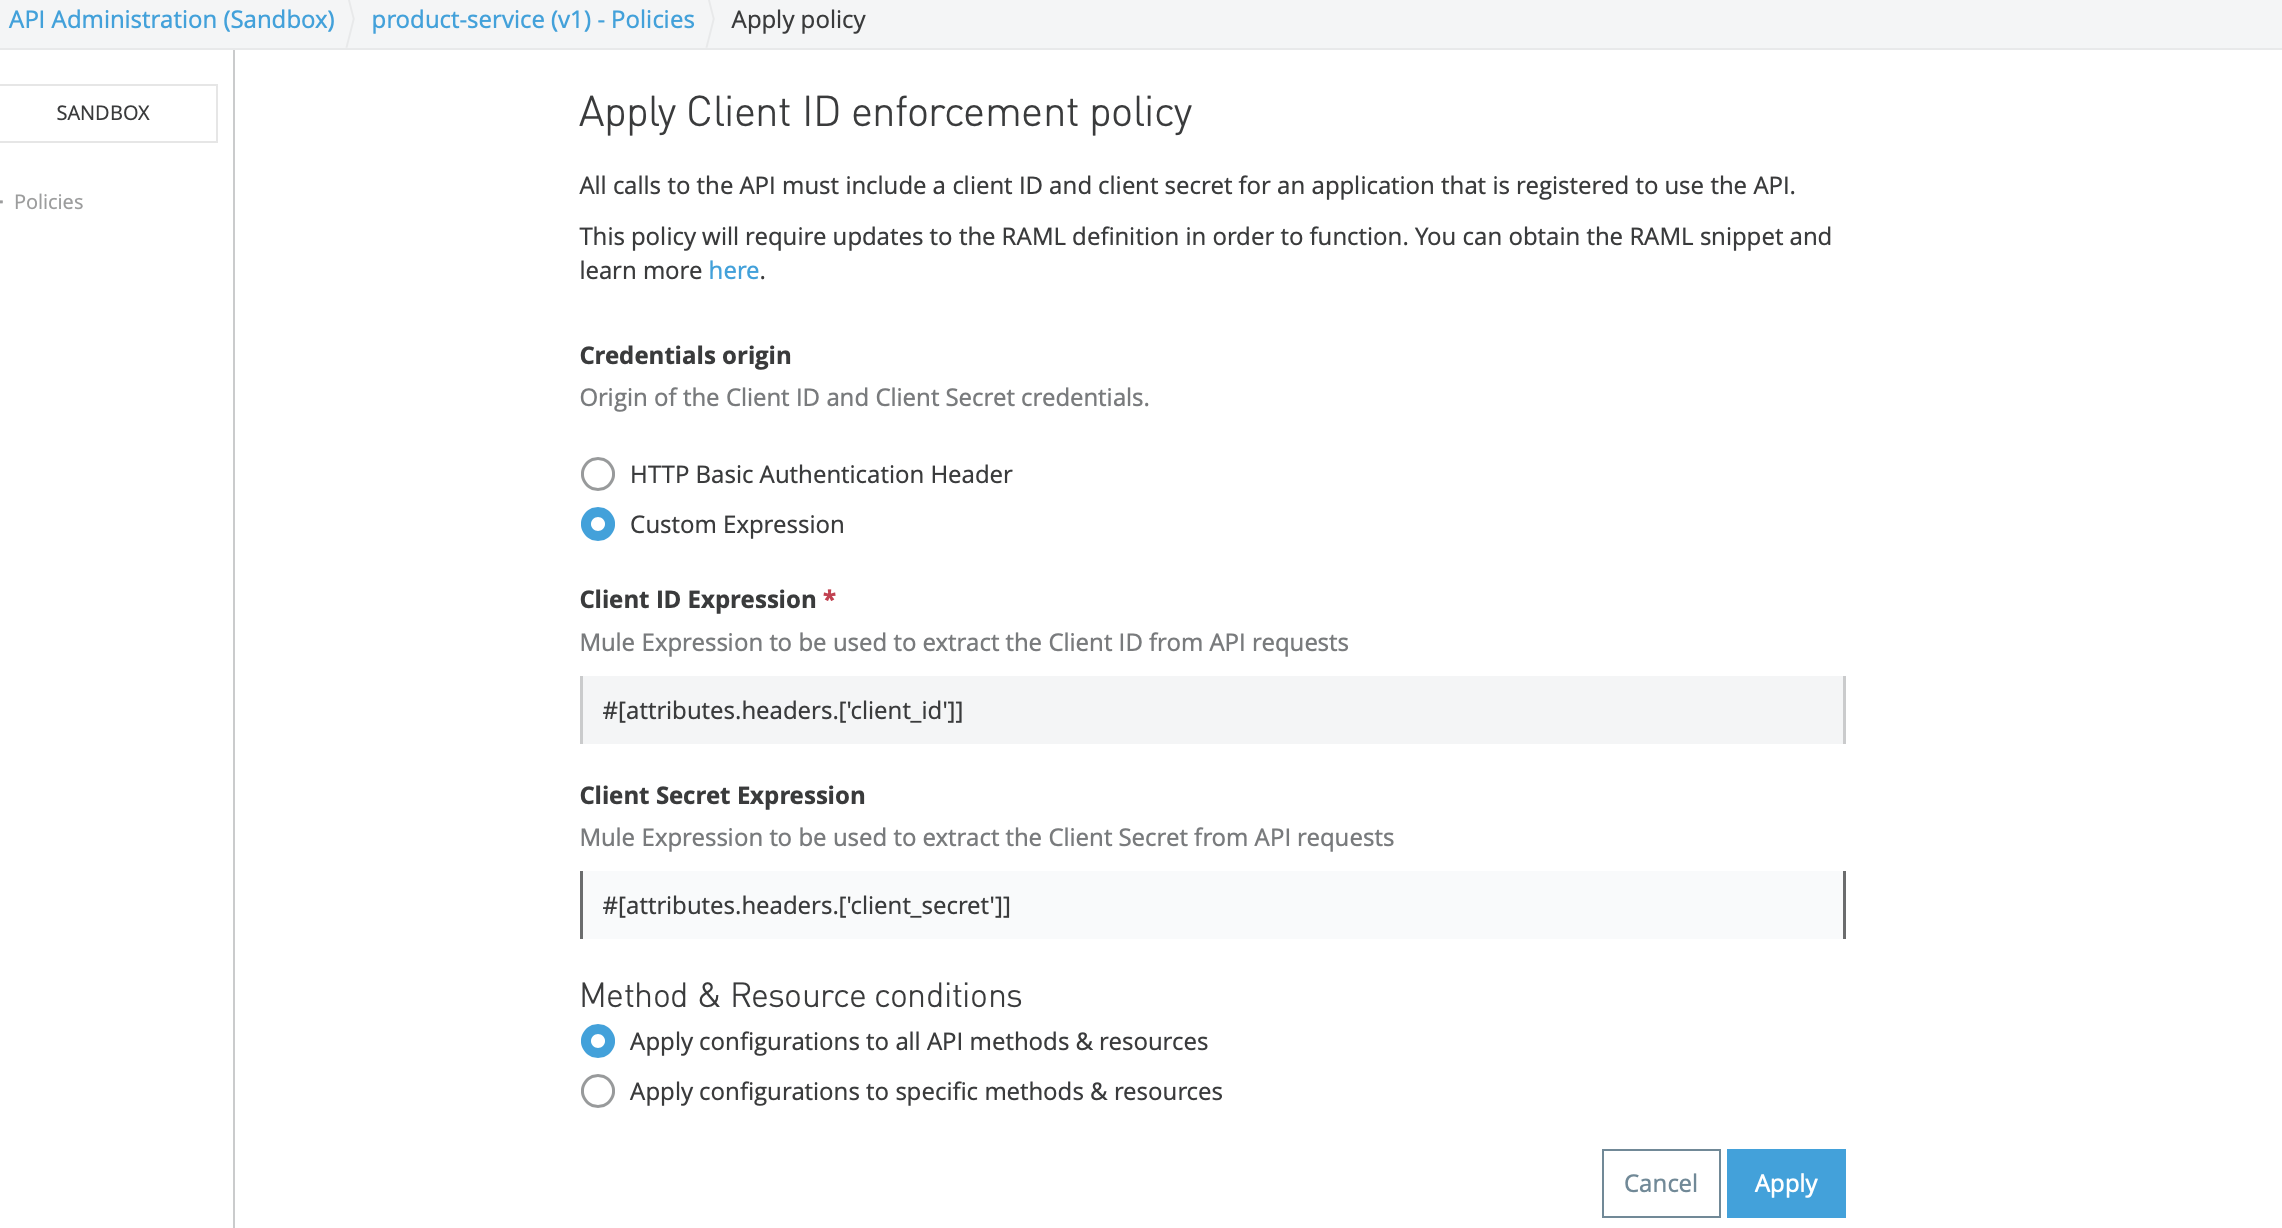
Select API (I have create product service API- product-service) and save it. Once we save the API specification project, it will create an API Instance Id; please make note of it.
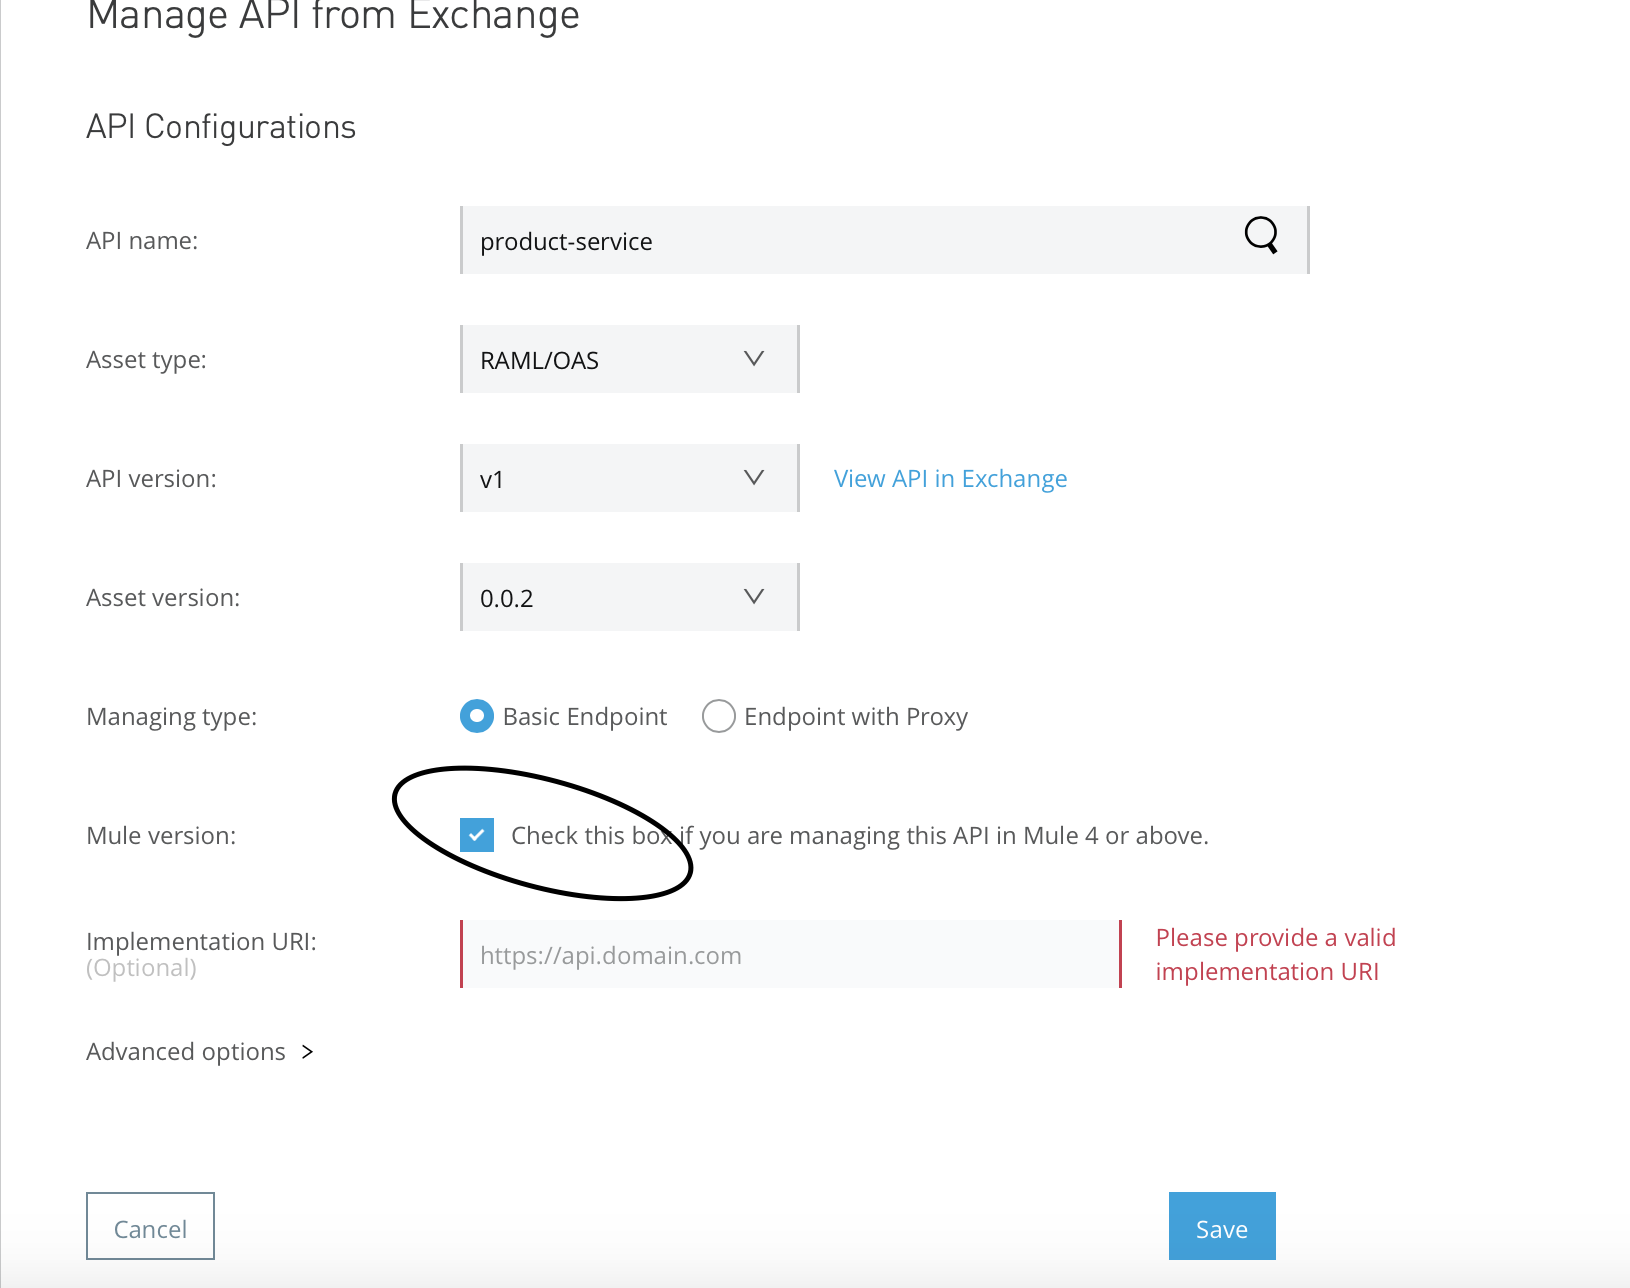
Now, check your client policies on policies -> Apply New Policy than select Client Id Enforcement policy. After you select Client Id Enforcement Policy, click on Configure Policy.
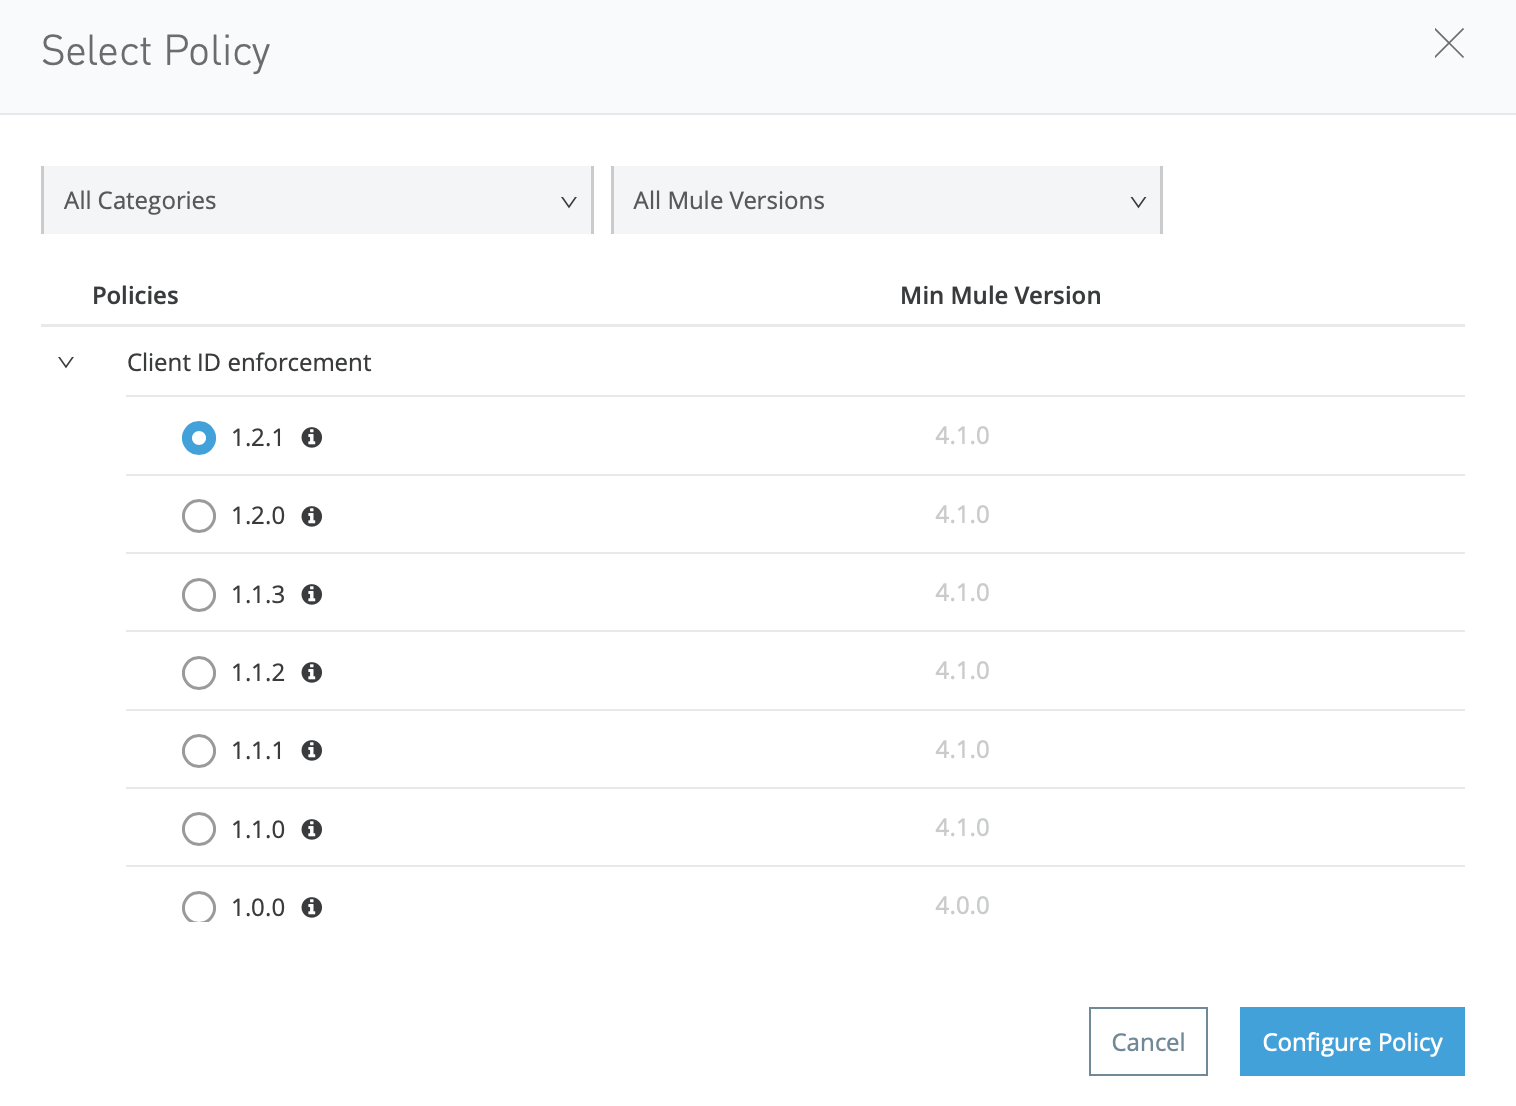
Do take note of how are we passing client_id and client_secret, and click the apply button.

Create a new mule project in AnyPoint Studio using API specification from exchange
Now, right-click on the project explorer canvas and click create a new mule project and select API specification from the exchange. Select API and click the finish button to create a Mule project.
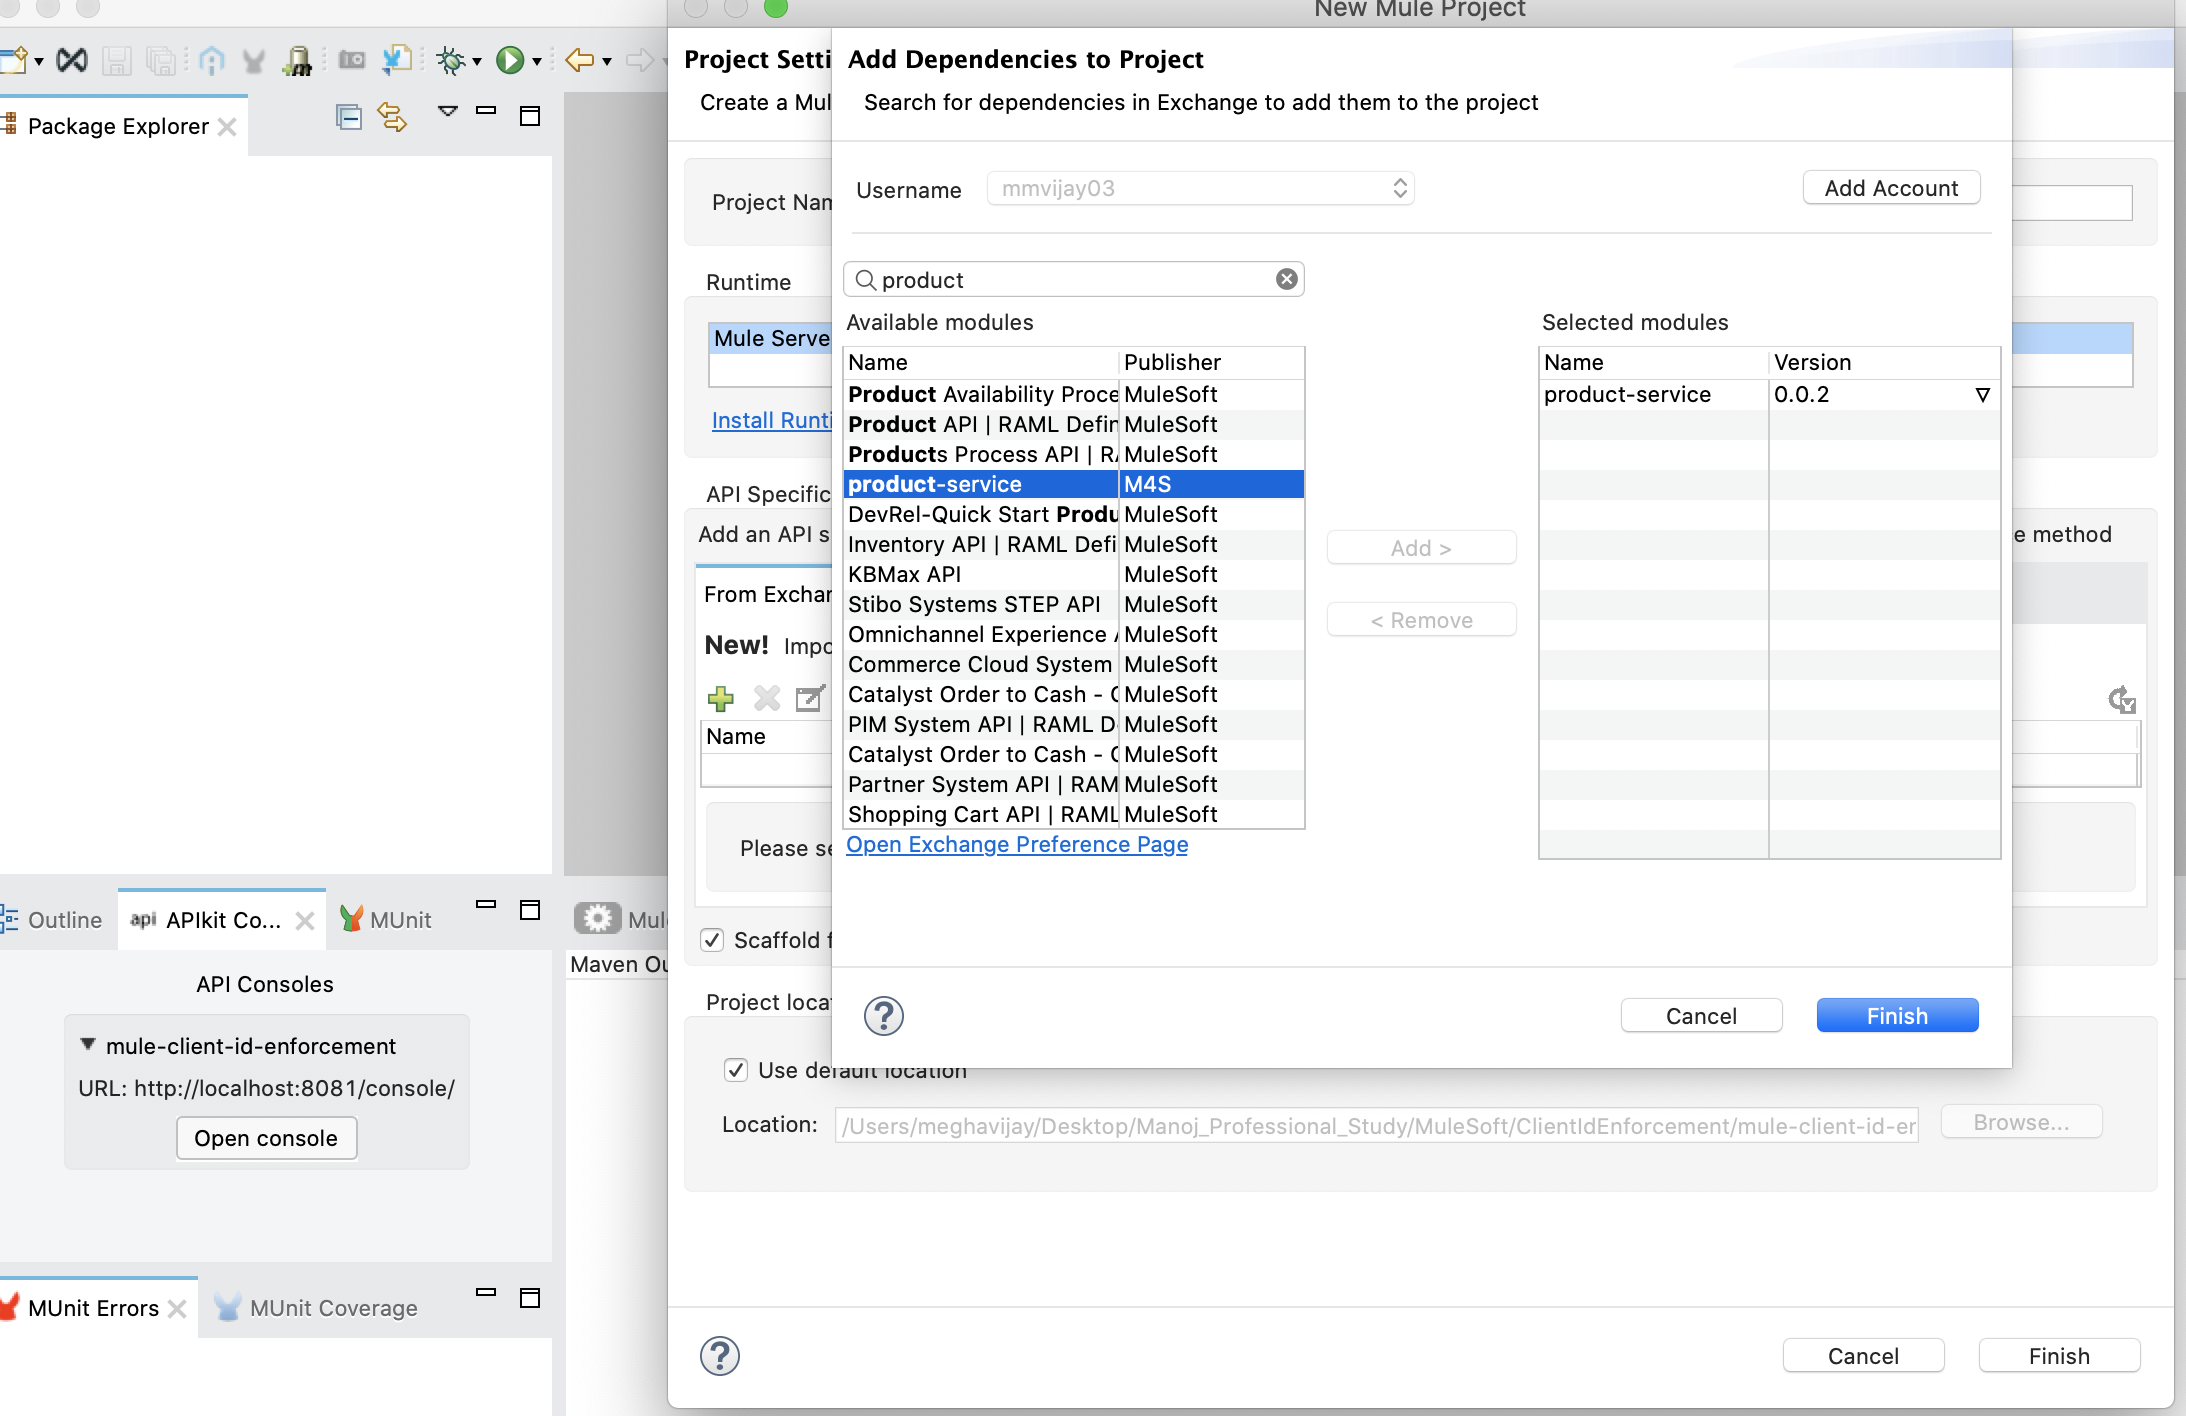
This will create a default Mule flow using the API Kit router. Now, run the project in local Mule runtime.
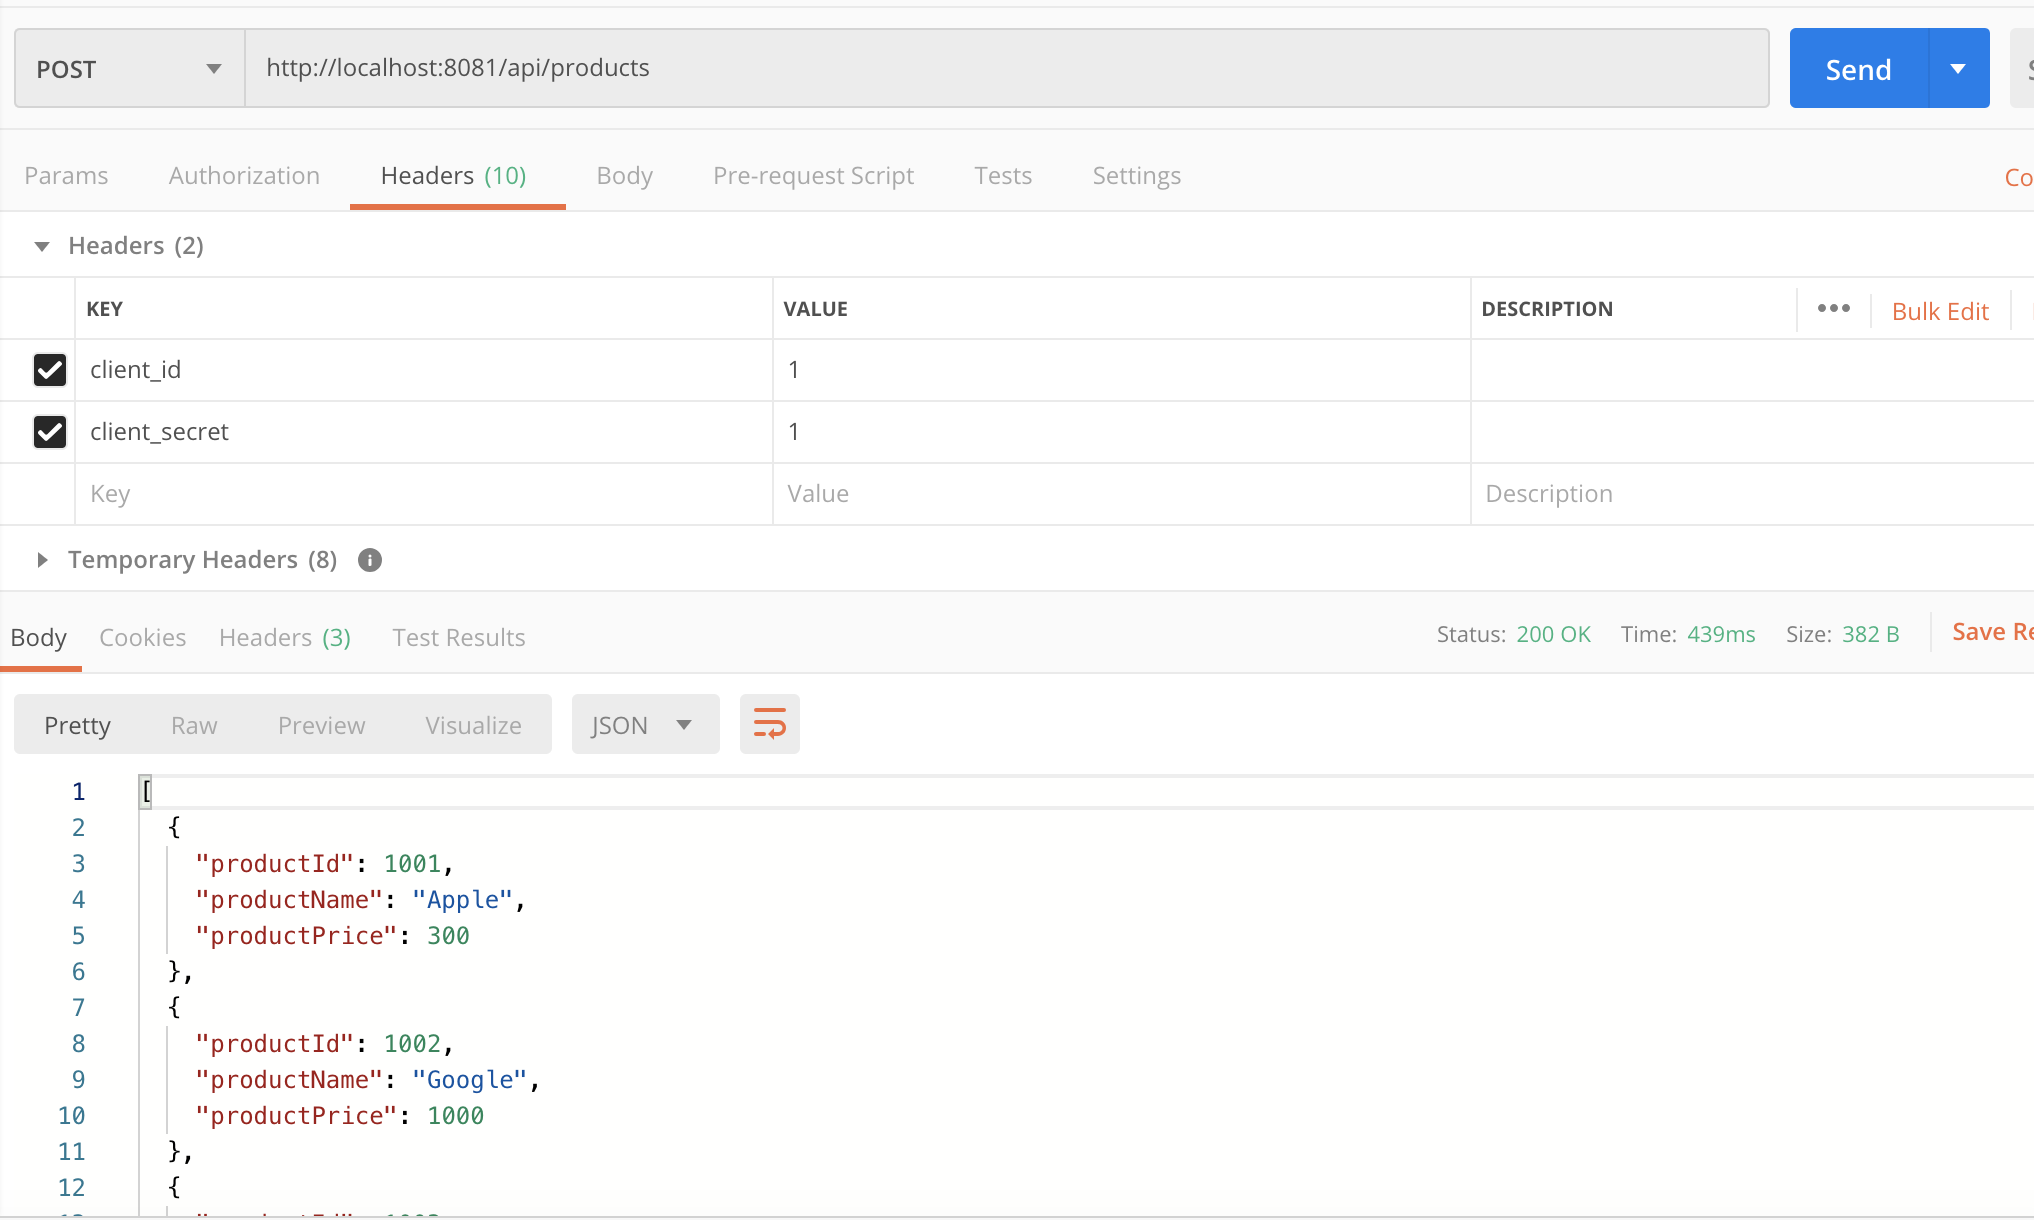
Test the application using Postman or an equivalent testing tool.

As per API specification, client_id and client_secret must be passed through a request header. So, we are getting an error here. Once we start passing client credentials, we get a successful response; however, we have not applied our client id enforcement policy yet.
Using API discovery, apply API ID to the project
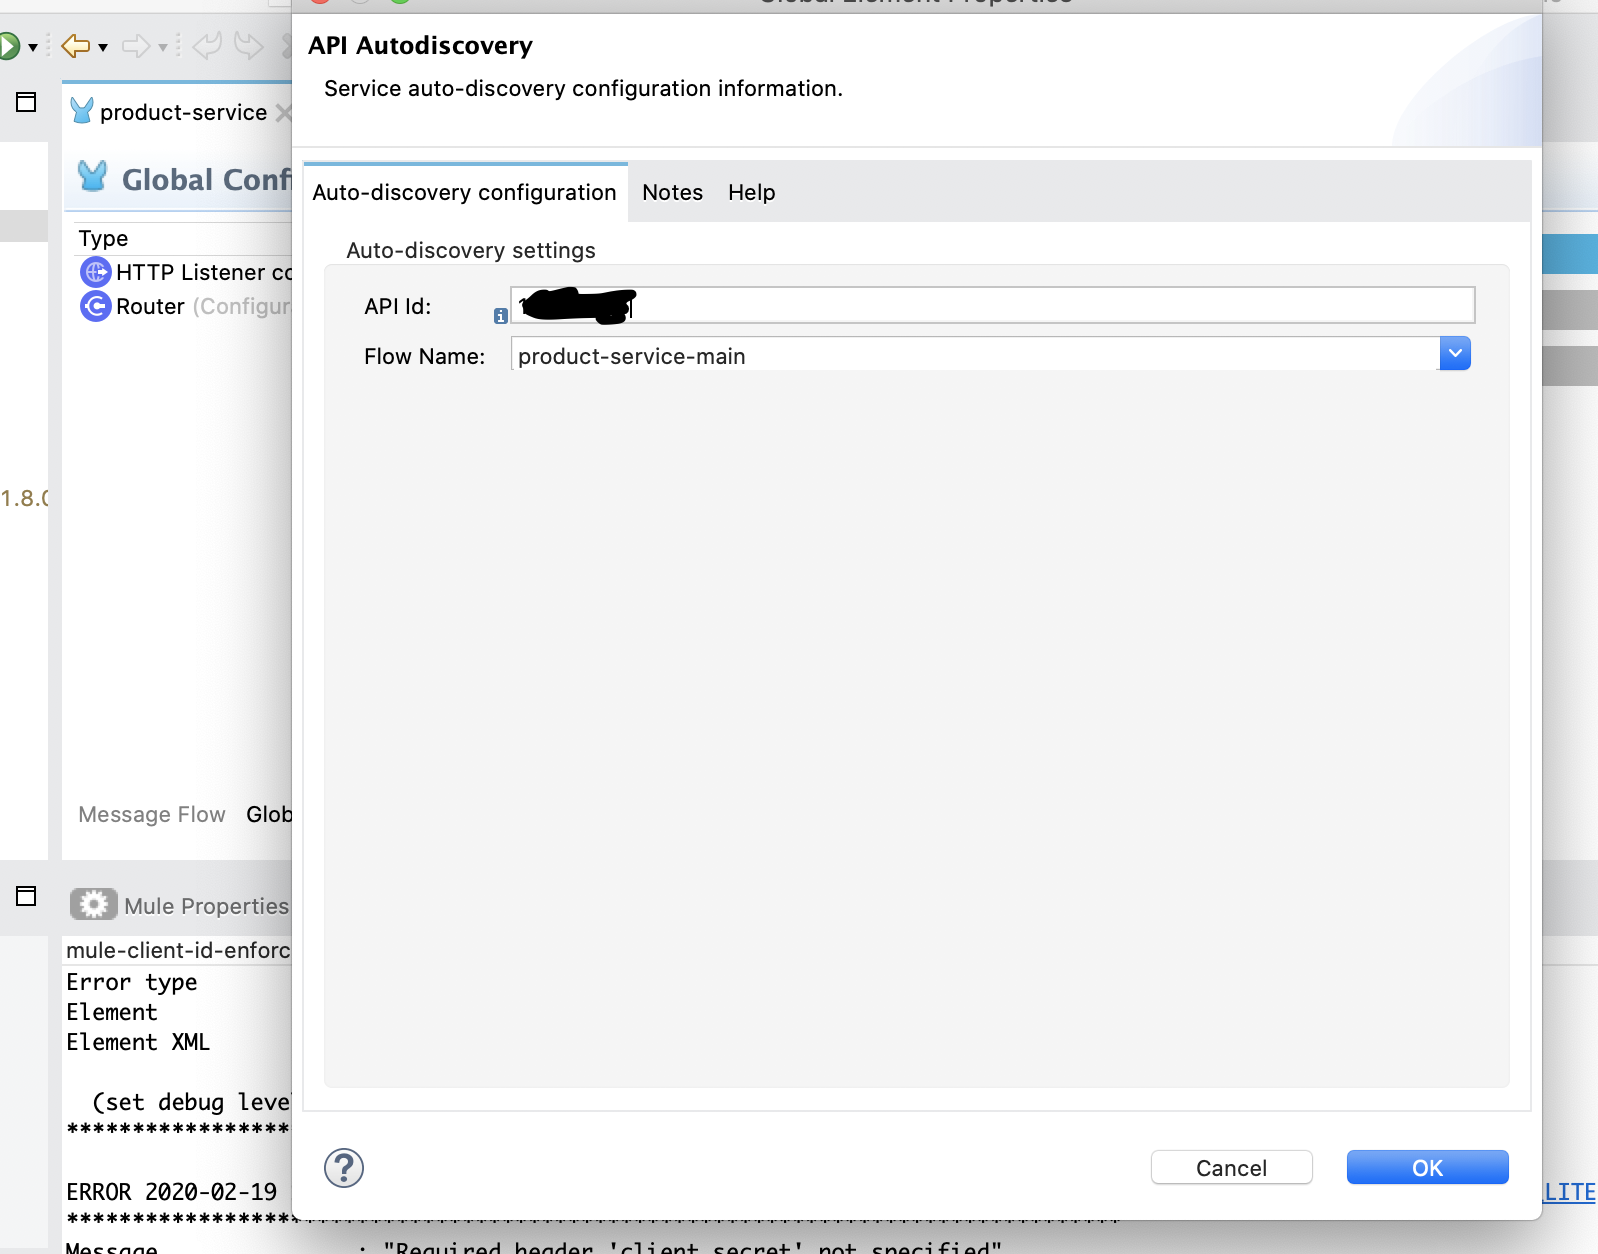
Click on Global Elements -> create and search for API Autodiscovery
Enter API ID (from Mule Anypoint platform policy application created in the previous step) and select the main flow and click on the ok button. Save the project.
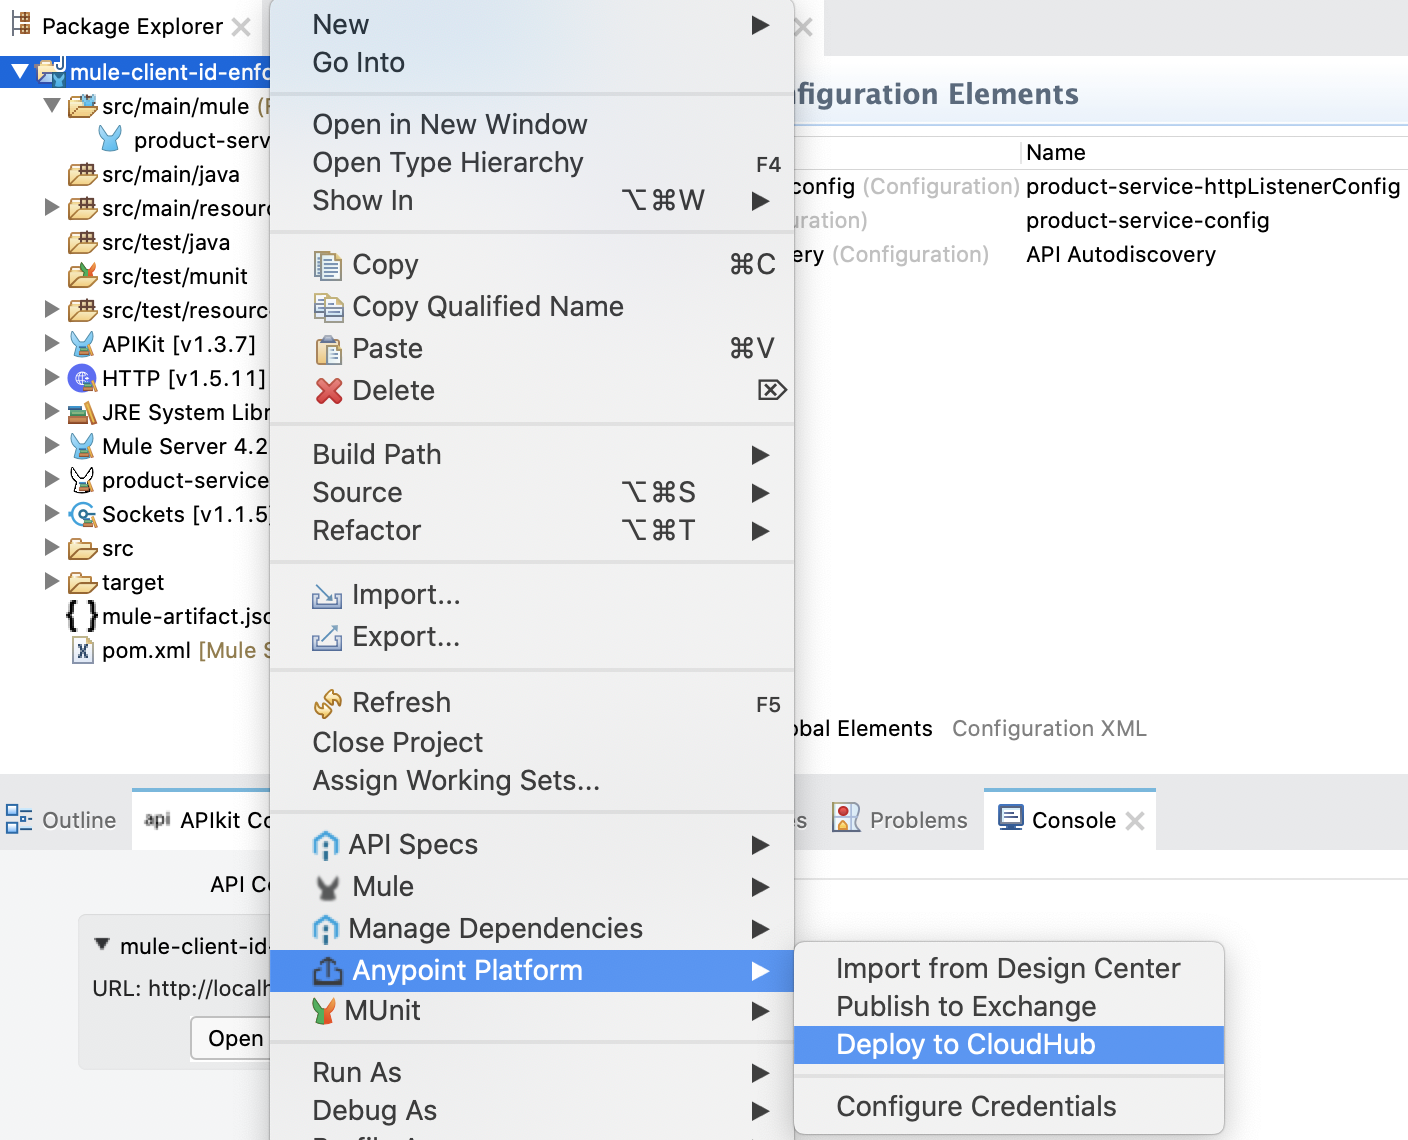
Deploy the project on CloudHub.
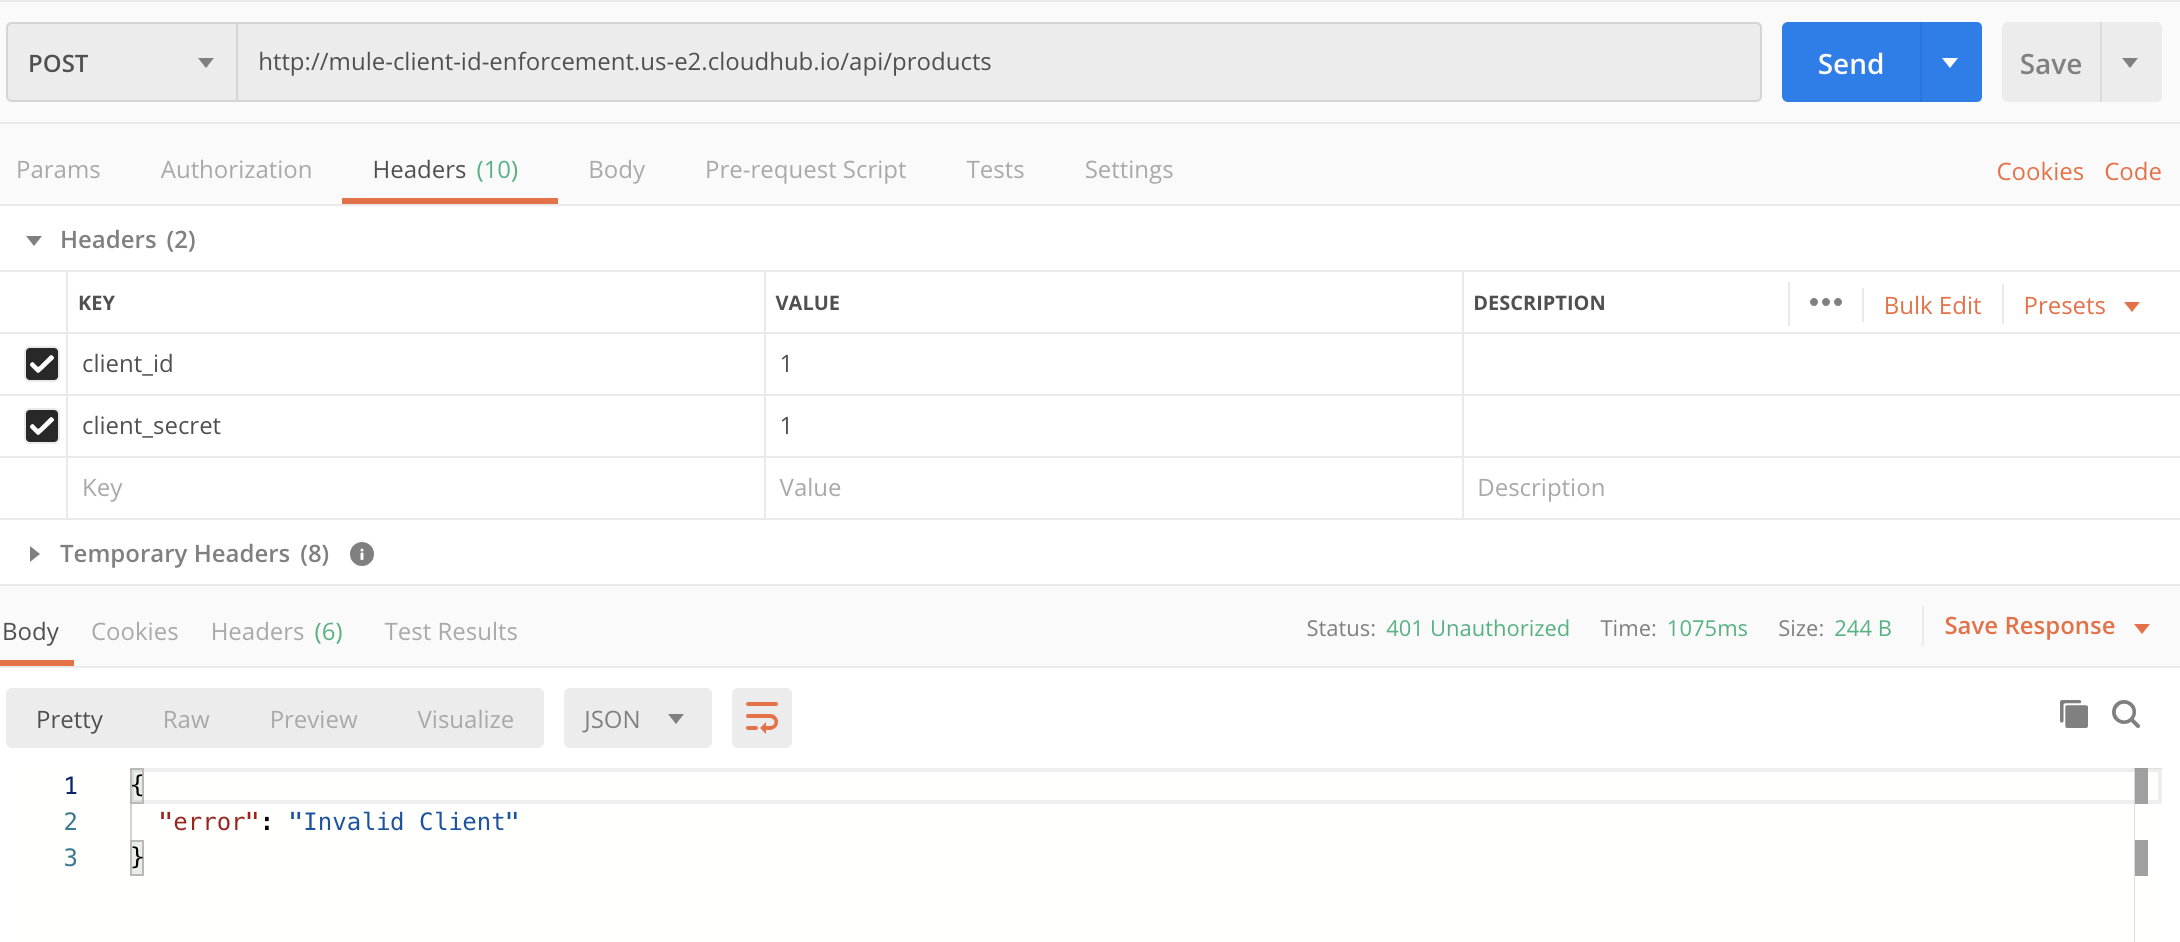
After we deploy the application and run it from Postman, we get the following error, as client id enforcement policy has been applied, and we are not passing the correct value of client_id and client_secret.
So, we have to create a proxy application and create client_id and client_secret from that. Here are the steps for the same.
In the API Manager, click on the policy version and then click on "View API in exchange" on right hand side.

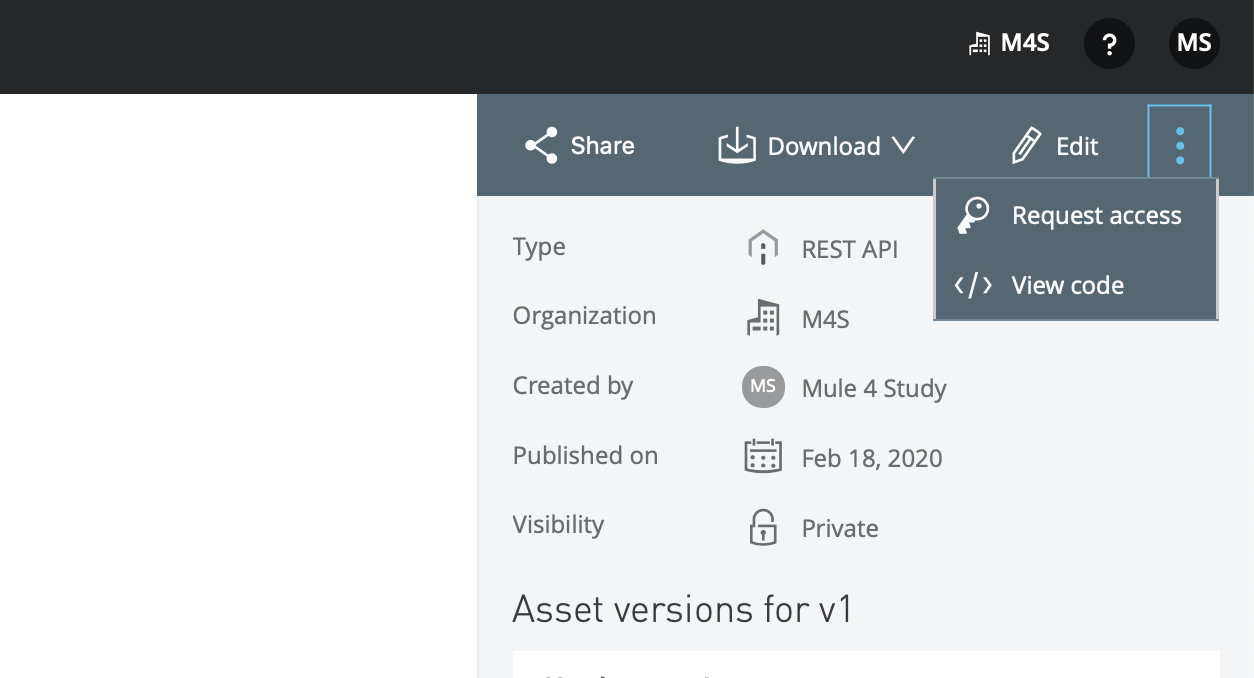
Here, click on three vertical dots and request access.
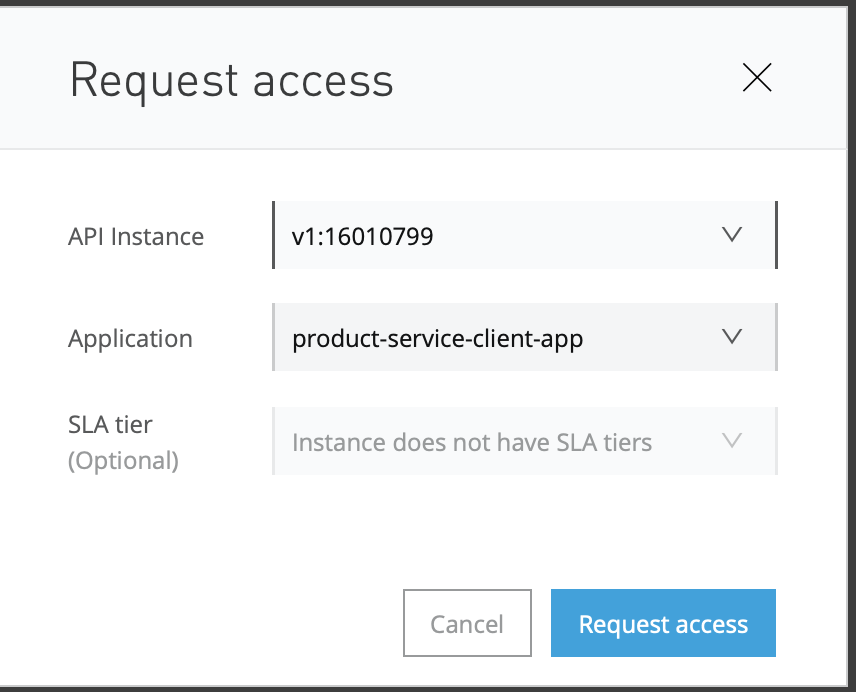
Create an application, select the API version, and click on Request Access. It will give you a popup with client_id and client_secret.
Make note of those client_id and client_secret values and pass them as part of the Http header.
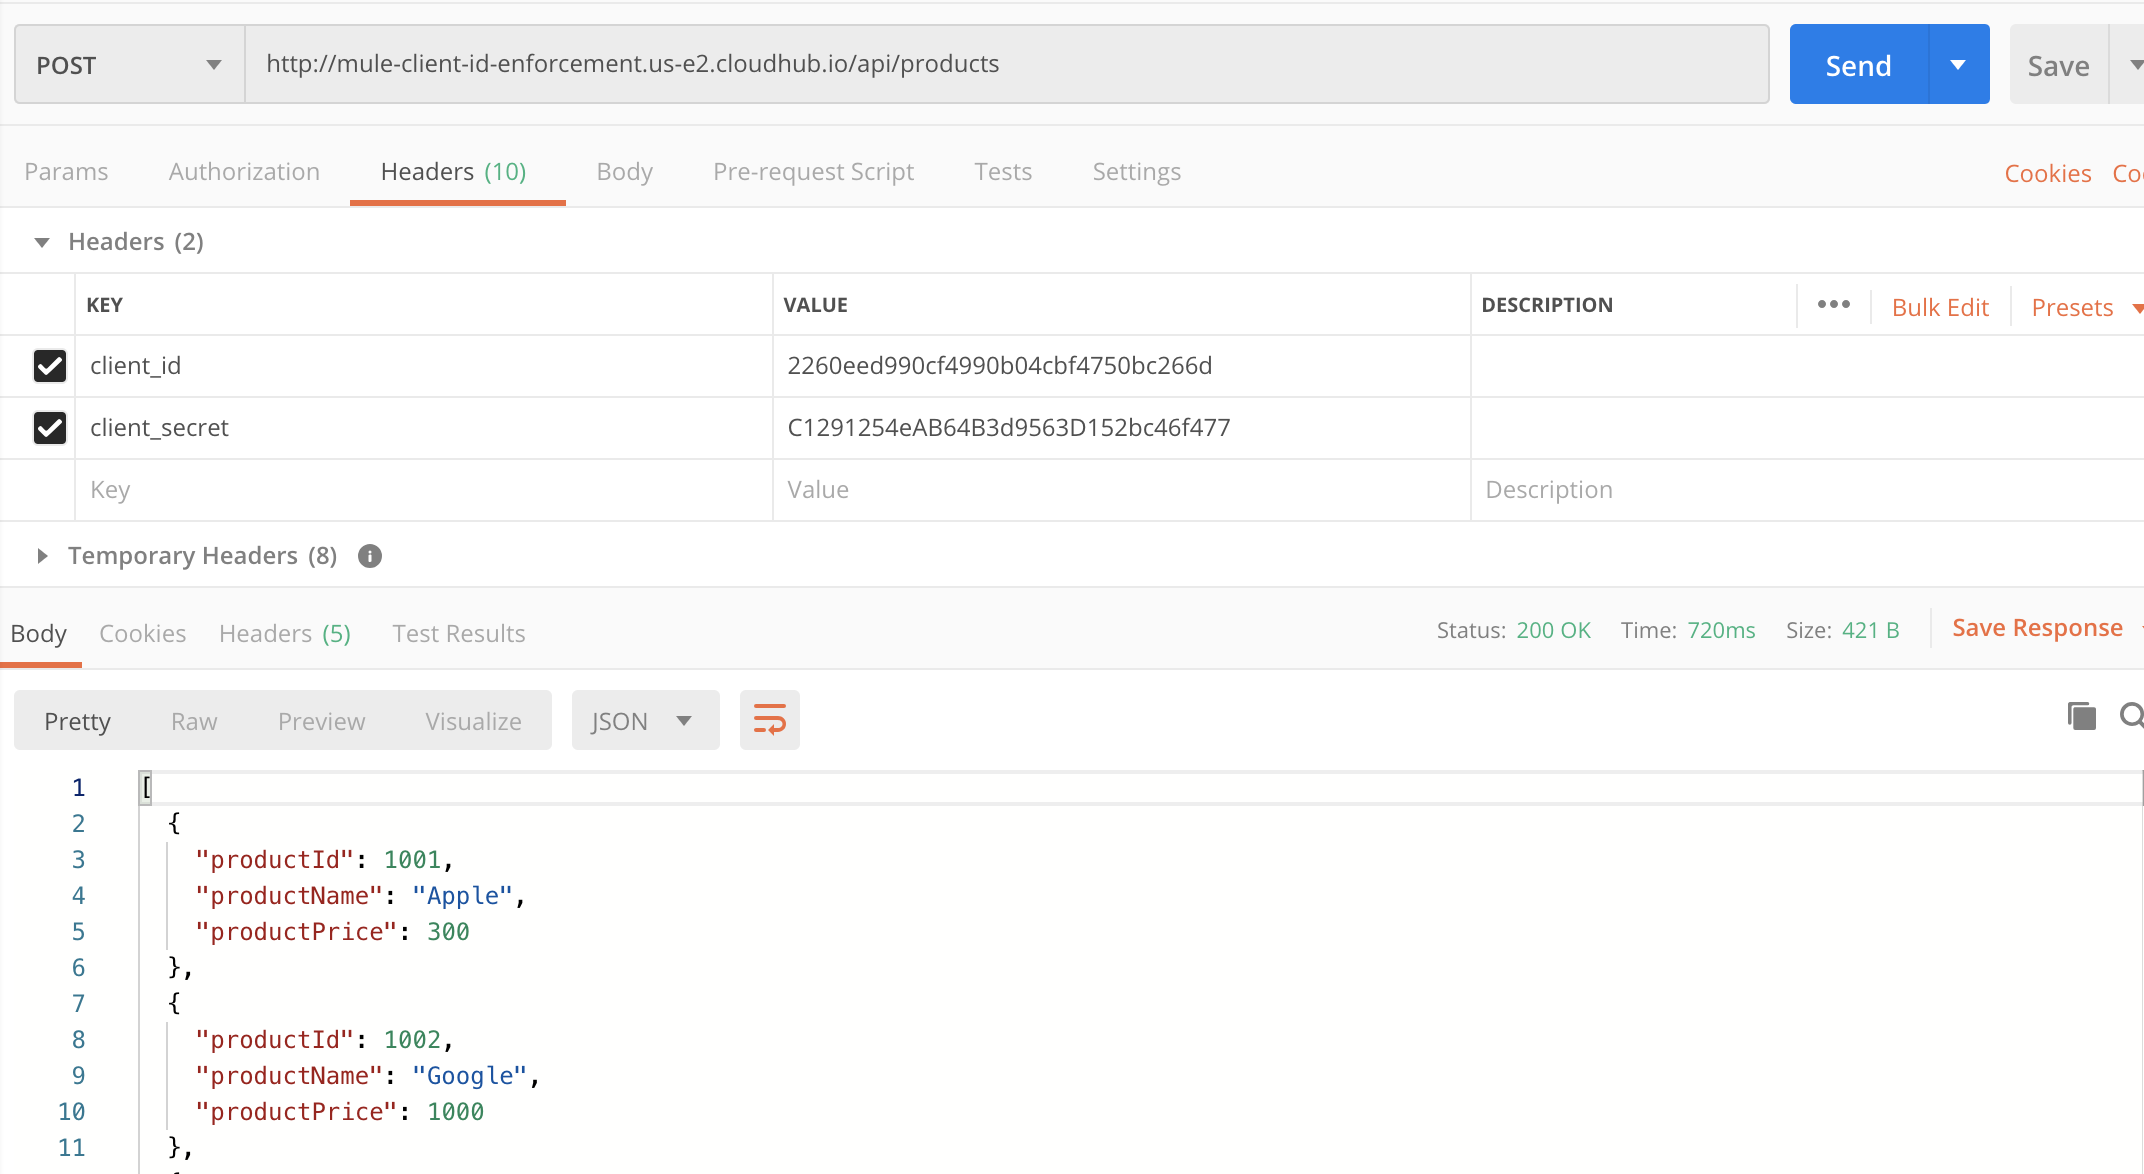
Once we pass the correct values of client_id and client_secret, we are able to receive a successful response.
Further Reading
Opinions expressed by DZone contributors are their own.

Comments