Install and Setup MongoDB on Windows or Mac
In this article, we will have a quick look at the installation and setup of MongoDB on Windows 11 or MacOS using homebrew.
Join the DZone community and get the full member experience.
Join For FreeWindows
Let's look at the steps to download and install MongoDB on Windows.
To install MongoDB in Windows 11, we will download the MongoDB Community .msi installer from the MongoDB community link.
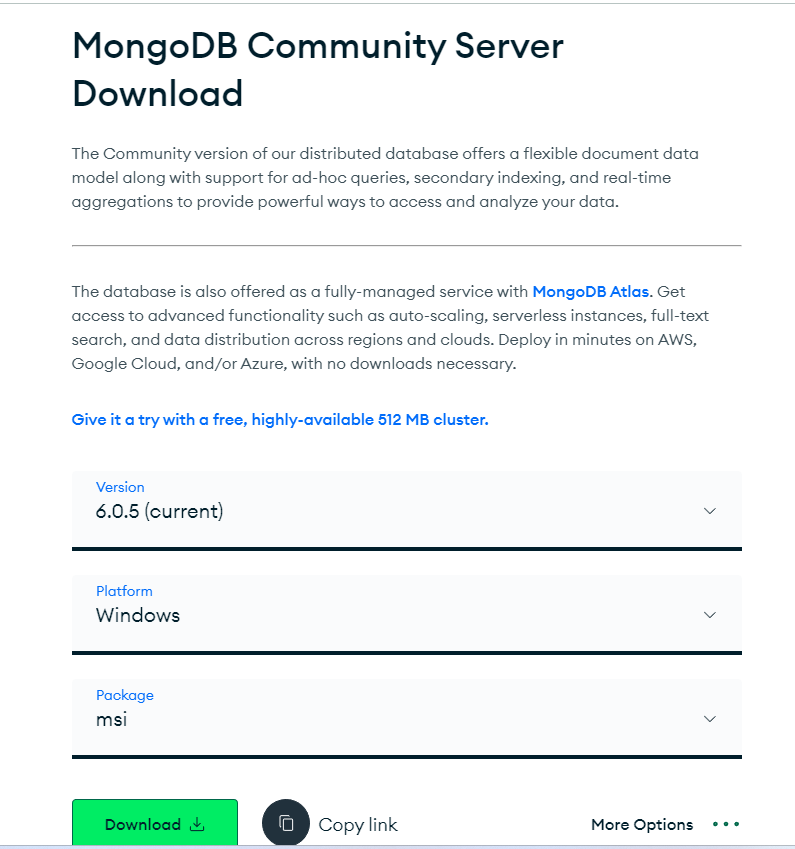
Step 1: Choose the current latest version in the option and select Windows as Platform. Click on Download.
Step 2: Click the downloaded MongoDB installer. Once the MongoDB setup wizard opens, click Next.
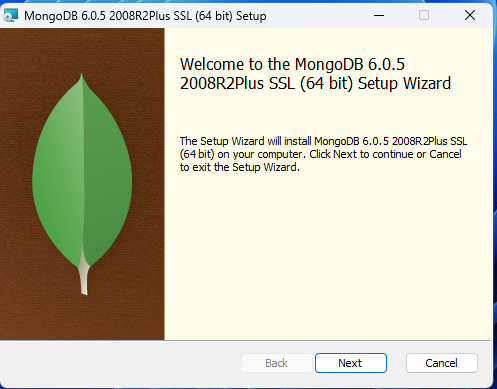
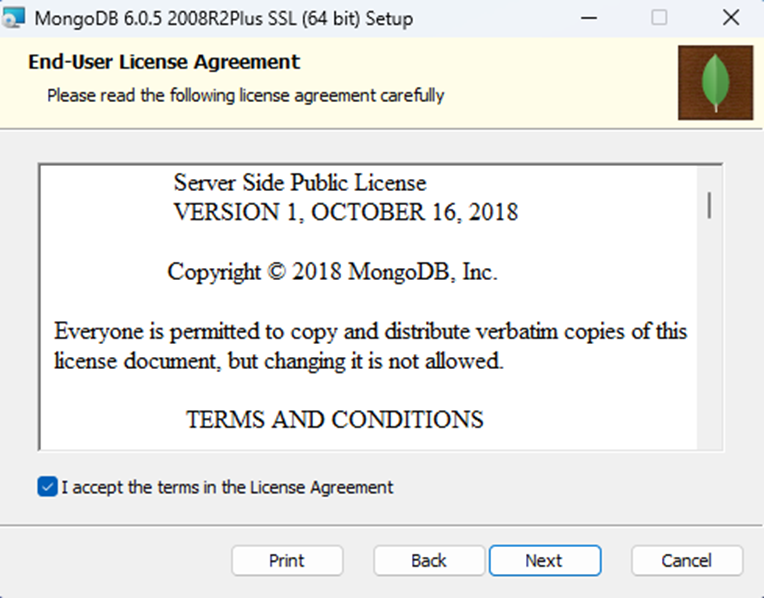
Step 3: In the next window, choose the checkbox I accept the terms and click on Next.
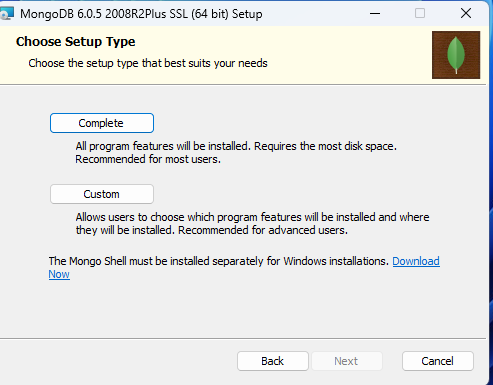
Step 4: The Complete setup type installs MongoDB tools to the default location, whereas the Custom type allows us to choose the location of the executables. You can choose either type based on your need and click on Next.
Step 5: Select the Install MongoD as a Service checkbox. By selecting the checkbox we can configure and start MongoDB as a Windows Service during the installation. The MongoDB service executes upon successful installation.
- Select either Run service as Network Service User or local or domain user.
- Network Service User is a default Windows user account
- For the local user, mention the Account domain as period(.) and type the account name and password of the user
- For the domain user, mention the Account domain, username and password.
- The default service name is MongoDB. You can change the service name if you already have another service name.
- Data Directory: db path — If the directory does not exist, it creates the directory.
- Log Directory: log path — If the directory does not exist, it creates the directory.
Verify whether all the fields are correct and Click on Next.
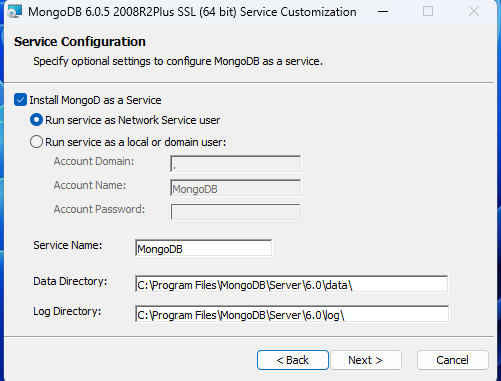
To install MongoDB only and not to configure MongoDB as Windows Service, uncheck the Install MongoD as a Service and Click on Next.
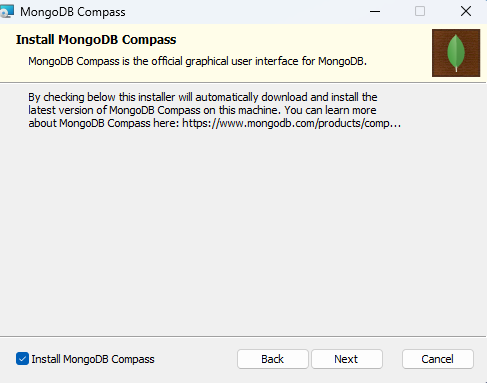
Step 6: MongoDB compass is an interactive tool to visualize the database and analyze and view the data changes. To install MongoDB compass with MongoDB, select the Install MongoDB Compass checkbox and Click on Next. It is optional to install MongoDB compass.
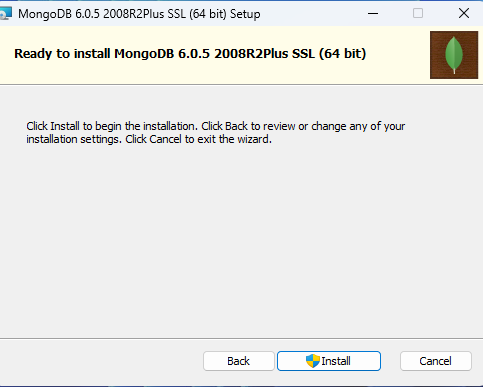
Step 7: In the next window, Click on Install.
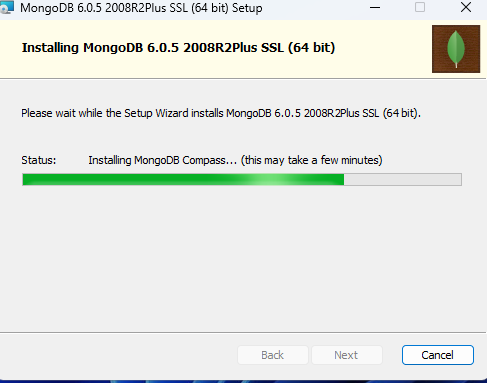
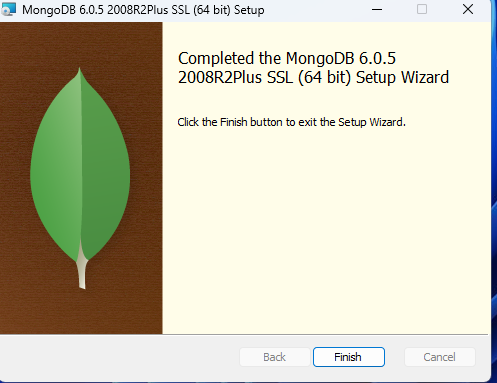
Step 8: Once the MongoDB installation is complete, Click Finish to exit the wizard.
![Click finish]() MacOS
MacOS
Prerequisites
To install MongoDB in macOS, we will use the homebrew package manager. To verify whether homebrew is available in your system, run the below command:
brew -vIf you have already installed it, you will get a version of homebrew installed. Otherwise, you can install homebrew using the below command.
/bin/bash -c "$(curl -fsSL https://raw.githubusercontent.com/Homebrew/install/HEAD/install.sh)"Homebrew requires Xcode Command line tools for MongoDB installation.
To install Xcode Command line tools, run the below command.
xcode-select --installChoose install in the popup and click on Agree in the agreement wizard.
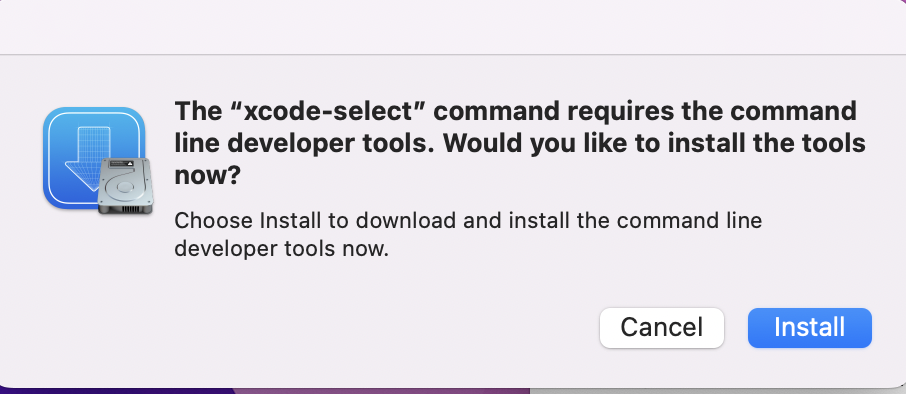
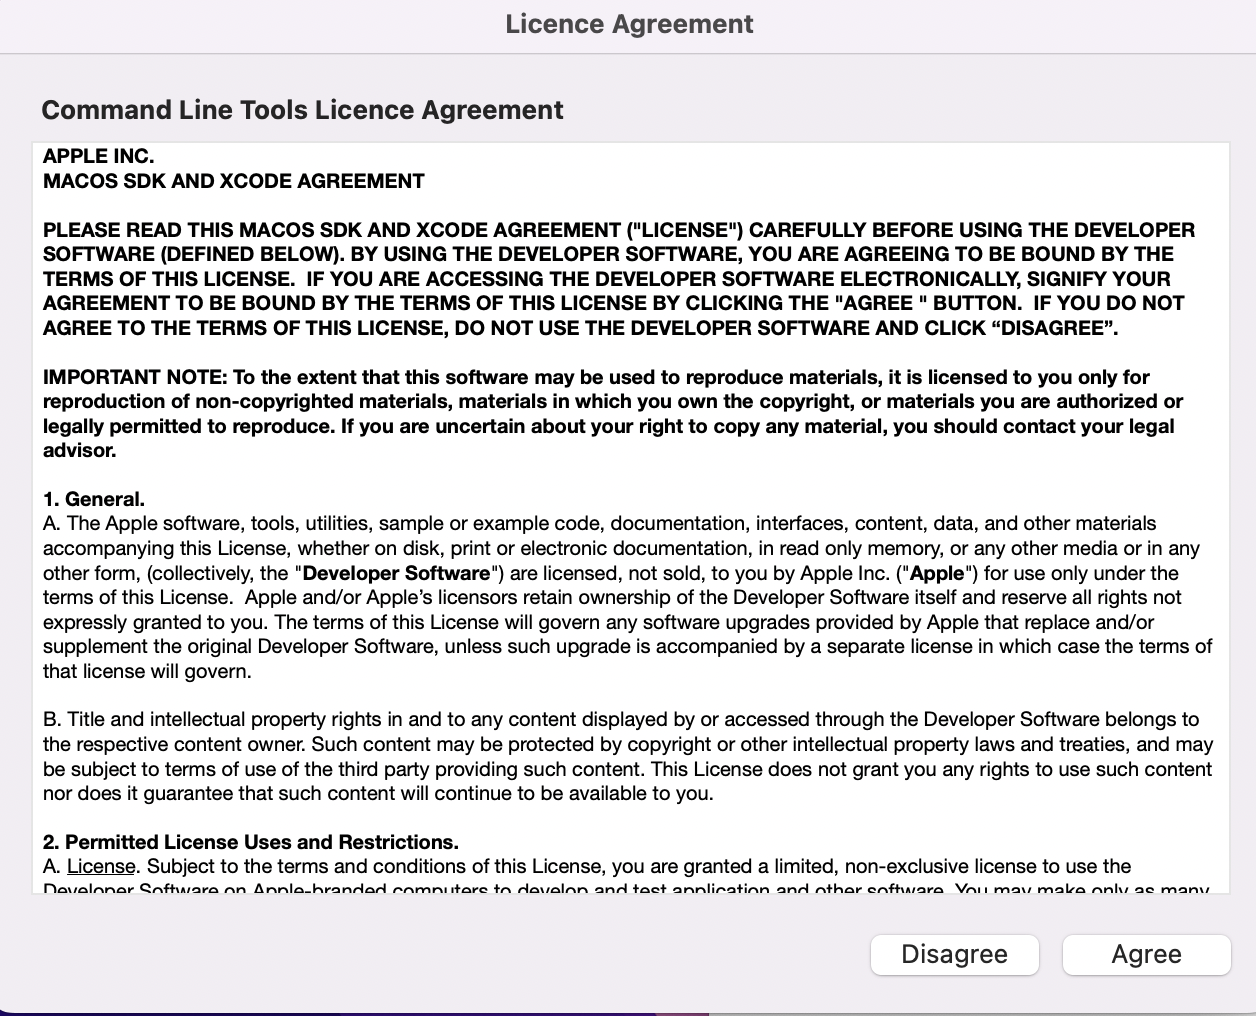
Once you click Agree, the software gets installed.

MongoDB Installation
Run the following command in the terminal to download the homebrew formula for MongoDB tools.
brew tap mongodb/brewFinally, to install MongoDB run the below command in the macOS terminal.
brew install mongodb-community@6.0The latest MongoDB version supports macOS 10.14 or later.
The MongoDB installation includes the mongod server and the MongoDB shell mongosh.
Verify the installation by typing mongo --version in the new terminal.
MongoDB Compass
To install MongoDB compass, a GUI tool to visualize the database, go to the below link and download it.
If you have installed MongoDB Compass, it will look like this when you open it.
You can click on connect and start working on your queries.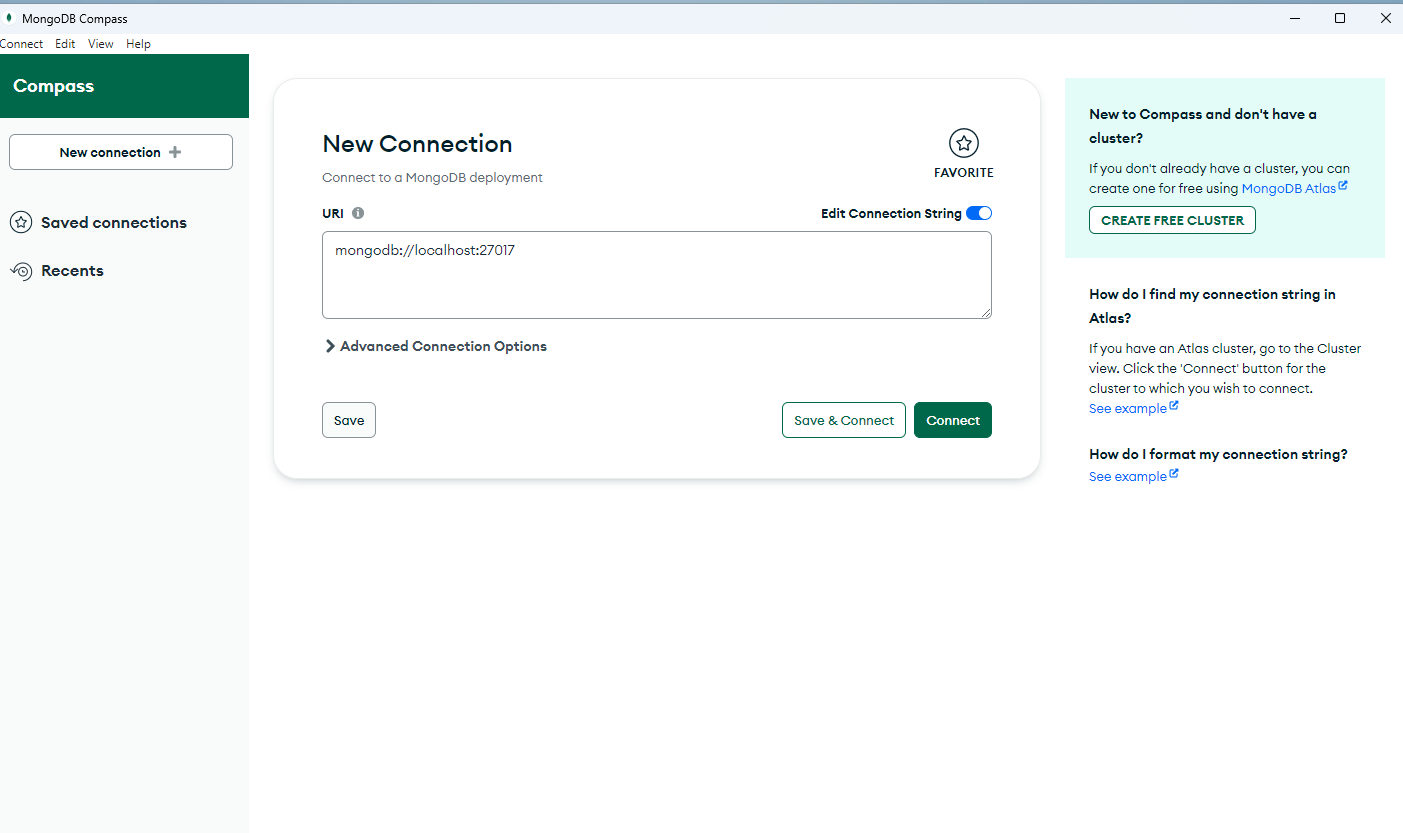
Opinions expressed by DZone contributors are their own.

 MacOS
MacOS
Comments