How To Create PR Review Apps With Render
By making it simple to visually review changes, PR review apps make it more likely that code reviewers will actually do so.
Join the DZone community and get the full member experience.
Join For Free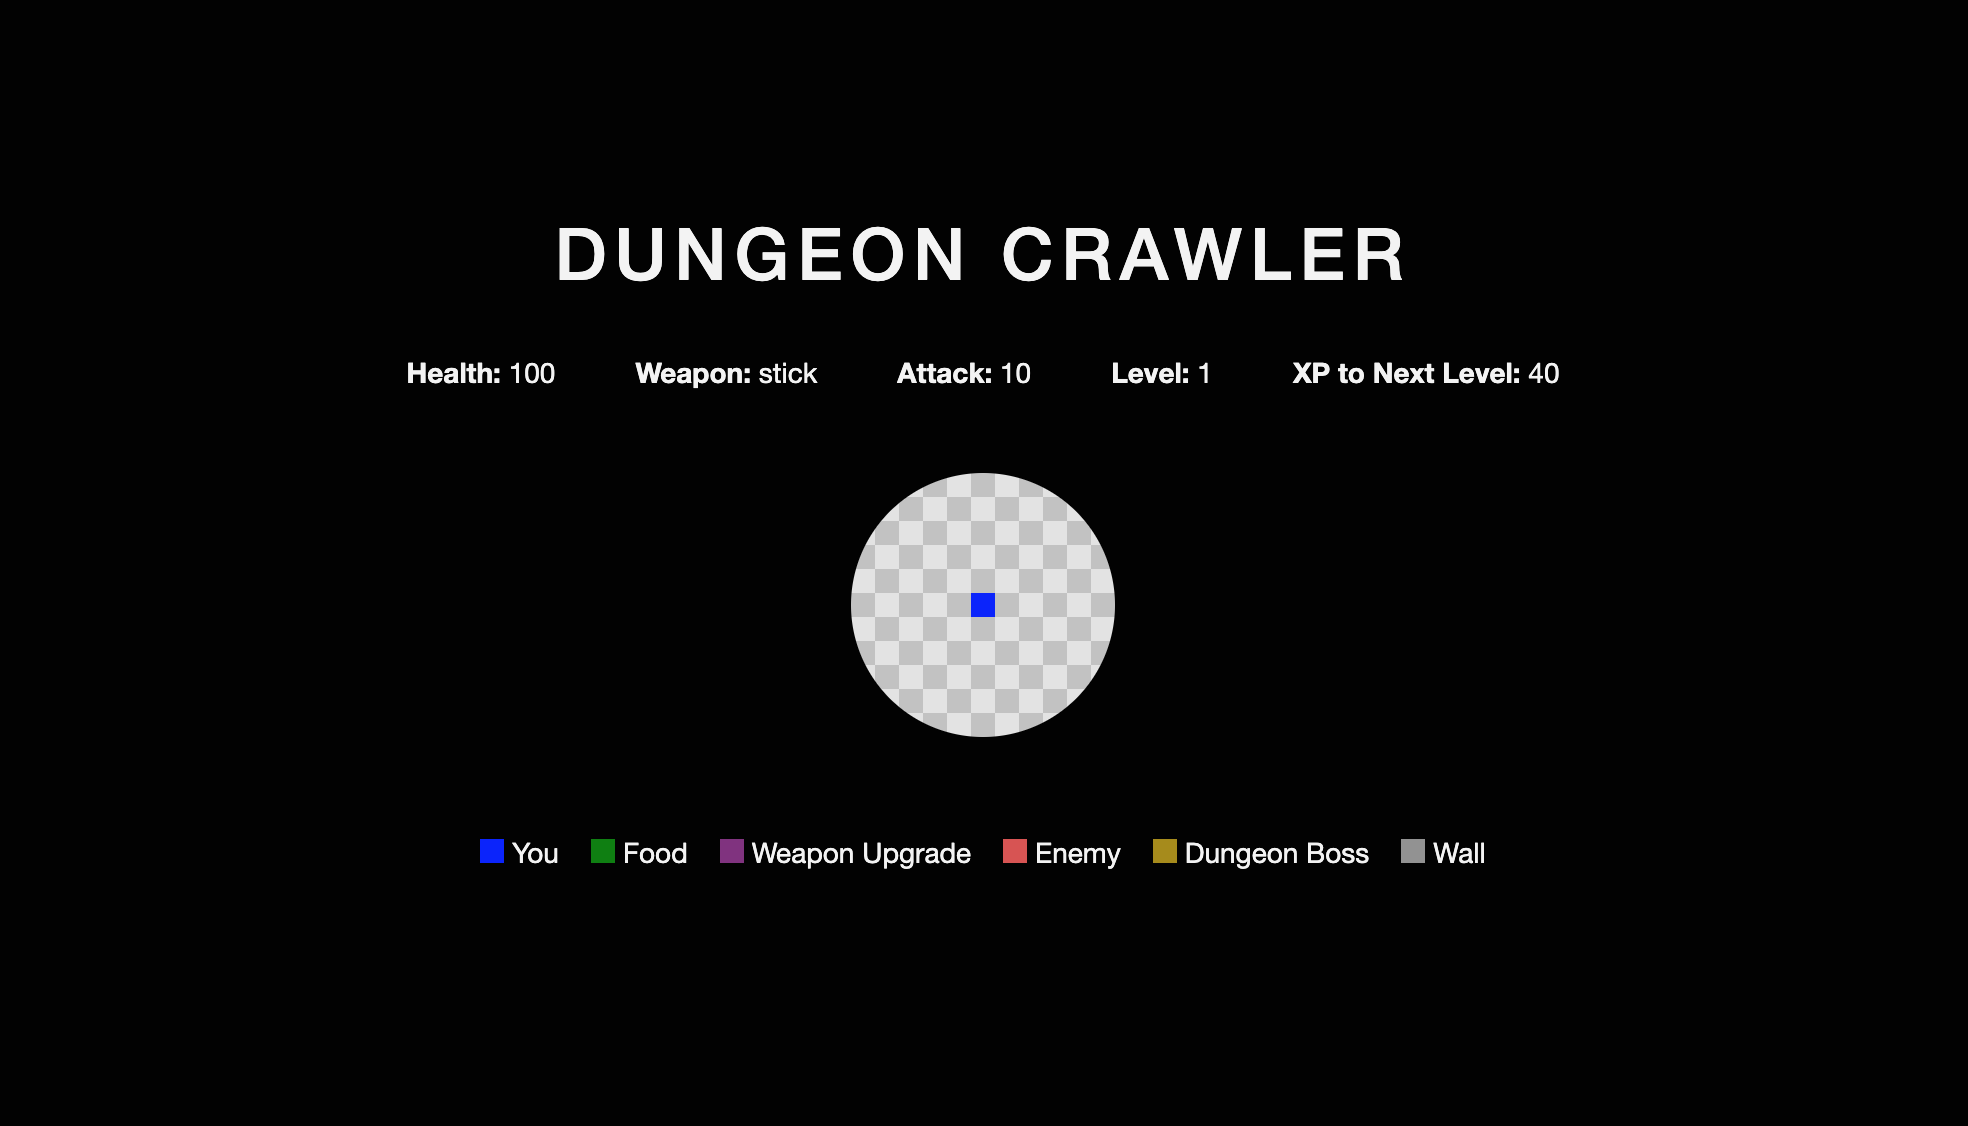
For UI changes, it’s also a great idea to visually inspect the changes in the app. Doing so may require the reviewer to check out the branch and run the app on their machine. Depending on the complexity of your app’s architecture, running the app locally may be trivial to do with a single command, or it may require several steps and a fair amount of time.
Pull request review apps help facilitate this process by deploying a version of the app with the pull request’s changes applied in a preview environment. Now the reviewer doesn’t need to pull down the code themselves!
Students of choice architecture and nudge theory know that if you want to increase the desired behavior, you need to make the desired behavior easy. PR review apps do just that! By making it simple to visually review changes, PR review apps make it more likely that code reviewers will actually do so.
In this article, we’ll look at how to configure PR review apps using Render, a platform as a service (PaaS) solution that allows you to build and run your apps in the cloud.
Demo Overview
Let’s use a React app for our demo. This app is a dungeon crawler game in which our hero, the blue square, explores a dungeon and fights enemies until he finds and defeats the dungeon boss. This app consists of frontend code only, so it’s perfect to be hosted as a static site. You can view the code on GitHub or play the game here.
Now imagine that we want to make a change to our app. We would create a new branch, make our changes locally, push up that branch, and then create a pull request to merge it into the master branch. If a reviewer wanted to visually inspect our changes, they could pull down the branch and run the app locally on their machine by simply installing the dependencies with npm install and starting the app with npm start.
To help make the visual review even easier, let’s configure our repo to create a review app each time a new pull request is submitted.
Getting Started With Render
We’ll first want to create a new account with Render. I used my email to make an account and then later connected my GitHub account, but you could also authenticate with GitHub directly if you prefer.
Once we have an account created, we can choose to create a new static site:
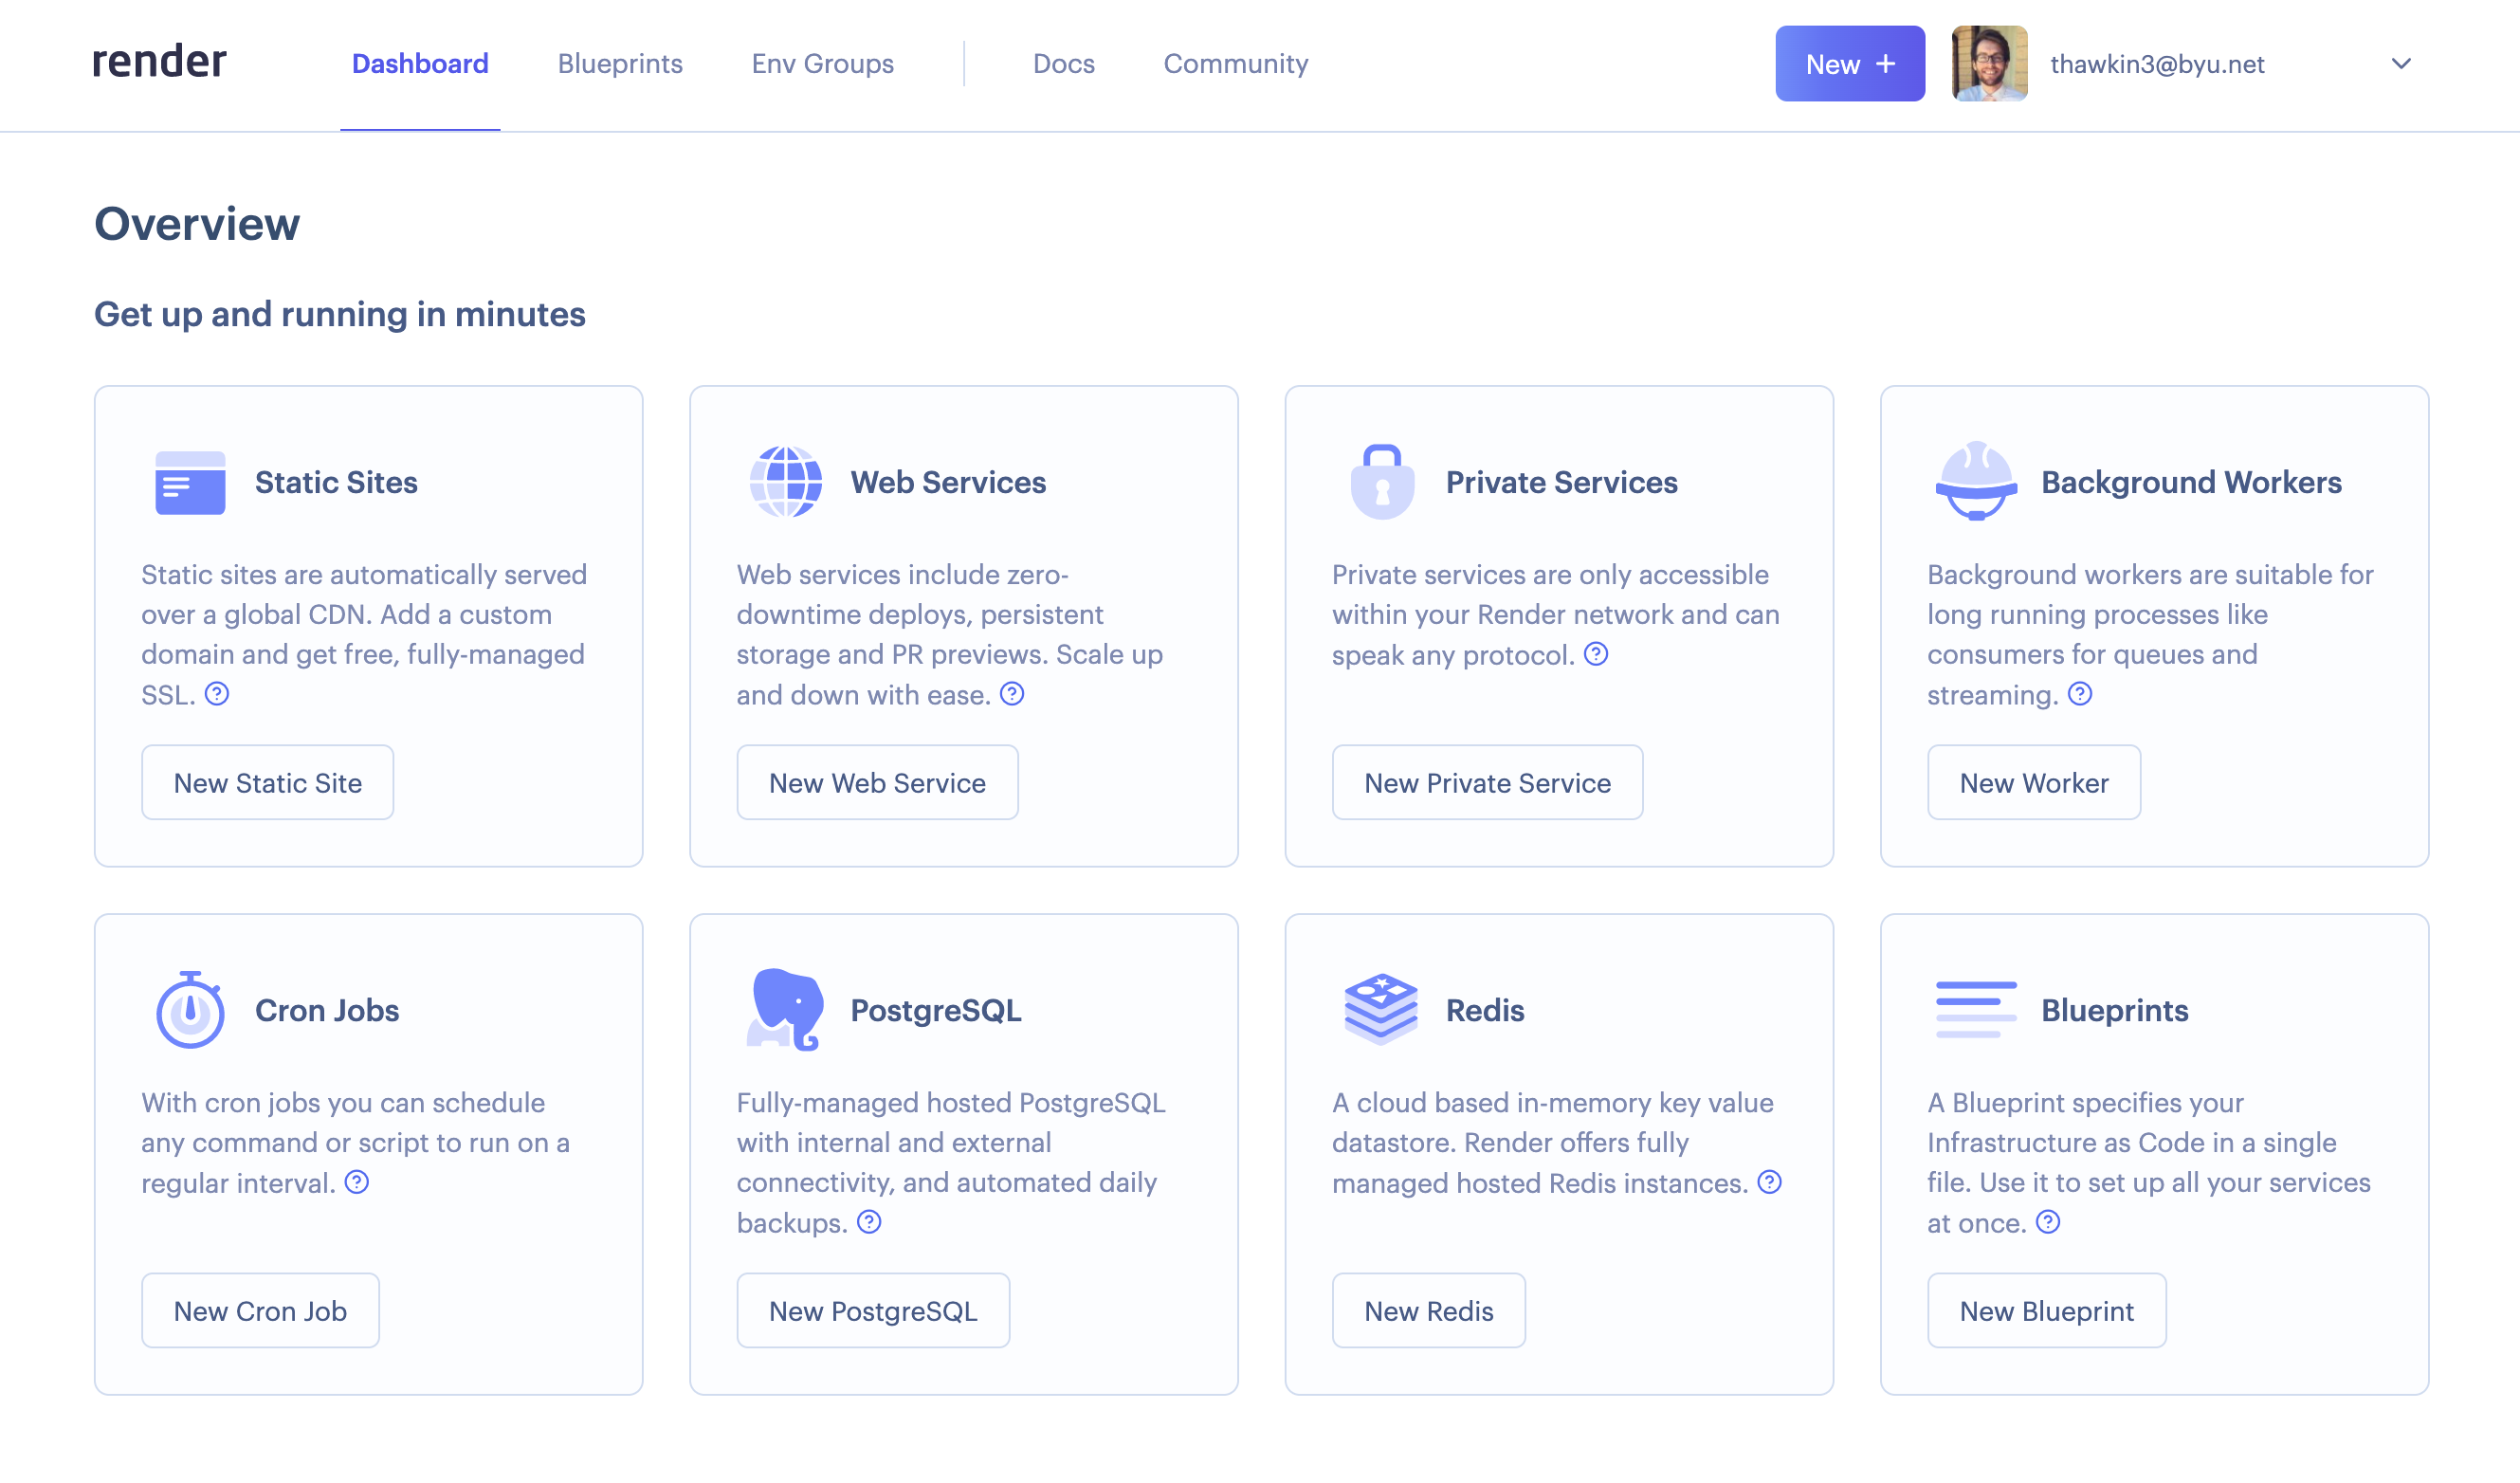
Choosing this option will prompt us to enter the URL for the existing GitHub repository we wish to connect to:

We can then provide a few details about the project, specifying the name (“Dungeon Crawler”), the main branch (master), the build command (npm run build), and the output directory (build). Then, we’ll click “Create Static Site” at the bottom of the form.
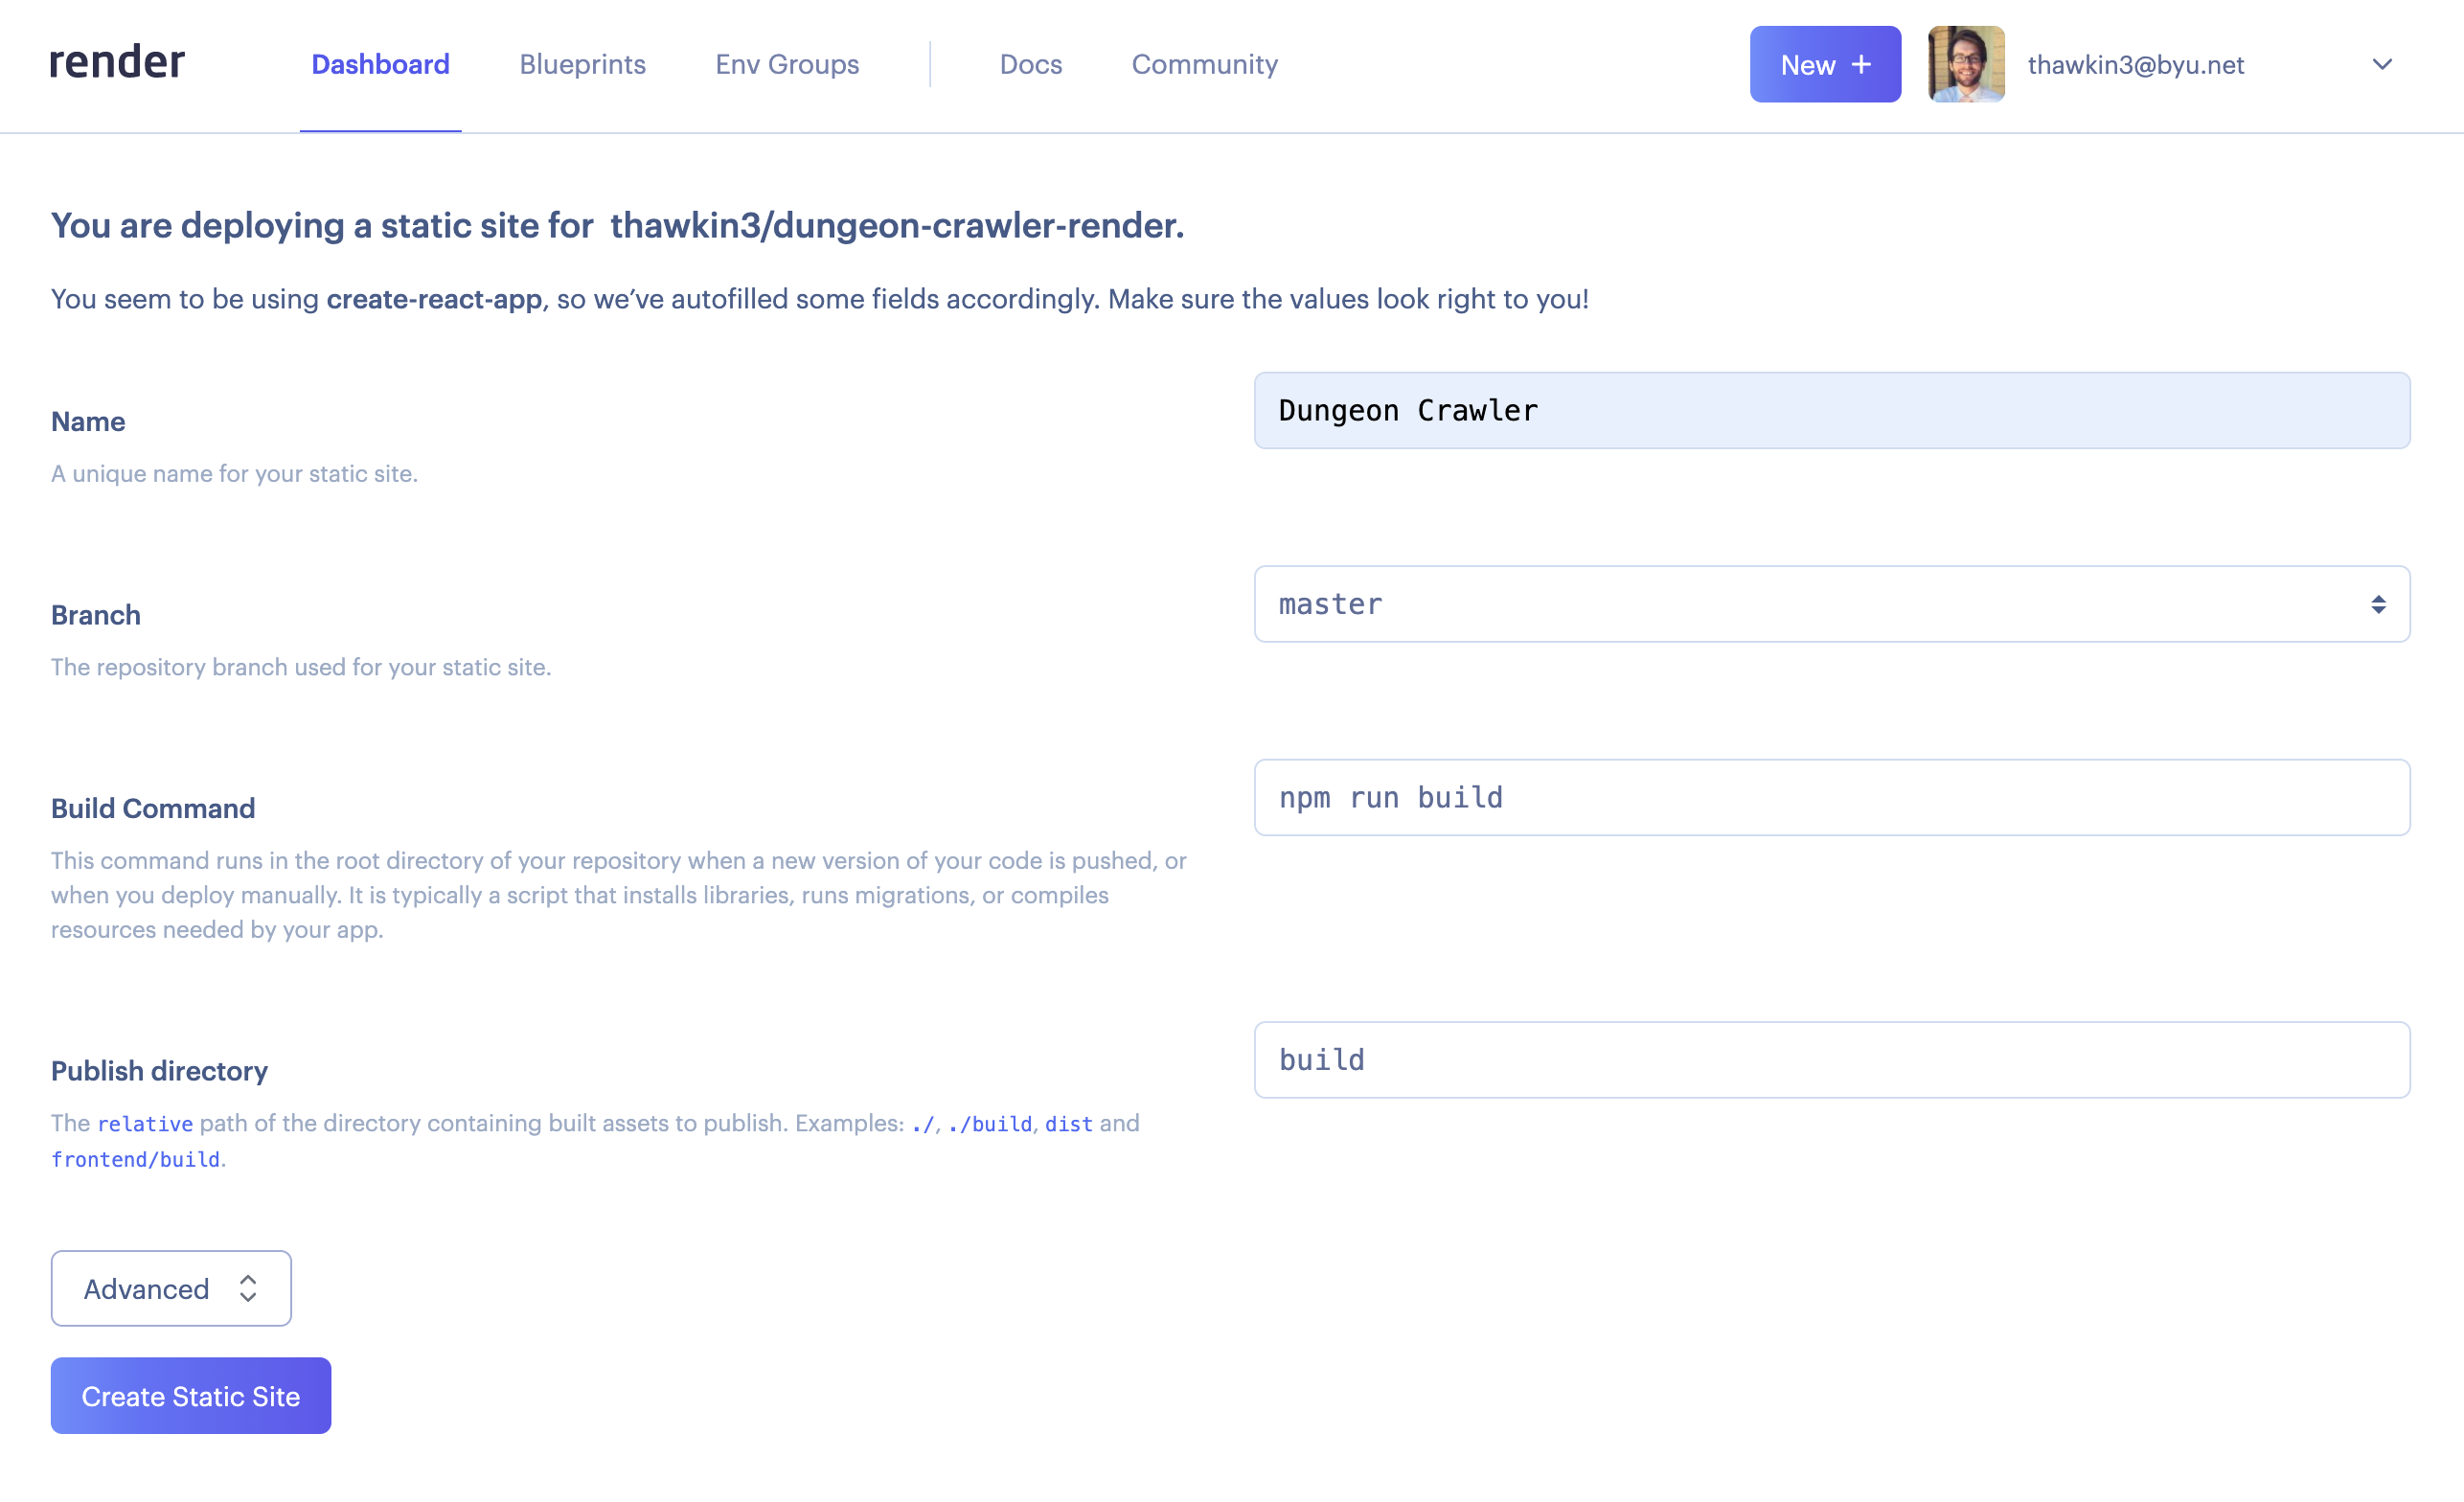
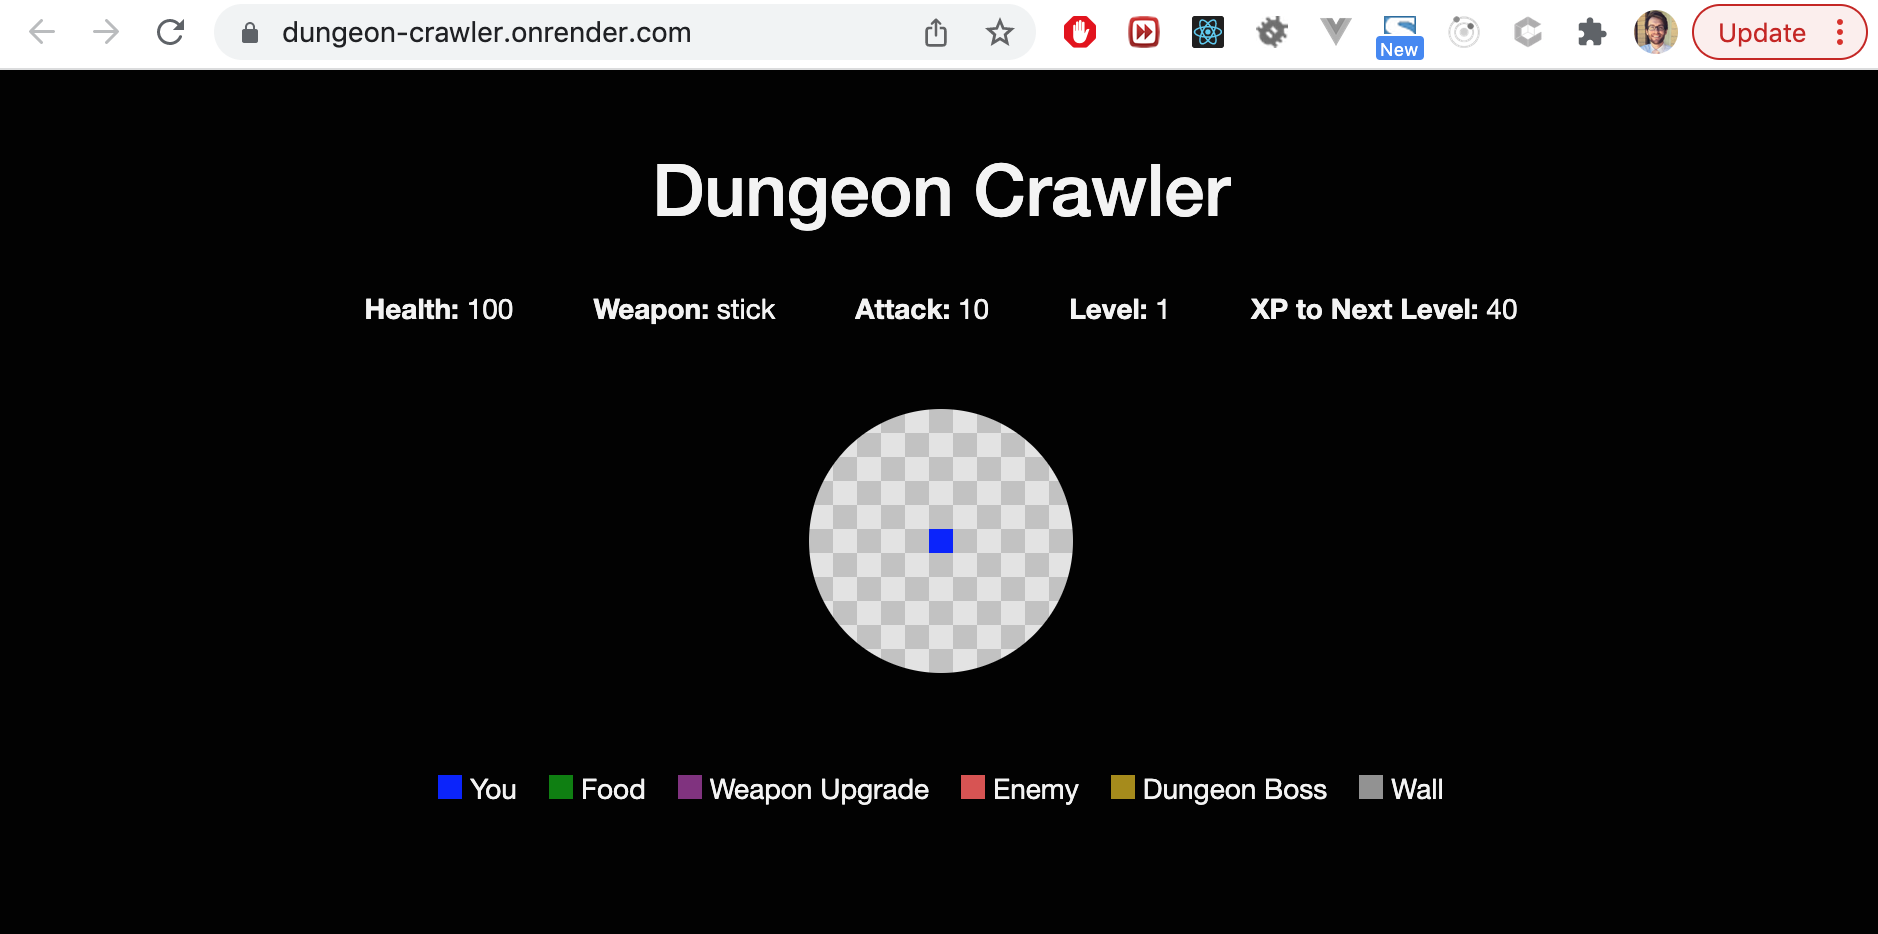
With that, Render will build and deploy our app for the first time. It’s as simple as that! Our dungeon crawler app is now publicly available at https://dungeon-crawler.onrender.com.
Configuring a PR Review App With Render
Now that we have our repo connected and our app deployed with Render, let’s set up the PR review apps (or “Pull Request Previews”, as Render calls them). To do so, we can click on the “PRs” tab and then the “Enable Pull Request Previews” button.
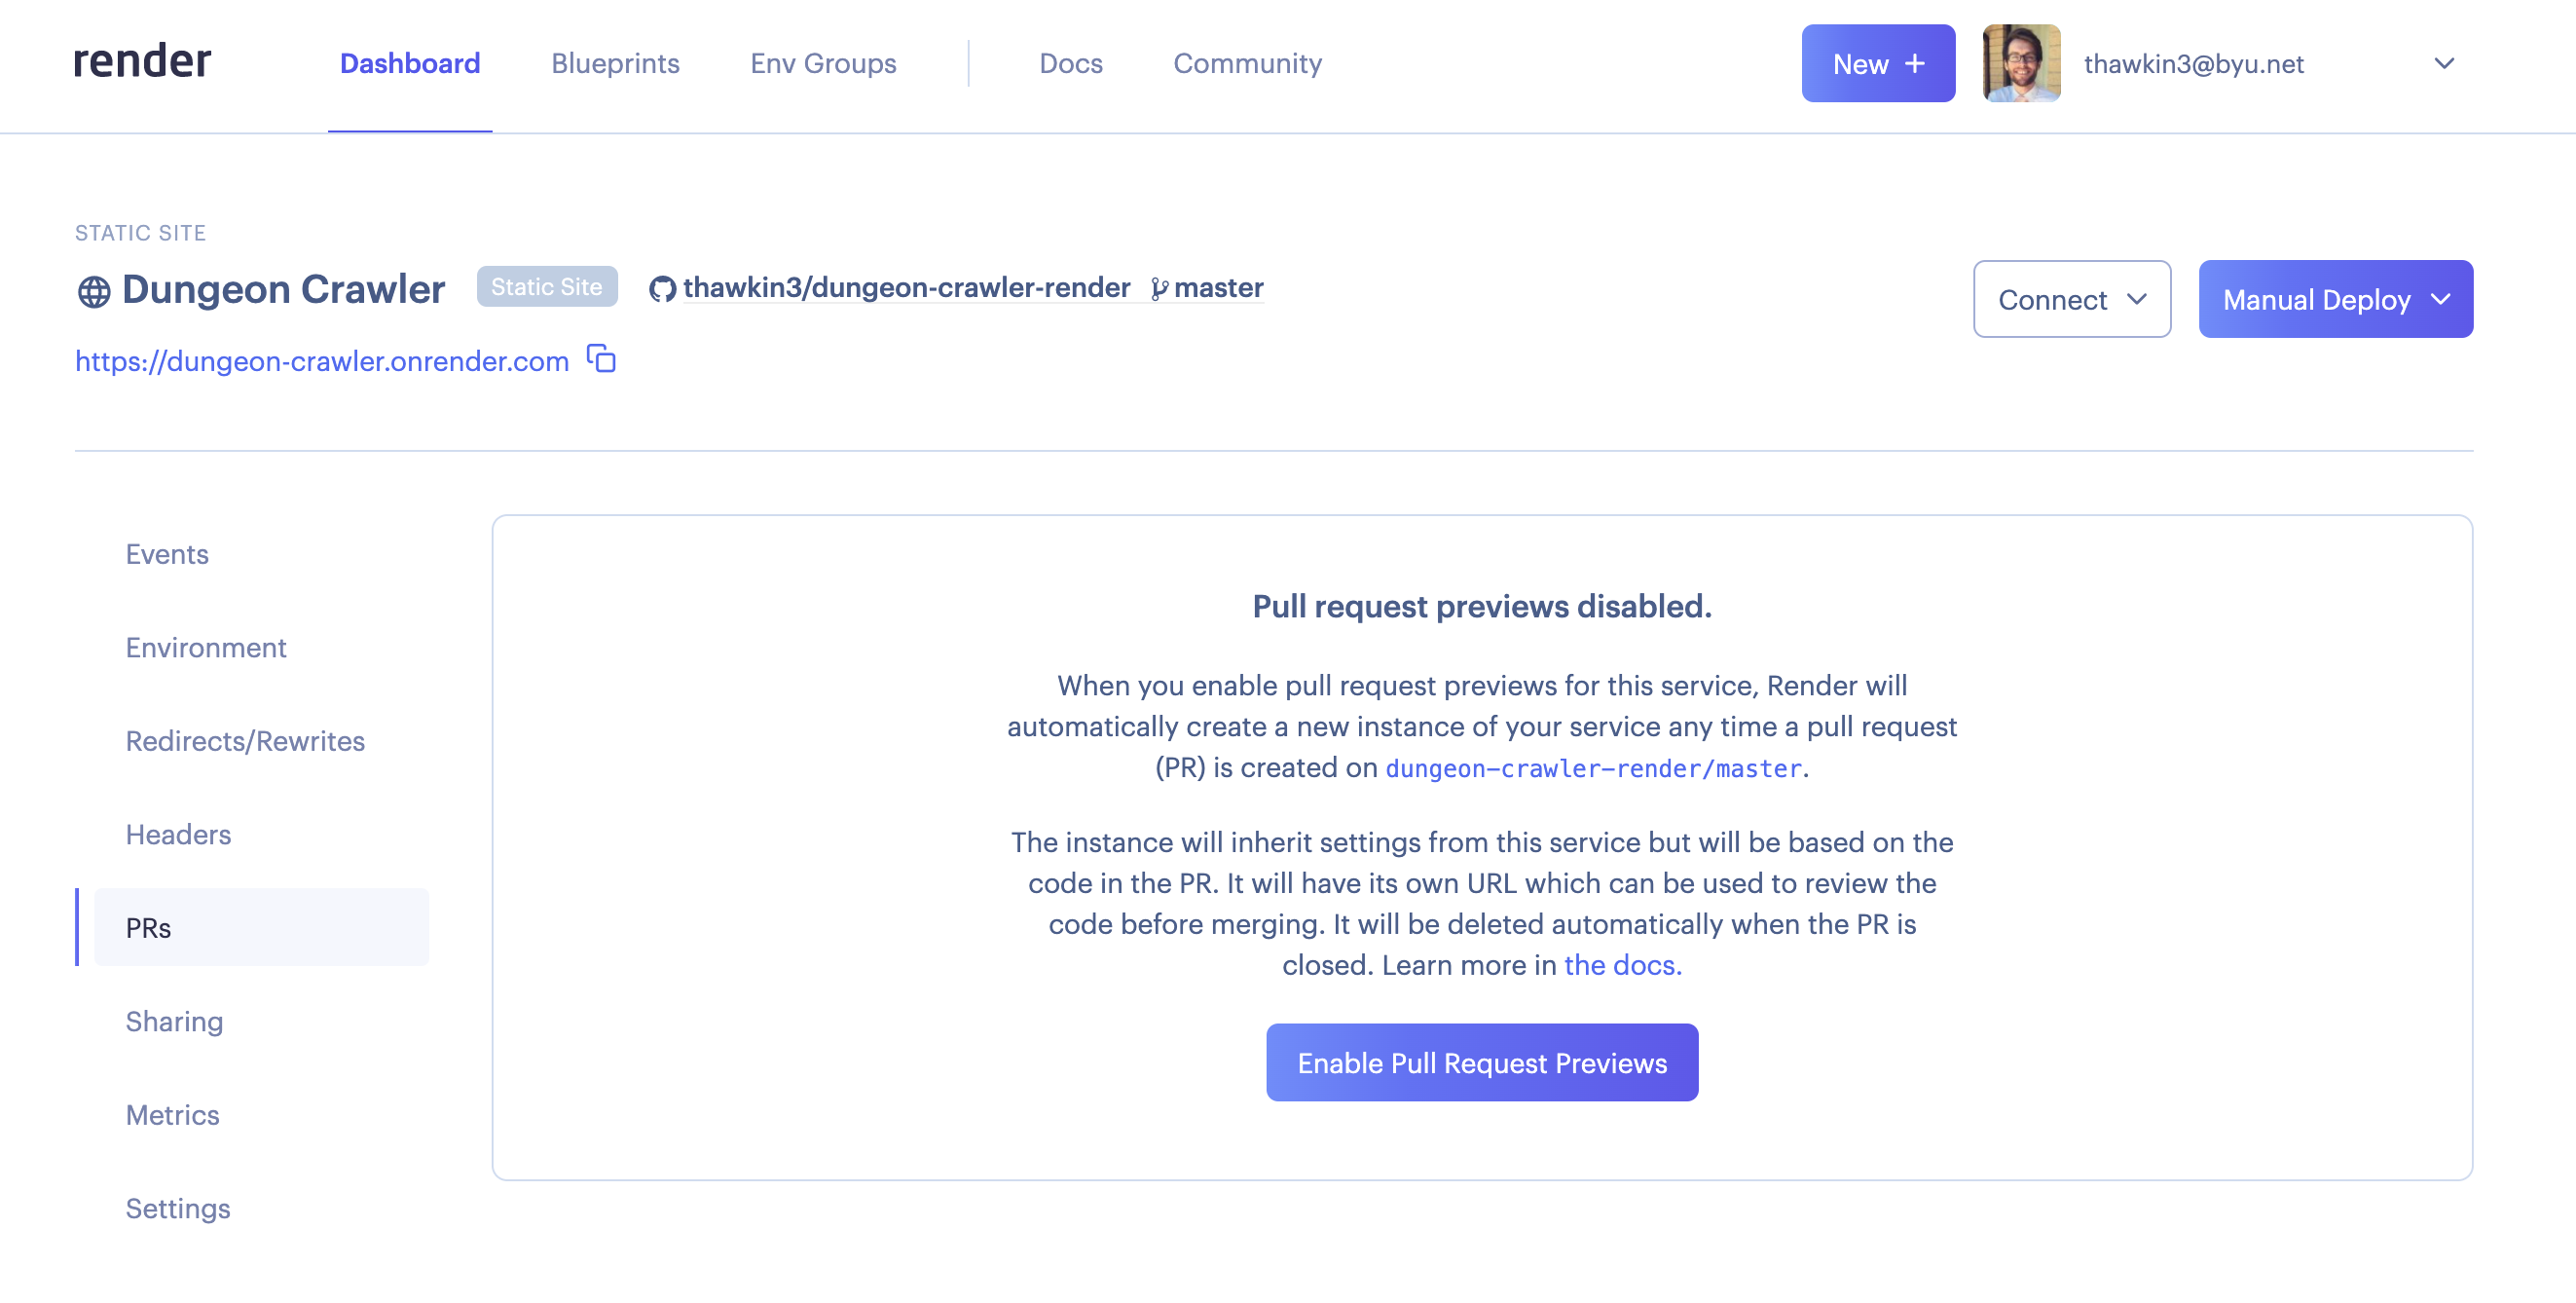
This should be all you need to enable PR review apps for your repo. However, if you run into issues authenticating with GitHub, you can follow Render’s troubleshooting guide for help. In my case, I needed to double-check that I gave Render permission to interact with my dungeon crawler repo, and then I was good to go.
Now, let’s make a new pull request to see this review app in action!
We’ll make a new branch, make a small change to the app’s header, commit and push the changes, and then make a new pull request to merge our changes into the master branch.
Once we’ve created a new pull request, Render will post a comment on the PR that it is creating a new review app for us. Once the review app has finished deploying, Render will post a second comment notifying us that the review app is ready to be viewed.
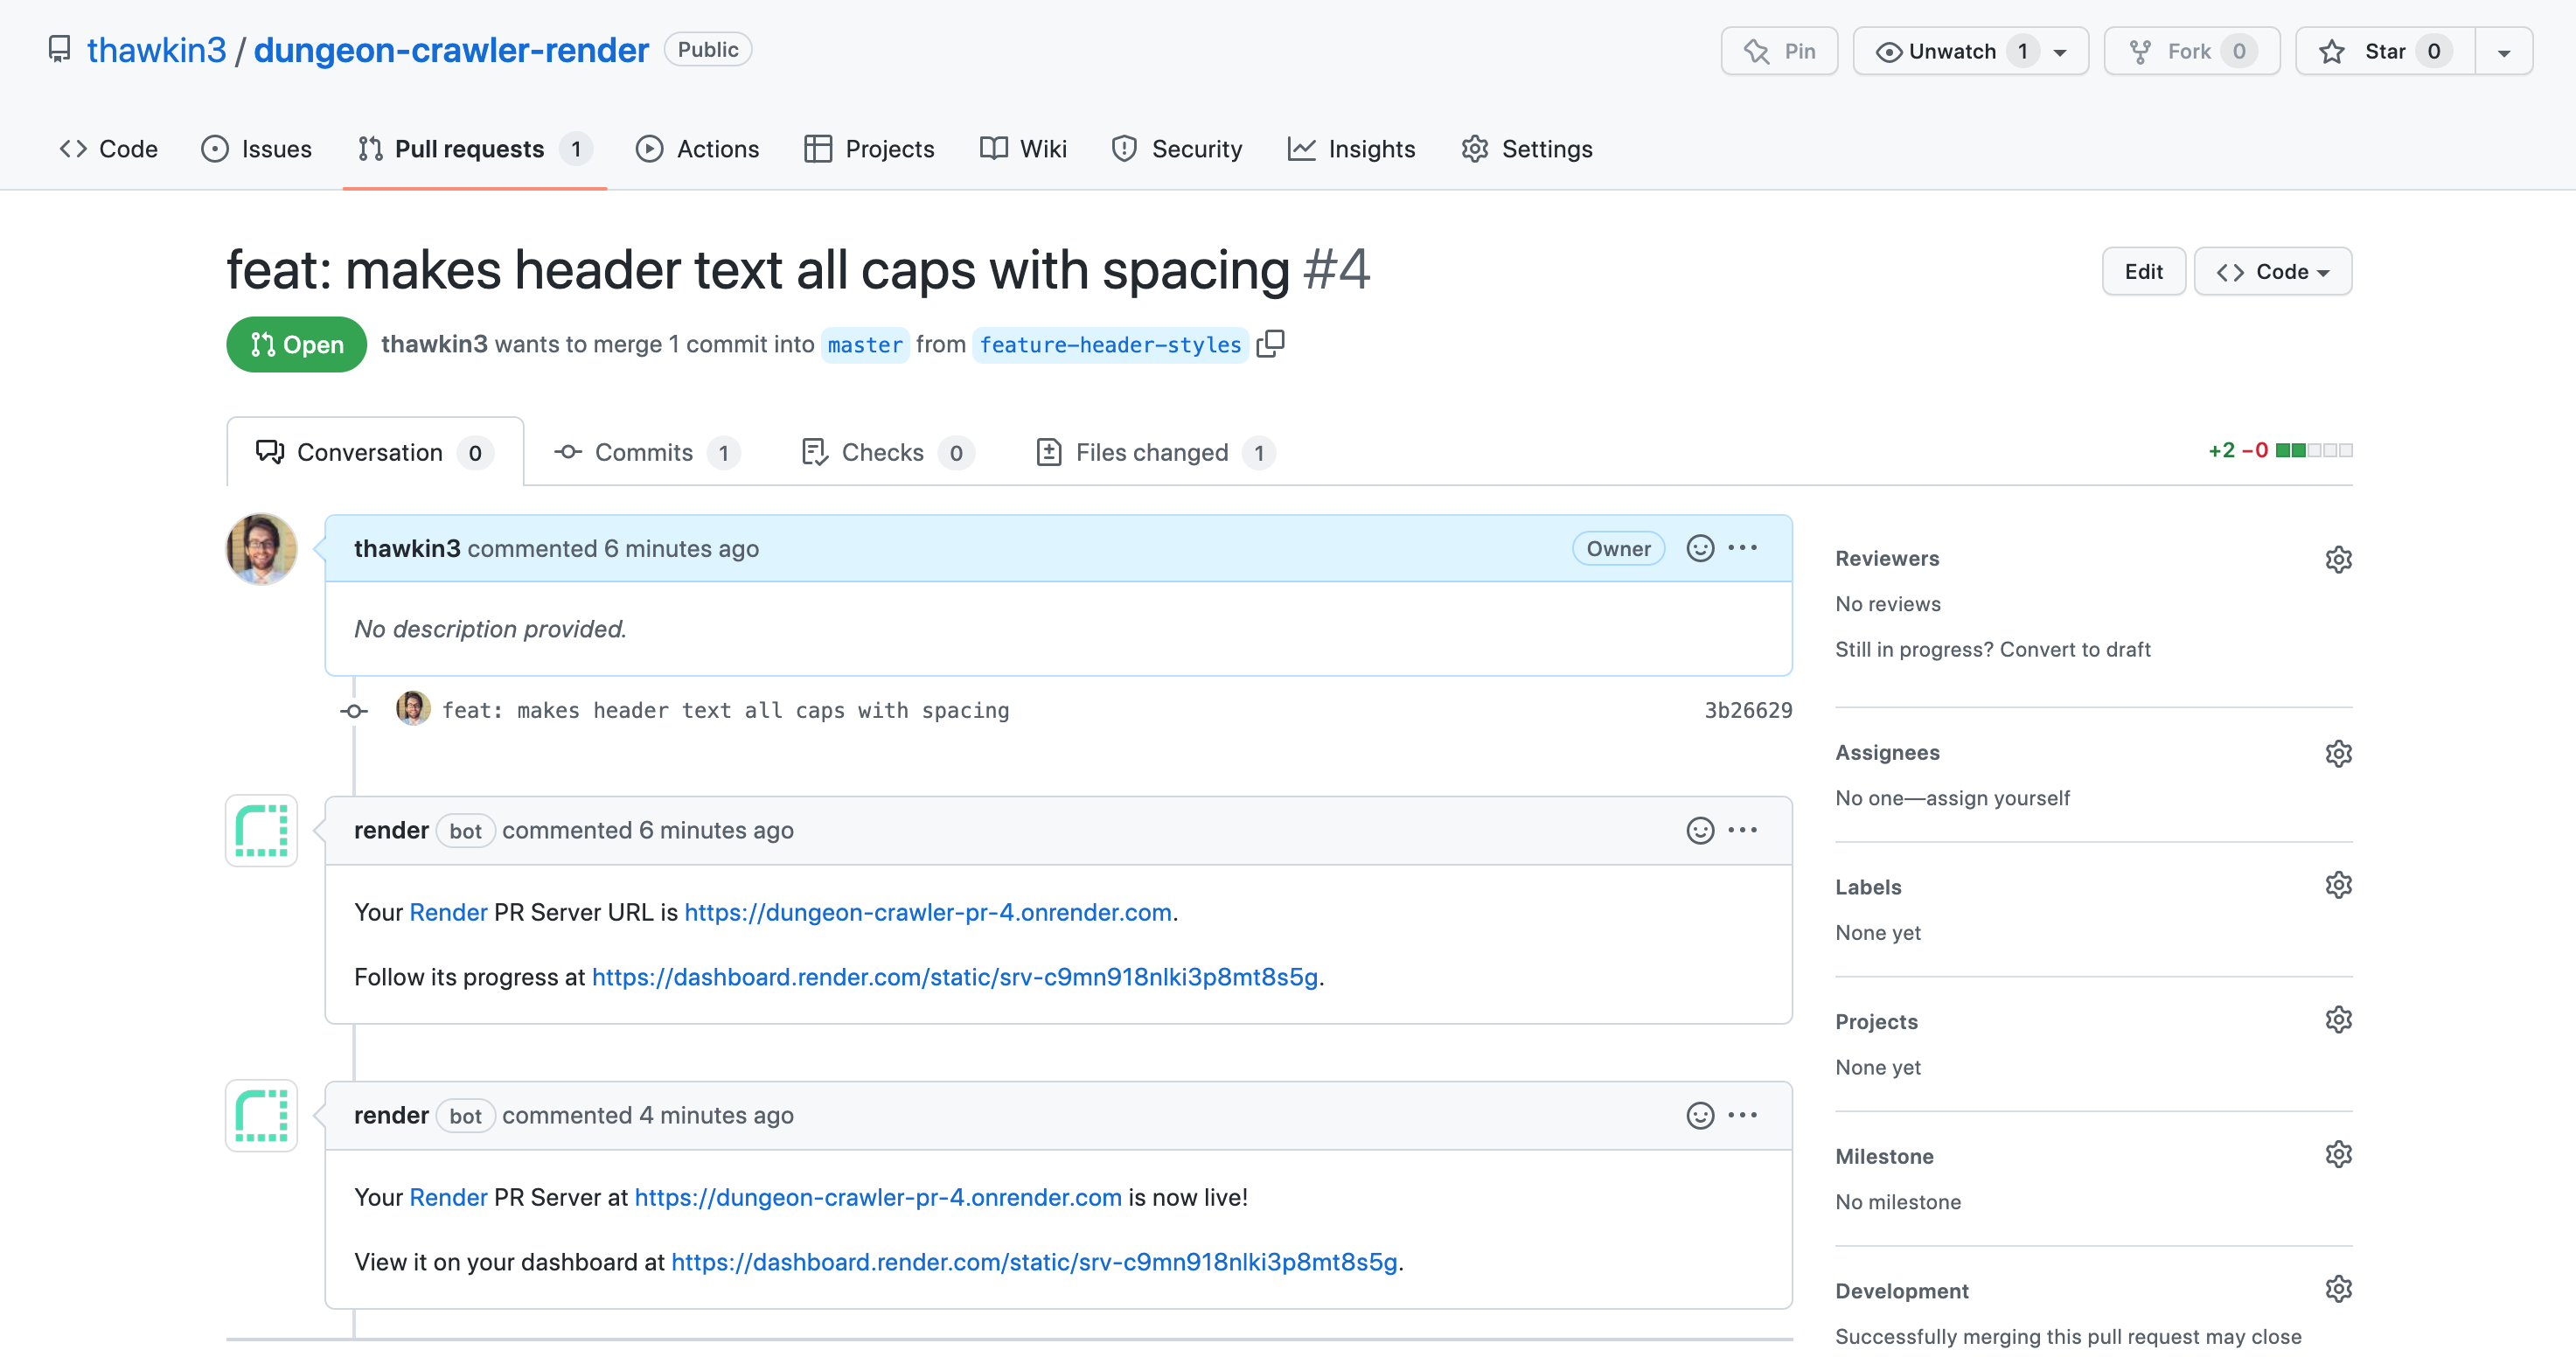
We can click on the link for our PR review app, and voila — the changes are there! Note the URL for the review app in the address bar: https://dungeon-crawler-pr-4.onrender.com.
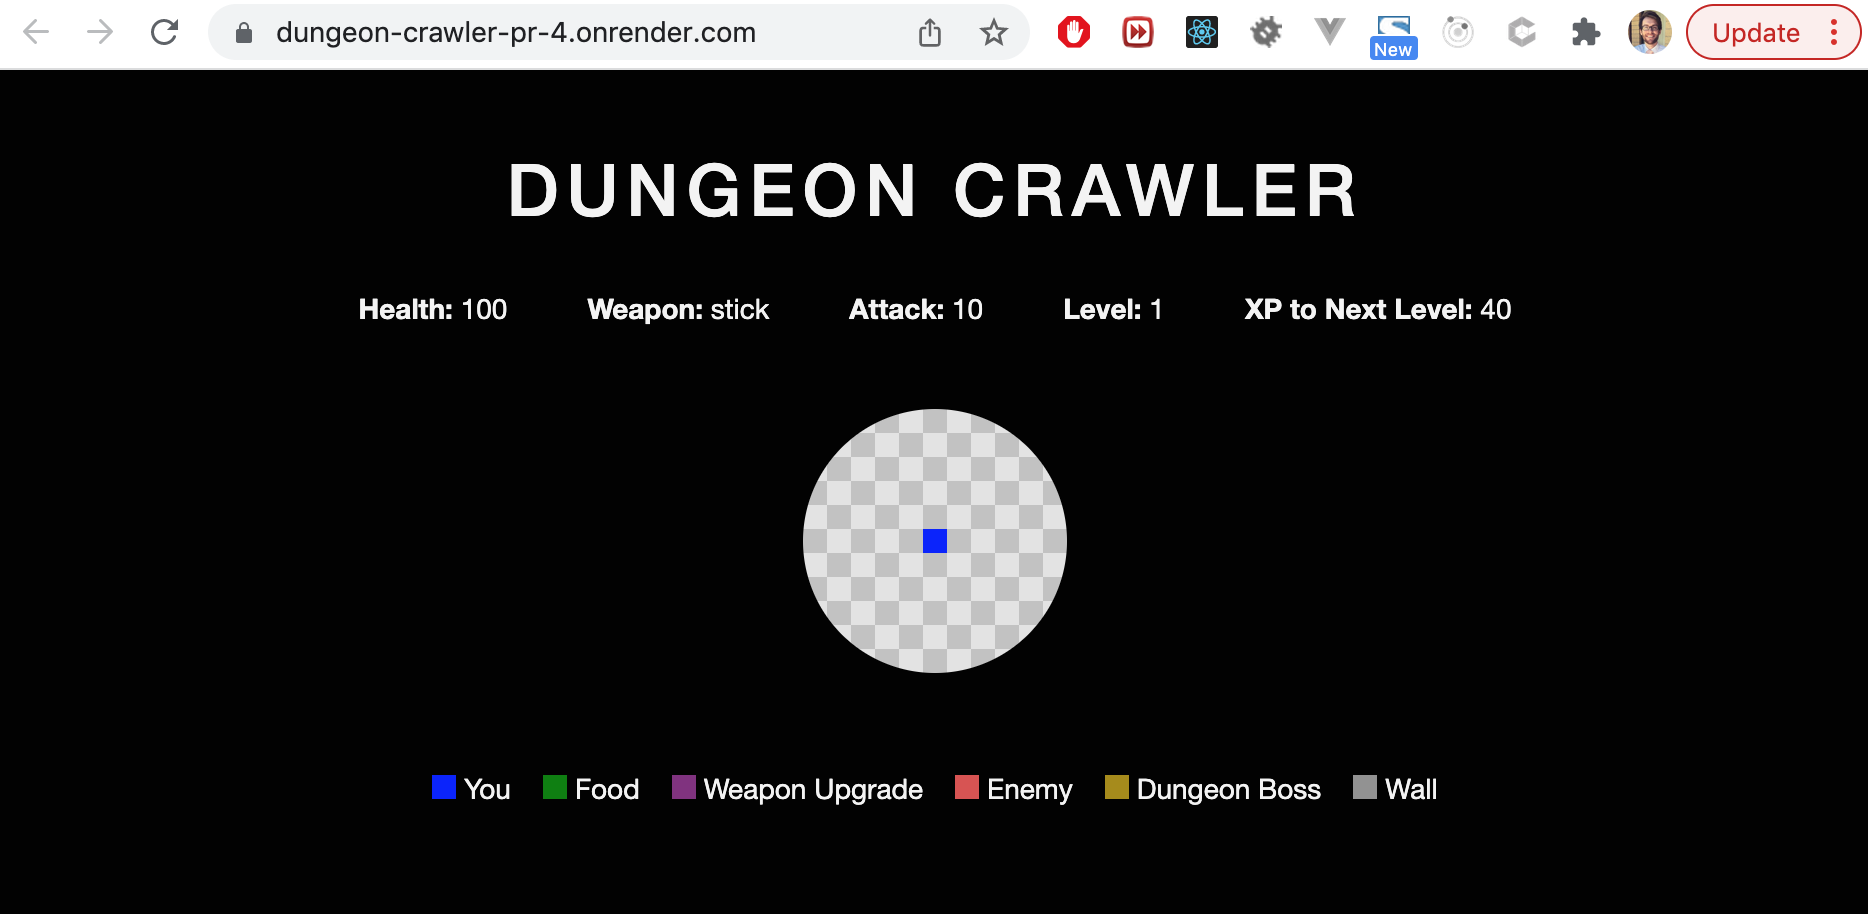
Our header text is now in all caps with some extra letter spacing applied. The review app made it extra simple for us or any other reviewer to quickly verify that the change does, in fact, show up nicely.
When we approve and merge the pull request, the PR review app gets destroyed, as it’s no longer needed. After that, Render will see the new commit merged into the master branch and deploy the latest version of our app to the main URL: https://dungeon-crawler.onrender.com.
You should note that these PR review apps are great for static sites and for viewing the changes made to a single resource.
Conclusion
Within minutes we were able to deploy our app with Render and configure our repo to create review apps for every pull request. Not only was this process easy for us to set up, but it also made code reviews moving forward even easier for every developer working in the repo. Our PR review apps make it simple to visually review changes by eliminating the friction of having to run the app locally. With a setup like this, we are subtly nudging code reviewers to be more thorough.
Published at DZone with permission of Tyler Hawkins. See the original article here.
Opinions expressed by DZone contributors are their own.

Comments