How To Build Cross-Platform Applications Using Rust, Tauri and Svelte
Build cross-platform apps with Rust, Tauri, and Svelte. Learn to set up Tauri's Rust binary with SvelteKit for performance. Start cross-platform development!
Join the DZone community and get the full member experience.
Join For FreeElectron has revolutionized cross-platform desktop application development by allowing developers to leverage their web technologies at hand. This approach has power-driven popular applications like Atom, VSCode, and Postman. However, Electron apps encounter several comments for their higher memory usage compared to lower-level languages such as C, C++, Rust, or Go.
In this article, we will introduce Tauri, an emerging framework that addresses some of the limitations of Electron. Tauri enables developers to build binaries for major desktop platforms while offering improved performance and reduced memory footprint. The tutorial section of the article will guide you through the process of creating basic commands, adding a window menu, and building an application using Tauri. Let's dive in and explore this exciting new framework!
What Are We Planning To Build?
Tauri is a cutting-edge framework that enables developers to build desktop applications by combining any frontend framework with a powerful Rust core. The architecture of a Tauri app involves two essential components:
- Rust binary: This component is responsible for creating the application windows and providing access to native functionalities within those windows.
- Frontend: Developers have the freedom to choose their preferred frontend framework to design the user interface that resides within the application windows.
Further in the blog, we will guide you through the process of setting up the frontend scaffold, configuring your Rust project, and demonstrating effective communication between these two components. So, stay tuned for an exciting journey into the world of Tauri!
Prerequisites
I installed prerequisites for my Mac using this official setup, which essentially guides for installing Clang, MaOS build dependencies, and Rust development environments.
Create the Front End
SvelteKit, a powerful Svelte frontend framework, is primarily built for Server-Side Rendering (SSR) capabilities. However, in order to integrate SvelteKit with Tauri, we will disable SSR and instead leverage the benefits of Static-Site Generation (SSG) using the @sveltejs/adapter-static.
To facilitate the setup process, SvelteKit provides a convenient scaffolding utility, similar to create-tauri-app, that swiftly establishes a new project with various customization possibilities. In this guide, we presume that you have chosen TypeScript as your preferred tool for building cross-platform applications.
The command for creating a Svelte project using npm:
npm create svelte@latest
- Project name: The project name refers to the name of your JavaScript project. It directly correlates to the name of the folder that will be created by this utility. However, it does not affect the working of your application in any other way. So, you can freely select any desired name of your project.
- App template: To create a minimalistic template, we will choose the Skeleton project that provides a basic and essential structure. If you're keen to explore SvelteKit even more and get a broader view of its capabilities, consider checking out their demo app. It provides a more comprehensive display of SvelteKit's abilities, helping you gain a better understanding of its features and functionalities.
- Type checking: You have the choice between enabling type checking through JSDoc for TypeScript in your project. In this guide, we will assume that you have opted for TypeScript as your preferred option.
- Code linting and formatting: You have the option to include ESLint for code linting and Prettier for code formatting in your project. Although there won't be further mentions about these options in this guide, we highly recommend enabling both for better code quality and consistent formatting.
- Browser testing: SvelteKit provides built-in support for browser testing through Playwright. However, since Tauri APIs are not compatible with Playwright, it is advisable not to include it in your project. Instead, you can refer to our WebDriver documentation for alternative options using Selenium or WebdriverIO, which can be utilized in place of Playwright for testing purposes.
Svelte Kit in SSG Mode:
First, we need to install @sveltejs/adapter-static:
npm install --save-dev @sveltejs/adapter-static@next
In the file svelte.config.js, paste this code:
import adapter from '@sveltejs/adapter-static' // This was changed from adapter-auto
import preprocess from 'svelte-preprocess'

/** @type {import('@sveltejs/kit').Config} */
const config = {
  // Consult https://github.com/sveltejs/svelte-preprocess
  // for more information about preprocessors
  preprocess: preprocess(),

  kit: {
    adapter: adapter(),
  },
}

export default config
Lastly, we need to disable SSR and enable prerendering by adding a root +layout.ts file (or +layout.js if you are not using TypeScript) with these contents:
Folder location: src/routes/+layout.
export const prerender = true
export const ssr = false
Create Rust Project
The core of every Tauri application is a Rust binary that handles various functionalities such as window management, webview integration, and operating system interactions. These tasks are accomplished through the utilization of a Rust crate called "Tauri." The project, along with its dependencies, is managed by Cargo, the official package manager and versatile build tool for Rust. Cargo simplifies the process of managing dependencies and building the Tauri application.
The Tauri CLI leverages Cargo internally, reducing the need for direct interaction with it in most cases. However, Cargo offers a wide range of additional features that are not exposed through our CLI. These features include testing, linting, and code formatting capabilities. For more detailed information and guidance on utilizing these features, I recommend referring to the official documentation of Cargo. It provides comprehensive documentation on the various functionalities and options available.
For Installing Tauri to Your System:
cargo install tauri-cli
To scaffold a minimal Rust project that is pre-configured to use Tauri:
Run Webfront End and Desktop App:
Open a terminal and run the following command in the src-tauri directory:
cargo tauri dev
And run this command in the Svelte directory:
npm run dev
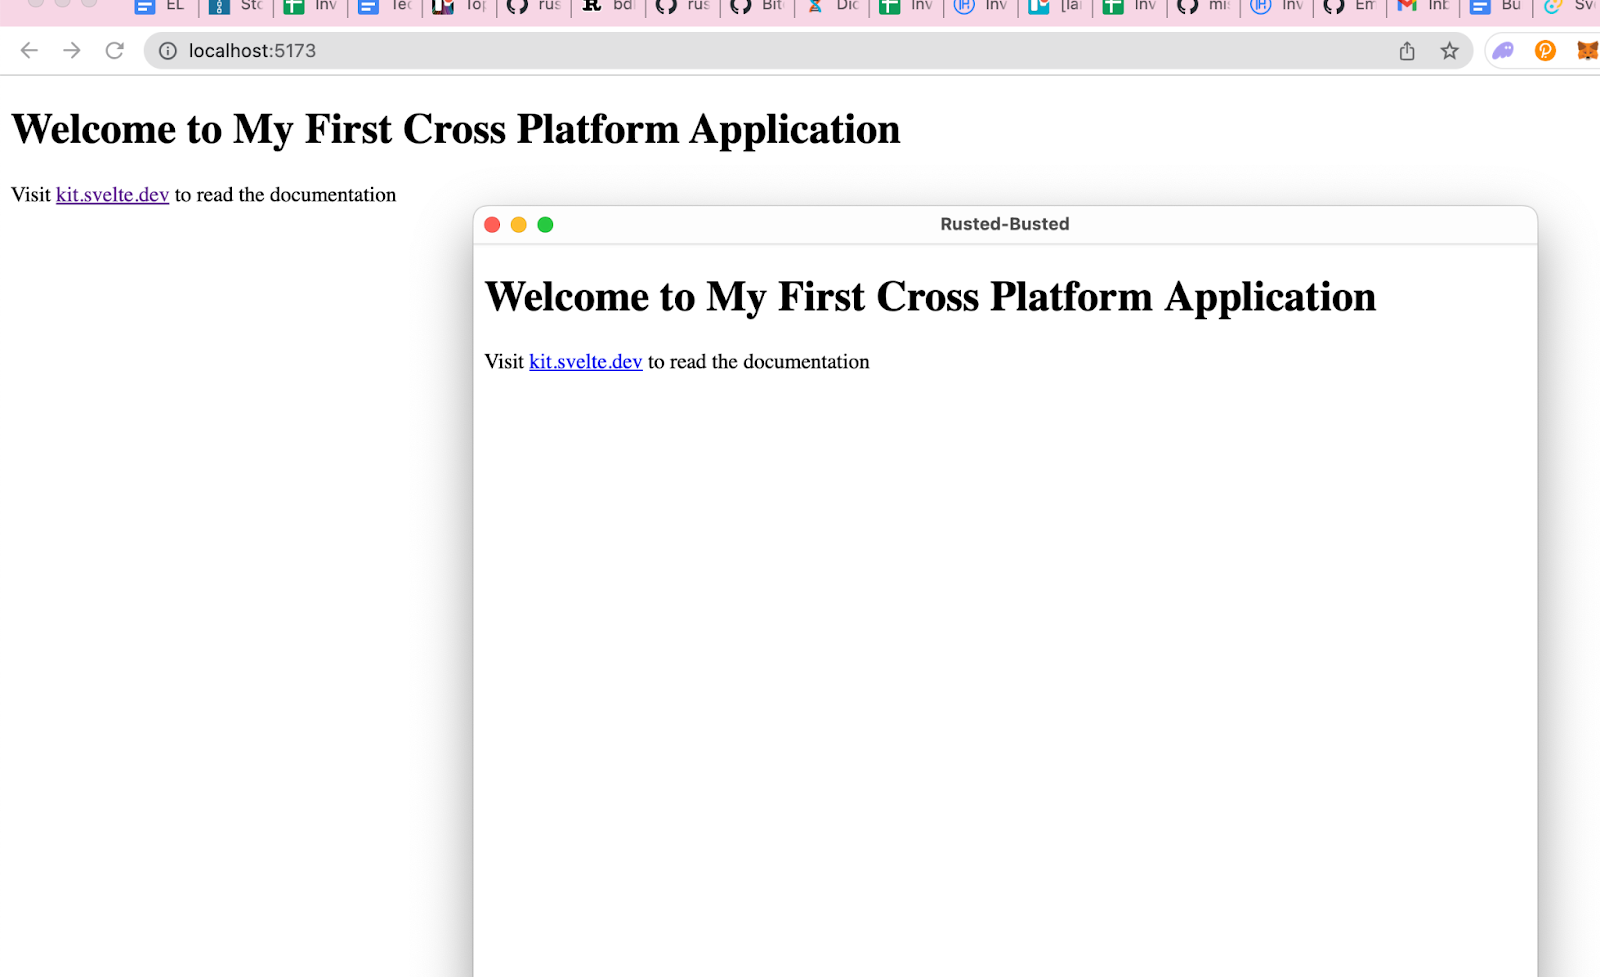
Congratulations, you have created your first cross-platform application using Rust, Tauri, and Svelte.
Here is the GitHub Link.
Opinions expressed by DZone contributors are their own.

Comments