Eye Disease Detection Using TensorFlow and Azure's CustomVision.ai
Explore an AI-based system that uses the Azure Cognitive Services CustomVision tool to predict the probability of the existence of eye diseases.
Join the DZone community and get the full member experience.
Join For Free
Synopsis
Globally, more than 1 billion people are affected by vision impairment or blindness due to unaddressed cataracts (65.2 million), glaucoma (6.9 million), and retina disease (3 million).
Proposed here is the development of an AI-based system that uses the Azure Cognitive Services CustomVision tool to predict the probability of the existence of one of these chronic conditions in an eye scan.
You may also enjoy: How to Build Custom Image Classifiers in Java With Minimal ML Experience
Preparing Data
Navigate to the following URL to download the full normal eye dataset of 300 images.
Use the following URL to download BinRushed.zip file containing all Glaucoma Images.
Deep Dive Into Azure CustomVision.ai
Navigate to CustomVision.ai and click on the New Project icon
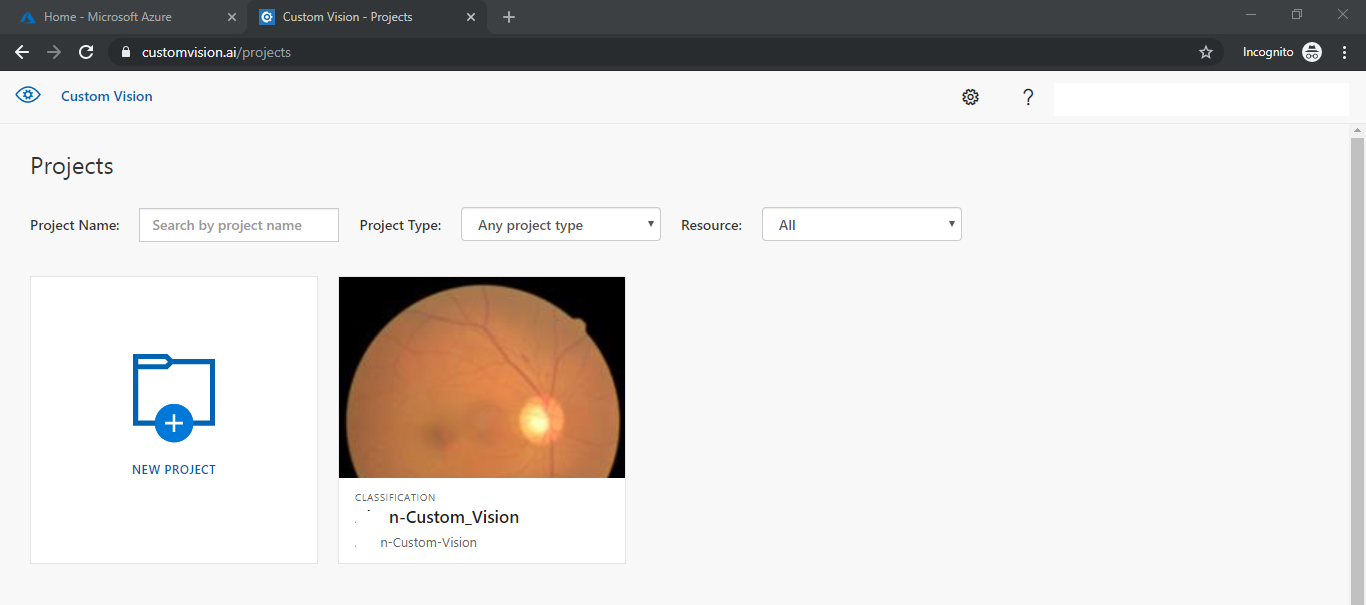
Creating a New Project
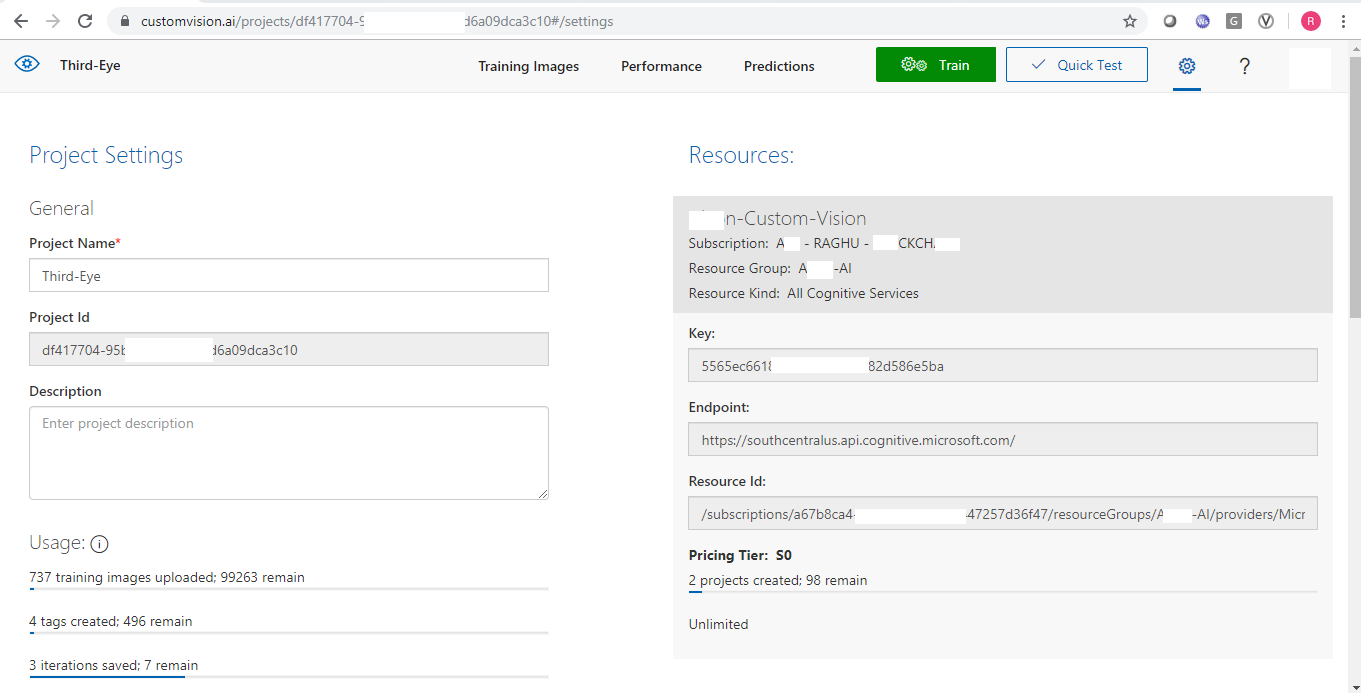
Create a new project by entering the mandatory details below.
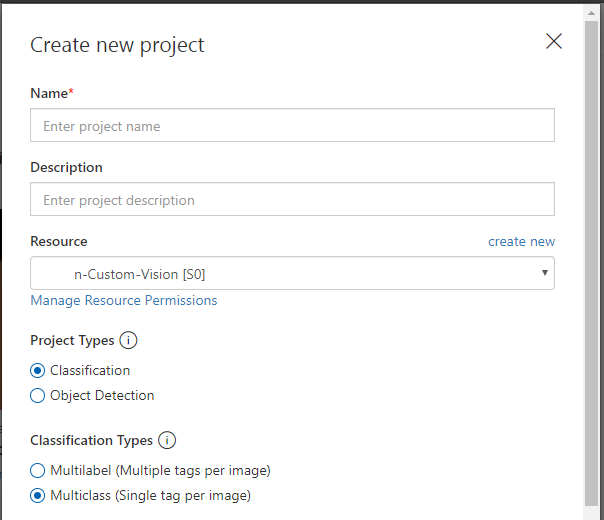
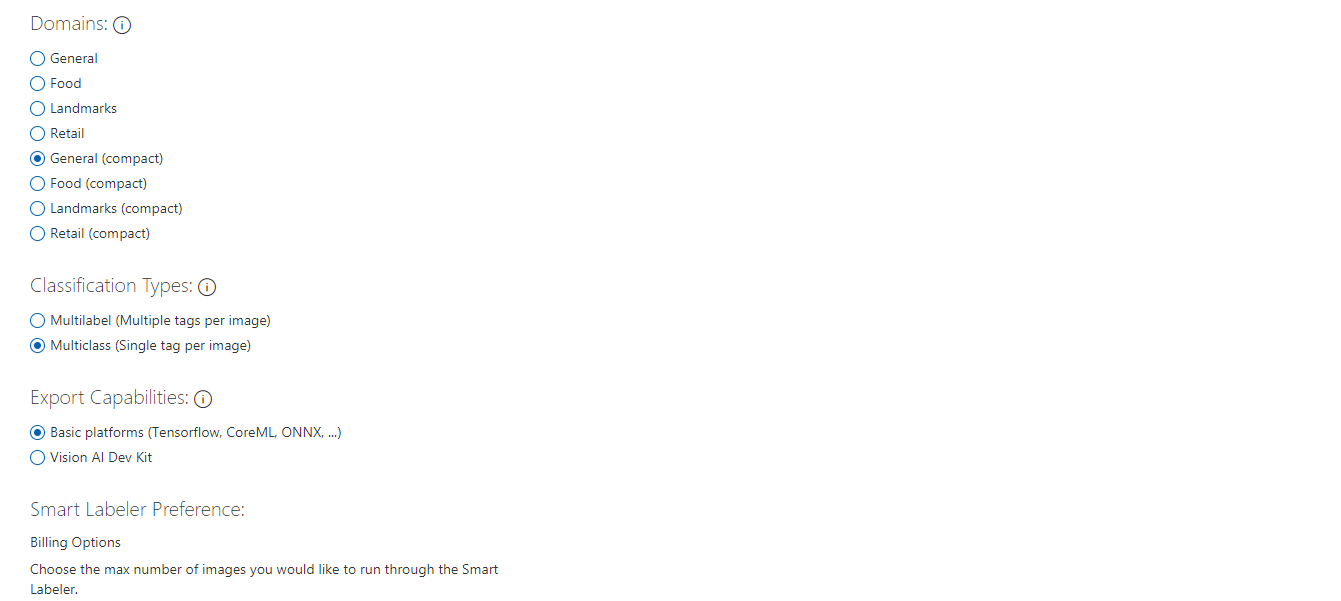
Leave all radio buttons to default except for the domains where you choose the domain of relevance to your task. Else General (compact) should be good.
Select Basic platforms under Export Capabilities, which uses a Tensorflow-based model.
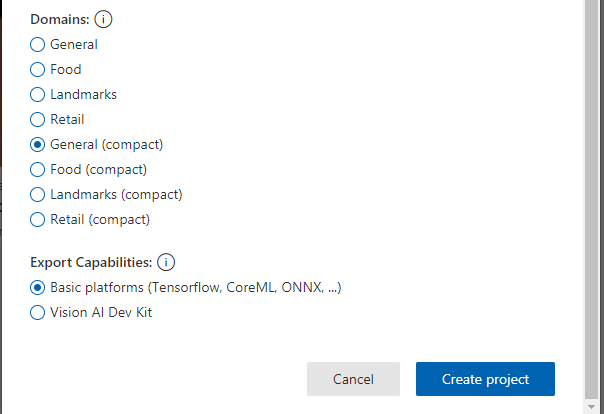
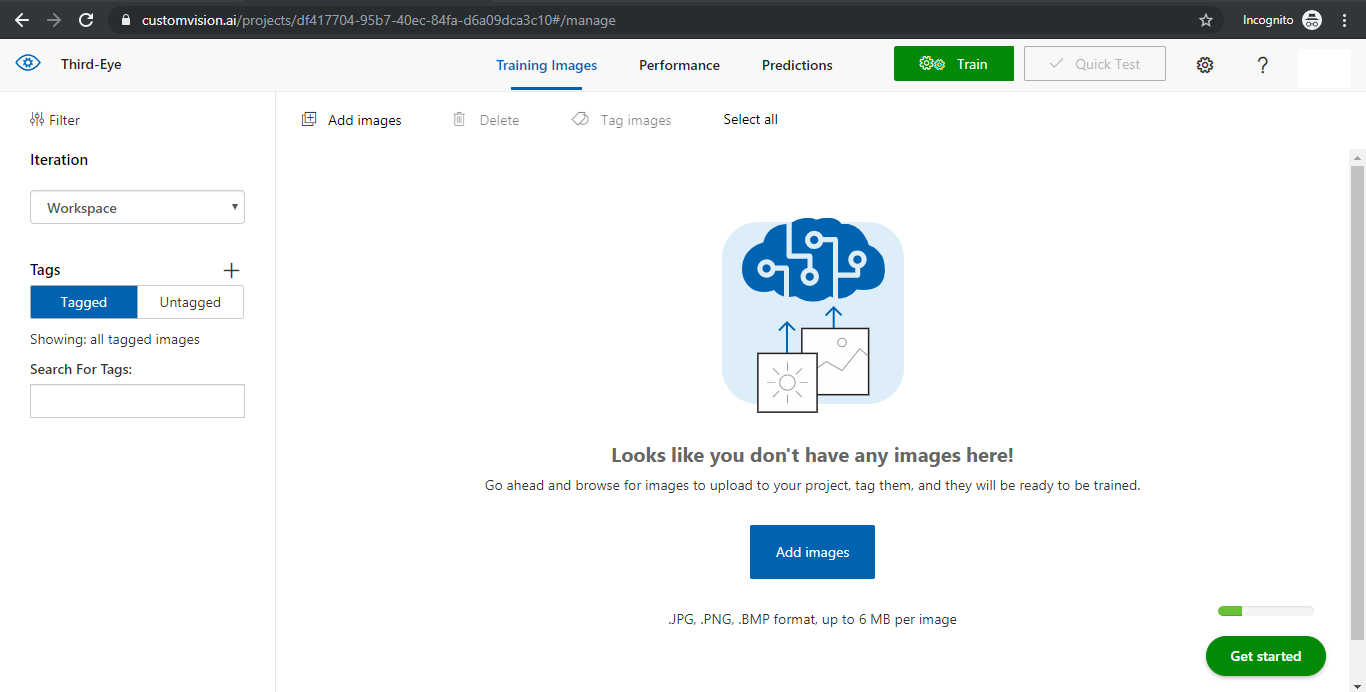
You should now see the page below.
Adding New Tags
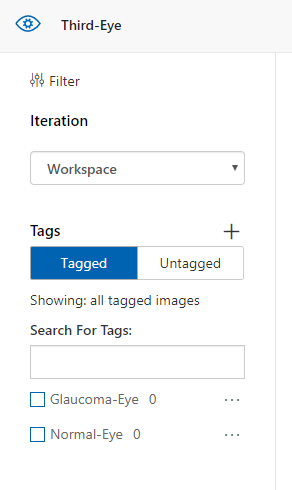
Hit the + button next to Tags and add 2 new tags: Glaucoma-Eye and Normal-Eye, as shown below.
Uploading Images
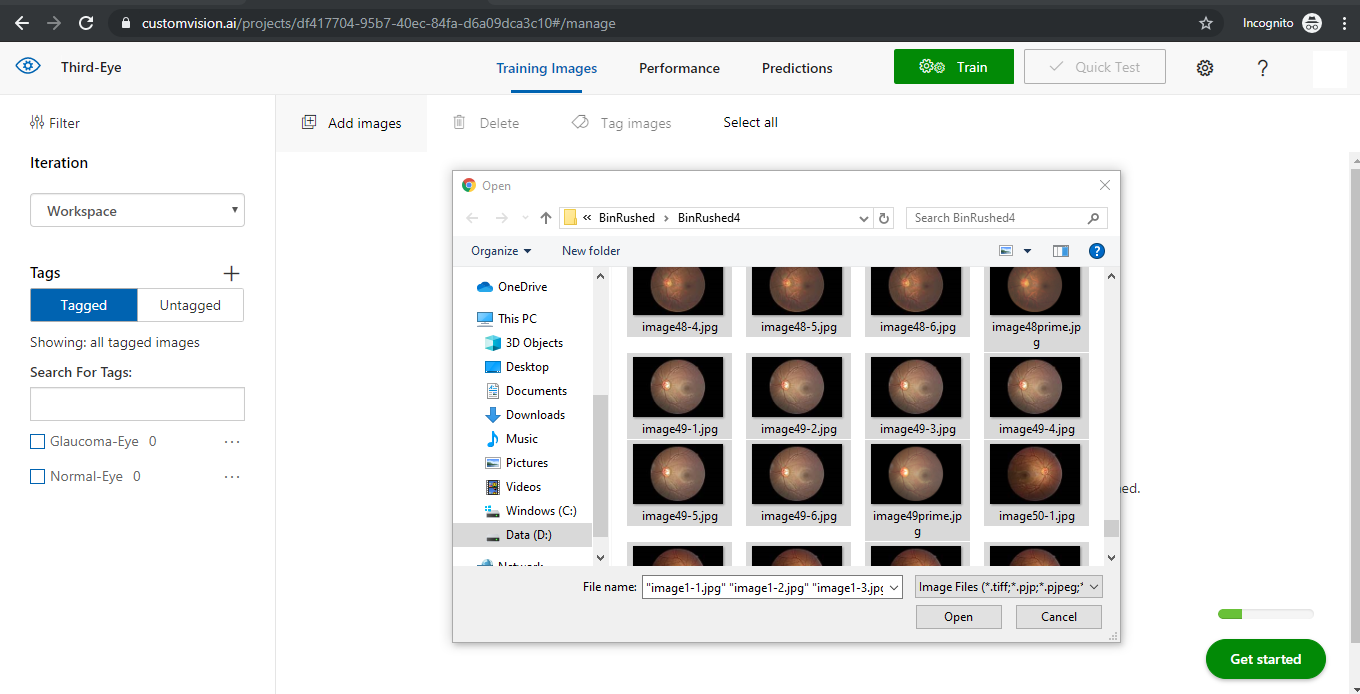
Upload all 300 images in the BinRushed4 dataset. Click on Add Images and select all files.
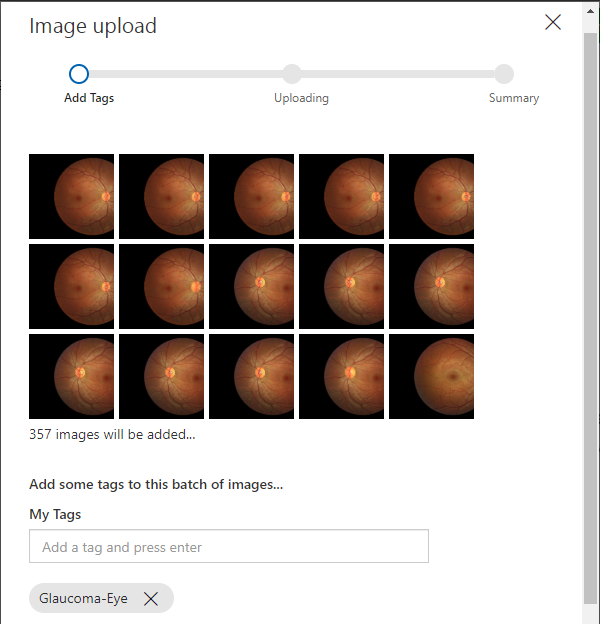
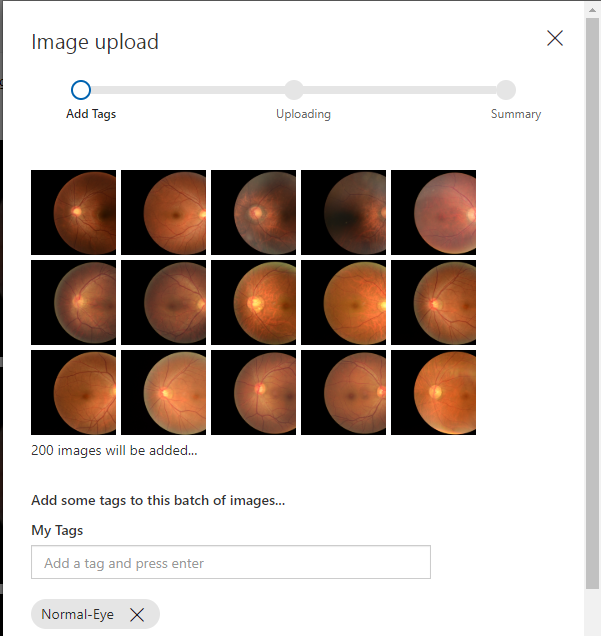
Click on MyTags textbox below and make sure that you click the Glaucoma-Eye tag before uploading all 357 files.

Next, upload 200 images from the cataractdataset\dataset\1_normal folder. Click on Add Images, select 200 out of 300 files, select the Normal-Eye tag, and hit upload.
Training the Model
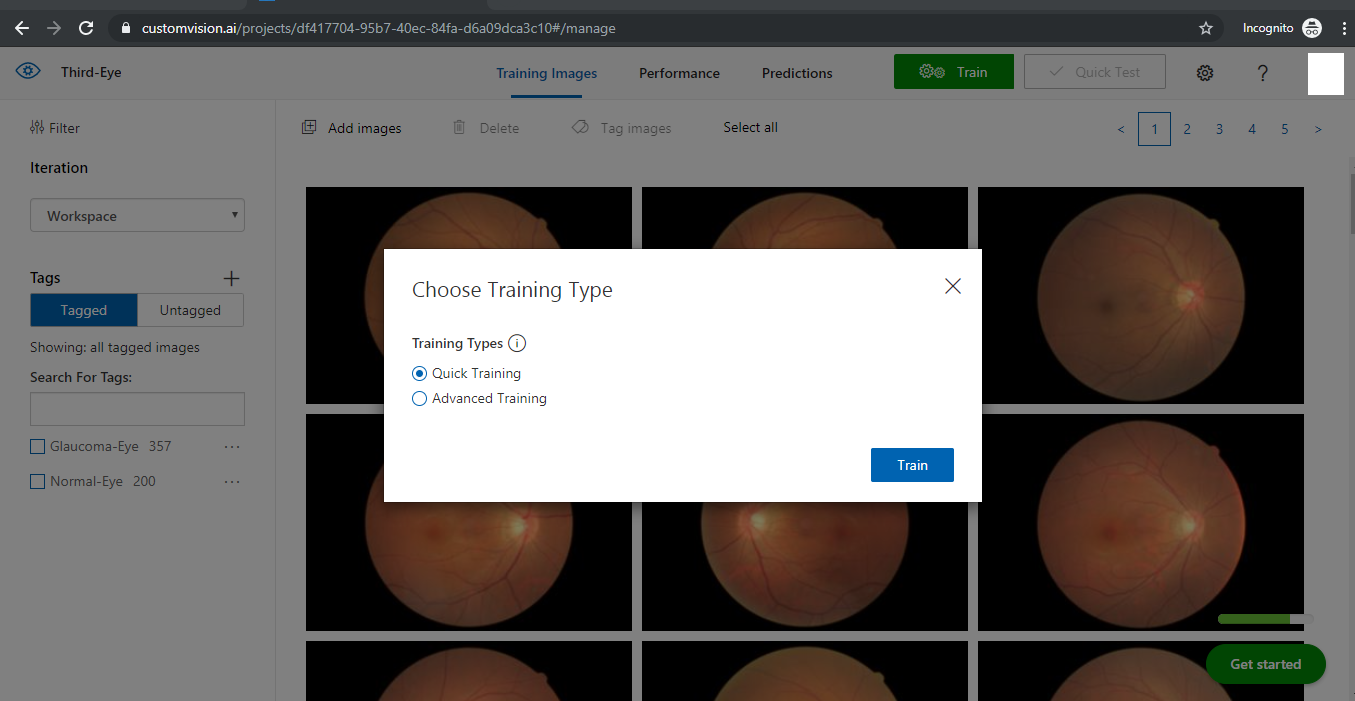
Hit the green Train button at the top, select Quick Training, and click Train.
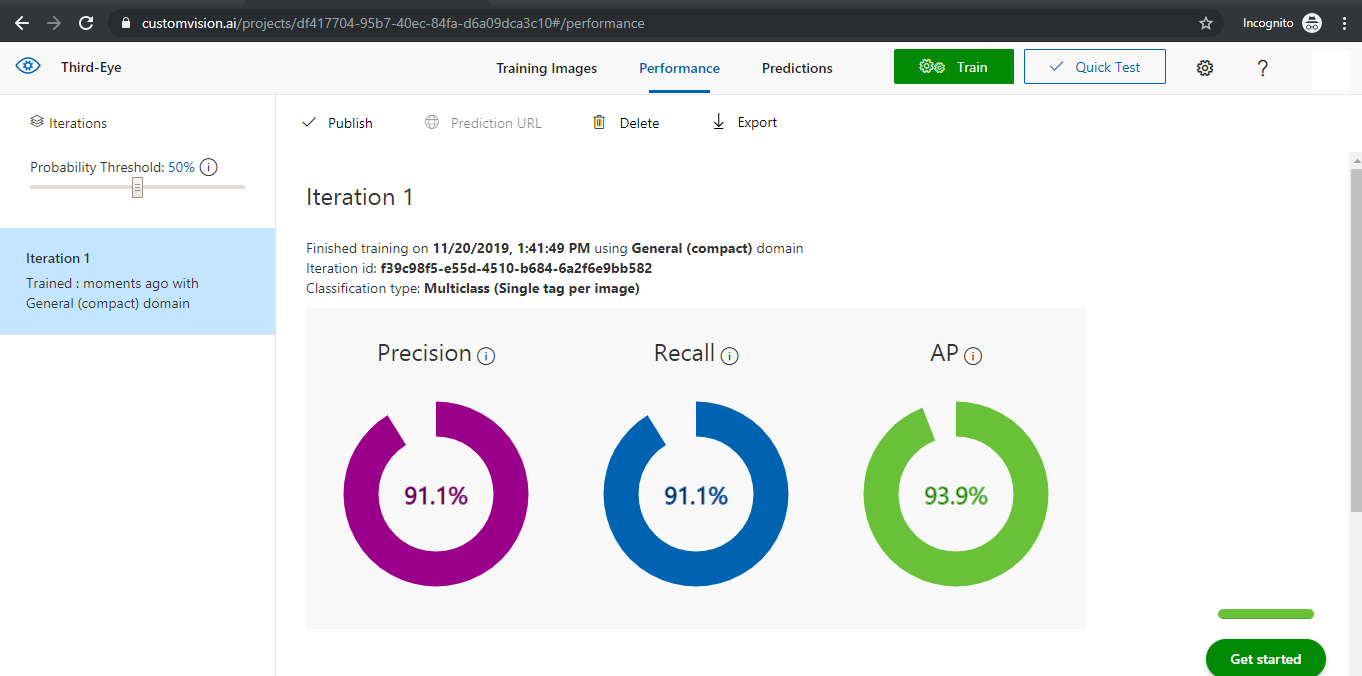
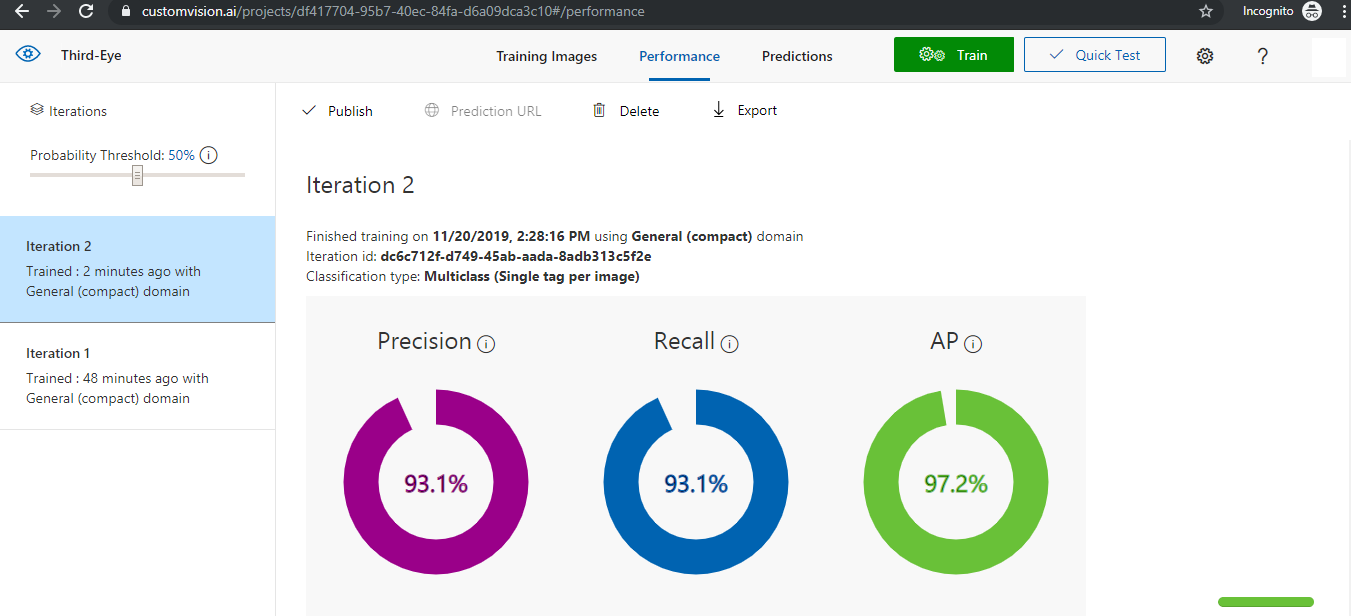
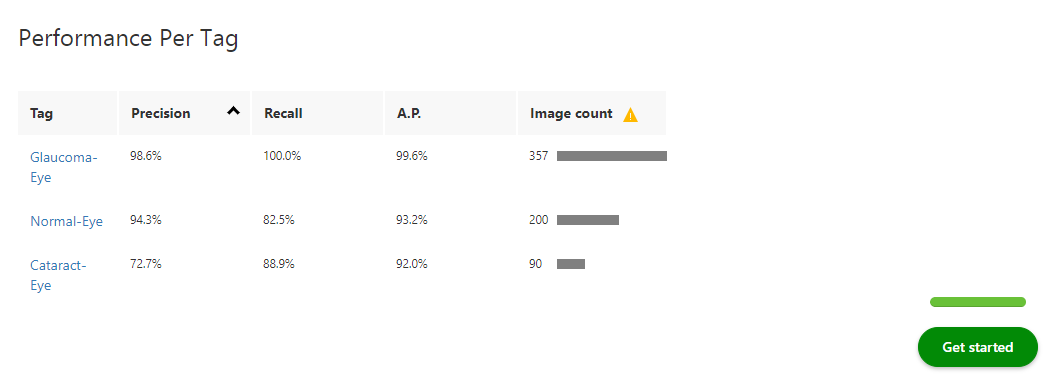
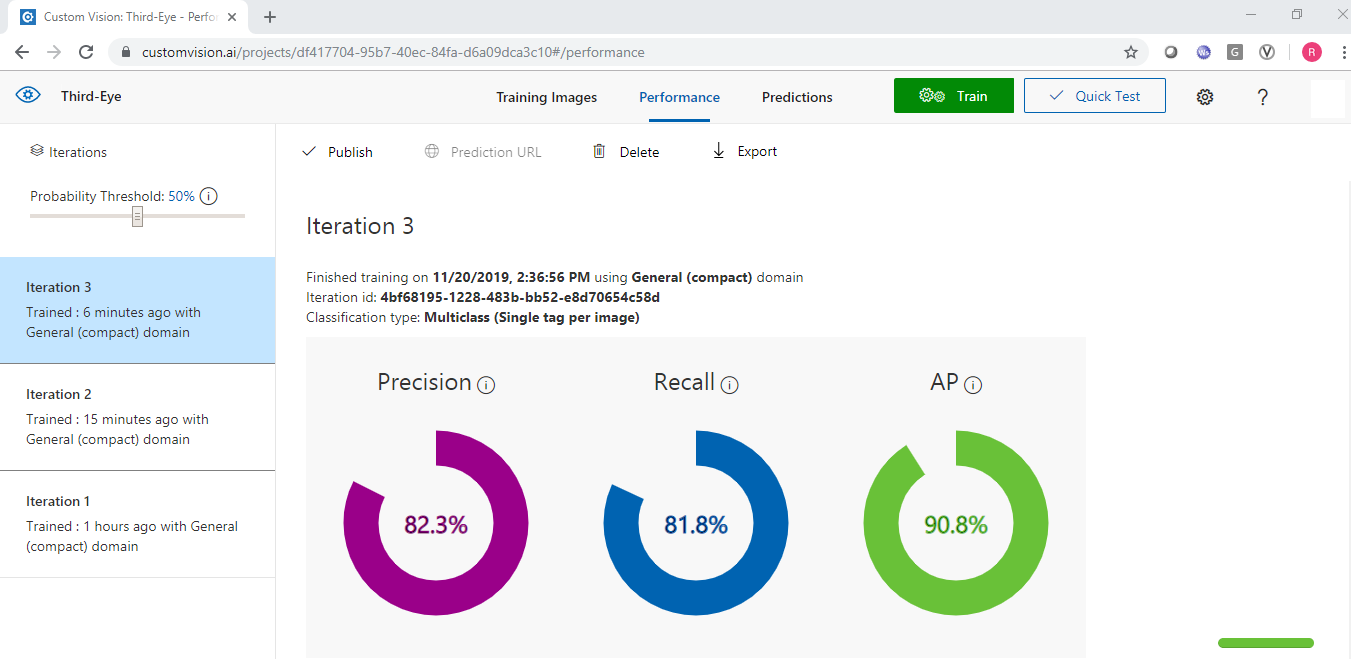
After the training is completed, you should be able to see the iteration details as below.
Click the info icon next to Precision, Recall, and AP to understand these terms.

Quick Test of the Model
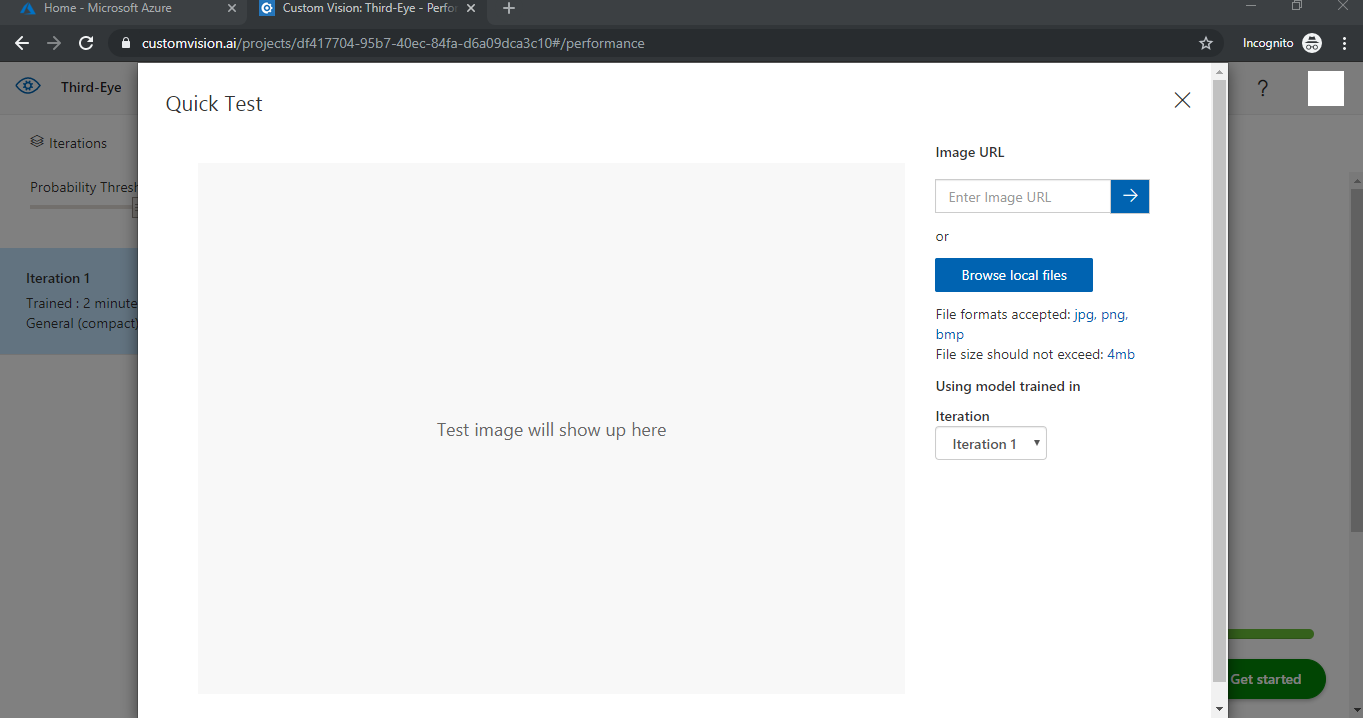
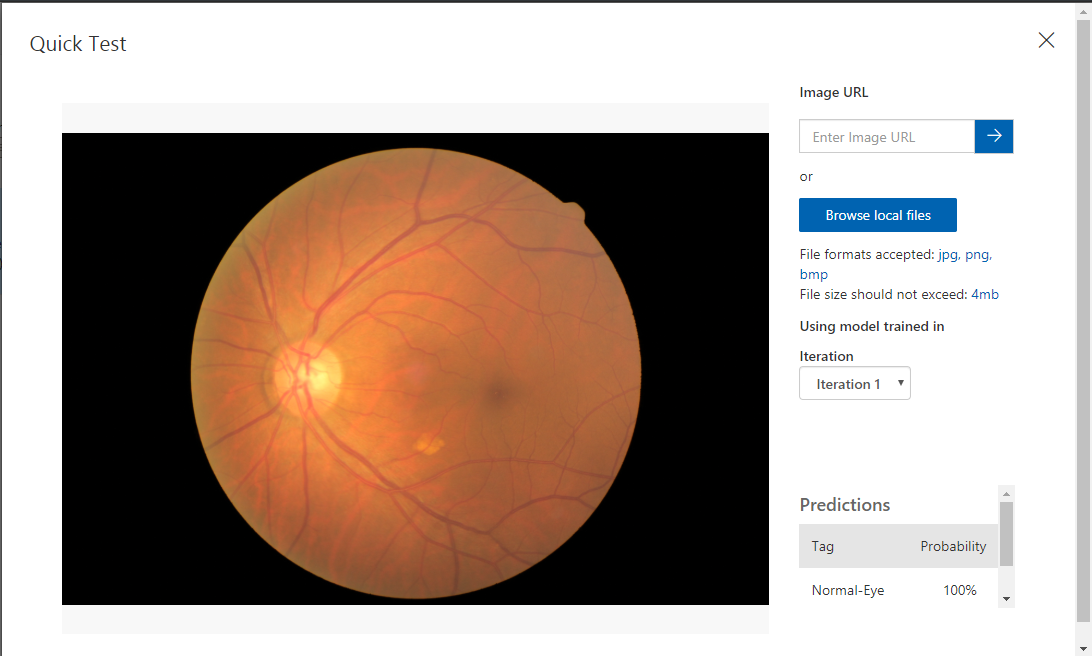
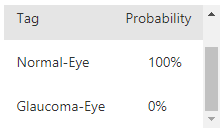
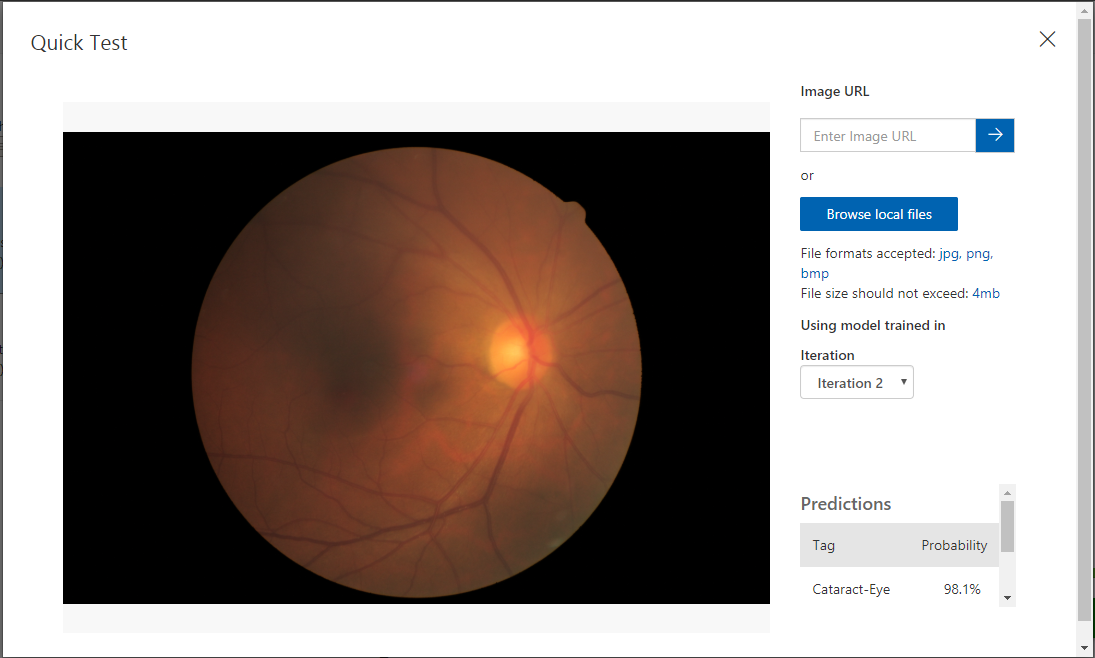
Hit the Quick Test button at the top and then “Browse Local Files.” Select any image from the folder cataractdataset\dataset\1_normal from 201 to 300 (which has not been part of the training set).
Observe the Tag and Probability values for the image. It confirms that the Eye is normal.
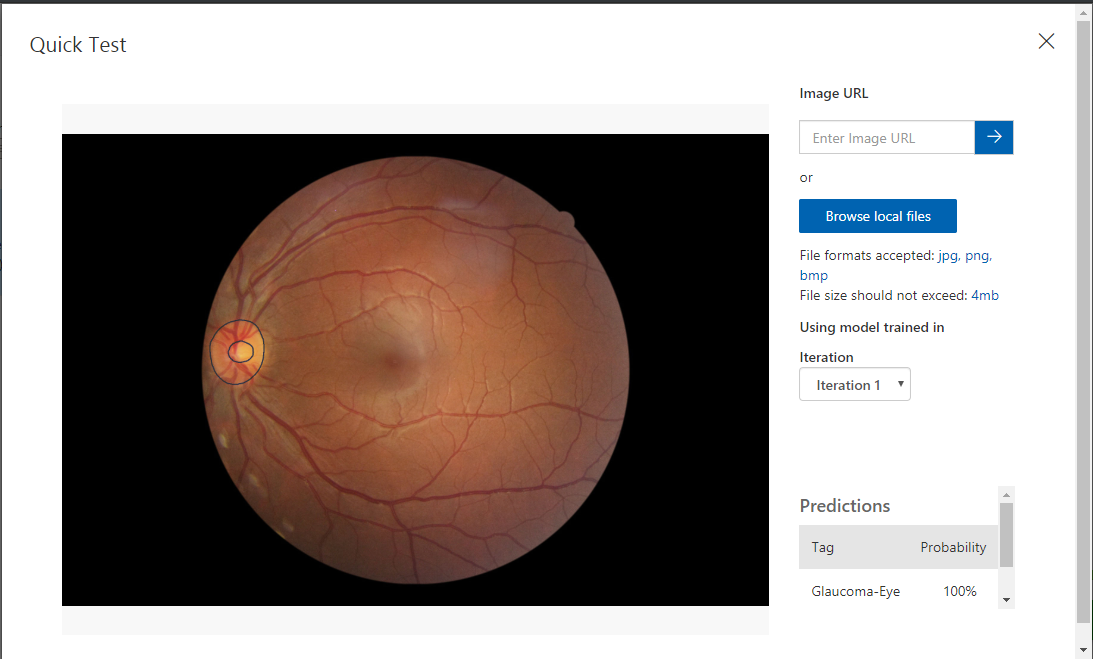
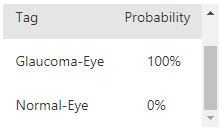
Click “Browse Local Files” and select any Glaucoma positive images from BinRushed\BinRushed1.
Observe Tag and Probability values. It confirms that the eye is Glaucoma Positive.
Adding Cataract and Retina Disease Detection
Next, add a new Tag called “Cataract Eye” and upload 90 images from cataractdataset\dataset\2_cataract. Hit the train button to retrain the model and observe the performance values change.
Click on Quick Test and use one of the remaining 10 images in the untrained dataset to predict if it is a Cataract Eye or not.
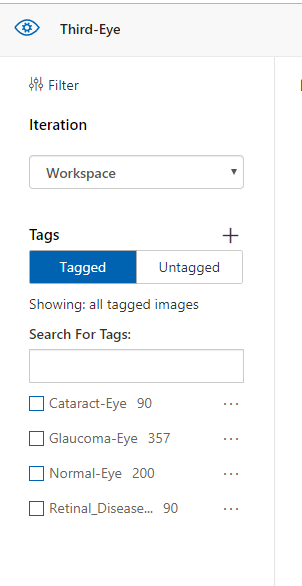
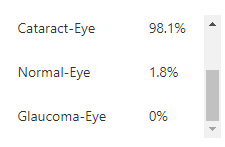
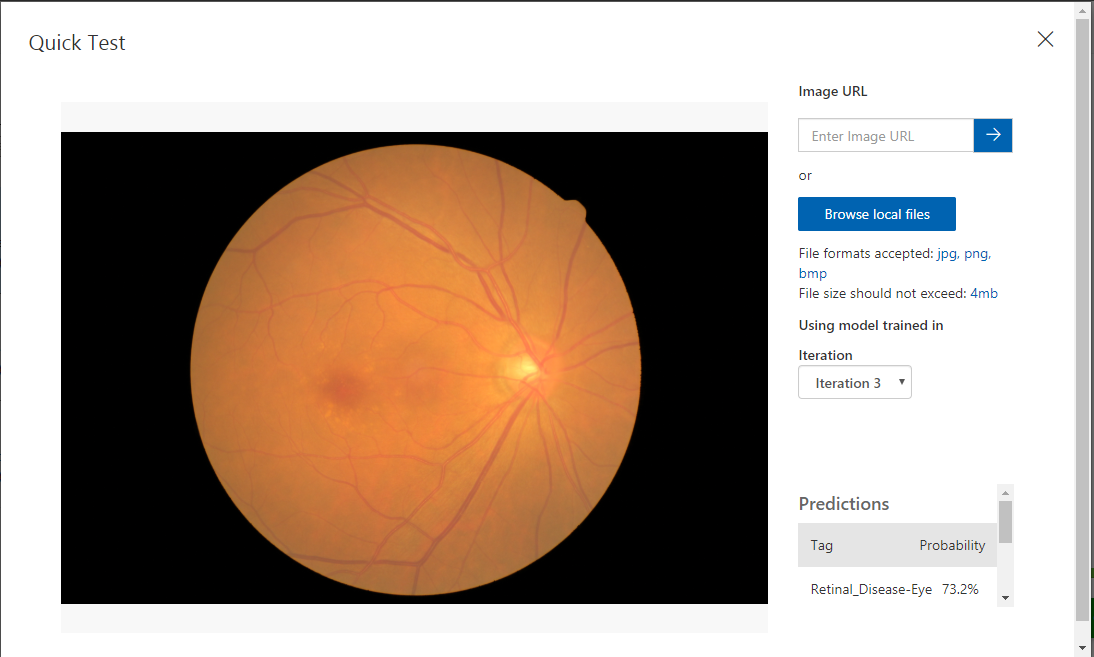
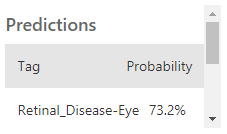
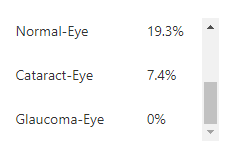
Repeat all steps for Cataract Detection for Retina Disease and test with an eye image that is positive for Retina Disease as below.
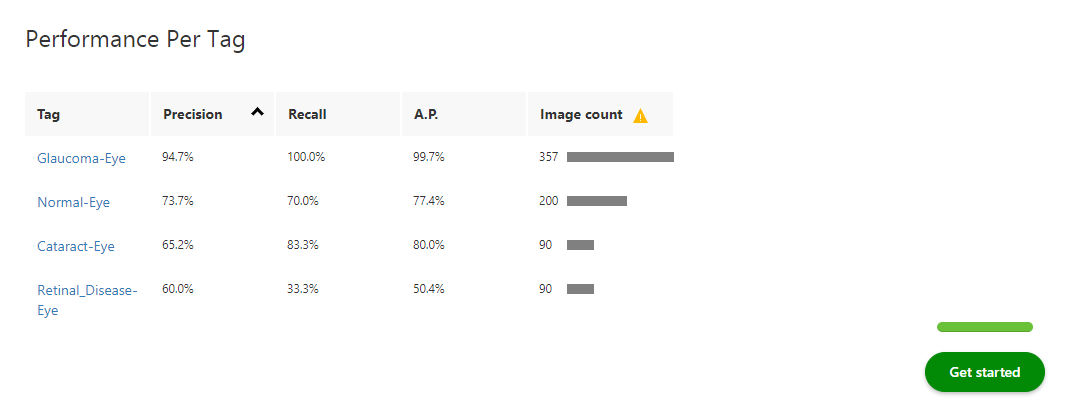
Altogether

The Journey Forward
Find as many images as possible on the web about Glaucoma, Cataract, Retina Disease, and Normal Eye as possible, upload them to the appropriate tags, and retrain the model.
Try sliding the Probability Threshold bar on the Performance tab to check if you get more accurate predictions.
Thanks for reading!
Further Reading
Opinions expressed by DZone contributors are their own.

Comments