Create a Minimal Web API With ASP.NET Core and Publish To Azure API Management With Visual Studio
Follow this tutorial to learn how to create a minimal Web API with .NET CLI and Visual Studio 2022 to publish it on Azure Web App and API management.
Join the DZone community and get the full member experience.
Join For FreeMinimal Web API is a new approach for building APIs without all the complex structures of MVC, so, in accordance with the name "minimal," it includes the essential components needed to build HTTP APIs. All that you need is only a CSPROJ and a Program.cs.
Benefits of Using Minimal Web API
- Less complex than before
- Easy to learn and use
- Don’t need an MVC structure: no controllers!
- Minimal code to build and compile the application, which means the application runs much faster (better performance)
- Latest improvements and functionalities of .NET 6 and C#10
Prerequisites
- .NET 6 SDK
- Visual Studio 2022 or Visual Studio Code (we will use both of them)
We will use two methods to create our Minimal Web API.
Method 1: Using .NET CLI
1. We will open PowerShell and check the .NET version as below.
dotnet --version
The result should be 6. In our case, we have 6.0.101:

2. We will create our application:
dotnet new webapi -minimal -o sampleAPI
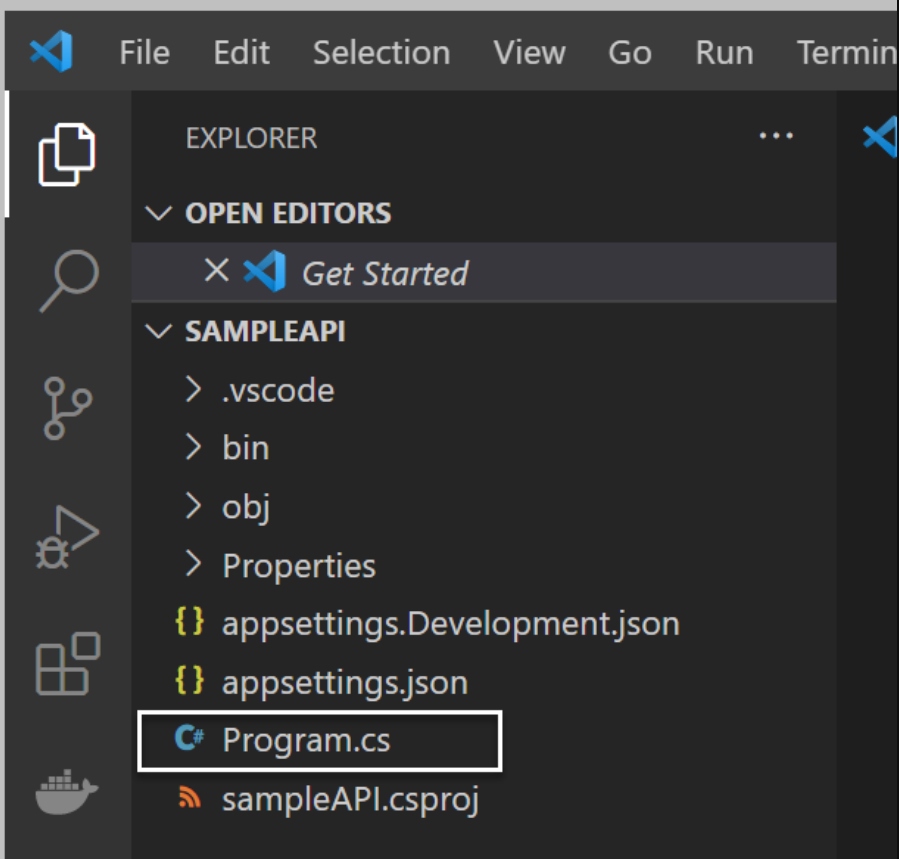
3. Open the created folder on Visual Studio Code. We will see the file structure. The folder content is smaller than the Web APIs project as before: no more startup class or controller folders. All we have is a Program.cs.
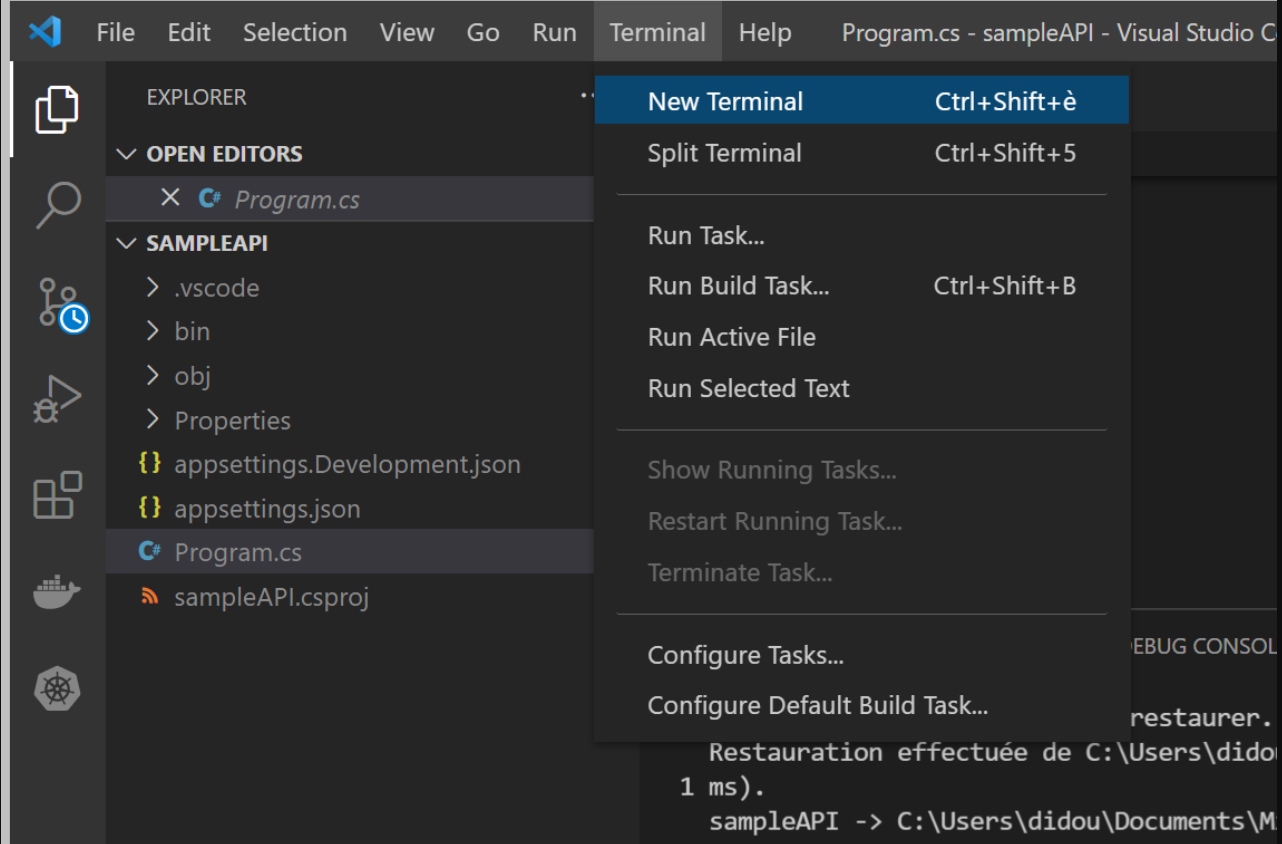
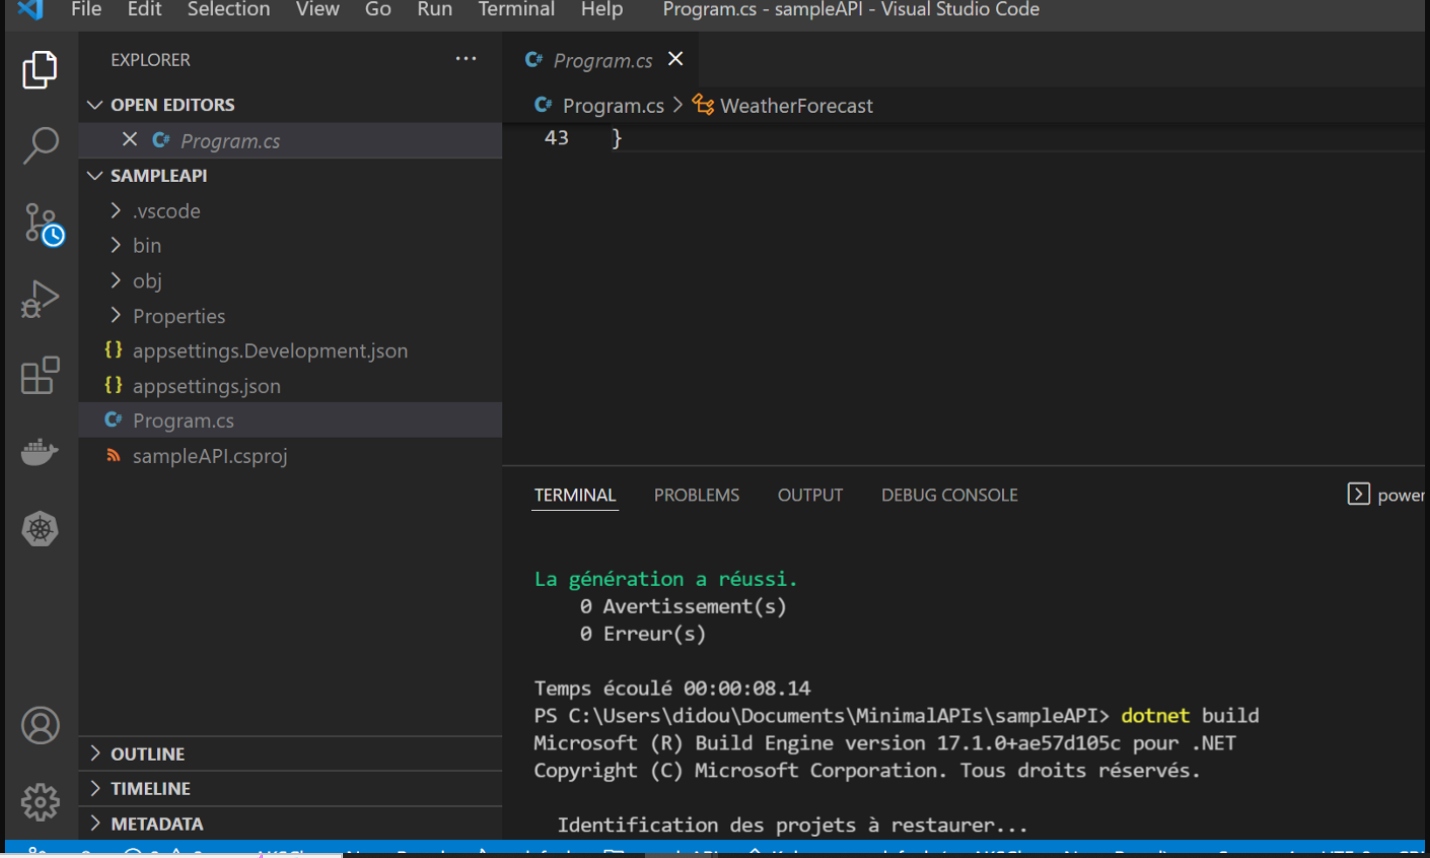
4. Build and run the solution inside our terminal. If you don’t have a terminal, open a new one. To do that, click on the Terminal Menu and then select the New Terminal option as shown in the below image.
Build ASP.NET Core Web API Project Using Visual Studio Code Terminal
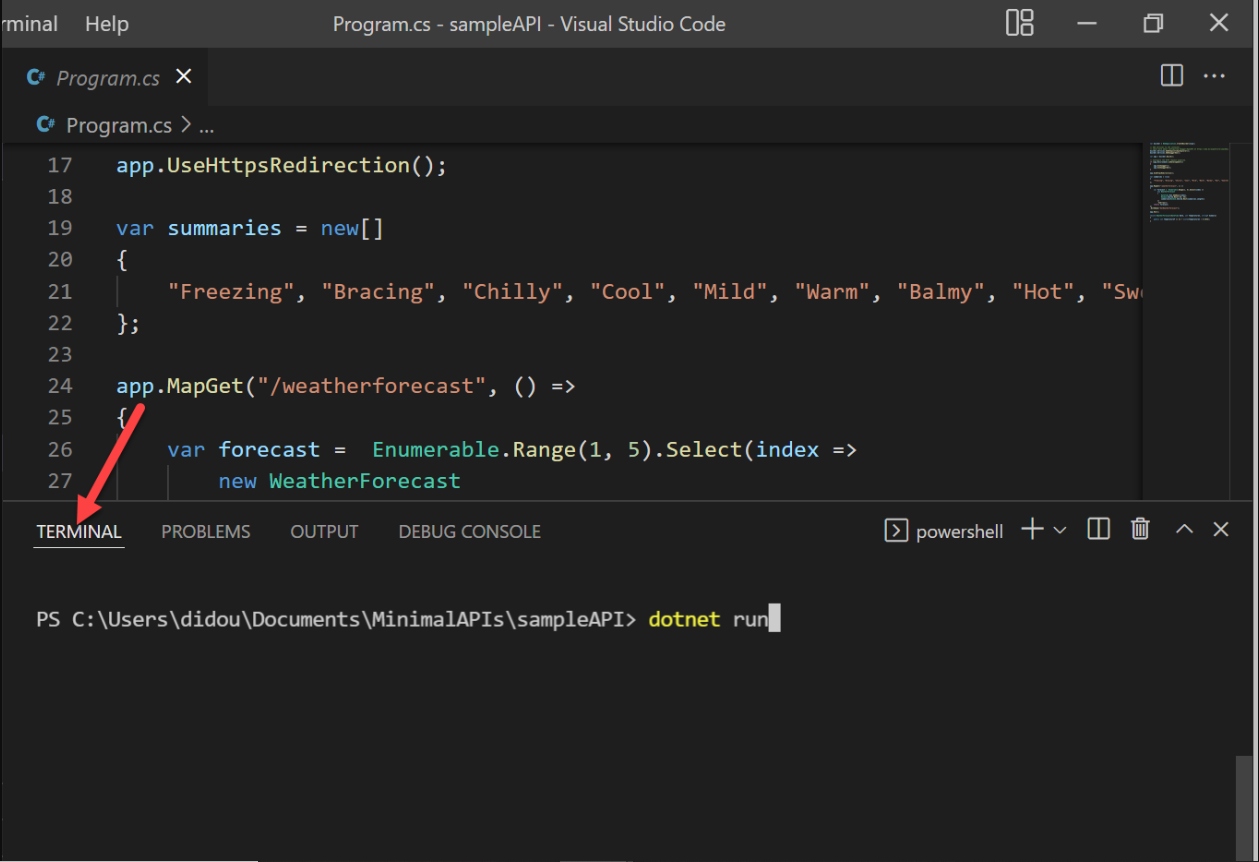
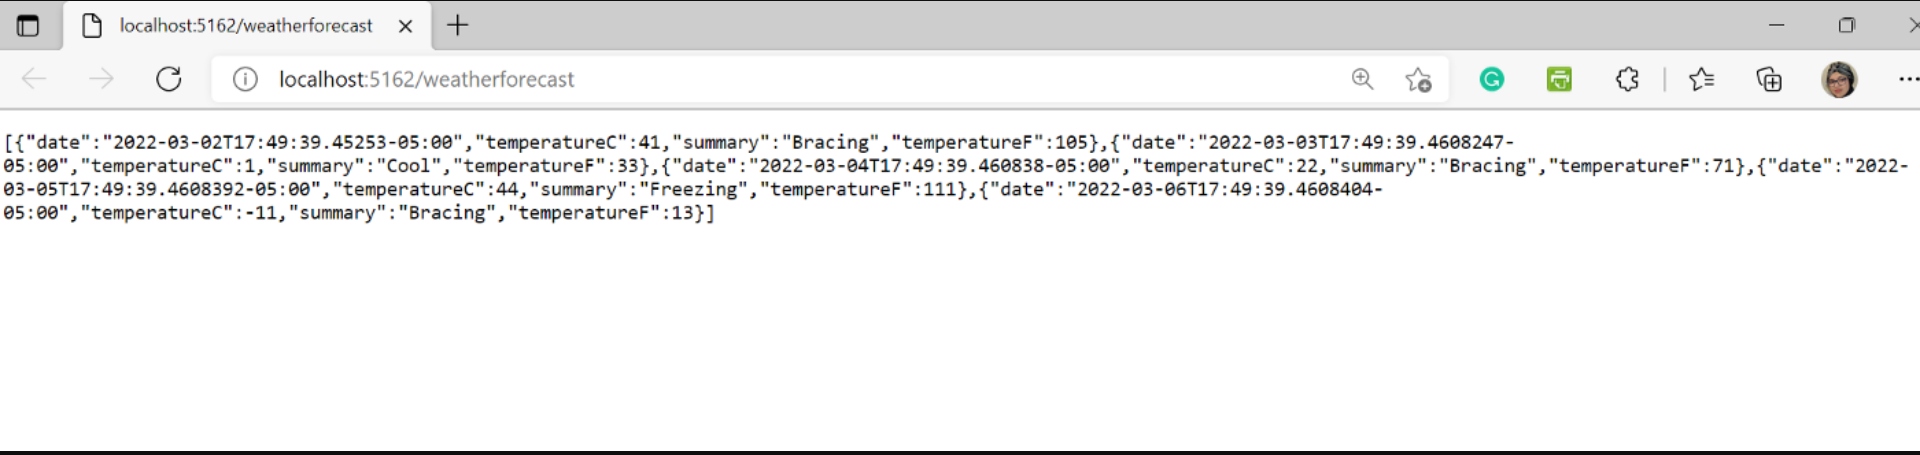
Run the ASP.NET Core Web API project using .NET Core CLI
As you can see in the next image, our Web API Application is running on two different ports. They are as follows: https://localhost:7025 and http://localhost:5272. But if we follow the link, we get a 404 error because we have to add Swagger to the link.


Method 2: Using Visual Studio
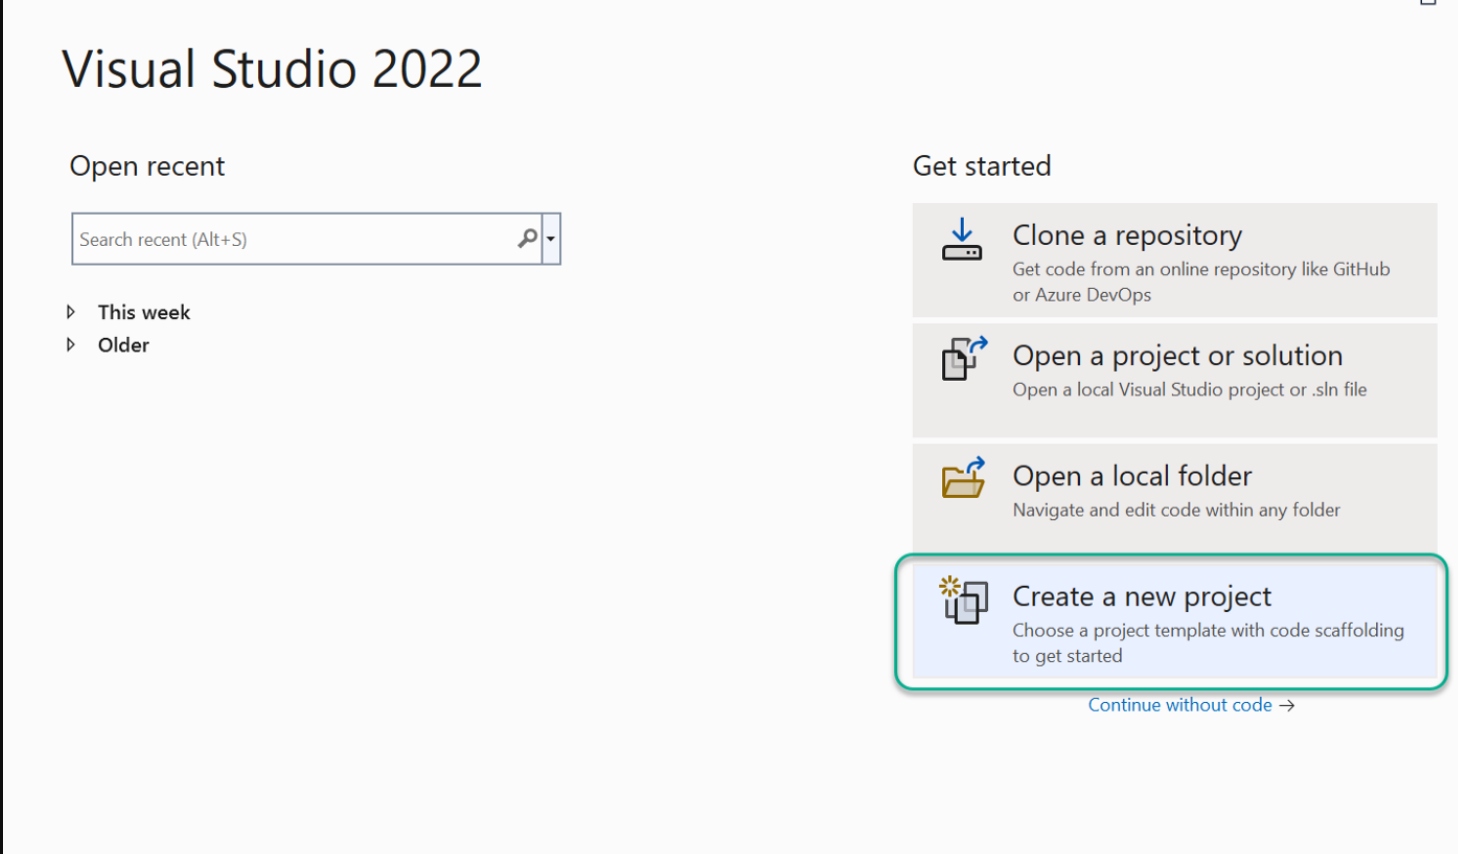
1. We will open Visual Studio 2022, and click on "Create a new project."
Visual Studio 2022
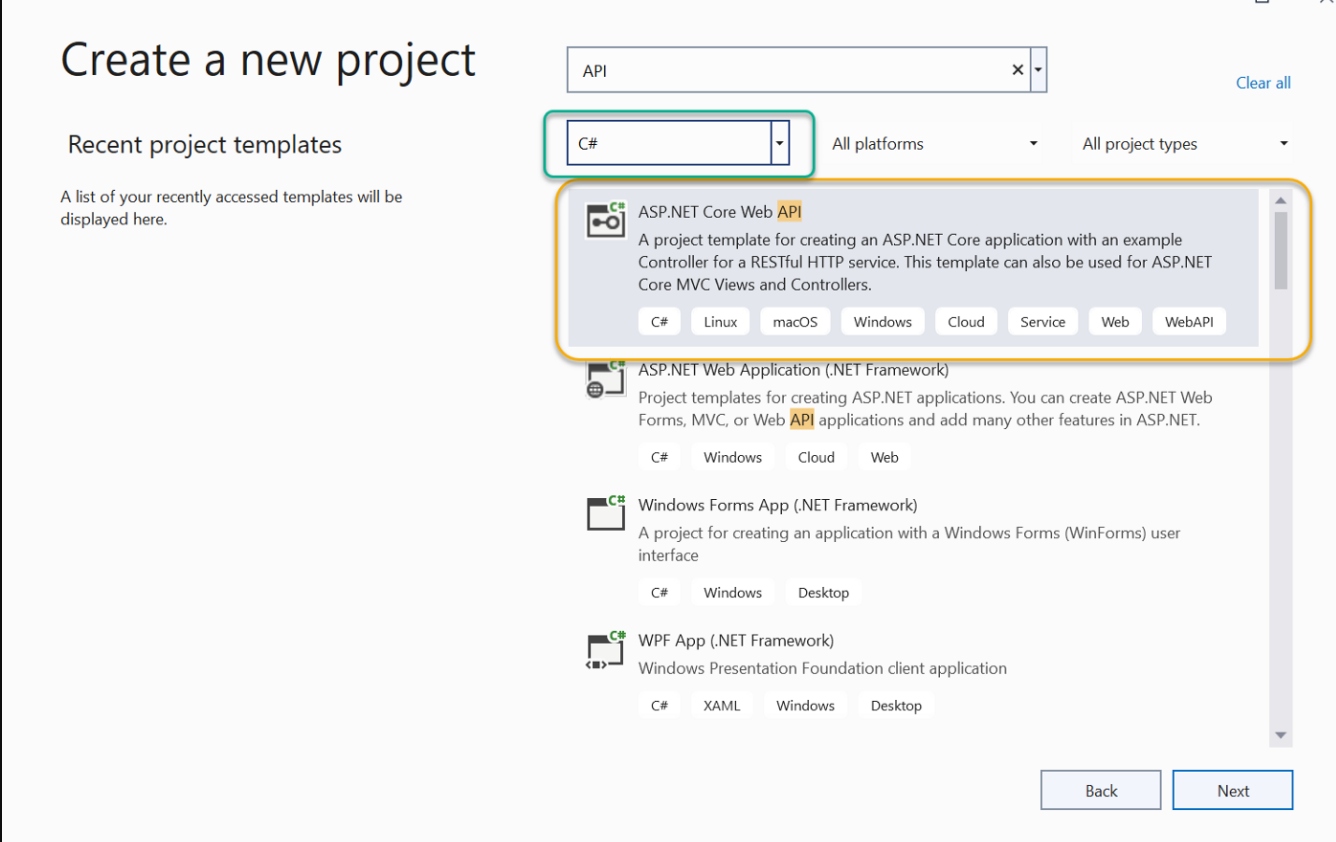
2. You can search for the template using "API" as a keyword at the top of the window as below and select C# as a language to more easily find the template of Web API.
ASP.NET Core Web API template
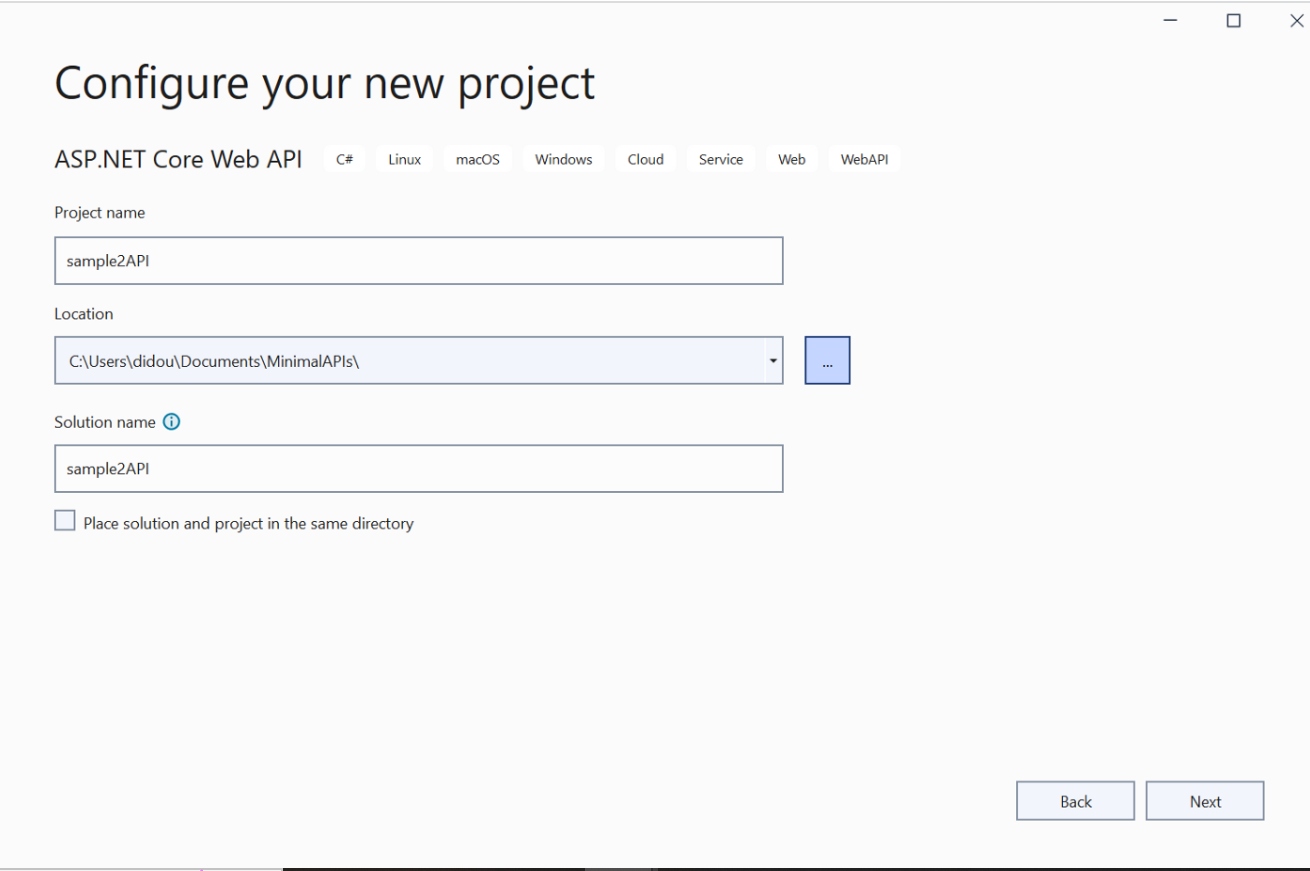
3. It is time to configure our project. We have to add the project name and the location, and we can modify the solution name.
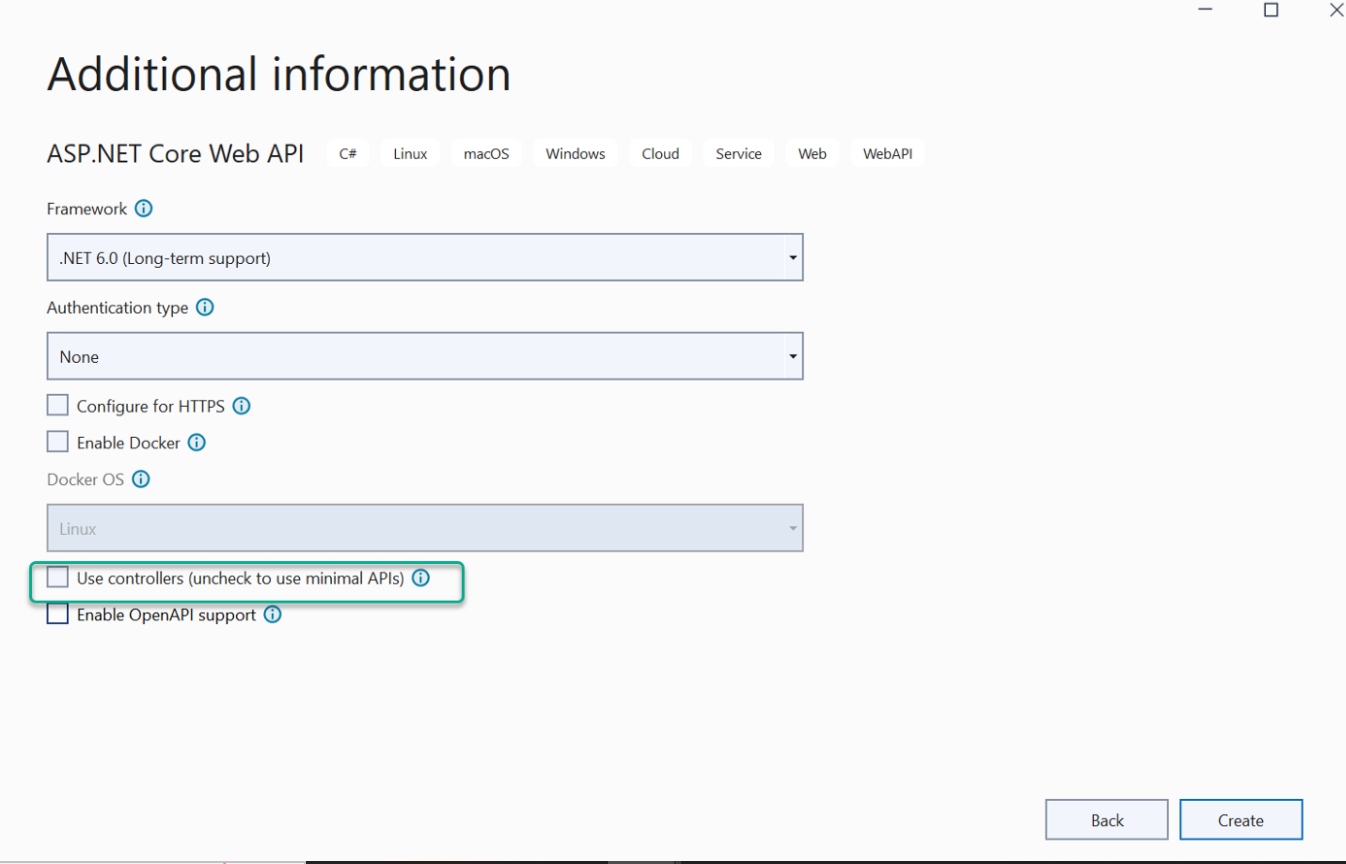
4. In the next window, we have additional information. Select the new framework (.NET 6 in our case) and the authentication type, if needed. We will keep "None." We can configure HTTPs if we want to add security to our web application. If we enable Docker to use containers, we will select Docker OS (Linux or Windows). In our case, we will not enable Docker, and we need to uncheck "Use Controller." To use minimal APIs, we can enable OpenAPI support to use Swagger. I will disable it.
Minimal APIs
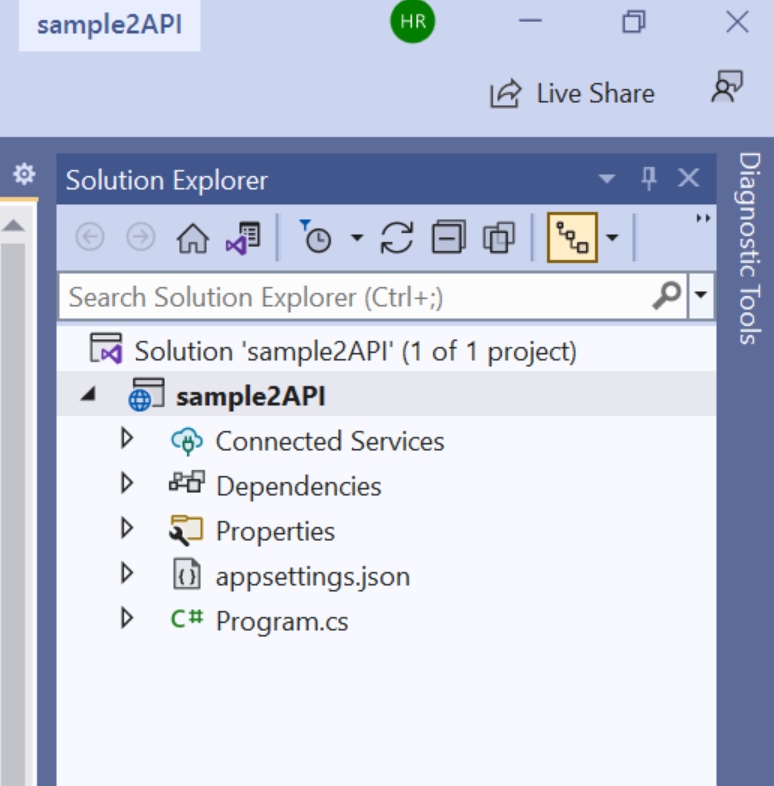
5. Let’s check the project structure:
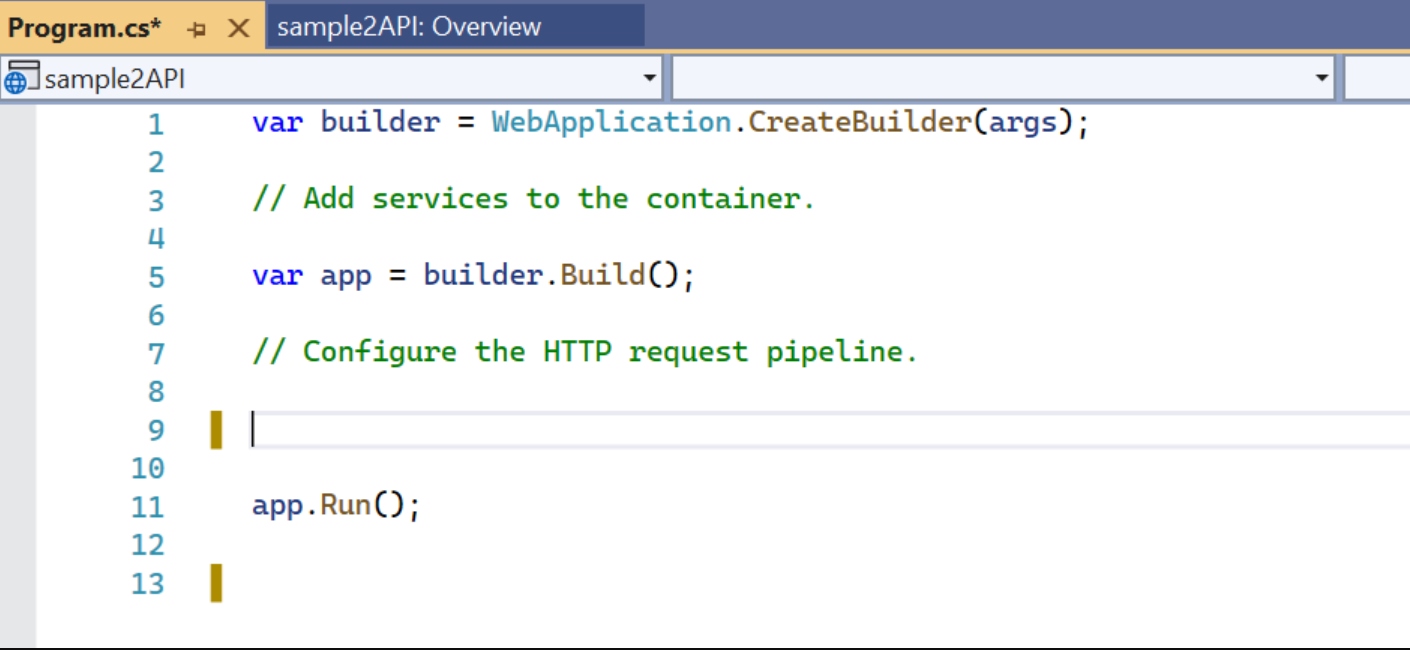
6. Let us now Open Program.cs and clear everything from it so we can build a very simple API with less than 4 lines of code!
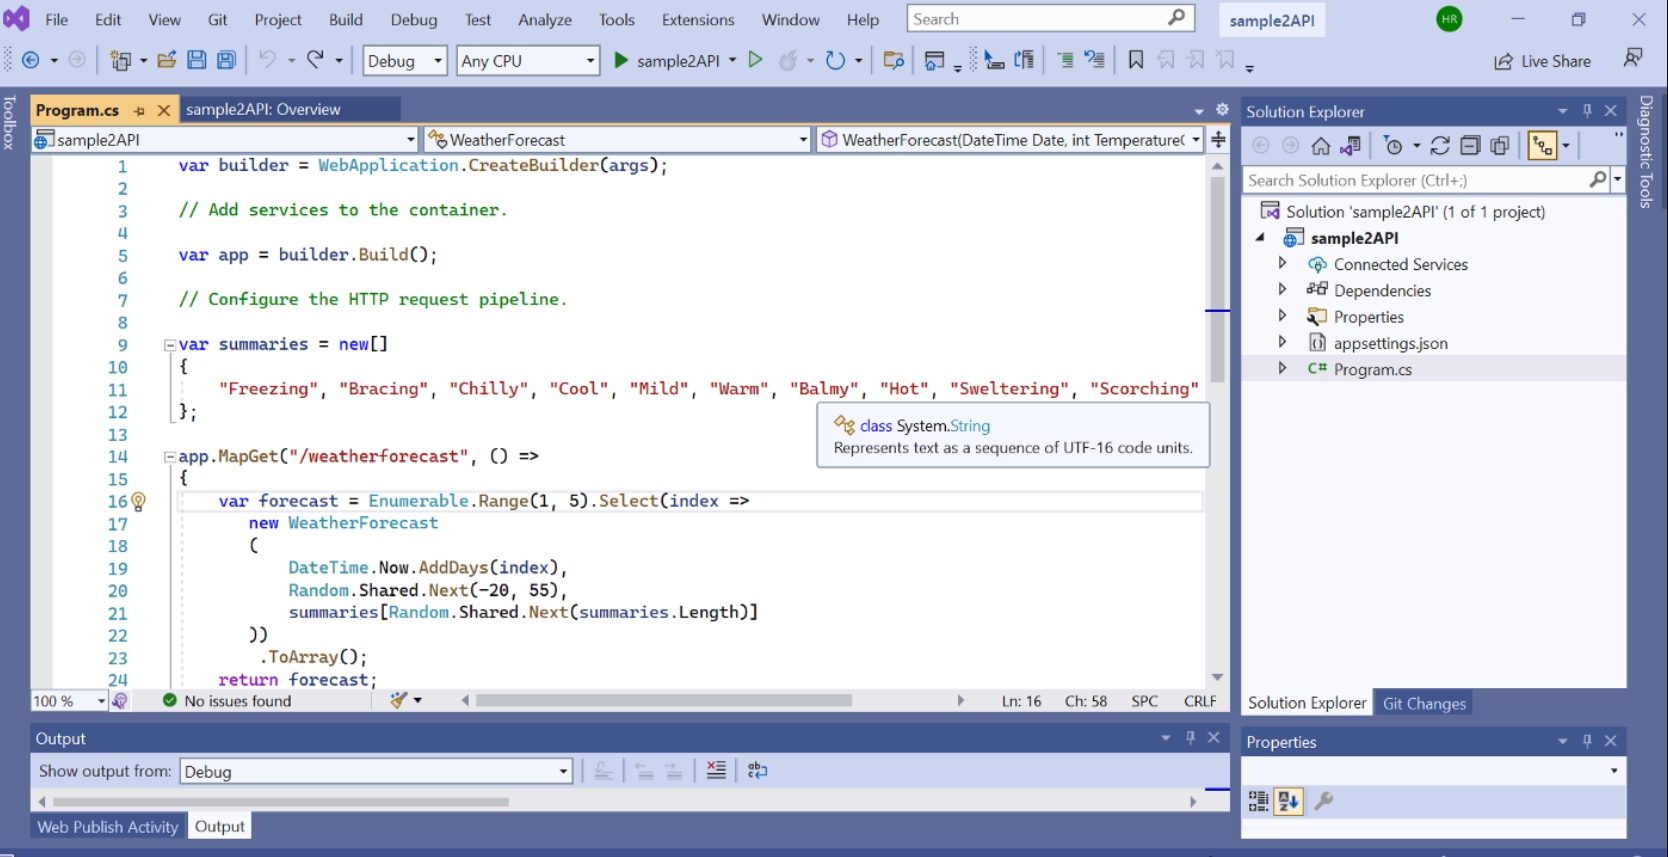
7. Let’s run our sample:
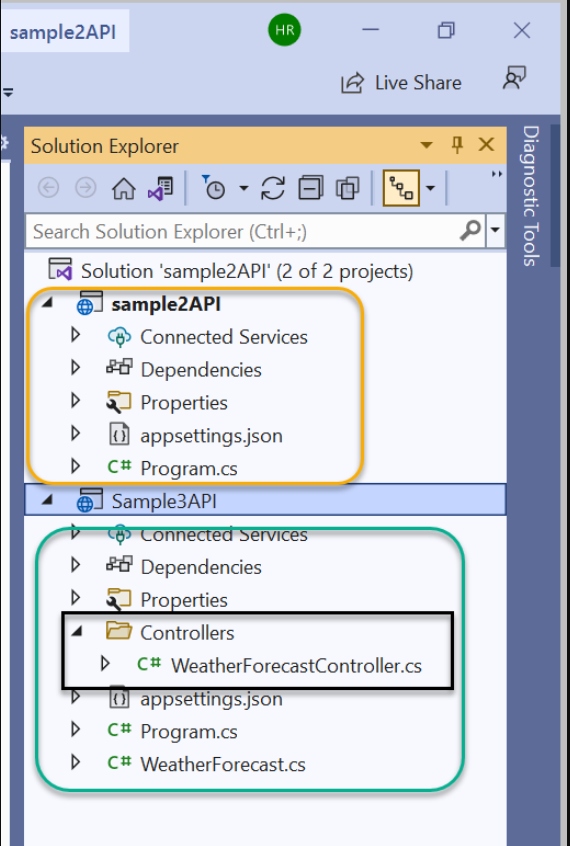
Let’s compare this project to another using controller!
Project Structure
Program.cs

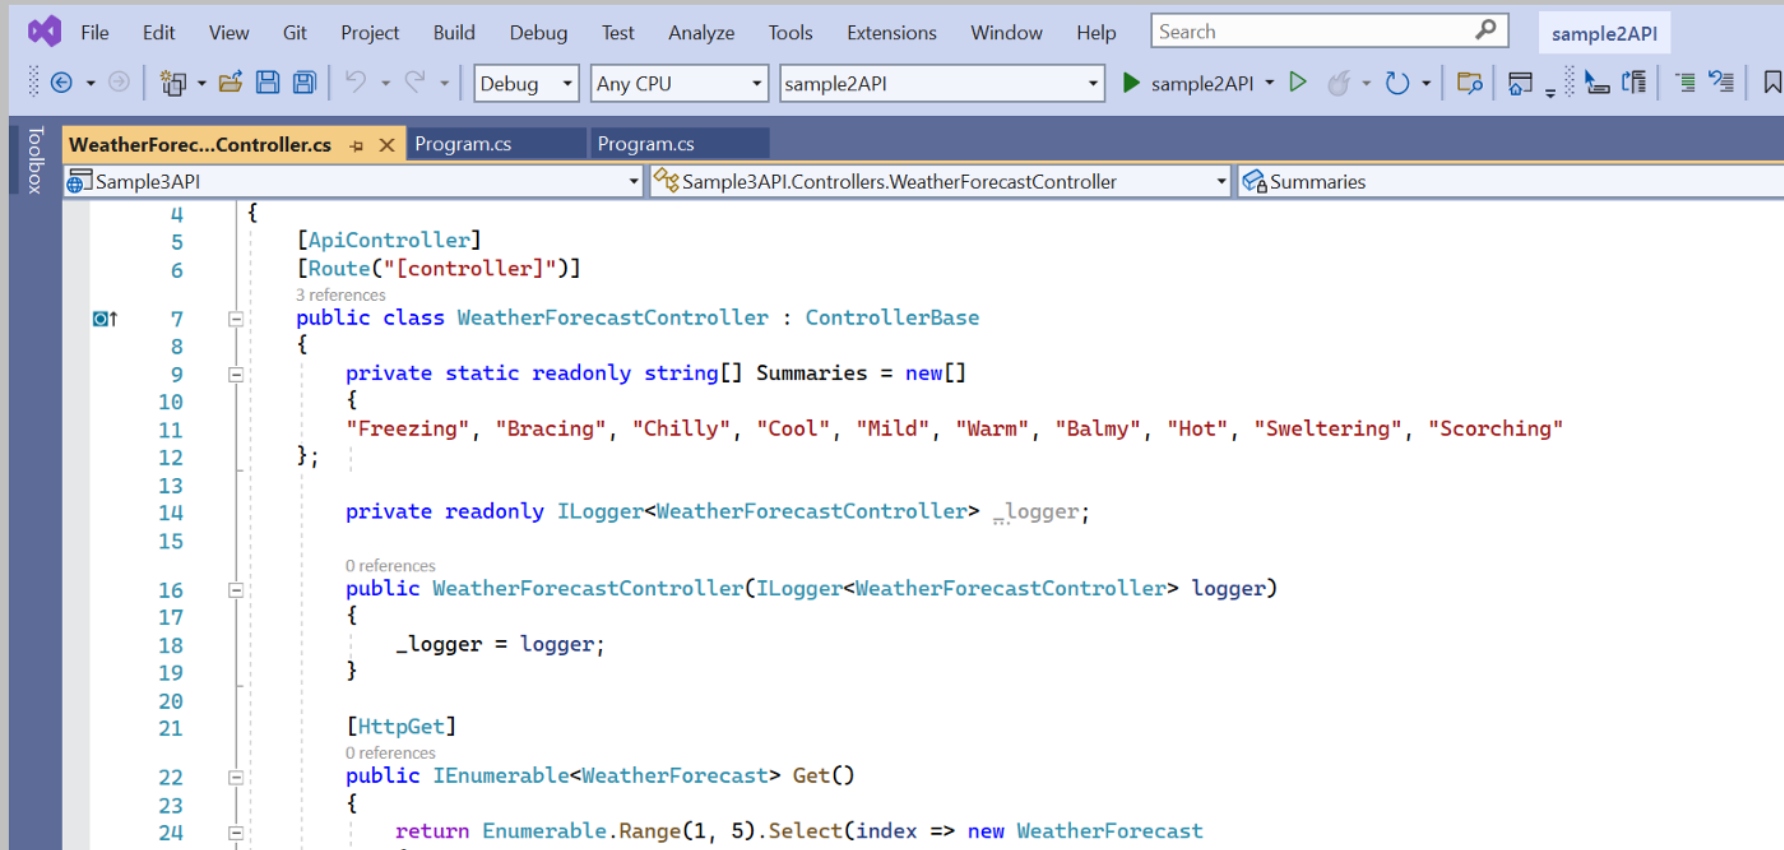
As you can see, Minimal APIs are more simple with less code!
Publish Minimal APIs to Azure API Management with Visual Studio
1. Open the Azure portal and create a new API Management. Fill all information needed to create an API Management.

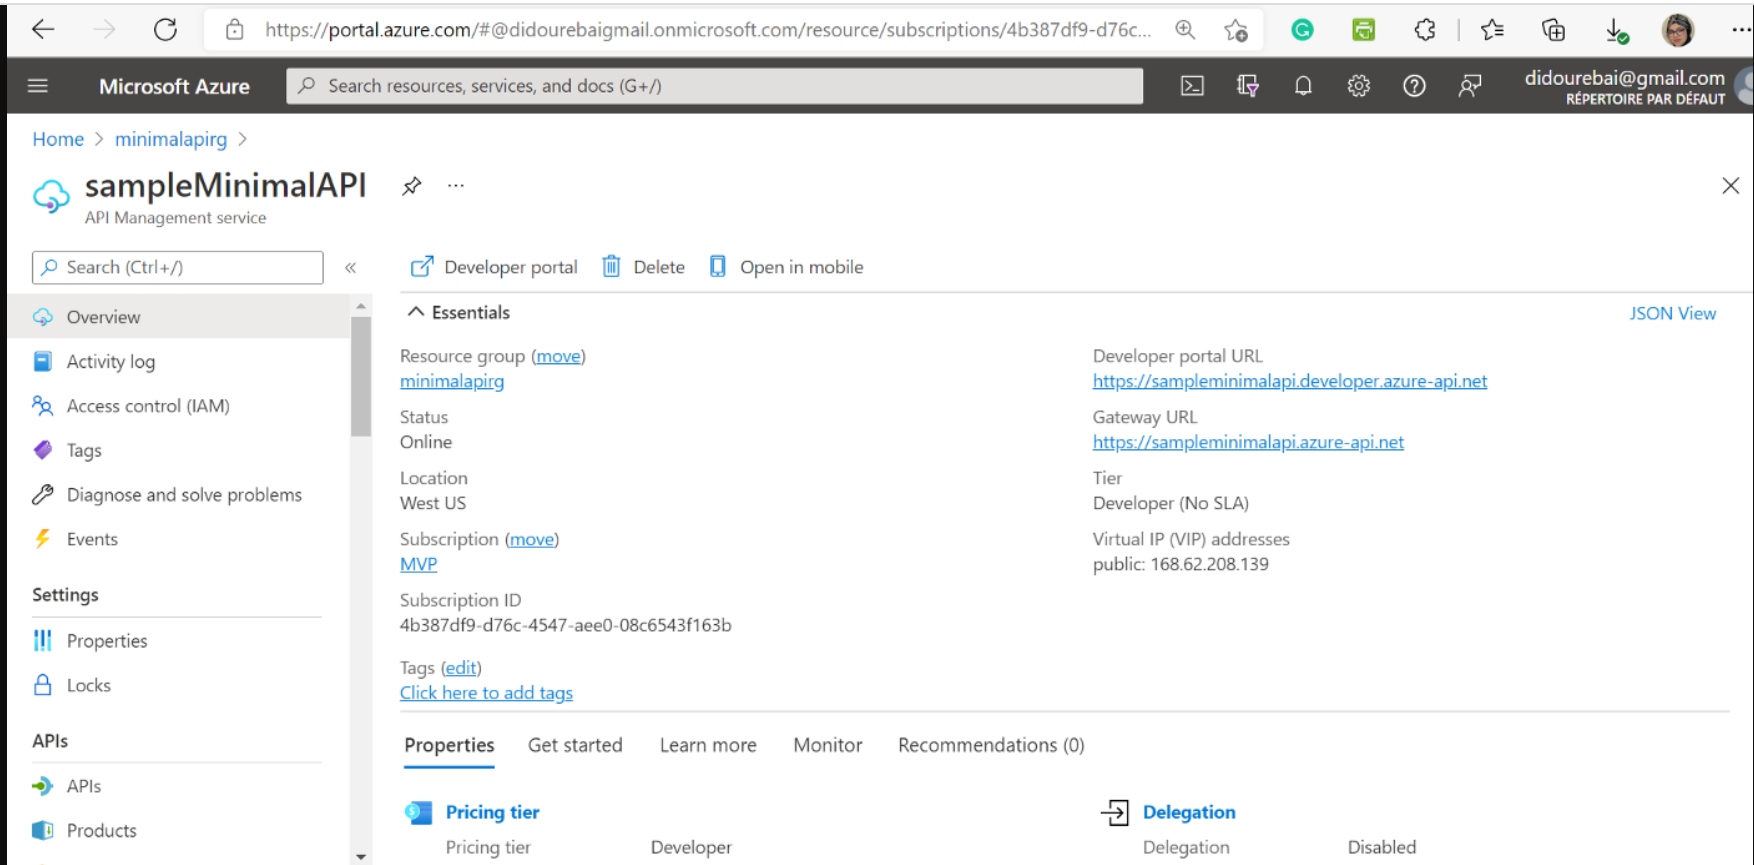
API management in Azure Portal
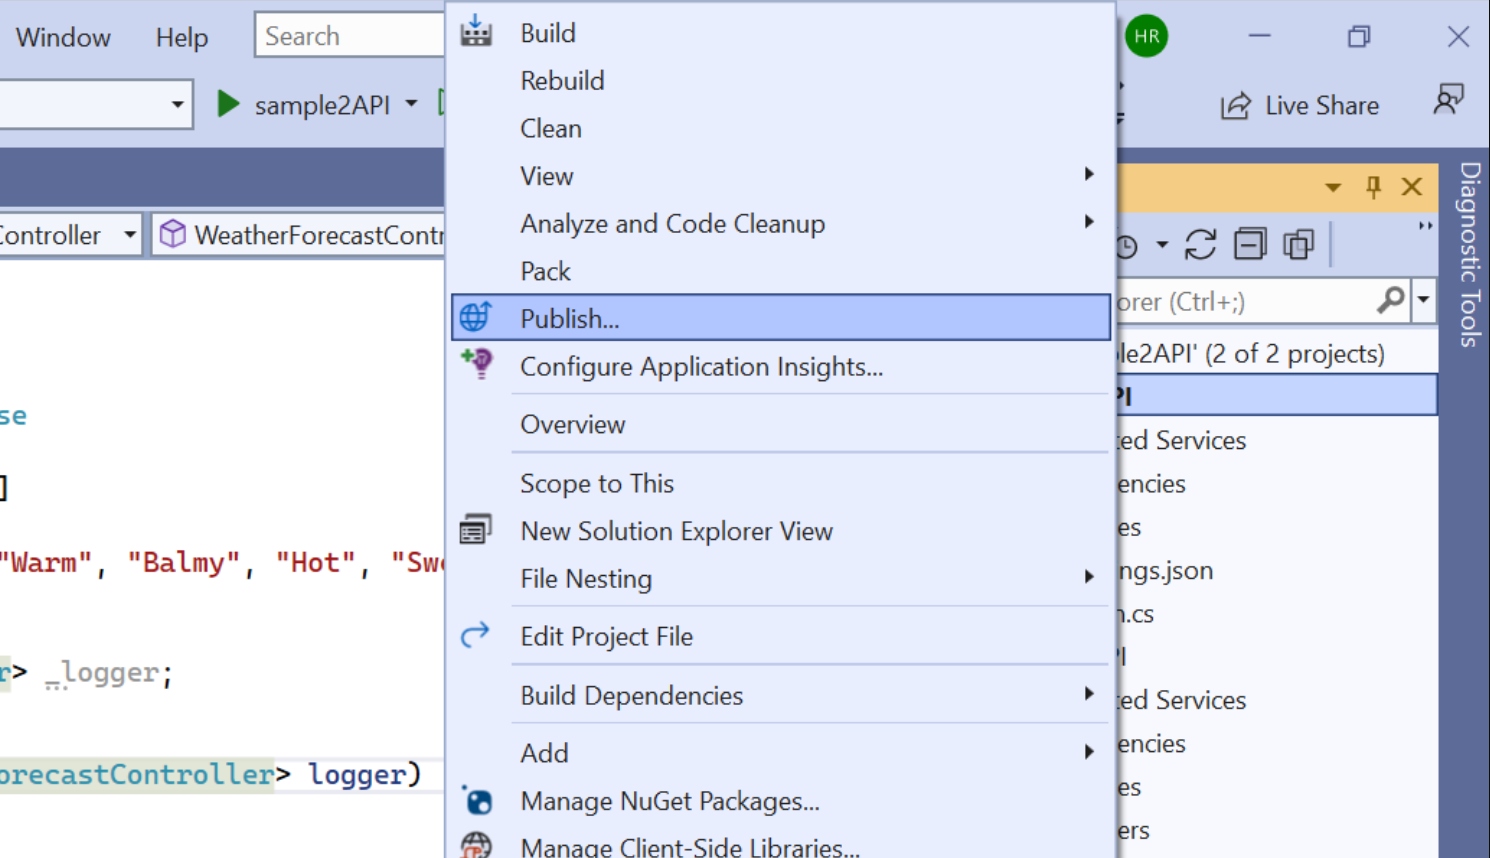
2. We go back to Visual Studio 2022 to publish our web API app. Give a right-click on our Solution Explorer. After right-clicking the project, select "Publish:"
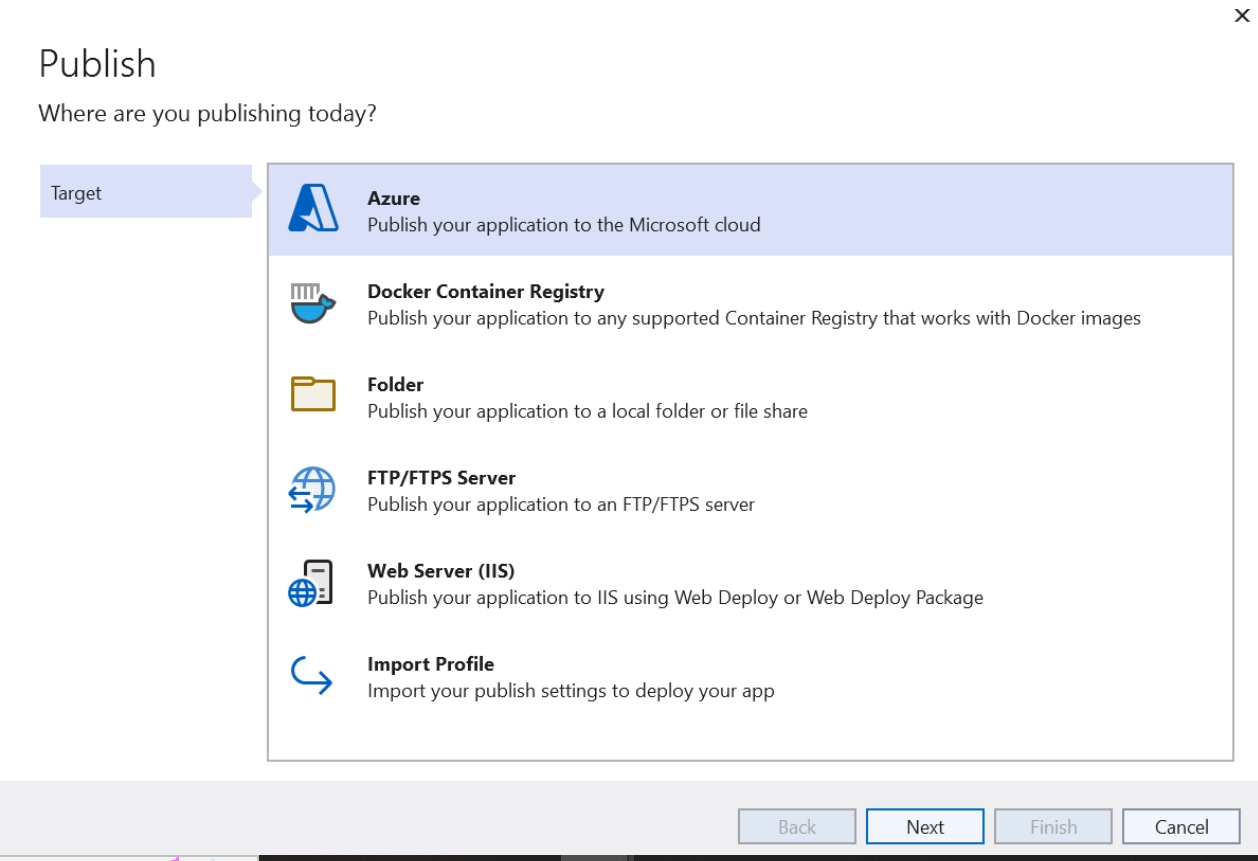
3. We will publish the API app to Azure App Service first:
- We will select "Azure" in the Publish window and we will click on the "Next" button:
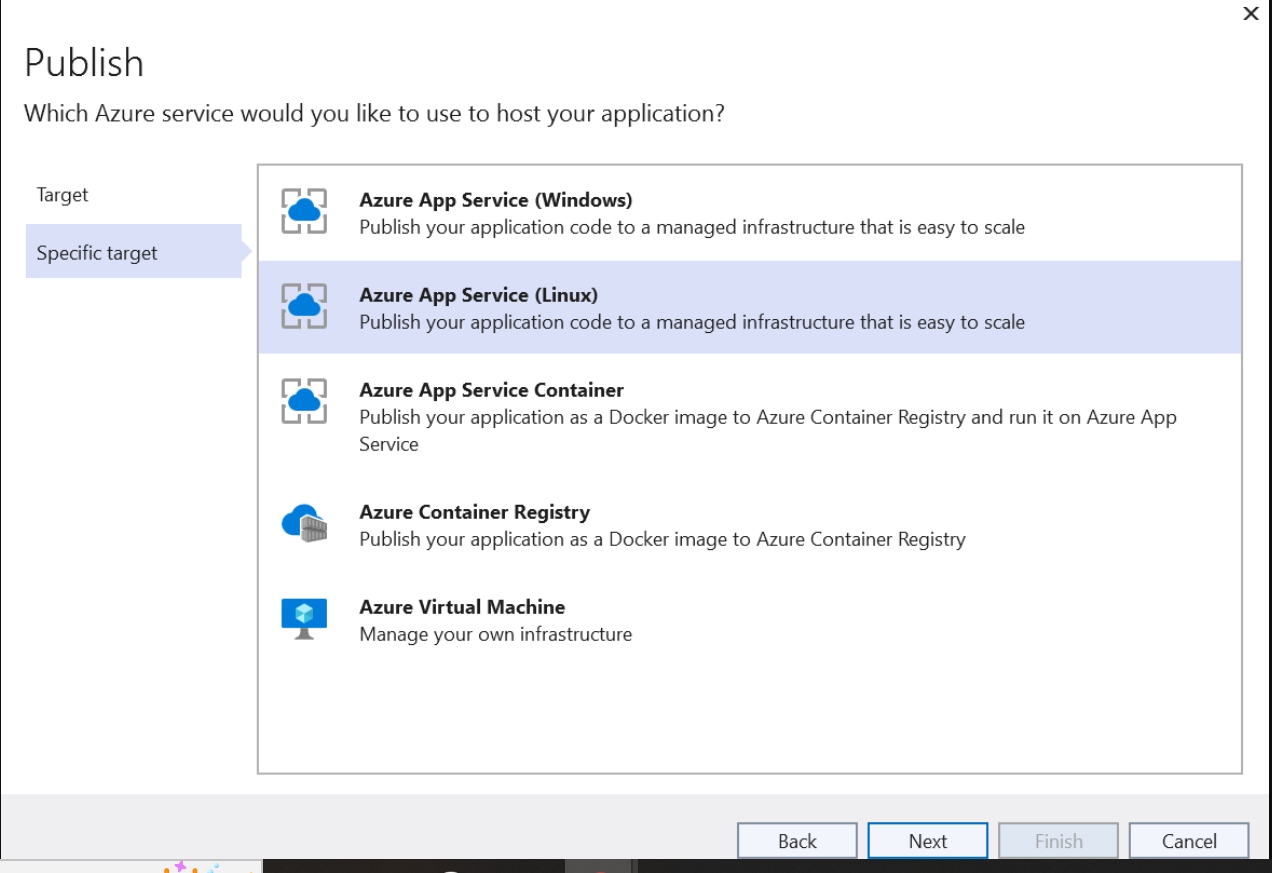
- We will select "Azure App Service (Linux)" and we will click on the "Next" button:
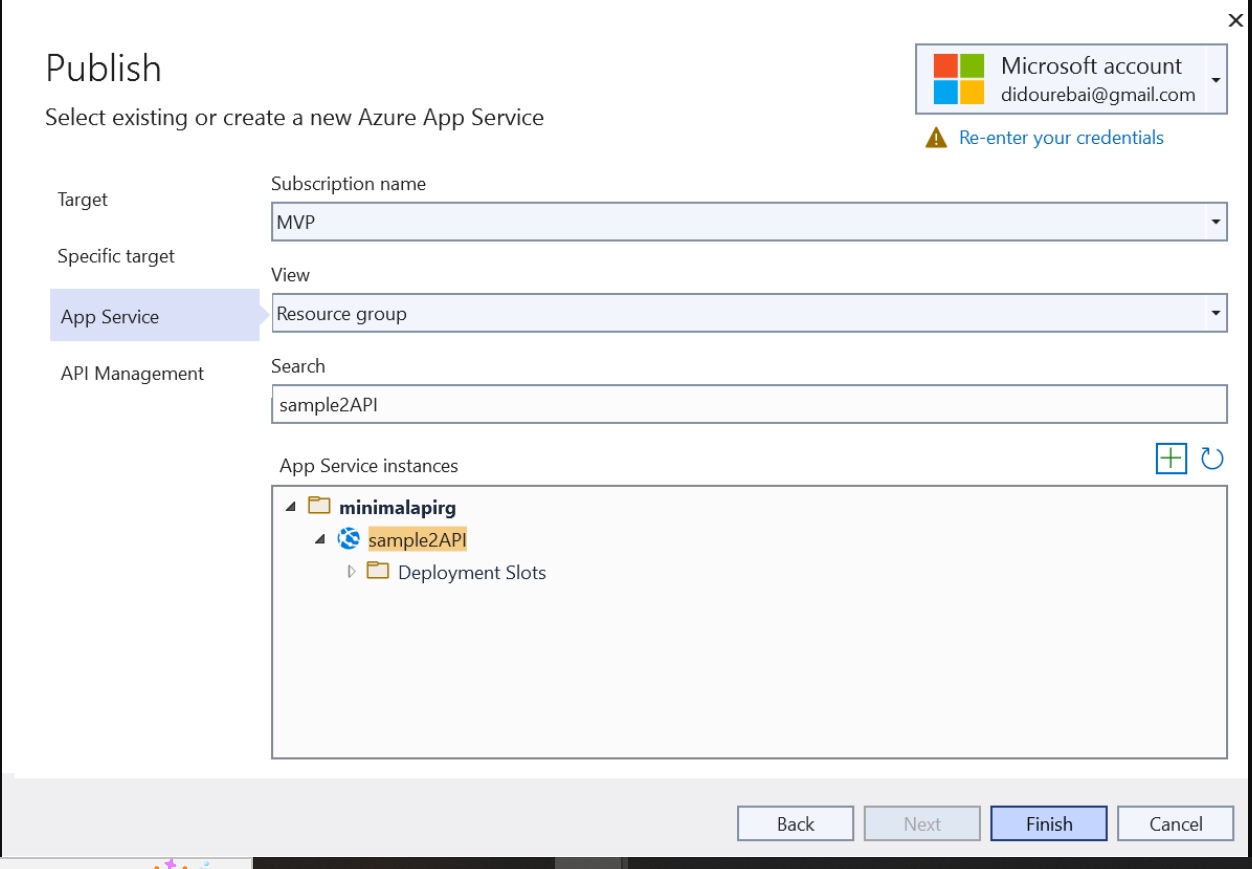
- We will click on the "+" button to create a new Azure App Service, or you can select an existing Azure App Service if you have already created it before on Azure Portal or using Azure CLI. For example:

- When the Create App Service dialog appears, we will fill in all information needed to create a new App Service like the App Name, Resource Group, and App Service Plan entry fields. You can keep these names or change them.
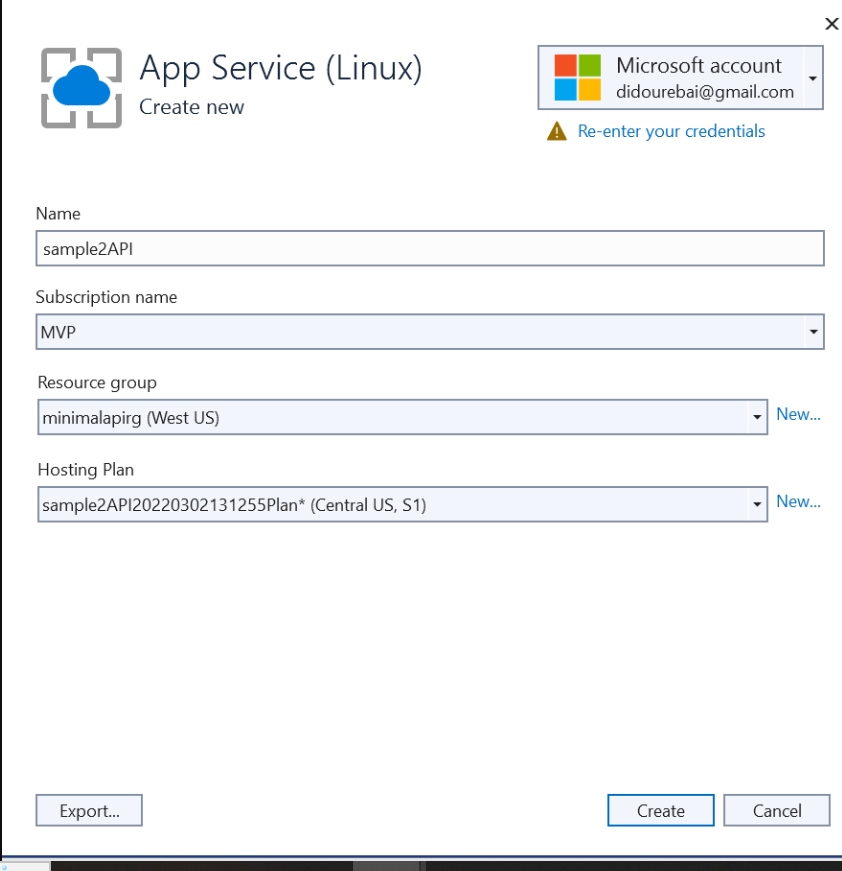
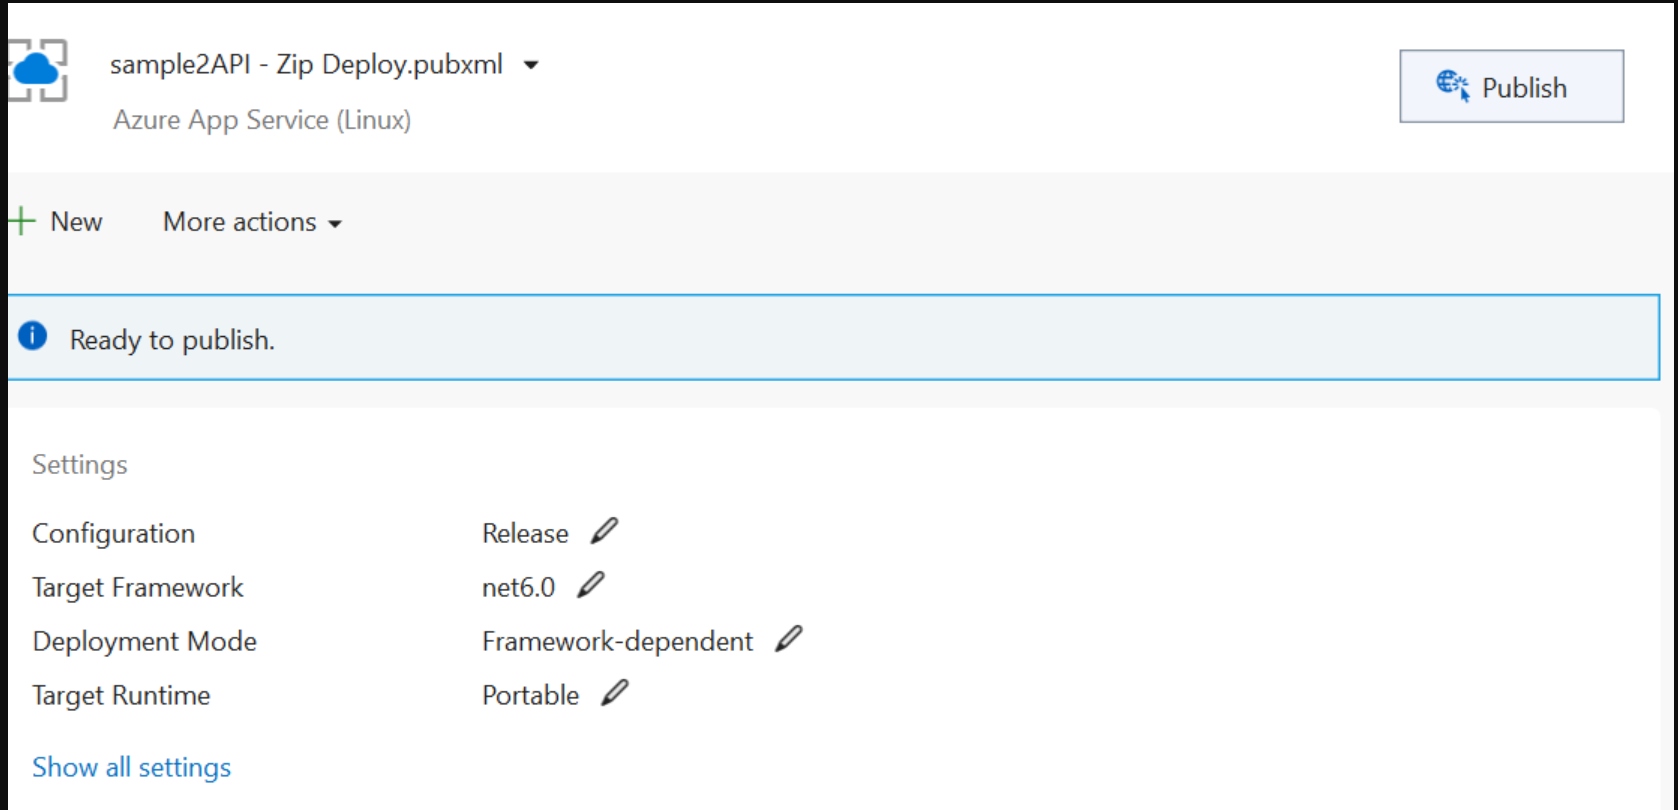
- We will click on "Finish" and after the creation is completed, we will click on "Publish."
If you don’t have any API Management already created, skip the next step, and click on "Finish" to publish the application.
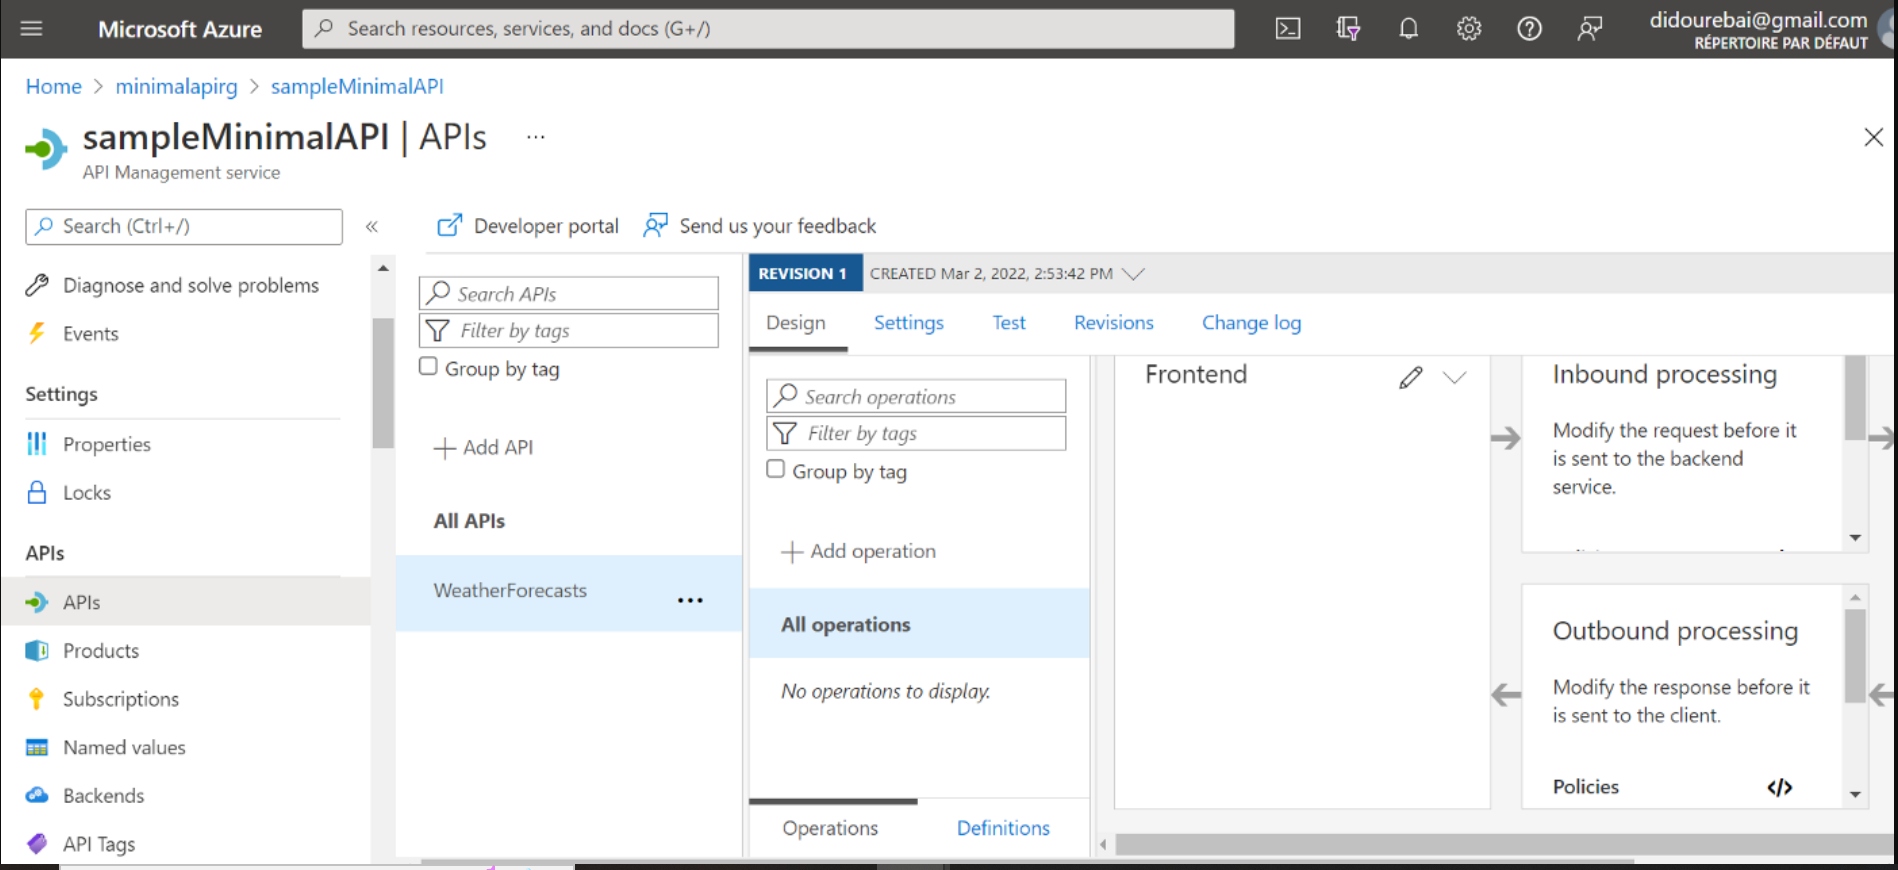
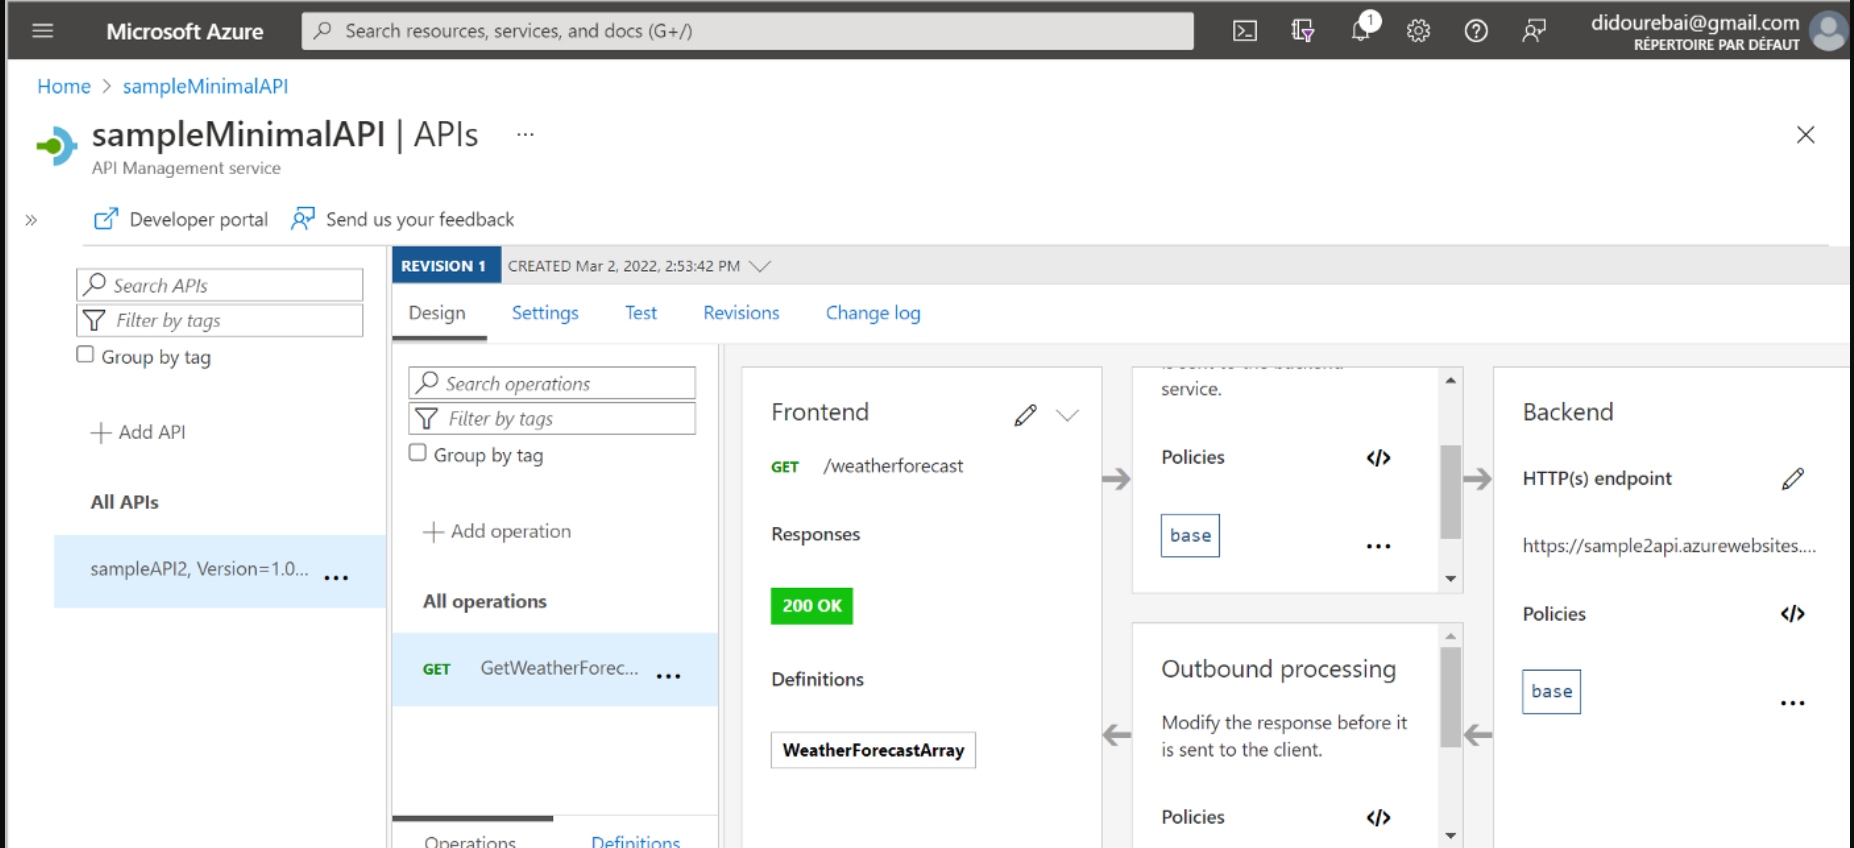
4. We will add our API to Azure API Management.
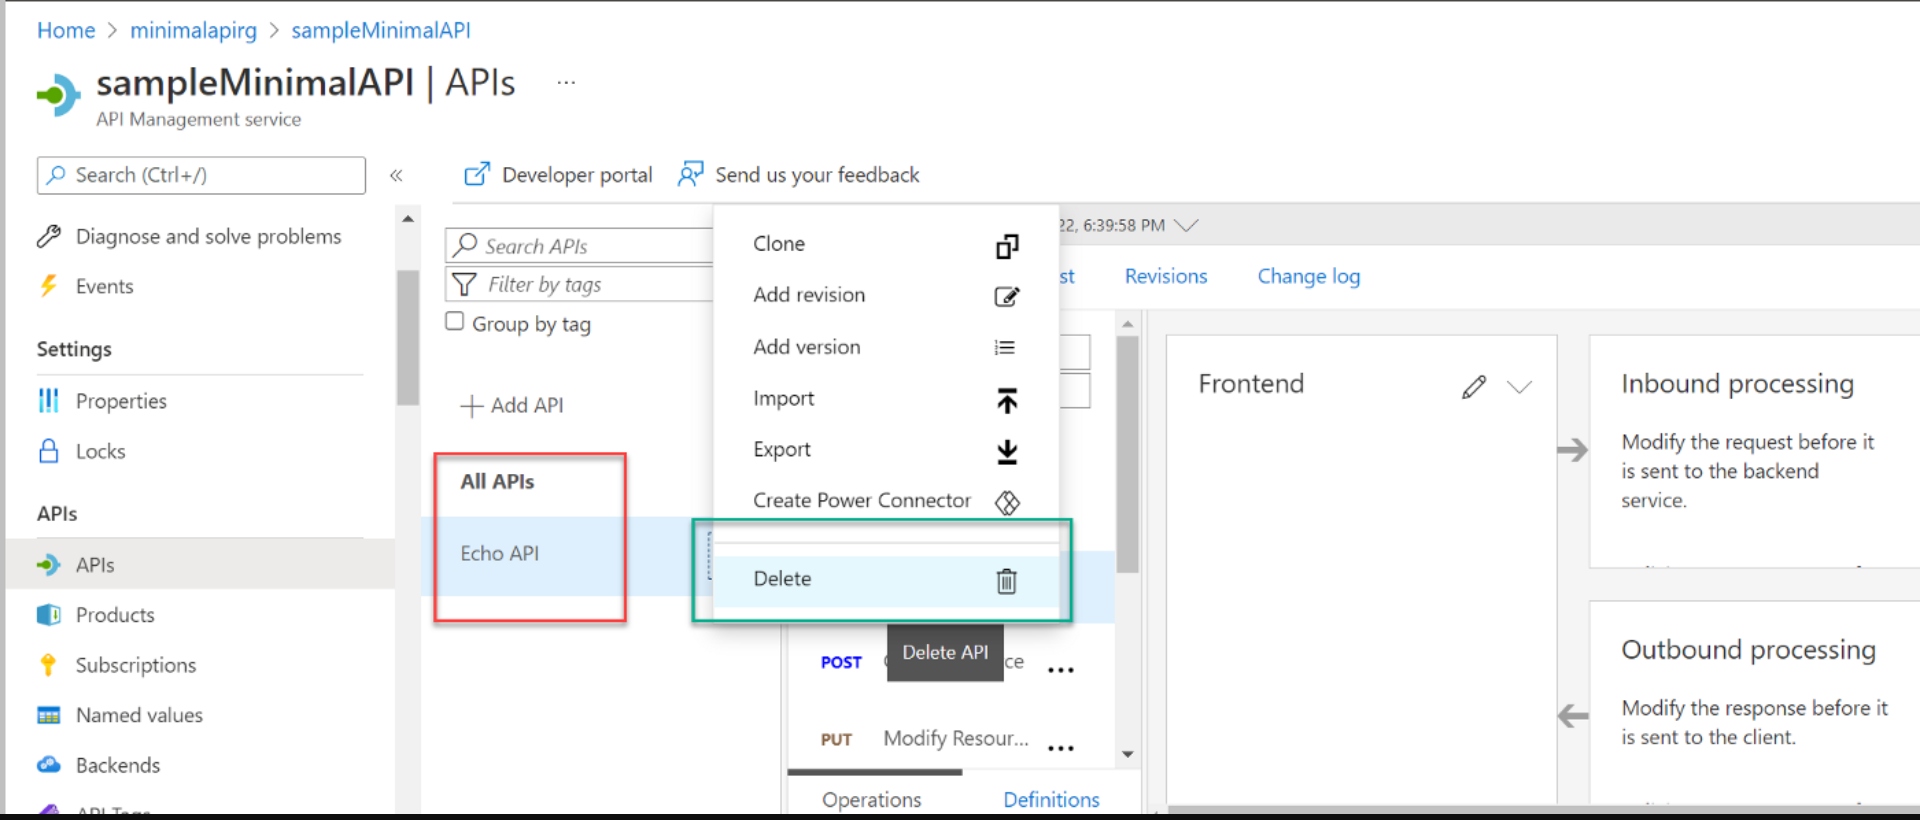
- Let’s open the API management Service instance created previously, and we will click on "APIs" that is on the left of the window:

- We will delete Echo API and we will add a new API:
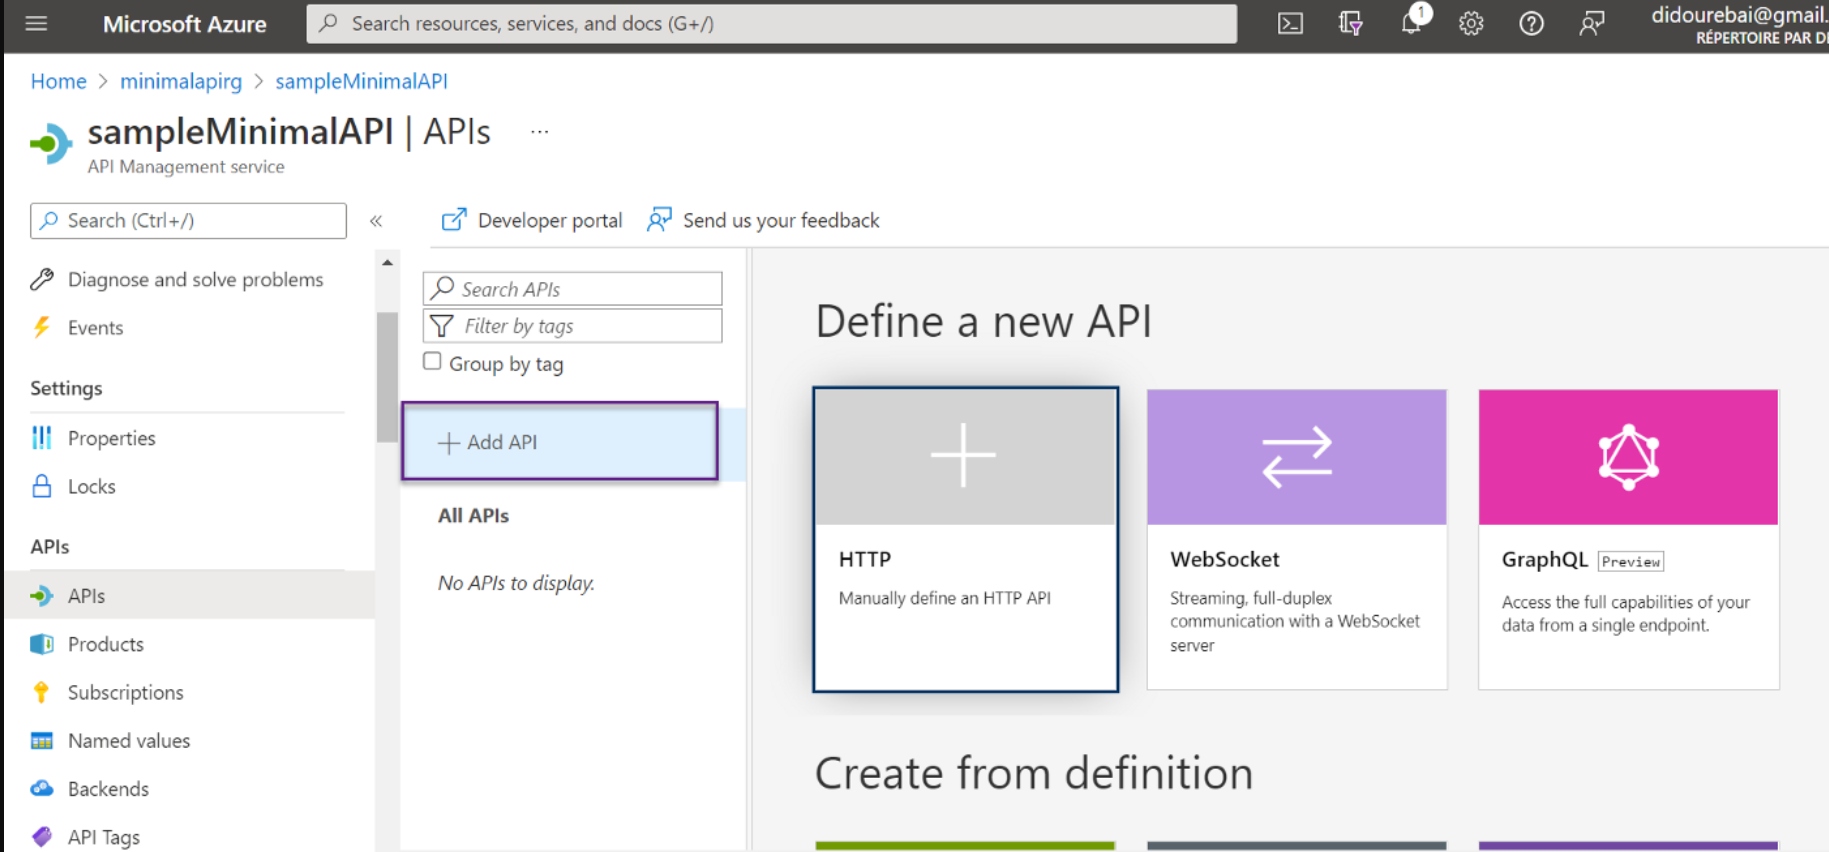
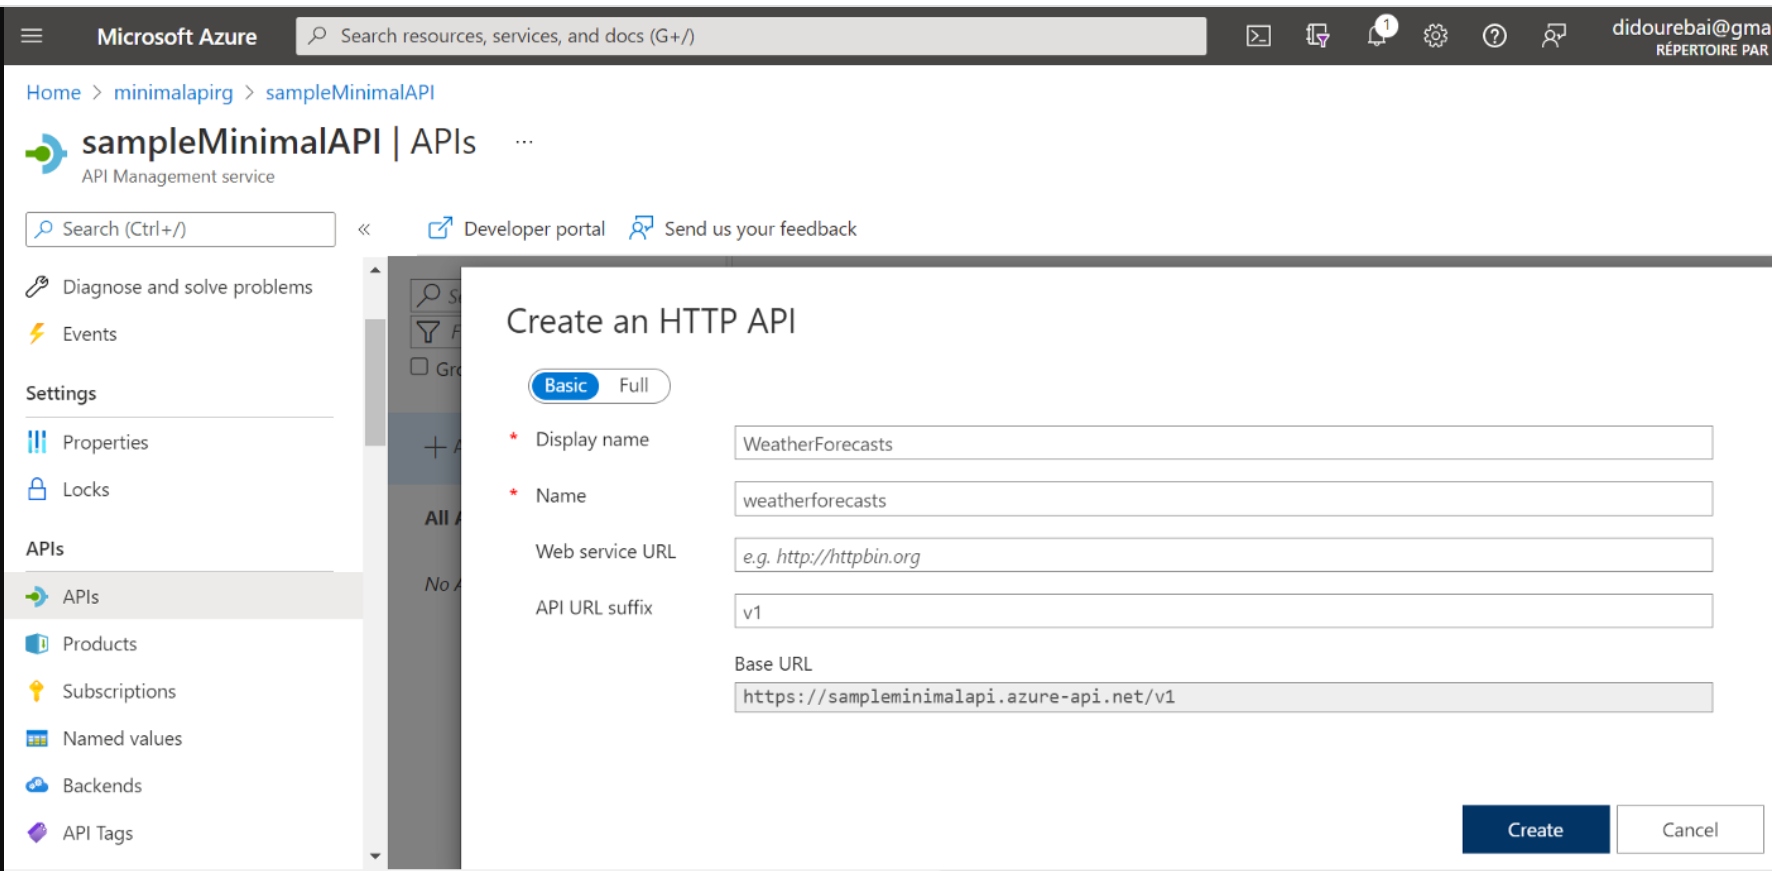
- Enter the following values in the "Create an HTTP API" dialog that appears:
- Display Name: WeatherForecasts
- Name: weatherforecasts
- API Url suffix: v1
- Leave the web service URL field empty.
This will result in no operation in our API because we have to publish the previous API to the Azure API Management.
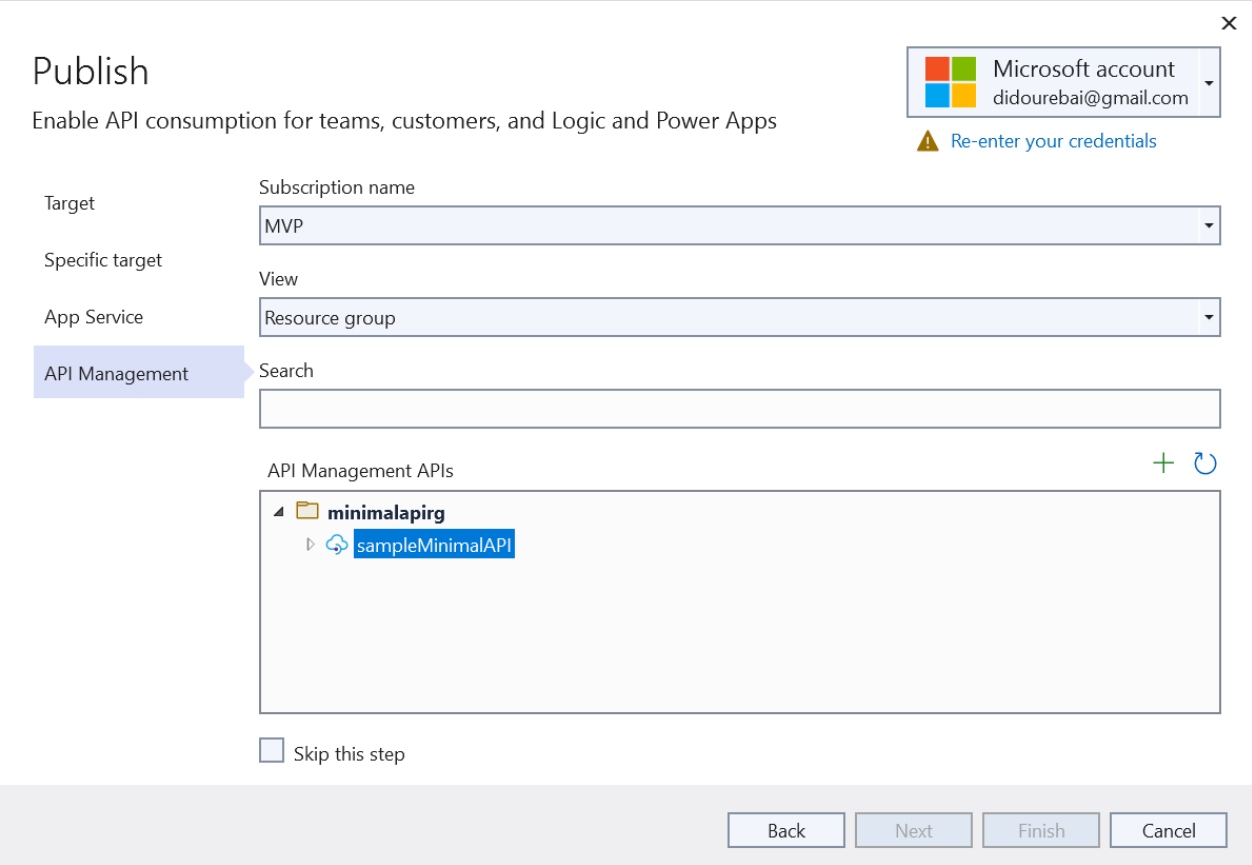
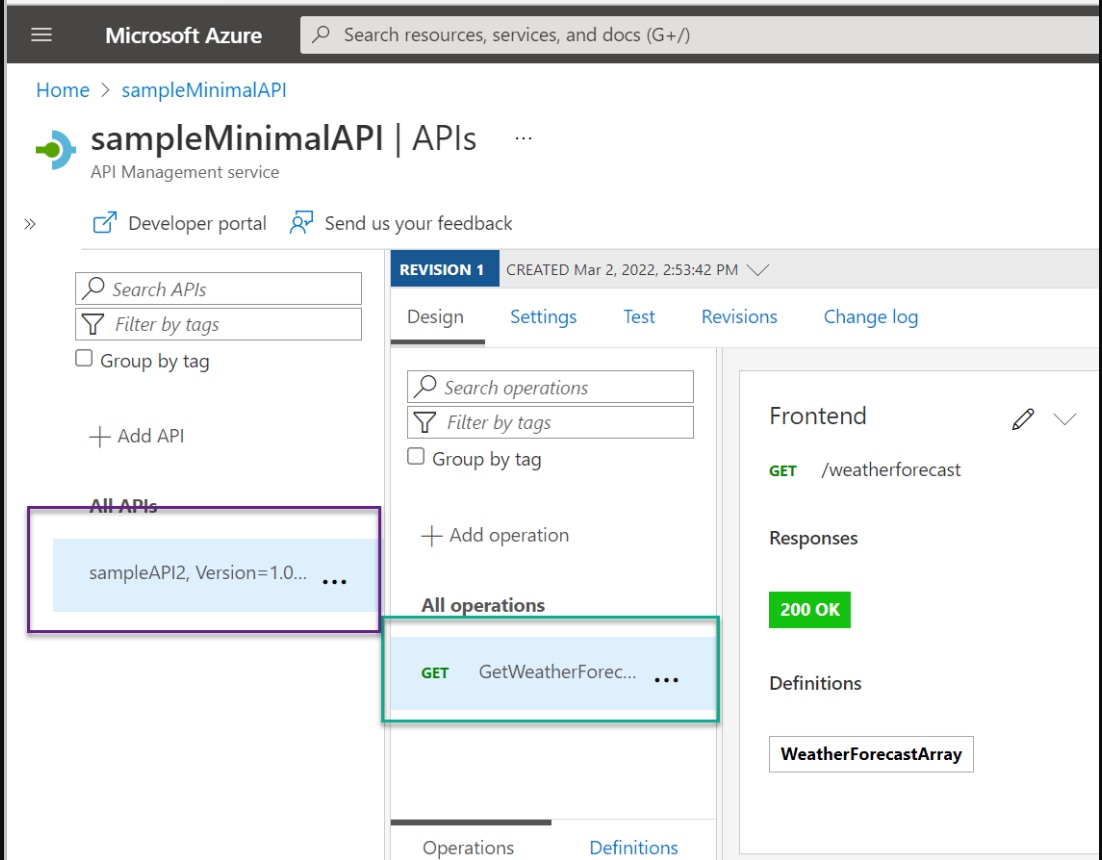
5. Publish our previous web API to Azure API Management.
- We switch back to Visual Studio to the "Publish" window, and we will select the previous published Azure App Service:
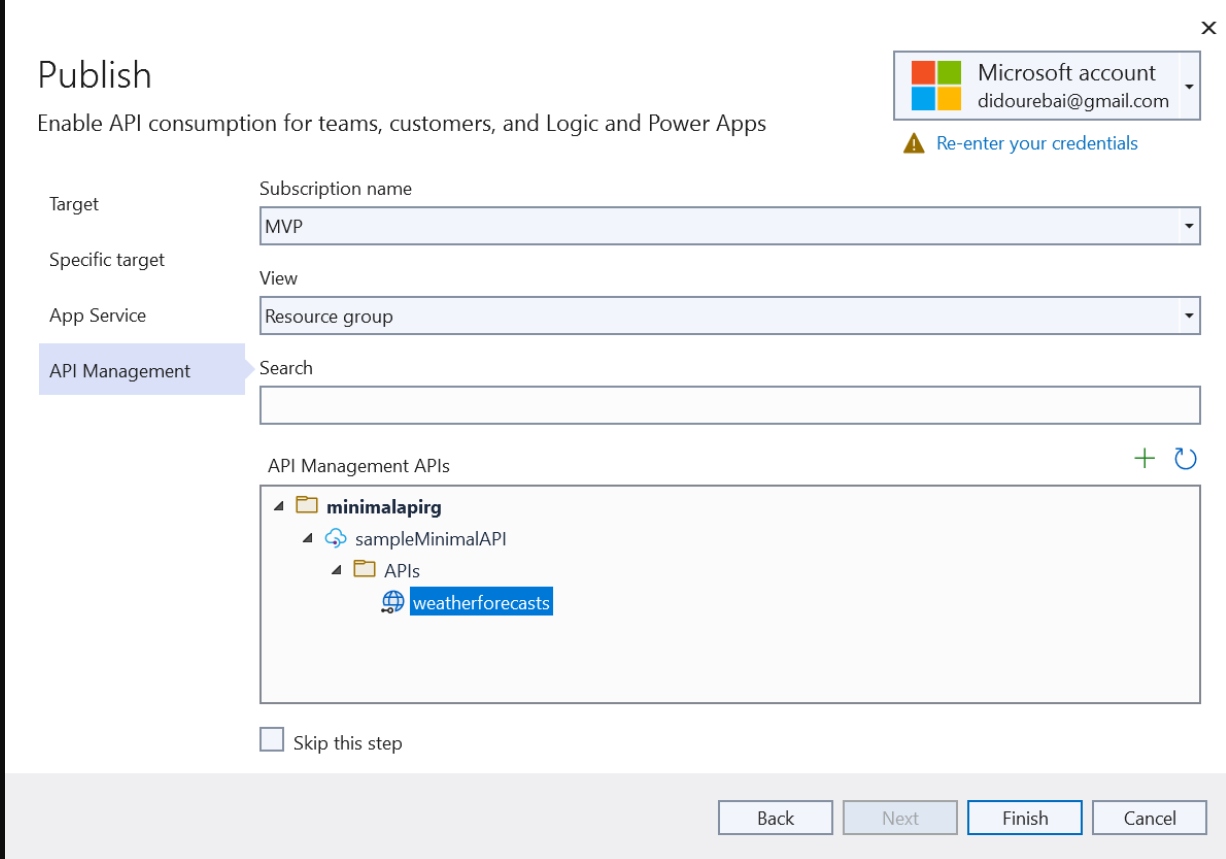
- Let’s switch back to API Management to check our API.
Published at DZone with permission of Hamida Rebai, DZone MVB. See the original article here.
Opinions expressed by DZone contributors are their own.
Comments