Connecting to the PostgreSQL Database From JMP
In this article, see how to connect to the PostgreSQL database from JMP.
Join the DZone community and get the full member experience.
Join For FreeJMP is a suite of applications for statistical analysis developed by a business unit of SAS Institute. The first version of the software was released way back in 1989 for the Macintosh platform; modern versions of JMP support macOS and Windows.
The software is aimed at scientists, engineers, and all kinds of researchers. JMP offers a free, fully-functional 30-day trial, whereas students can download JMP Student Edition - select textbooks include a unique 36-month single-user license. JMP Pro can be used for data mining and building predictive models - the tool shines at processing large volumes of data, in particular when the data is messy or includes outliers.
Market research shows that companies using JMP are most often found in the US and have more than 10, 000 employees and over 1 billion USD in revenue. JMP’s market share among business intelligence tools is rather small (less than one percent), but the size and revenue of these companies are really impressive - you probably won’t have difficulty finding a high-paying job to apply your knowledge of JMP and statistics.
JMP can import data from a wide range of data formats: plain text files, Excel files, SAS datasets, ODBC compatible databases, etc. The ODBC interface allows you to access data in any ODBC-compliant SQL or NoSQL database, as well as cloud applications, provided that you have the appropriate ODBC driver.
Configuring Process
Now, let’s configure a DSN for PostgreSQL driver and connect to the database from JMP. Devart ODBC Driver for PostgreSQL allows you to establish a connection to the database directly via TCP/IP, without using a PostgreSQL client. You can also establish a connection to the PostgreSQL server through SSH, which is not available in the standard driver (see the full comparison table on the product page).
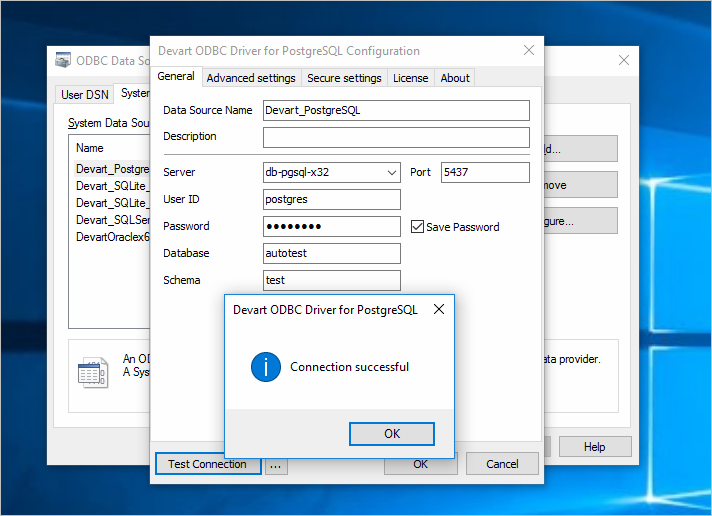
First, configure a DSN for your driver. Open the ODBC Data Source Administrator utility, click Add and specify your server address, port (if it’s other than the default 5432), database name, schema (optionally), username and password. Click Test Connection to check that you’ve properly configured the connection string. If you see the success message, click OK to save the DSN.
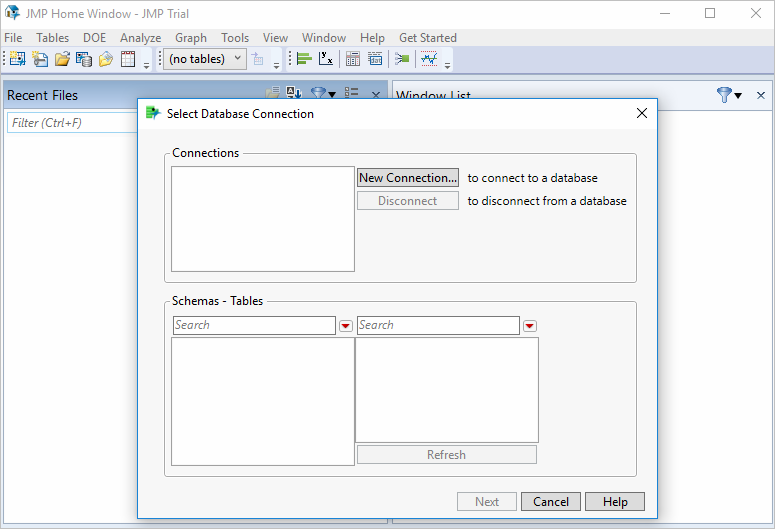
Start JMP. Select File > Database > Query Builder. In the window that opens, click New Connection to select a data source.
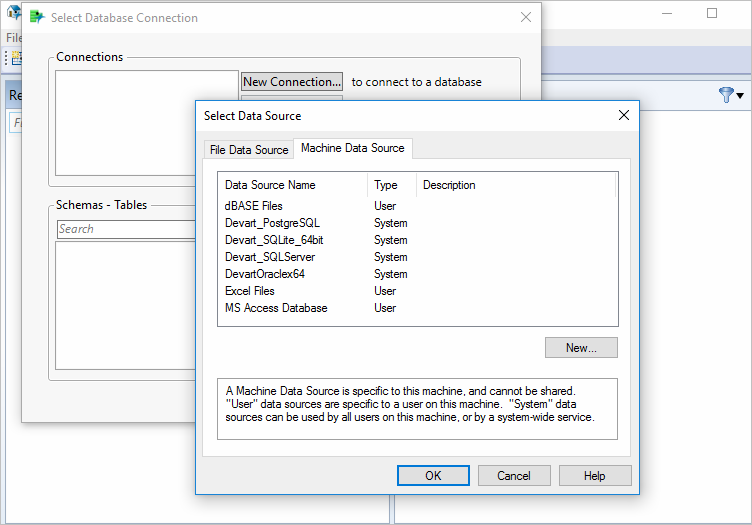
Switch to the Machine Data Source tab and select the previously configured DSN for the PostgreSQL driver.
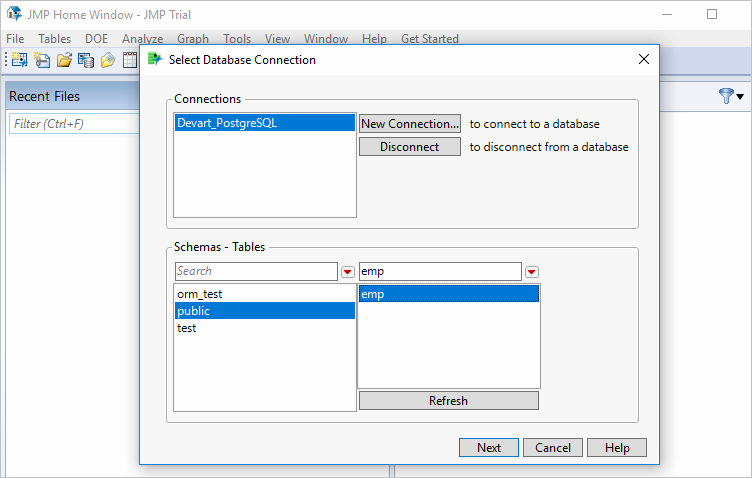
Select the table or schema you want to connect to and click Next.
You’ll see the description of the selected table. A preview of the table can be viewed in the Table Snapshot tab. JMP offers two ways to retrieve the contents of the table: the whole table will be fetched when you click on Import Now, or you can select the columns to be retrieved by clicking on Build Query.
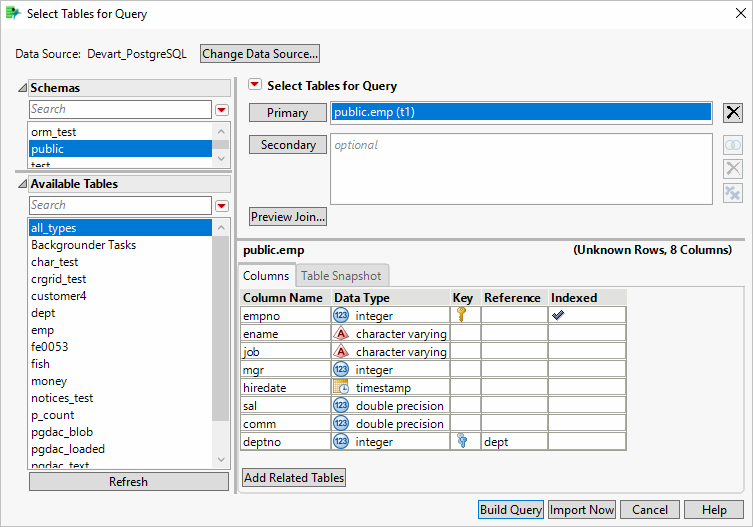
We’ll choose the latter method. In the window that opens, add the required columns to the SQL statement by selecting them from the left side pane and clicking Add. Then, run the query.
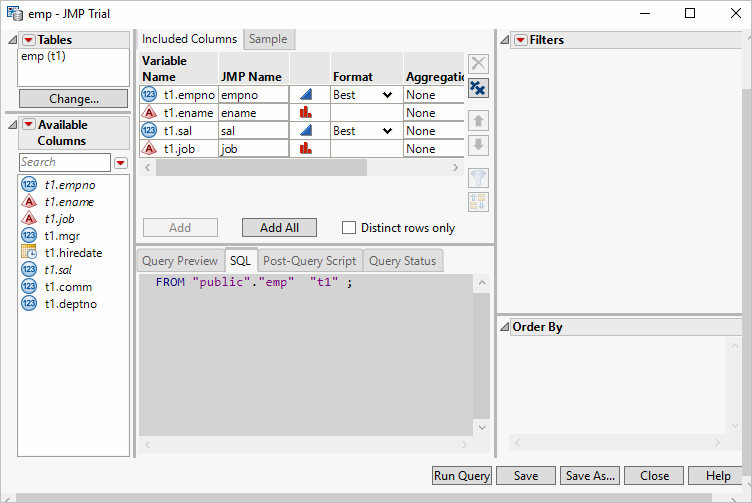
Selected columns will be retrieved from the table and displayed in the grid.
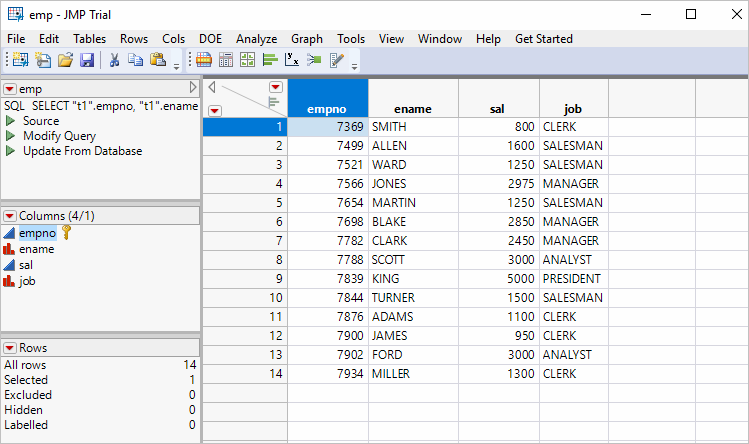
Now, we can do some basic analysis on that data. For example, let’s create a distribution chart by selecting it from the Analyze menu, and add salary and job fields as values for the charts to find out the highest-paying jobs in the company and the median salary. Let’s see the results:
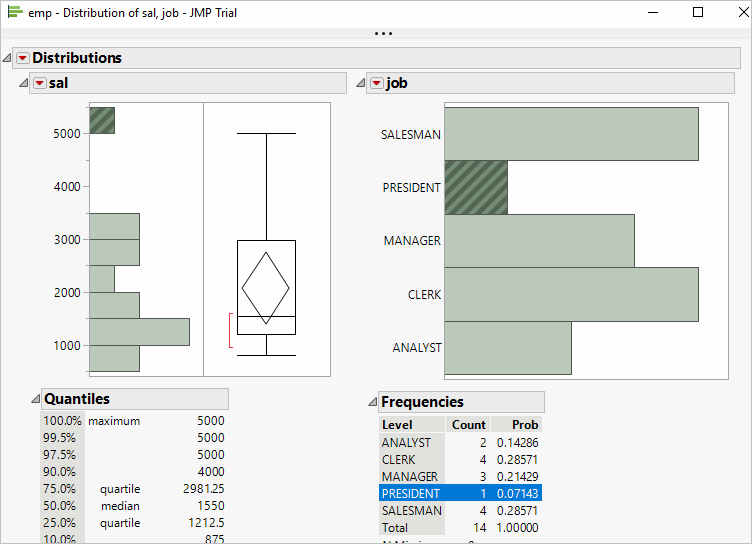
As you can see, the data retrieval process using an ODBC driver is really easy, so you can focus on the data analysis tasks.
Opinions expressed by DZone contributors are their own.

Comments