Configure SSO for CockroachDB Dedicated With Microsoft Identity Platform and OpenID
Today we're going to cover how to set up Single Sign-on for CockroachDB Dedicated cluster using Microsoft Identity Platform.
Join the DZone community and get the full member experience.
Join For FreeMotivation
CockroachDB Dedicated is a fully-managed, reserved CockroachDB cluster ideal for a cloud database. We frequently get asked how to set up SSO for the individual CockroachDB Dedicated clusters and we have a detailed tutorial to walk you through that with a local, self-hosted cluster. What was unclear was that you can use the same steps to set up SSO with Dedicated. Based on this detailed document, CockroachDB Dedicated supports OIDC authentication for the DB Console today. In a future release, we are going to bring OIDC integration across the stack. Today, we're going to provide details on how to leverage OIDC specifically with the CockroachDB Dedicated DB Console and Microsoft using the OpenID Connect protocol.
Previous Articles on OpenID Connect
High-Level Steps
- Provision a dedicated cluster
- Configure Microsoft identity platform integration
- Configure CockroachDB with the OpenID details
- Verify
Step-by-Step Instructions
Provision a Dedicated Cluster
Follow this tutorial to set up a Dedicated cluster.
Create a SQL user with the first part of your email account up to the @ sign that you're going to use for OIDC, in my case artem.
You can do so in the CockroachDB CLI or in the CockroachDB Cloud Console, following this tutorial.
Configure your network authorization based on this tutorial.
Document the DB Console URL, you will need it for the next step. In my case it is the following https://admin-artem-single-region-gc3.cockroachlabs.cloud:8080.
At this point we're all set with CockroachDB, let's set up OpenID.
I found Microsoft documentation hard to navigate. I relied on trial and error for a working example, but a high-level overview of Microsoft OpenID instructions can be found here. Ironically, there's a step-by-step guide available but alas I found it after I figured it out.
Configure Microsoft Identity Platform Integration
Log into your Azure console.
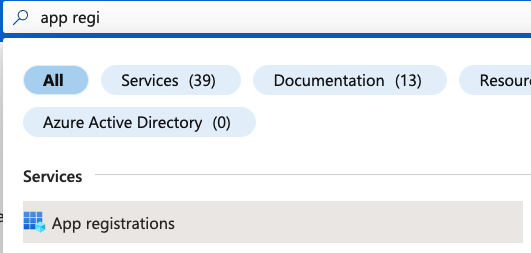
Navigate to the App registrations portal
Click on create new registration
Fill out the name of the application and add a redirect URI. Then click register.
Use the DB Console URI from above, in my case, https://admin-artem-single-region-gc3.cockroachlabs.cloud:8080.
Once complete, you have a registerd app with a client ID.
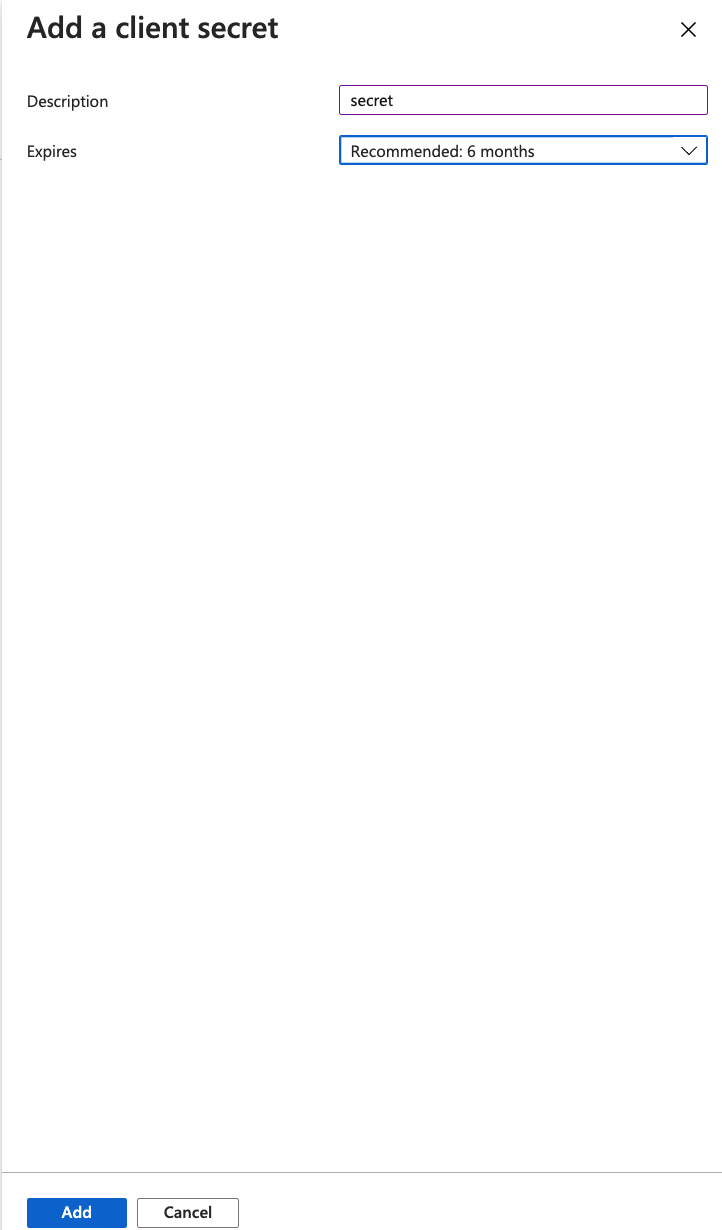
Unlike Okta and Google OAuth, Azure required my creation of client secrets. Navigate to Client credentials and add a new client secret
A new modal appears with Description and expiration, fill that out and click add
Now it is very important to copy the Value field of the secret and not the secret ID for our follow-up steps. This is not exactly obvious. Originally, I was struggling with several issues and it was difficult to debug without access to logs. A good approach here is to set up integration with a cluster where you access so that all steps are vetted.
Also, the secret will only appear once after creation, make sure you save the value else you have to create a new one later. The saved value will be used for the server.oidc_authentication.client_secret property in CockroachDB.
Let me show you what the error would look like in the logs if you use the secret ID instead of the value
E220228 21:35:45.066622 182169 ccl/oidcccl/authentication_oidc.go:319 ⋮ [-] 1010 +‹Response: {"error":"invalid_client","error_description":"AADSTS7000215: Invalid client secret provided. Ensure the secret being sent in the request is the client secret value, not the client secret ID, for a secret added to app 'a9e2a3e6-1cde-4360-92c3-c8c9baf81ba9'.\r\nTrace ID: e0cb1b85-b513-4edb-af61-b4bdc3769200\r\nCorrelation ID: 64759f91-e5c5-4457-98a4-26e666562c88\r\nTimestamp: 2022-02-28 21:35:45Z","error_codes":[7000215],"timestamp":"2022-02-28 21:35:45Z","trace_id":"e0cb1b85-b513-4edb-af61-b4bdc3769200","correlation_id":"64759f91-e5c5-4457-98a4-26e666562c88","error_uri":"https://login.microsoftonline.com/error?code=7000215"}›
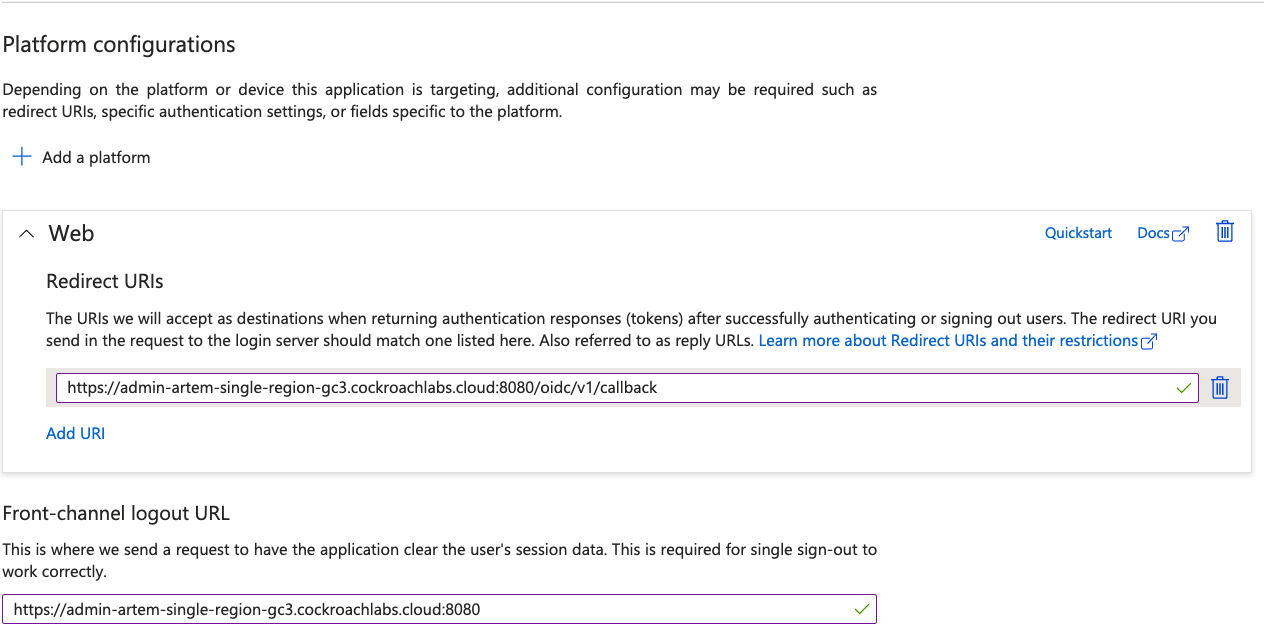
Finally, let's configure redirect and logout URIs. Click on the Redirect URIs
There are many other options available to configure your integration but for the purposes of this tutorial, this is the bare minimum.
Before we switch to CockroachDB, we have to capture the OpenID endpoint. This was more frustrating than necessary as none of the original instructions had mentioned the exact syntax required, requiring trial and error. At the top of the application, click Endpoints
The endpoint we need is listed under OpenID Connect metadata document
https://login.microsoftonline.com/166ae090-e164-40b7-b4f0-763fba013597/v2.0/.well-known/openid-configuration
However, the actual working endpoint is https://login.microsoftonline.com/166ae090-e164-40b7-b4f0-763fba013597/v2.0. Again with proper logging, you can quickly figure out the problem is with the URL but in Dedicated it's not obvious.
Let me show you what the error would look like if I was using the original endpoint URI.
ttingName":"server.oidc_authentication.provider_url","Value":"‹https://login.microsoftonline.com/166ae090-e164-40b7-b4f0-763fba013597/v2.0/.well-known/openid-configuration›"}
W220228 21:32:54.412389 572 ccl/oidcccl/authentication_oidc.go:204 ⋮ [n1] 1000  unable to initialize OIDC provider, disabling OIDC: ‹404 Not Found: ›
This completes our work in the Azure console. Let's switch back to CockroachDB CLI.
We can now fill out the required properties in SQL below with the details.
SET CLUSTER SETTING server.oidc_authentication.client_id = '<YOUR CLIENT ID>';
SET CLUSTER SETTING server.oidc_authentication.client_secret = '<YOUR CLIENT SECRET>';
SET CLUSTER SETTING server.oidc_authentication.provider_url = '';
SET CLUSTER SETTING server.oidc_authentication.redirect_url = '<YOUR COCKROACHDB DEDICATED URL INCLUDING PORT>/oidc/v1/callback';
SET CLUSTER SETTING server.oidc_authentication.scopes = 'openid email';
SET CLUSTER SETTING server.oidc_authentication.claim_json_key = 'email';
SET CLUSTER SETTING server.oidc_authentication.principal_regex = '^([^@]+)@<YOUR EMAIL DOMAIN>$';
SET CLUSTER SETTING server.oidc_authentication.enabled = true;
After I've filled it out, my entries excluding the client ID and secret look like so:
SET CLUSTER SETTING server.oidc_authentication.redirect_url = 'https://admin-artem-single-region-gc3.cockroachlabs.cloud:8080/oidc/v1/callback';
SET CLUSTER SETTING server.oidc_authentication.scopes = 'openid email';
SET CLUSTER SETTING server.oidc_authentication.claim_json_key = 'email';
SET CLUSTER SETTING server.oidc_authentication.principal_regex = '^([^@]+)@cockroachlabs.dev$';
SET CLUSTER SETTING server.oidc_authentication.enabled = true;
SET CLUSTER SETTING server.oidc_authentication.provider_url = 'https://login.microsoftonline.com/166ae090-e164-40b7-b4f0-763fba013597/v2.0';
Finally, execute the queries in the CockroachDB CLI and make sure they complete successfully.
Verify
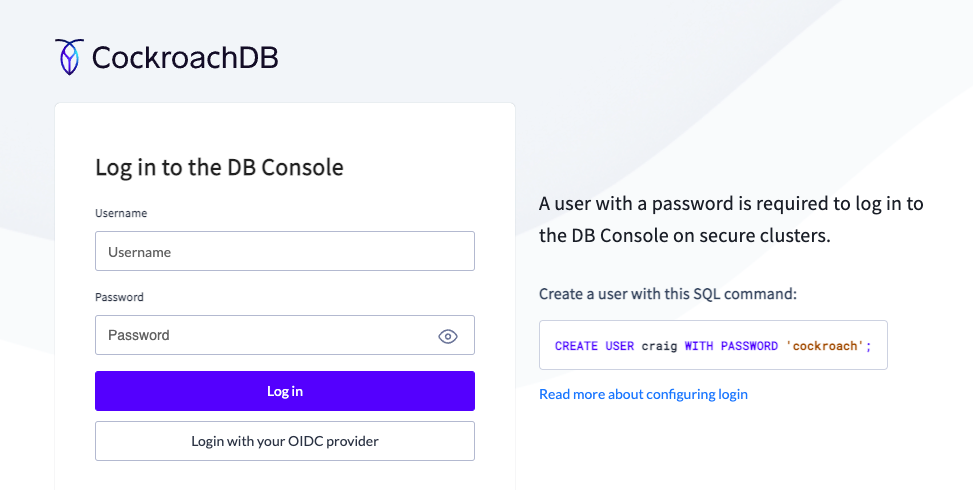
Back in the CockroachDB Dedicated console, refresh the DB Console webpage.
You will now see a new option below the login
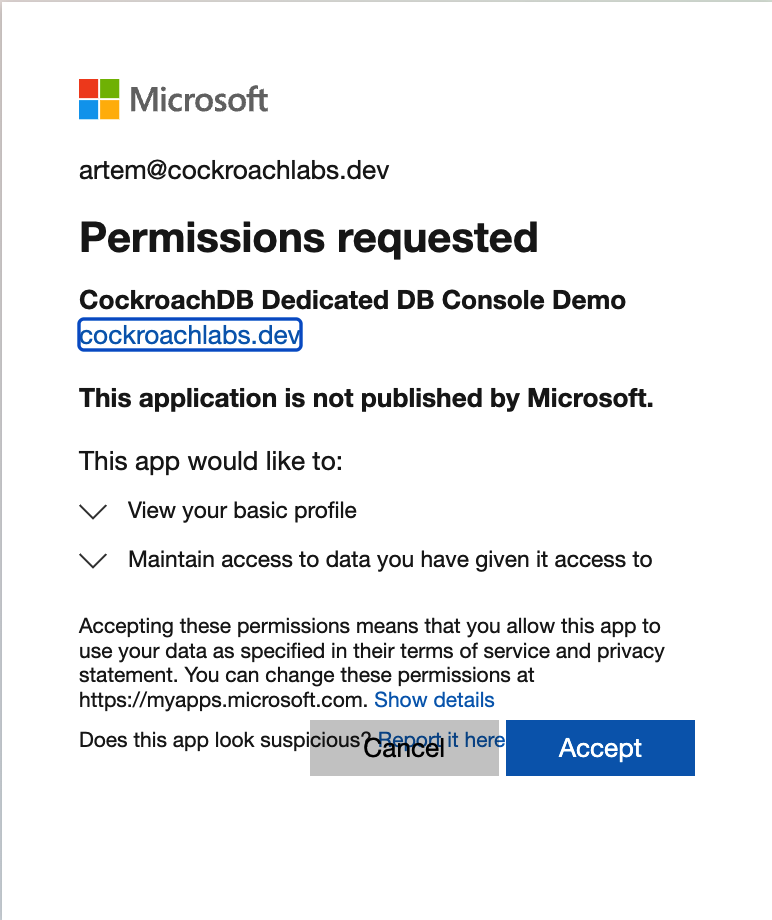
Once you click it you will be prompted for your Microsoft credentials
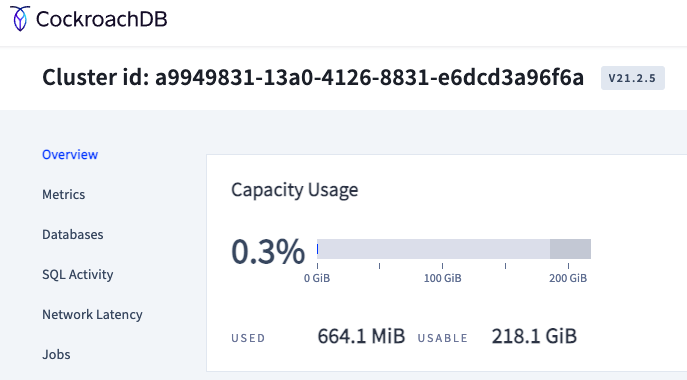
Once you log in, you will be navigated to the DB Console.
Hope you found this tutorial useful. Leave your feedback in the comments.
Published at DZone with permission of Artem Ervits. See the original article here.
Opinions expressed by DZone contributors are their own.








Comments