Configure Cypress Tests to Run on Multiple Environments
This article explains how to set up Cypress tests to run on different environments with step by step guide and helps to configure Cypress CI/CD pipelines.
Join the DZone community and get the full member experience.
Join For FreeOne of the most common scenarios in an automation framework is to run scripts on different environments like QA, staging, production, etc. There are multiple ways to configure your Cypress framework to run on different environments. I am going to show the three most used methods
In this article, I have explained 3 different methods to run your Cypress tests on multiple environments.
This article explains three different approaches to run your Cypress automation tests in different environments. Below are 3 different methods.
- Configure Cypress to Run On Different Environments using baseUrl in cypress.json.
- Setup multiple Environments in Cypress by Creating separate Cypress configuration files for each environment.
- Run your Cypress tests in multiple environments with Cypress Environment Variable and Custom Utility class.
Method 1. Configuring Cypress To Run On Different Environments Using baseUrl in cypress.json
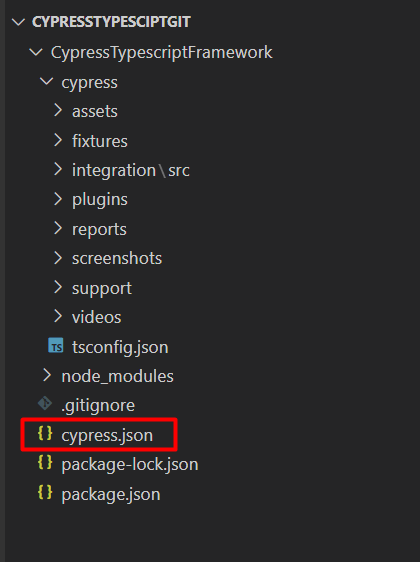
Step 1: Navigate to The cypress.json File Located in Your Project Folder
Navigate to the Project Root Folder and look for cypress.json. cypress.json is the configuration file for your Cypress automation framework.
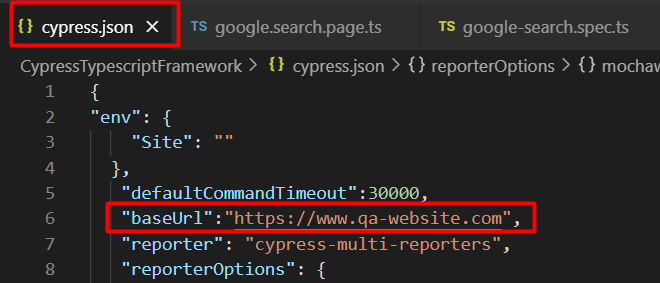
Step2: Open the cypress.json File and Add The Cypress baseUrl
Open your cypress.json file, add the baseUrl option. Below is the example:
"baseUrl":"https://www.qa-website.com",
Step 3: Access baseURL in Your Spec
In the spec file use Cypress.config().baseUrl; command to access baseUrl example code
//my.spec.ts
//Accessing baseUrl value from cypress.json
describe('Example of BaseUrl', () => {
    it('Example of Baseurl', () => {
        let url = Cypress.config().baseUrl; //accesing baseUrl
        cy.visit(url); //passing url value to cy.visit()
    });
});
Step 4: Use Cypress Command Line (aka Cypress CLI) to Pass baseUrl Dynamically
We solved the baseURL problem, but it's always static. Now we need to think of running our Cypress tests on different environments like staging, production, etc. To achieve this, we need to override baseURL using Cypress command-line options like below.
Run your Cypress tests on a staging environment, passing the staging environment URL:
npx cypress run --config baseUrl="https://www.staging-website.com/"
Run your Cypress tests on a production environment, passing the production environment URL:
npx cypress run --config baseUrl="https://www.production-website.com/"
Note:
1. The above command should be executed in the Cypress command line aka Cypress CLI.
2. Tests directly execute using the command line and you won’t see the Cypress window. Results will be displayed on the command line.
What happens when you pass the baseUrl in the Cypress command line?
- When you run Cypress with the above command (with baseURL option), the
baserUrlvalue inside thecypress.jsonwill be ignored (or overridden). - The value specified for the baseUrl in the Cypress command line takes the priority and the same will be considered as
baseUrlby Cypress.
With the above approach, we can run our Cypress test against multiple environments by configuring baseURL in our Cypress Test Automation framework. But we need to specify URL each time when we run our tests.
Method 2: Setup Multiple Environments in Cypress With Separate Cypress Configuration Files for Each Environment
Method 1 uses the Cypress baseURL approach. If you don't like the first approach then the second approach is to set up multiple Cypress configuration files to run your Cypress tests in different environments. Let's see how to do that.
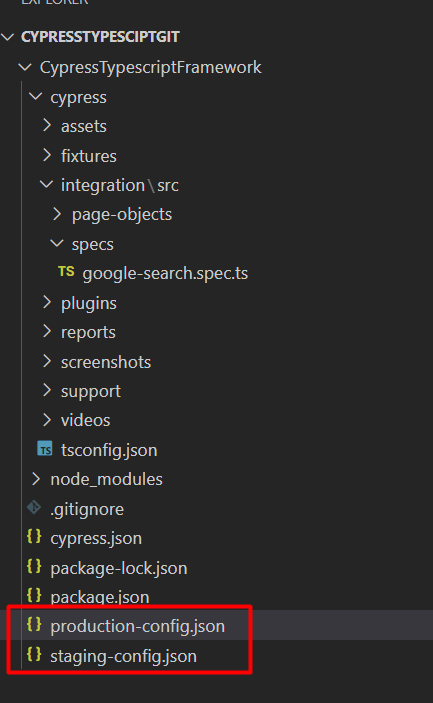
Step 1: Create Your Own Cypress Config File in The Root Folder (Extension Should be .json)
Let's consider the scenario we want to run our Cypress tests on staging environment and production environment, then we need to create two Cypress configuration files to run our Cypress tests in each environment namely staging-config.json, production-config.json
Navigate to Root of Project Folder create two Cypress config files with an extension of .json, That is staging-config.jsonand production-config.json.
Step 2: Change Cypress baseUrl settings in the newly created Cypress configuration files
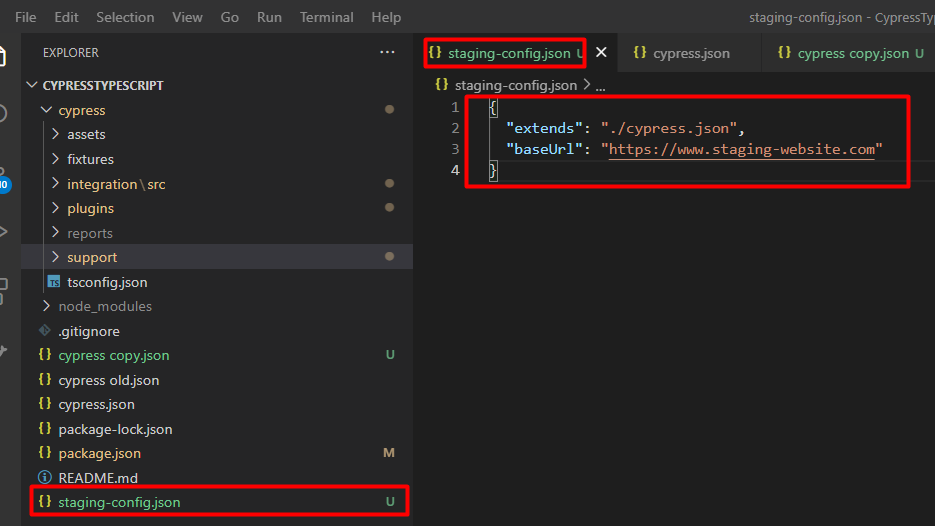
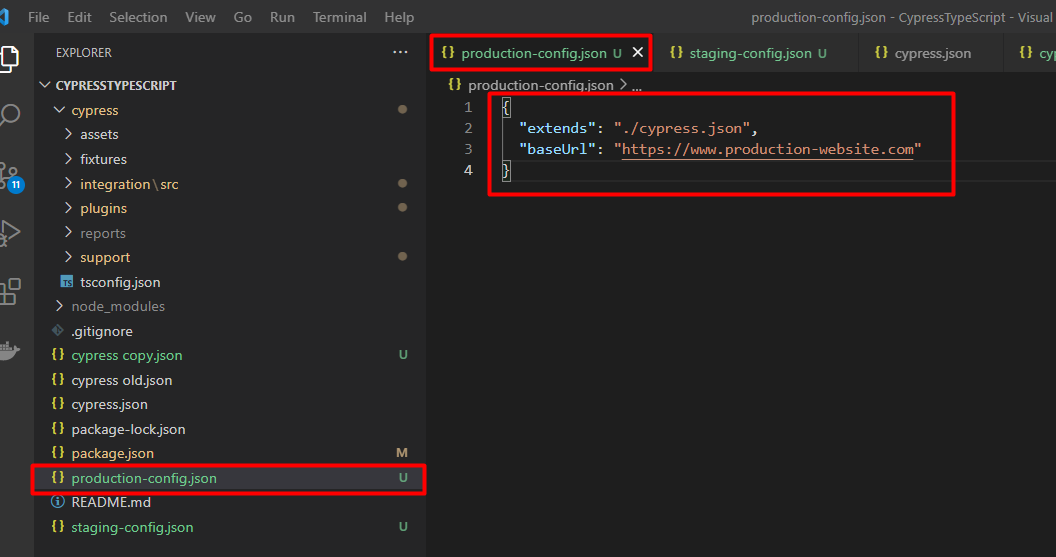
We have created two Cypress configuration files namely staging-config.json and production-config.json. The staging-config.json should contain baseUrl pointing to the staging website and production-config.json should contain baseUrl pointing to the production website.
Most importantly we need only baseUrl changes in newly created Cypress configuration files, the remaining configuration still we can use the same as the default cypress.json configuration file. In another way, we can inherit all the settings from cypress.json except baseUrl.
So, to override default Cypress baseUrl settings in staging-config.json we need to add code like below:
{
  "extends": "./cypress.json",
  "baseUrl": "https://www.staging-website.com"
}
Below is an example how staging-config.json looks:
To override default Cypress baseUrl settings in production-config.json we need to add code like below:
{
  "extends": "./cypress.json",
  "baseUrl": "https://www.production-website.com"
}
Below is an example of how production-config.json looks:
Note: All the other settings from cypress.json will be inherited to the production-config.json/staging-config.json except specified settings, in our case we are specifying baseUrl so it will be overridden. Kind of inheritance concept.
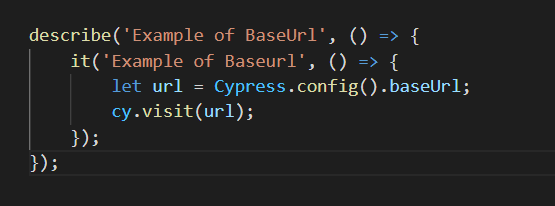
Step 3: Create a Cypress Spec File and Use Cypress.config().baseUrl Command to Access the baseURL.
Now, you need to create a Cypress spec file and access the baseUrl. Inside your Cypress spec file, you can just use Cypress.config().baseUrl to access the Cypress baseUrl.
//my.spec.ts
describe('Example of BaseUrl', () => {
    it('Example of Baseurl', () => {
        let url = Cypress.config().baseUrl;
        cy.visit(url);
    });
});
Example of Cypress Script File:
Step 4: Run Your Cypress Tests on Multiple Environments Using Cypress Command-line aka Cypress CLI
We have Cypress config files ready and we have the Cypress spec file, now we need to run our specs by specifying the Cypress --config-file option in the command line.
Run your Cypress specs on a staging environment with the below command:
npx cypress run --config-file staging-config.json
Run your Cypress specs on a production environment with the below command:
npx cypress run --config-file production-config.json
In this way, using Method 2 you can run Cypress tests in multiple environments having separate Cypress configuration files for each environment.
Still, it doesn't feel like the most cleaned approach, passing Cypress baseURL from the command line and having multiple Cypress configuration files to run tests on the different environments might be complicated to manage the framework or you might not like these approaches for some reason but there is another way to do this.
Method 3: Run Your Cypress Tests in Multiple Environments With Cypress Environment Variable and Custom Utility Class
If the above two approaches don't work for you here is the most cleaned approach. This is a simple and easy approach that helps you to manage your Cypress framework in a neat way.
Here, You are going to create a Utility class that will hold different environment URLs, once you create the Utility class you can import and use that as per your requirement. Let's see how to do that.
Step 1: Create a Utility File
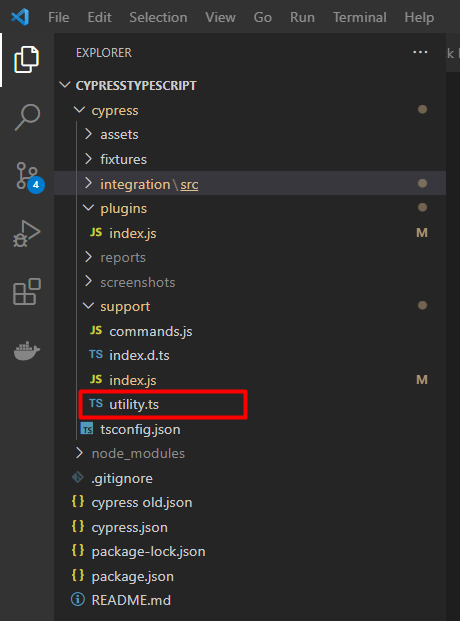
Create a utility.ts file in your project, you can create any location if you wish, but I recommend creating this Cypress utility file in your cypress/support folder.
From Project Folder Root > Navigate to cypress folder > open support folder.
Create a new Typescript file (alternatively you can create a Javascript file as well) with name utility.ts.
Below is an example of the utility.ts file
Step 2: Add Code to Return URL Based on Cypress Environment Variable Value
Cypress Environment Variable value will be passed from the command line (explained in the later steps). Here we need to return the URL based on the value of the environment variable.
//utility.ts
export class Utility {
    getBaseUrl() {
        let envi = Cypress.env('ENV'); //Get the value of evnironment variable i.e ENV
        if (envi == 'production') //Check the value
            return "https://www.proudction-website.com"; //return desired url
        else if (envi == 'staging')
            return "https://staging-website.com";
        else if (envi == 'qa')
            return "http://qa-website.com";
    }
}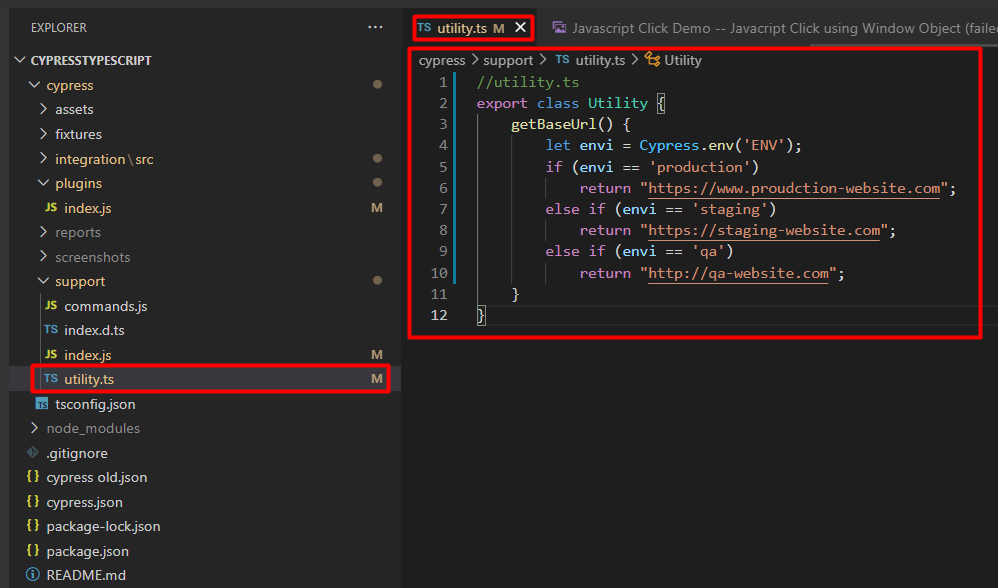
Consider the above example.
We have created the getBaseUrl() function, which will return a single URL based on the Environment type we pass in the Cypress command line.
ENV: ENV is an environment variable that will be passed from the Cypress command line.- if-else conditions: In the if conditions we are checking the value of the environment variable i.e value of ENV,
let envi = Cypress.env('ENV'): In this line, we are saving the value of the Cypress Environment variable to a local variable calledenvi.if (envi == 'production'): In this line, we are checking if the value matches string production if it matches we are returning production environment Url.
Likewise for staging and QA environments.
Step 3: Create a Spec File and Use the Environment URL
We have created our own utility function, which will return the environment-specific URLs. Now, let's create a Cypress spec file.
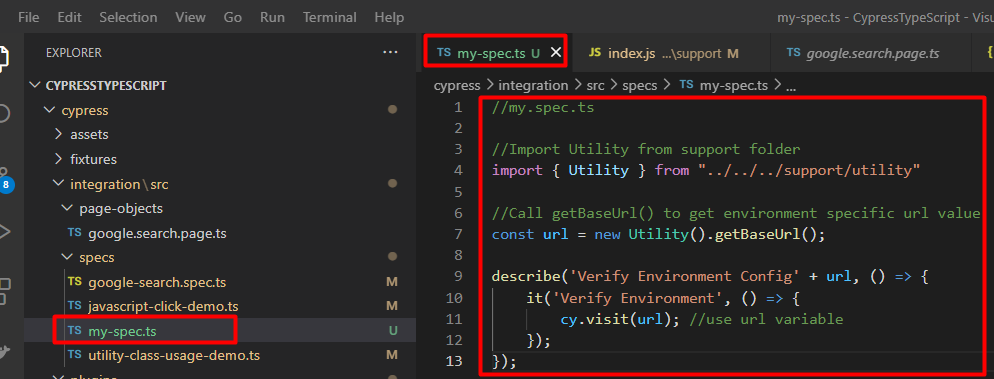
In the Spec file, you can call the getBaseUrl() function by importing the Utility class like below.
//my.spec.ts

//Import Utility from support folder
import { Utility } from "../../../support/utility"

//Call getBaseUrl() to get environment specific url value
const url = new Utility().getBaseUrl();

describe('Verify Environment Config' + url, () => {
    it('Verify Environment', () => {
        cy.visit(url); //use url variable
    });
});
Note: You can create utility wherever you want but while importing provide a valid path to the same.
Step 4: Run the Cypress Test in The Command Line by Specifying the Cypress Environment Variable
The configuration part we have completed, now we need to run our Cypress tests on the different environments by specifying Cypress Environment Variable, to do that, we can use the below command.
Run your Cypress test on the production environment using the below command:
npx cypress run --env ENV="production"
Run your Cypress test on the staging environment using the below command:
npx cypress run --env ENV="staging"
Alternatively, You can configure shortcuts to your Cypress project pacakge.json. Below is the example code:
{
  "scripts": {
    "cy:run:prod":"cypress run  --env ENV=production"
     "cy:run:stg":"cypress run  --env ENV=staging"
  }
}
If you want to run in production simply type in command line npm run cy:run:prod.
Conclusion
So, I have explained three different approaches to Run Cypress Tests on Multiple Environments, Once you have this set up in your Cypress automation framework you can configure Cypress CI/CD pipelines to run on the different environments using any of the above approaches. Hope this helps.
*****
Encourage me to write more articles, buy a coffee for me.
If you are looking for any help, support, guidance contact me on LinkedIn|https://www.linkedin.com/in/ganeshsirsi
Opinions expressed by DZone contributors are their own.


Comments