Automate Long Running Routine Task With JobRunr and Spring Boot
This article will explain a simple way to deploy, manage and monitor long-running background tasks, especially ETL systems.
Join the DZone community and get the full member experience.
Join For FreeToday I shall explain a simple way to deploy, manage and monitor long-running background tasks, especially ETL systems. The common questions that every big data engineer would ask concerning a deployed ETL tool are the performance of the tool, what is causing the break in the processing pipeline, how easy it is to chain several jobs, and lots more.
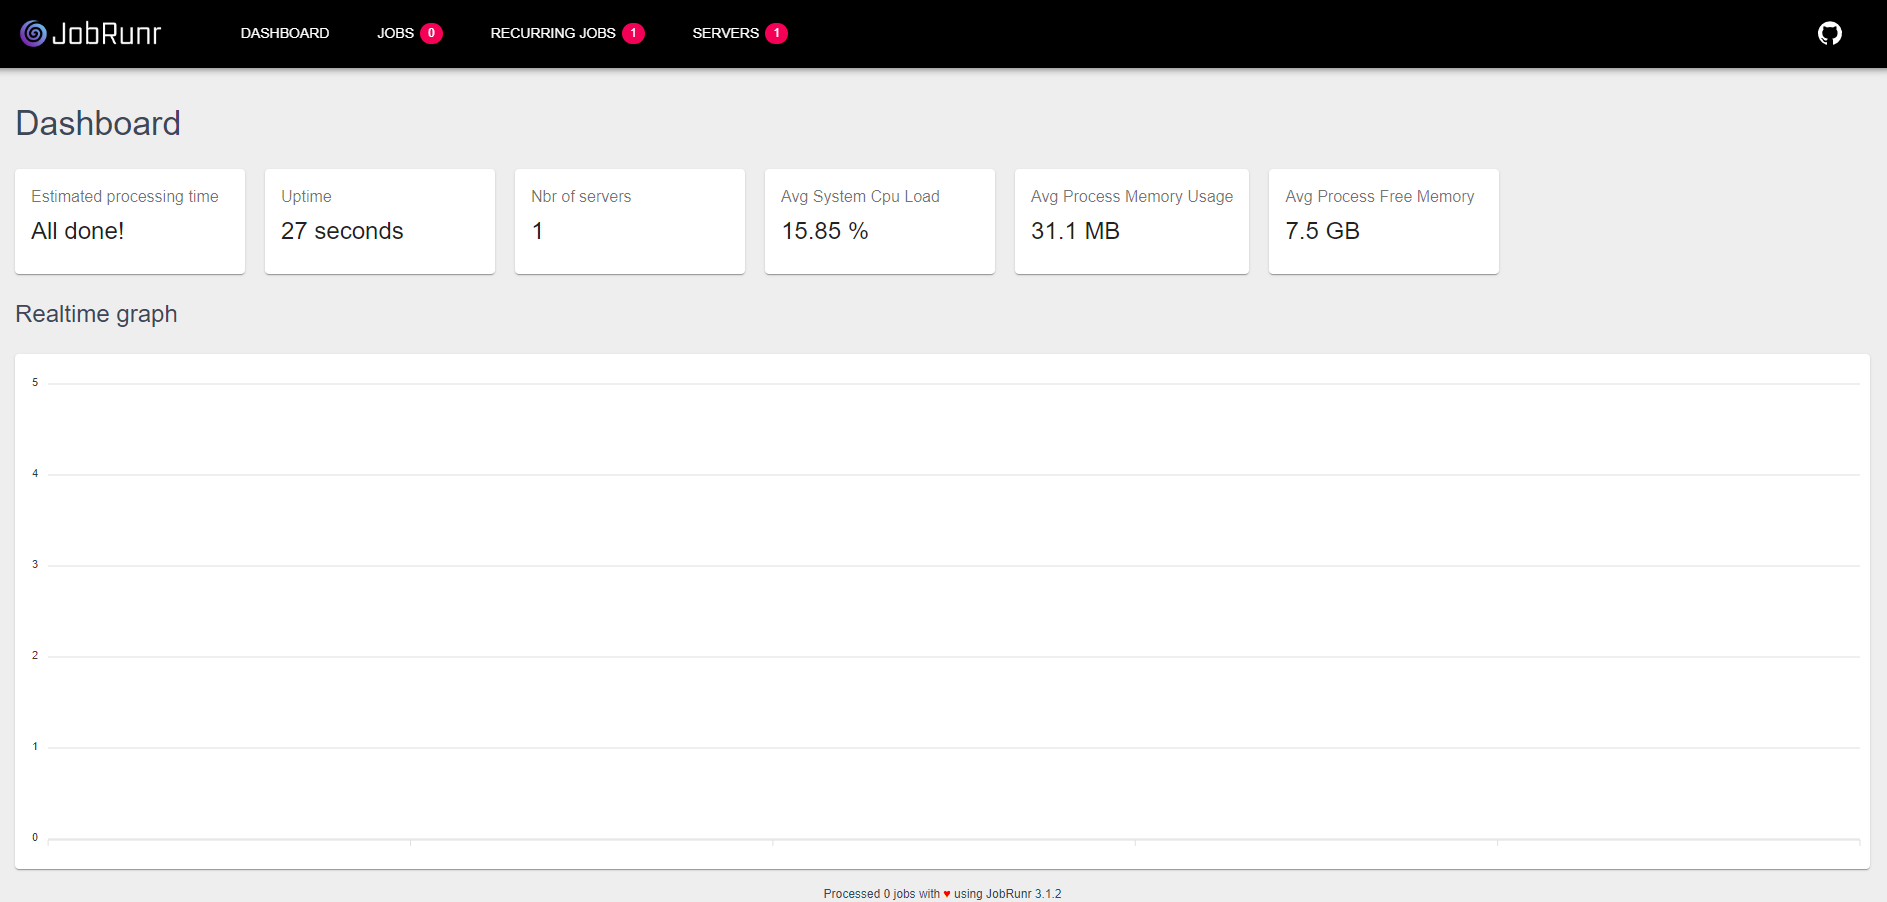
JobRunr makes it easy to schedule background long-running tasks. it is a distributed Java background job scheduler with lots of exciting features like scheduled and delayed jobs, fire and forget jobs, recurring jobs, queuing jobs and batches, and job chaining. Please note that some of these features are only available in the pro version. However, most of JobRunr's features are completely open-sourced. The library also provides a nice interface to manage and monitor all your jobs. I find this really fascinating as end users can adopt this visual for other useful purposes; for instance, from the UI, recurring jobs can be triggered manually, it provides a report on when next a job is expected to run, and users get to see nice-looking reports of each job processing time and also hardware performance information of the server where the application is deployed, isn't this exciting?
Next, let's dive into integrating JobRunr into our Java application:
Technologies Used:
- Spring Boot
- JobRunr
- Jackson
- Java 11
Start with creating a sample spring boot application; I recommend using Spring Initializr for rapid setup.
Add JobRunr to the Spring Boot Application
Add this to the list of dependencies in your pom file:
 <dependency>
            <groupId>org.jobrunr</groupId>
            <artifactId>jobrunr-spring-boot-starter</artifactId>
            <version>${jobrunr.version}</version>
        </dependency>

        <dependency>
            <groupId>com.fasterxml.jackson.core</groupId>
            <artifactId>jackson-databind</artifactId>
            <version>2.11.0</version>
        </dependency>
Configure JobRunr to use in-memory storage. Do this by adding a bean class to your project.
@Configuration
public class StorageProviderConfig {

    @Bean
    public StorageProvider storageProvider(JobMapper jobMapper) {
        InMemoryStorageProvider storageProvider = new InMemoryStorageProvider();
        storageProvider.setJobMapper(jobMapper);
        return storageProvider;
    }

}
JobRunr has an intuitive dashboard that makes it easy to monitor the status of Jobs. Add the following lines of code to your application.properties to activate the UI Dashboard.
org.jobrunr.background-job-server.enabled=true
org.jobrunr.dashboard.enabled=true
Next, create a simple service that would contain a logic that mimics a long-running task.
@Service
public class SampleJobService {

    public static final long EXECUTION_TIME = 5000L;

    private Logger logger = LoggerFactory.getLogger(getClass());

    private AtomicInteger count = new AtomicInteger();

    @Job(name = "The sample job with variable %0", retries = 2)
    public void executeSampleJob(String variable) {

        logger.info("The sample job has begun. The variable you passed is {}", variable);
        try {
            Thread.sleep(EXECUTION_TIME);
        } catch (InterruptedException e) {
            logger.error("Error while executing sample job", e);
        } finally {
            count.incrementAndGet();
            logger.info("Sample job has finished...");
        }
    }
}
The job above is expected to accept an argument when called, wait for five seconds, and print "Sample job has finished." It has been configured to retry for two attempts (in case of any failure).
Finally, we need to schedule the Job we created previously. Add the following lines of code to your Spring Boot entry class.
 @Autowired
    private JobScheduler jobScheduler;

 @PostConstruct
    public void scheduleRecurrently() {
        jobScheduler.<SampleJobService>scheduleRecurrently(Cron.every5minutes(), x -> x.executeSampleJob("a recurring job"));
    }
Voila, we have successfully scheduled the job to execute every five minutes. Run the application, and you should be able to access the JobRunr dashboard on port 8,000(the default port for JobRunr, you can change this for your needs).

The purpose of this article is to give you a quick start to using JobRunr. You can build on this to develop more complex workflows; for example, it's possible to chain multiple Jobs sequentially with JobRunr. For more information, kindly visit JobRunr's official website
Opinions expressed by DZone contributors are their own.

Comments