A Complete Guide to Laravel 5.8 Installation
If you're interested in getting started with the latest iteration of this famous framework, read on to learn how to set it up and get going!
Join the DZone community and get the full member experience.
Join For FreeReleased in February 2015, Laravel 5.0 has become one of the most popular PHP web frameworks. Being a versatile framework, it is the preferred choice of global developers and since its initial release, there has been a periodic update every six months. The latest one out of the lot, 5.8, was released in March.
Before moving ahead with Laravel 5.8 installation, let’s dig a bit deeper into the important updates and features that rolled out with Laravel 5.8.
Email validation - Laravel 5.8 will allow the validation of an email address with international characters. Earlier versions failed at validating email addresses that consisted of international characters like ‘ä’, ‘é’, among others. This is because now validation logic used by Laravel 5.8 matches with PHP’s mailer library, SwiftMailer. and both conform to RFC6530 compliance.
dotenv 3.0 - This is a new addition to the Laravel framework. Now, it will support dotenv 3.0 to manage a project’s environment file. The latest dotenv 3.0 supports multiline strings and white spaces at the end of strings in an environment file.
Change in the name of the Mailables directory - One of the most crucial additions of the update, this should be kept in mind before upgrading a project to Laravel 5.8. If your project consists of mailables with customized components and you have used the
php artisan vendor:publishcommand, there is a slight change in the name of folders. The old directory,/resources/views/vendor/mail/markdownhas been updated to/resources/views/vendor/mail/text. Logically, this is an evolutionary step, as it is fundamentally right to name a markdown folder as ‘text’.- New templates for 404 error pages - Laravel 5.8 now comes with refreshingly new error pages with a minimalist design. This will help developers to align these error pages with their websites without needing to redesign them.
- Change in caching TTL treatment - In 5.7, when you use the caching function to pass an integer, the time to live takes minutes. In 5.8, this has completely changed. Now TTL will be measured in seconds. To illustrate, let’s take an example of the following command:

In 5.7, the item would be stored for 30 minutes, whereas in 5.8 it will be stored for only 30 seconds.
Server Requirements for Installing Laravel 5.8
Before installing 5.8, you need to make sure you are working on a Laravel Homestead virtual machine as it fulfills all the critical system requirements. If you are not using Homestead, your server should fulfill the following requirements:
- PHP: 7.1.3 or greater
- PDO PHP extension
- JSON PHP extension
- OpenSSL PHP extension
- Tokenizer PHP extension
- XML PHP extension
- Mbstring PHP extension
- Ctype PHP extension
- BCMath PHP extension
Moving Ahead With Laravel 5.8 Installation
Now that you know the updated features and server requirements, let’s start with the process of installing Laravel 5.8.
Note: Before moving forward, make sure that your machine has Composer installed as Laravel uses Composer for managing dependencies.
However, if you don't have Composer installed in your machine, use https://getcomposer.org/download/ to download and install it.
There are basically two ways to install Laravel 5.8:
- Using the Laravel installer.
- Using
Composer create-project.
Installing Laravel 5.8 Using the Laravel Installer
To install Laravel 5.8, you will first have to download the Laravel installer using Composer via the following command:
composer global require laravel/installer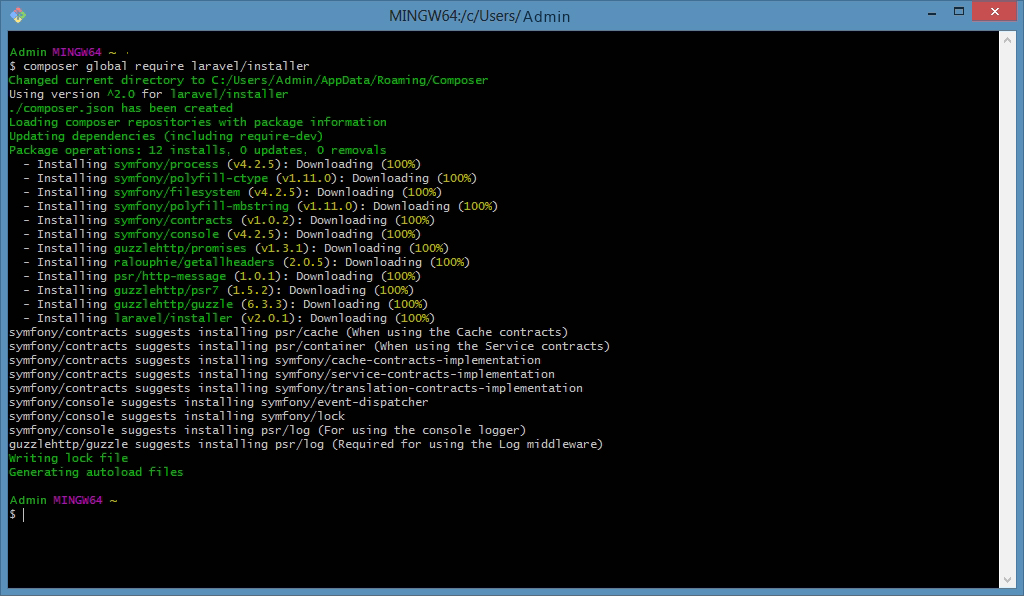
Note: Place Composer’s vendor bin directory in $PATH so that Laravel 5.8 installer.exe can be easily located on your local system. Based on the operating system you are using the directory that can be present in the following locations:
- GNU: / Linux Distribution: $HOME/.config/composer/vendor/bin
- macOS: $HOME/.composer/vendor/bin
- Windows: %USERPROFILE%\AppData\Roaming\Composer\vendor\bin
Once you have installed Laravel using the executable, a fresh Laravel installation will be created when you use the laravel new command. To begin with your new directory you can type in the following code:
laravel new blog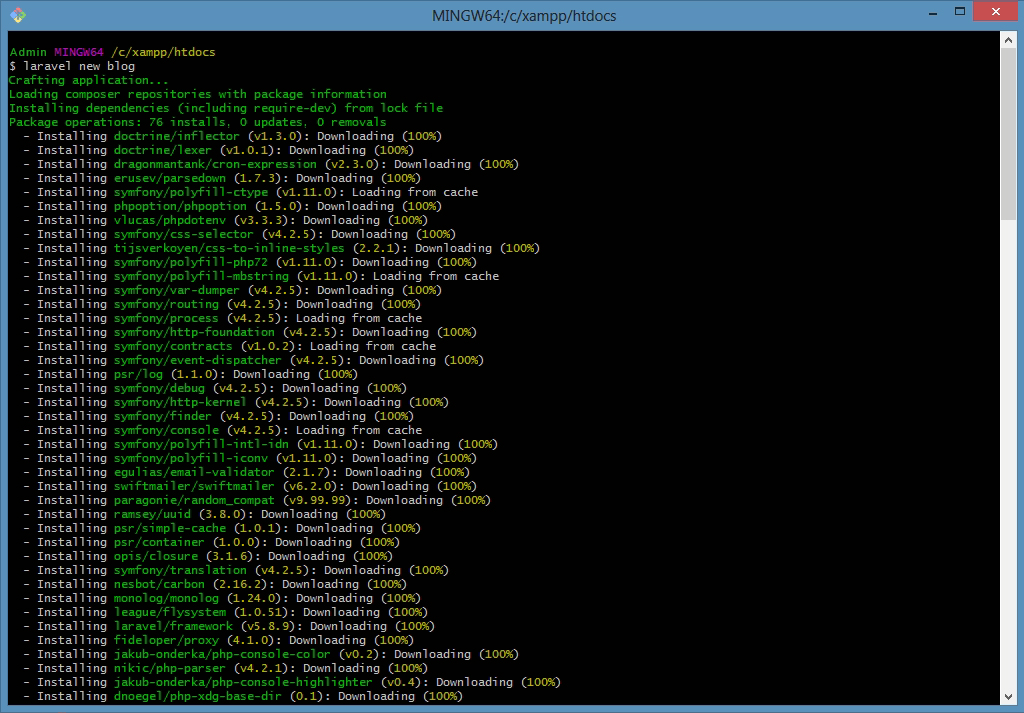
Installing Laravel 5.8 Using Composer create-project
You can also install Laravel 5.8 by using the create-project command in the terminal.
composer create-project --prefer-distlaravel/laravel news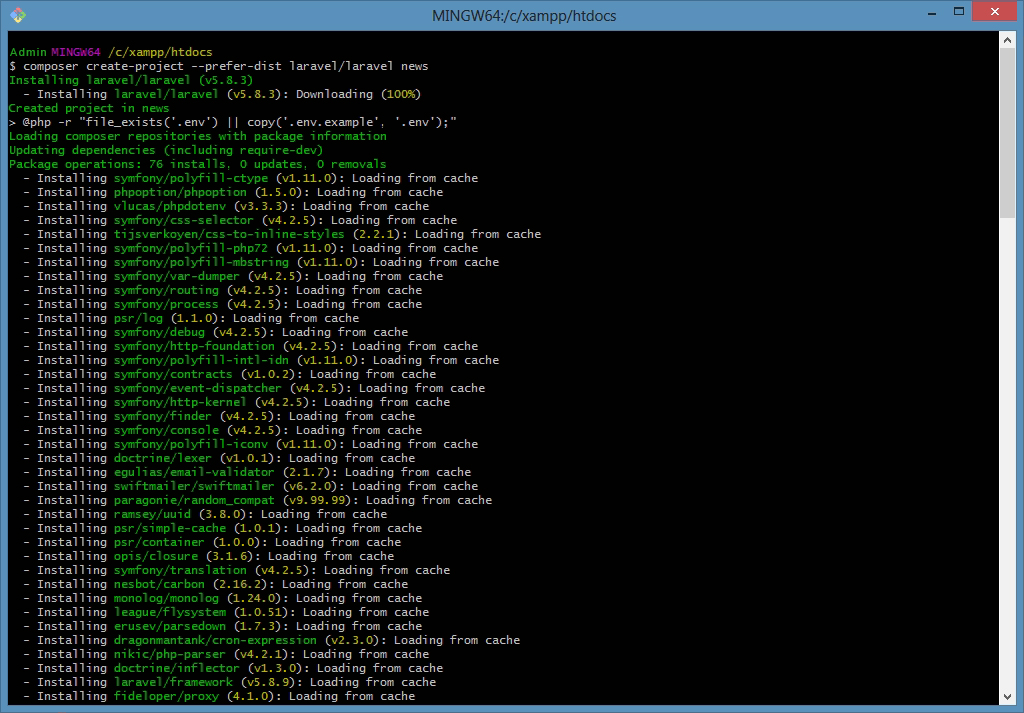
This will create a new directory, blog, with all Laravel directories pre-installed for you to work in.
Configuring Different Aspects Associated with Laravel 5.8 Installation
Public Directory
Once you have finished installing Laravel, you will have to set the web server’s document/web root directory to be a public directory. This is essential because your index.php in the directory will manage all HTTP requests coming to your application.
Configuration Files
The configuration files associated with the Laravel framework can be found in the config directory. You can check the files to understand more about Laravel 5.8’s capabilities and gauge what’s on your table.
Directory Permissions
You will have to set permissions for some directories. The most important one includes the directories within the storage&bootstrap/cache directory. These should be configured to be writable, otherwise Laravel will fail to run. If you are using the Homestead virtual machine, these permissions will automatically be configured.
Application Key
You will also have to set your application key to a random string. If you have used the above two ways to install Laravel, this will have been set by using php artisan key:generate command already. However, if you need to set the key, you should keep in mind that the string should be 32-characters long and can be set in the .env file.
Note:
- Rename the .env.example file to .env.
- Set the application key before anything else or your encrypted data and user sessions will not be secure.
Local Development Server
If PHP is installed locally and you are using PHP’s built-in development server, you can use the serve Artisan command. This will initiate a development server at http://localhost:8000:
php artisan serve 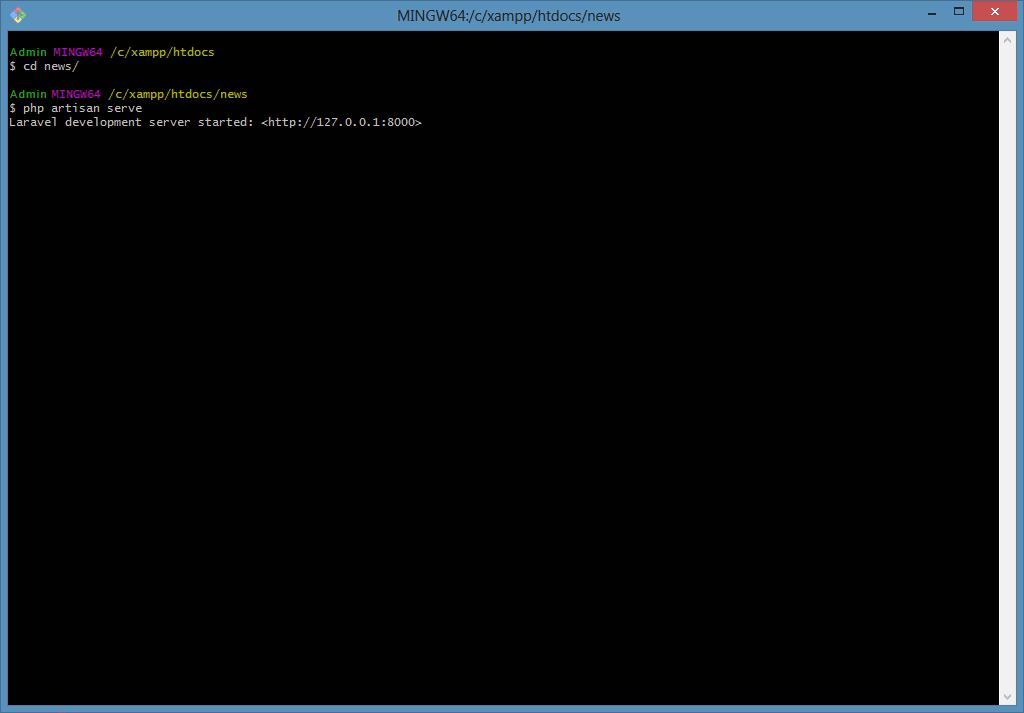
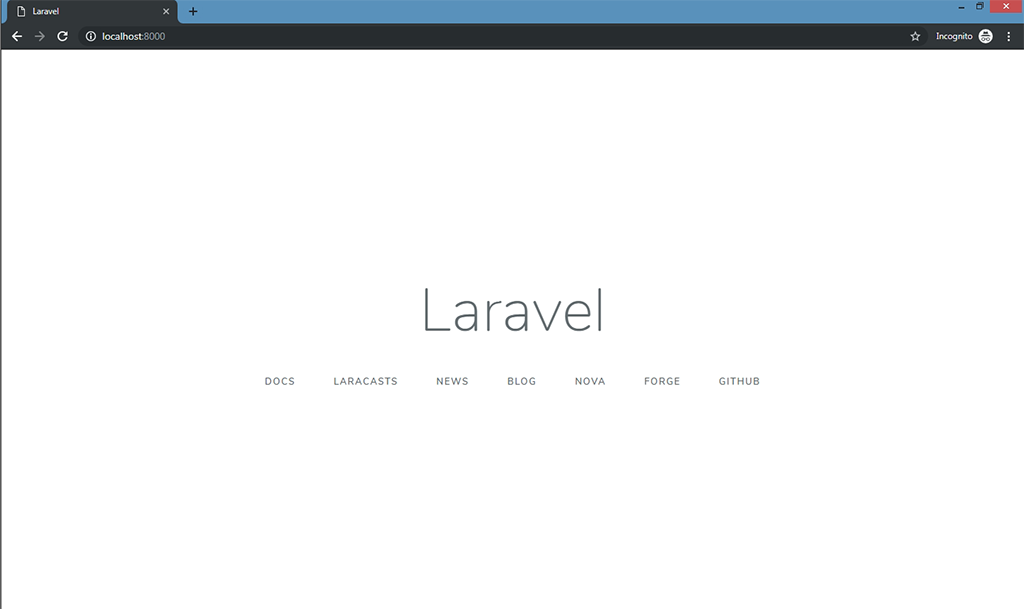
When you hit http://localhost:8000 in your favorite browser you will get your first Laravel home screen.
Additional Configurations
Once you are done with all these configurations, you can start developing using Laravel 5.8. However, it is recommended to review the config/app.php file as it contains several important aspects, such as timezone&locale that you might want to change.
We have tried to cover every important aspect associated with Laravel 5.8 installation in this article. However, if you feel there is something that we missed, feel free to let us know in the comments section.
Opinions expressed by DZone contributors are their own.

Comments