Why and How To Create an Event Bus in Vue.js 3
In this article, readers will learn how to migrate their applications from Vue.js 2 to Vue.js 3, components communications of Vue.js, and Vue.js’ global state.
Join the DZone community and get the full member experience.
Join For FreeSince I’m working on the 2.0 version of my product’s UI (to be released in May), I’m publishing some technical tricks I learned from migrating my application from Vue.js 2 to Vue.js 3.
The current version of the Inspector frontend application uses a global event bus. It’s needed to make the root component of the application (App.vue) aware of some particular events fired inside the component chain.
Before going into the details of this specific implementation, let me describe the principles of components communication in Vue.js and why we decided to use a global event bus even if this is a not recommended practice.
Vue.js Components Communication
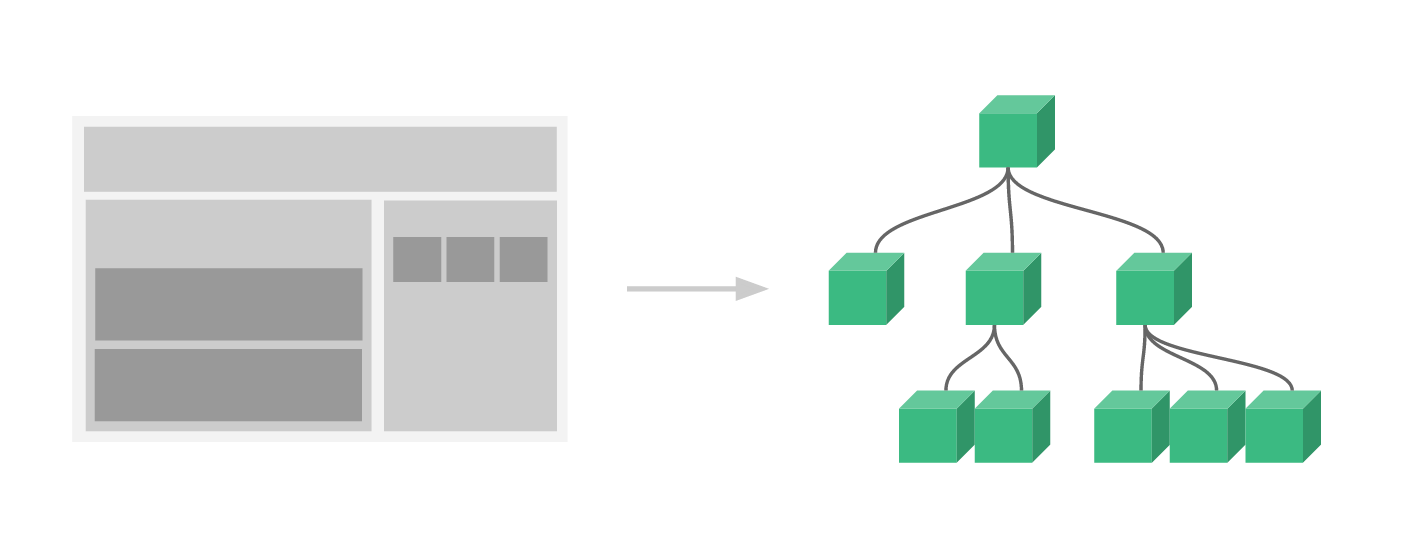
In Vue.js, each component is responsible to render a piece of UI users are interacting with. Sometimes, components are self-sufficient. They can retrieve data directly from the backend APIs. More often, a component is a child of a more structured view that needs to pass data to child components to render a specific part of the UI.

Components can expose props to their parents. Props are the data a component needs from a parent to make it work.
In the example below, the component needs the user object to render its name with different styles based on its role:
<template>
    <span :class="{'text-danger': user.is_admin}">
        {{user.first_name}} {{user.last_name}}
    </span>
</template>

<script>
export default {
    props: {
        user: {
            type: Object,
            required: true
	}
    }
}
</script>
This strategy enforces reusability, promotes maintainability, and is the best practice.
But, this works only for components with a direct relation in the tree, like a Menu.vue component that uses the User.vue component to show the user name:
<template>
    <div class="menu">
        <a href="#" class="menu-item">
            Home
        </a>

        <a href="/user" class="menu-item">
            <User :user="user"/>
        </a>
    </div>
</template>

<script>
export default {
    data() {
        return {
            user: {}
        };
    },

    created() {
        axios.get('/api/user').then(res => this.user = res.data);
    }
}
</script>
How Can Unrelated Components Communicate?
Vue.js Global State
There are two ways of making unrelated components communicate with each other:
- Vuex
- Event Bus
Vuex is a state management library. At first glance, it seems complicated, and in fact, it is a bit. You can use Vuex to store data that should be used globally in your app. Vuex provides you with a solid API to apply changes to this data and reflect them in all child components that use the Vuex data store.
Event bus is related to the classic Events/Listeners architecture. You fire an event that will be treated by a listener function if there is one registered for that event.
98% of the stuff in your typical app is not a function but really a state. So, you should use Vuex for everything as a default and drop back to an Event Bus when Vuex becomes a hurdle.
Event Bus Use Case: Our Scenario
I have come across a scenario where I need to run a function, not manage a state. So, Vuex doesn’t provide the right solution.
In Inspector, the link to access the form for creating a new project is spread over several parts of the application. When the project is successfully created, the application should immediately redirect to the installation instruction page. No matter where you are in the application, we must push the new route in the router to force navigation:
(project) => {
    this.$router.push({
        name: 'projects.monitoring',
        params: {
            id: project.id
        }
    });
};
How To Create an Event Bus in Vue3
Vue 2 has an internal event bus by default. It exposes the $emit() and $on() methods to fire and listen for events.
So, you could use an instance of Vue as an event bus:
export const bus = new Vue();In Vue 3, Vue is not a constructor anymore, and Vue.createApp({}); returns an object that has no $on and $emit methods.
As suggested in official docs, you could use the mitt library to dispatch events across components.
First, install mitt:
npm install --save mittNext, I created a Vue plugin to make a mitt instance available inside the app:
import mitt from 'mitt';


export default {
    install: (app, options) => {
        app.config.globalProperties.$eventBus = mitt();
    }
}
This plugin simply adds the $eventBus global property to the Vue instance so we can use it in every component calling this.$eventBus.
Use the plugin in your app instance:
import { createApp } from 'vue';
const app = createApp({});

import eventBus from './Plugins/event-bus';
app.use(eventBus);
Now, we can fire the event “project-created” from the project form to fire the function defined in the App.vue component:
this.$eventBus.emit('project-created', project);The global listener is placed in the root component of the app (App.vue):
export default {
    created() {
        this.$eventBus.on('project-created', (project) => {
            this.$router.push({
                name: 'projects.monitoring',
                params: {
                    id: project.id
                }
            });
        });
    }
}
Conclusion
By now, you should have a better understanding of migrating from Vue.js 2 to Vue.js 3, Vue.js component communications, and the Vue.js global state. I hope this article will help you make better decisions for the design of your application.
Published at DZone with permission of Valerio Barbera. See the original article here.
Opinions expressed by DZone contributors are their own.

Comments