Using Travis CI for Deploying Mulesoft Applications to Cloudhub
This tutorial explains what Travis CI is and how you can use it to deploy Mulesoft applications to Cloudhub. Read below to find out more!
Join the DZone community and get the full member experience.
Join For FreeWhat Is Travis CI?
- Travis CI is a hosted continuous integration service used to build and test software projects hosted at GitHub and Bitbucket. Travis CI provides various paid plans for private projects and a free plan for open source.
- Travis CI is available at https://travis-ci.org/.
- https://travis-ci.org/ supports only public repositories. To support GitHub private repositories, you can use https://travis-ci.com/.
Prerequisites
To start using Travis CI, make sure you have:
- A GitHub or Bitbucket or GitLab account.
- Owner permissions for a project hosted on GitHub or Bitbucket or GitLab.
To get started with Travis CI using GitHub, follow these steps:
- Go to Travis-ci.com and Sign up with GitHub.
- Accept the Authorization of Travis CI. You’ll be redirected to GitHub.
- Click on your profile picture in the top right of your Travis Dashboard, click Settings and then on the Left-hand side, Sync Account button. This will sync all your repositories in the GitHub with Travis CI.
- Add a .travis.yml file to the root of your repository to tell Travis CI what to do. Below is the example of a travis.yml file that I used to build the integration:
language: java |
Add .travis.setting.xml to the root of your repository. This will have the url to all the repositories from where all the dependencies will get downloaded to build the project. Below is the example of the file used in the integration :
<settings> |
Now, for deploying Mulesoft application to Cloudhub, you need to configure mule maven plugin in POM.xml:
<cloudHubDeployment> |
Declaring Environment Variables at Travis CI
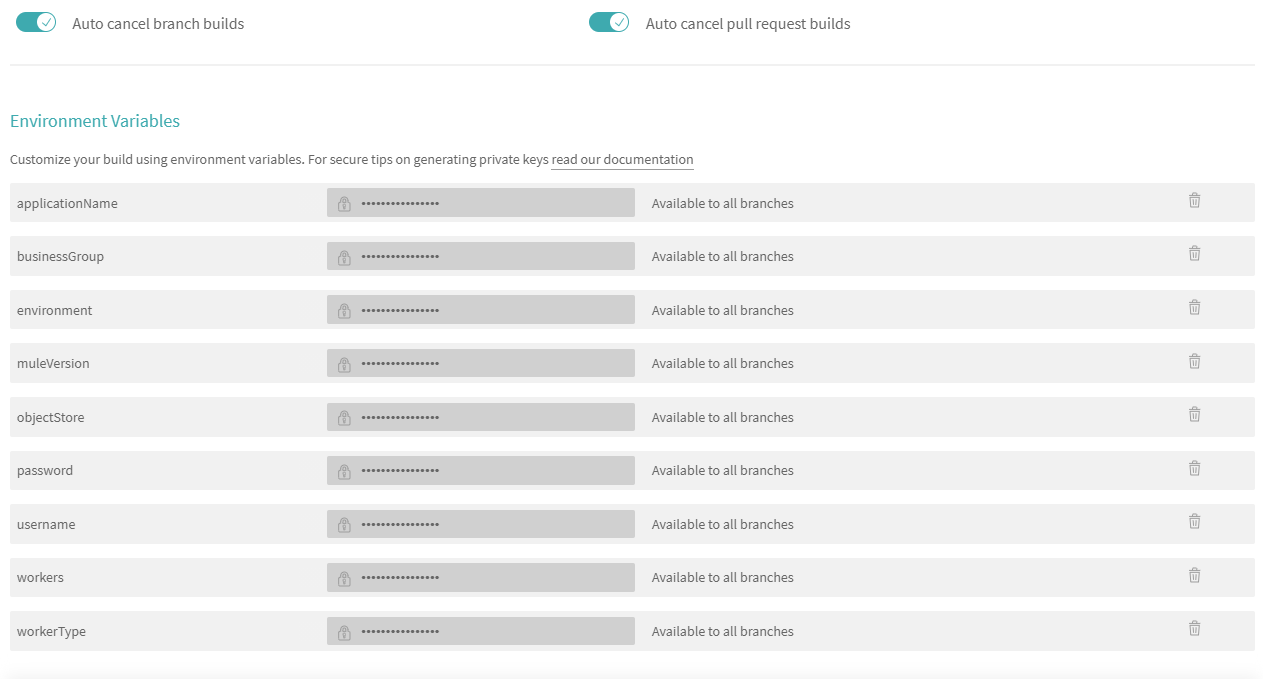
For declaring the variable, you can activate the repository and click on settings. It will navigate to the build screen. Now click on More Options ⇒ Settings. Scroll down and it will show you the Environment Variables tab to declare your variables.
For the above code, all environment variables have been declared — required by Mule maven plugin like workers, workerType, Application Name, etc. and username and password required by .travis.settings.xml

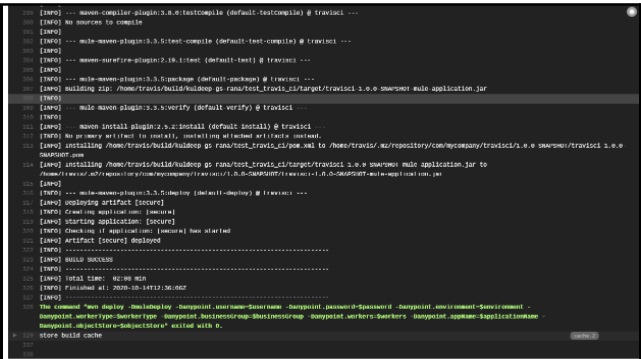
Once all the changes are pushed to the git, and Travis CI is activated for that repository, the Continuous Integration, and Continuous Deployment process will take place. You can check the logs for further details.

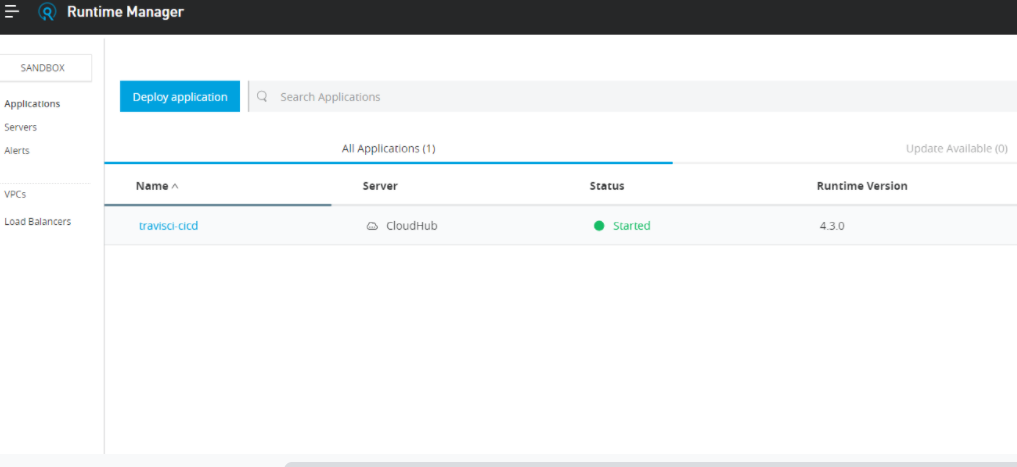
The application is successfully deployed to Cloudhub.

Reference Links
Published at DZone with permission of Kuldeep Rana. See the original article here.
Opinions expressed by DZone contributors are their own.

Comments