Two-Way SSL Authentication Setup in Mule
In this post, we will set up a two-way SSL from CA-signed certificate hosted as a server and a client-server and demonstrate the connectivity between client and server.
Join the DZone community and get the full member experience.
Join For FreeWhat is Two-Way SSL?
Two-way SSL means that a client and a server communicates on a verified connection with each other. The verifying is done by certificates to identify. A server and a client has implemented a private key certificate and a public key certificate.
Two-way SSL representative:

Let's get into a demonstration on how the client and server setup is done and could be used in real-world case scenario.
We will proceed with the below steps:
- Create a server setup.
- Integrate it with Mule and deploy it locally.
- Create a client setup.
- Import client public certificate(.crt) to server truststore.
- Import server public certificate(.crt) to client truststore.
Create a Server Setup
- Generate a CSR along with private Key.
openssl req -new -newkey rsa:2048 -nodes -keyout server.key -out server.csr(It will prompt some questions like country name, organization etc.)
Note: Please make sure you provide a proper common name(Common Name (your name or your server's hostname))
You can view and verify the information contained in the CSRopenssl req -noout -text -in server.csr - Either you can Self-Sign the certificate or provide your CSR to Authorised (Skip this step if you are not self-signing it)
openssl x509 -req -days 365 -in server.csr -signkey server.key -out server.crtFor CA-signed, an Approved Authority will provide you the .crt file
Note: Two-way SSL will only happen on CA-signed certificate - Create a JKS file using .crt file and private key
You must generate a p12 file which comprises of private and .crt fileopenssl pkcs12 -export -in server.crt -inkey server.key -certfile server.crt -out server.p12
Now you must generate jks using a p12 file.keytool -importkeystore -srckeystore server.p12 -srcstoretype pkcs12 -destkeystore server.jks -deststoretype JKS
Change the alias server.jks. Above command set the alias for server.jks to 1. To rename it use this command:keytool -changealias -keystore server.jks -alias 1 - Add the JKS to your Keystore and deploy your API using HTTPs
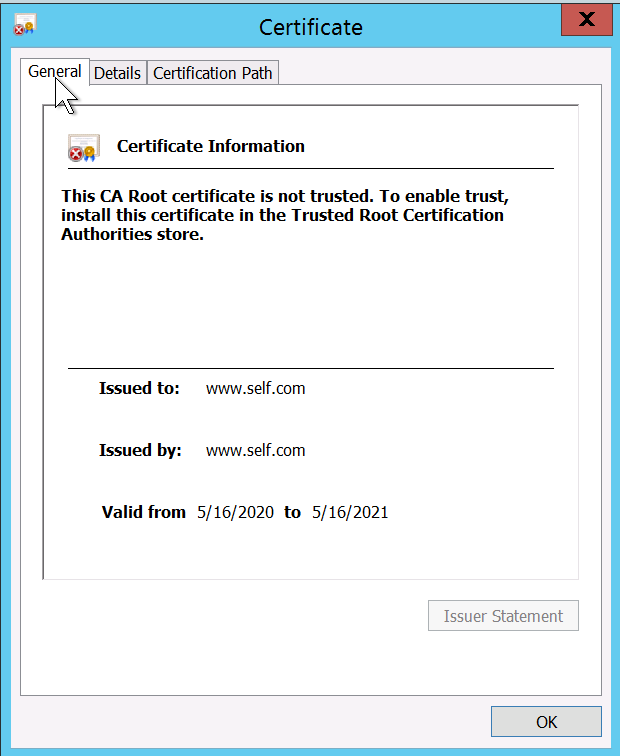
You can view your certificate through the browser. It would be unsecure for self-signed and secure for CA-signed
You can view your certificate through a browser. It would be unsecure for self-signed and secure for CA signed. Now you will have the below files generated:- server.crt
- server.csr
- server.jks
- server.key
- server.p12
Integrate It with Mule and Deploy Server Application
- Create a new application in Mule.
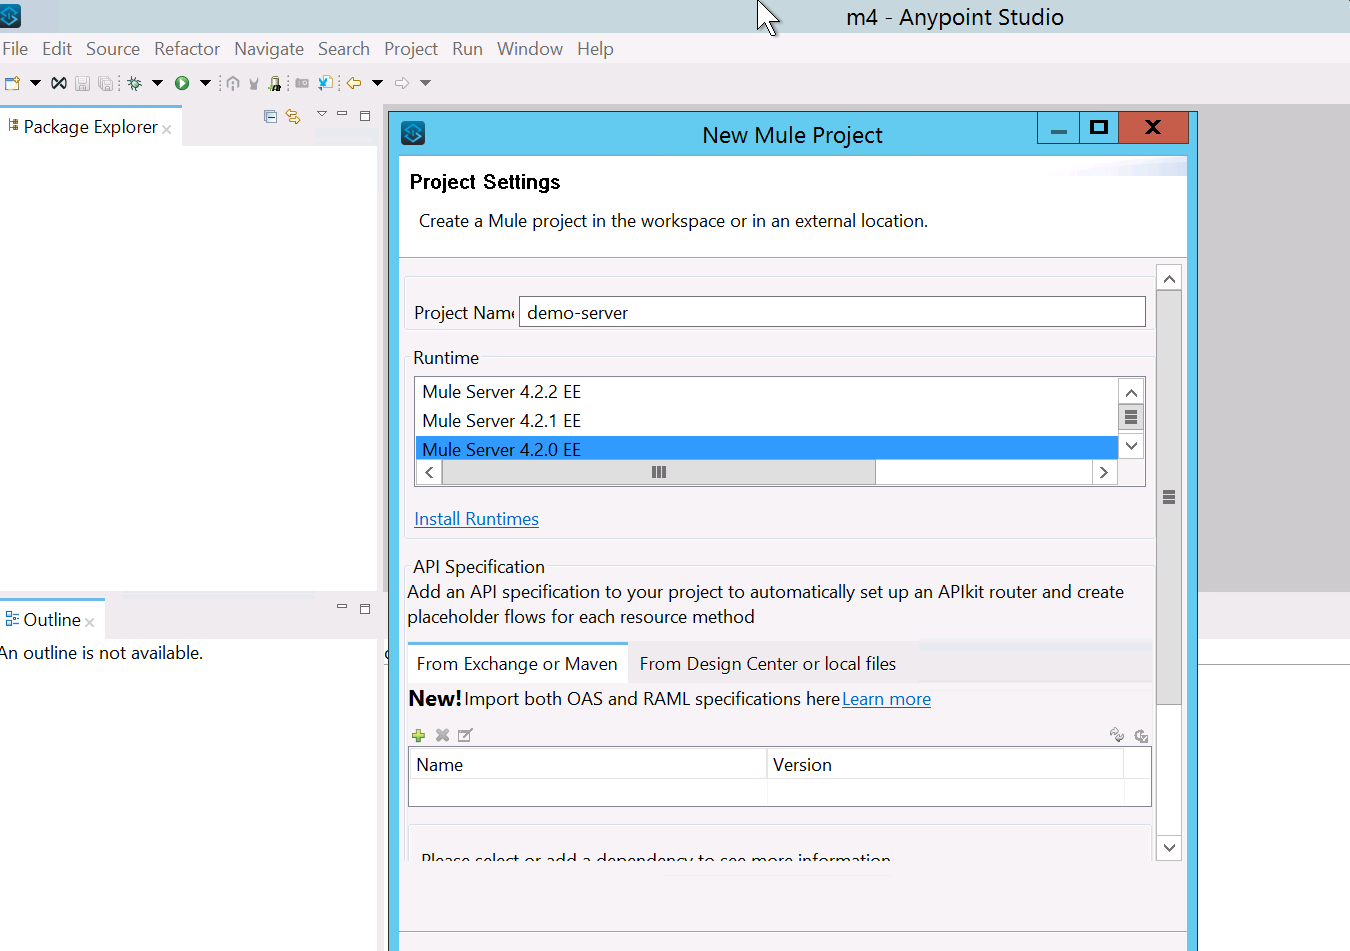
- Drag and drop an HTTP listener, set the protocol as HTTPS, and add the JKS file which we have created in the previous step.
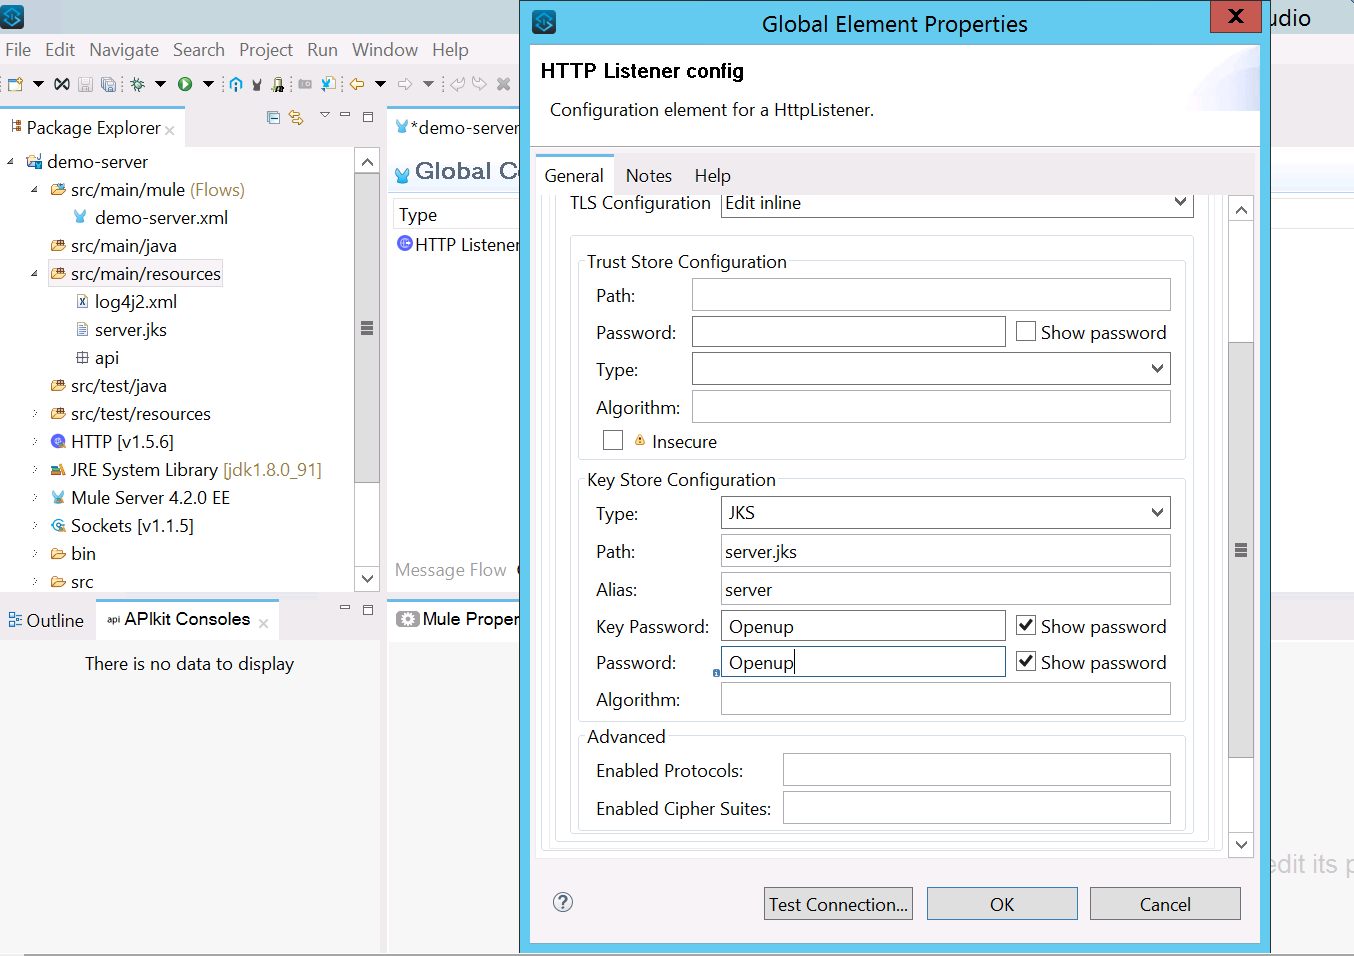 Note: I have not included any trust store because we have not setup any client until now. We will see in the next step.
 - Add a Set Payload and run it locally.
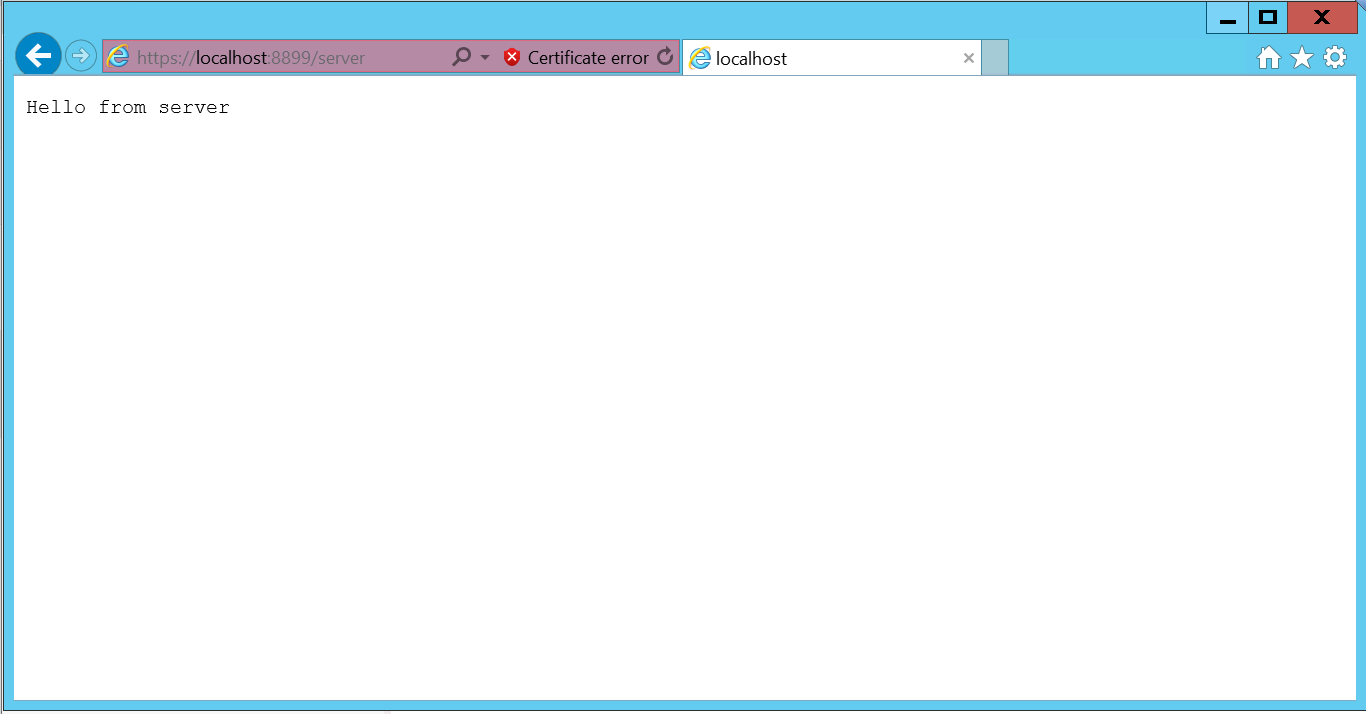
- You can check the certificate details
Create Client Setup
- Perform the same step as we did for the server setup. But this would be on the client end.
You will have the below files generated for the client:- client.crt
- client.csr
- client.jks
- client.key
- client.p12
Import Client Public certificate(.crt) to Server Truststore
In order to access the server API, we need to request serve to add client public certificate(client.crt) to server truststore. If we miss this step we will get SSL Handshake failure. Please follow the below command to add client public certificate to truststore and deploy that application on cloudhub/onprem.
- Import client.crt to server truststore.
keytool -import -alias client-cert -keystore client-truststore.jks -file client.crt - Import the truststore to your demo-server API and deploy it on Cloudhub/Onprem.
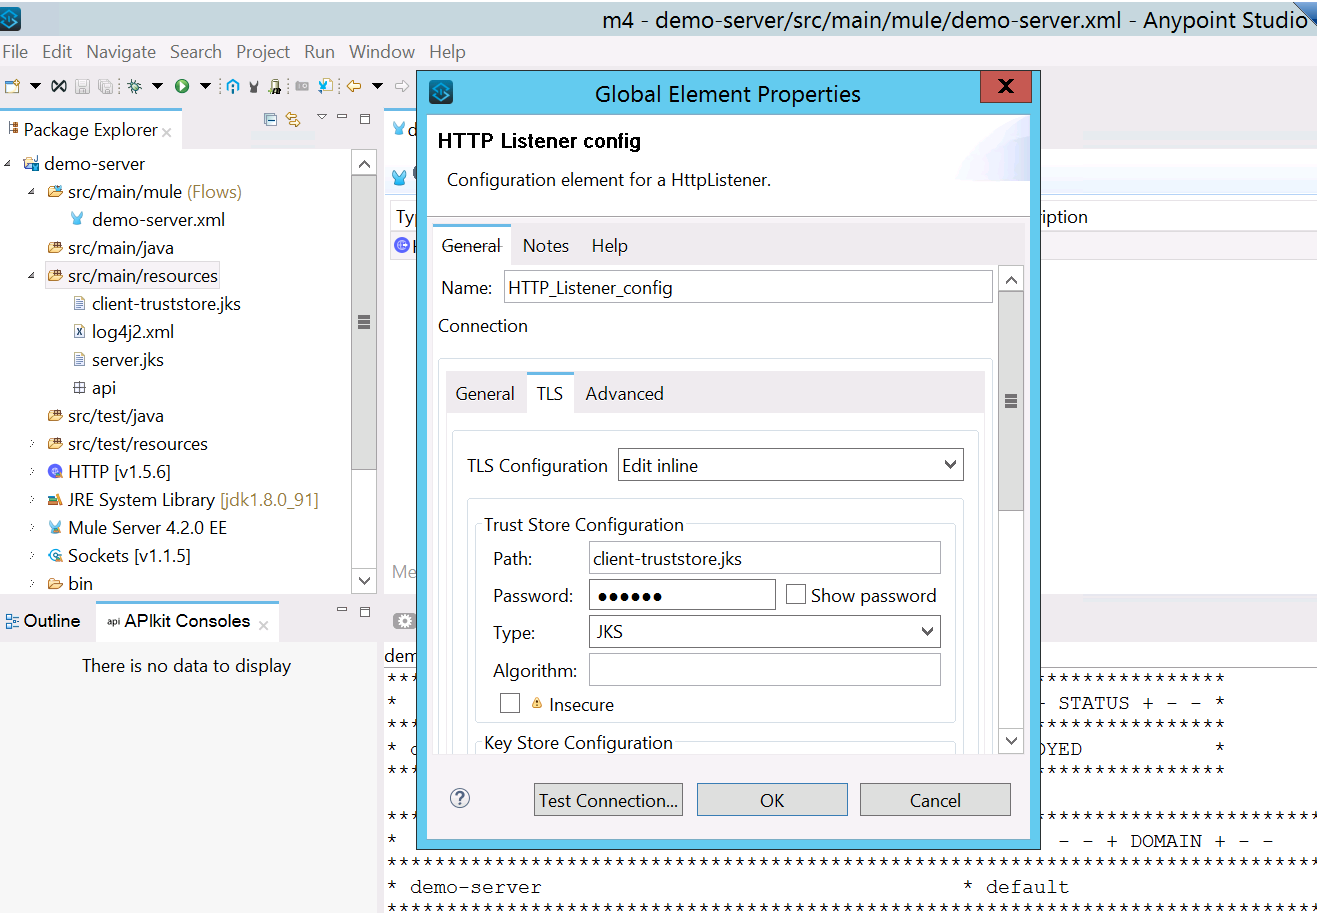 The application will get deployed and if you try to hit the endpoint you will get an error as SSL handshake error: null cert chain. This is because you are trying to hit it directly and not using client certificate.
 - Create a demo-client application and try to consume server payload
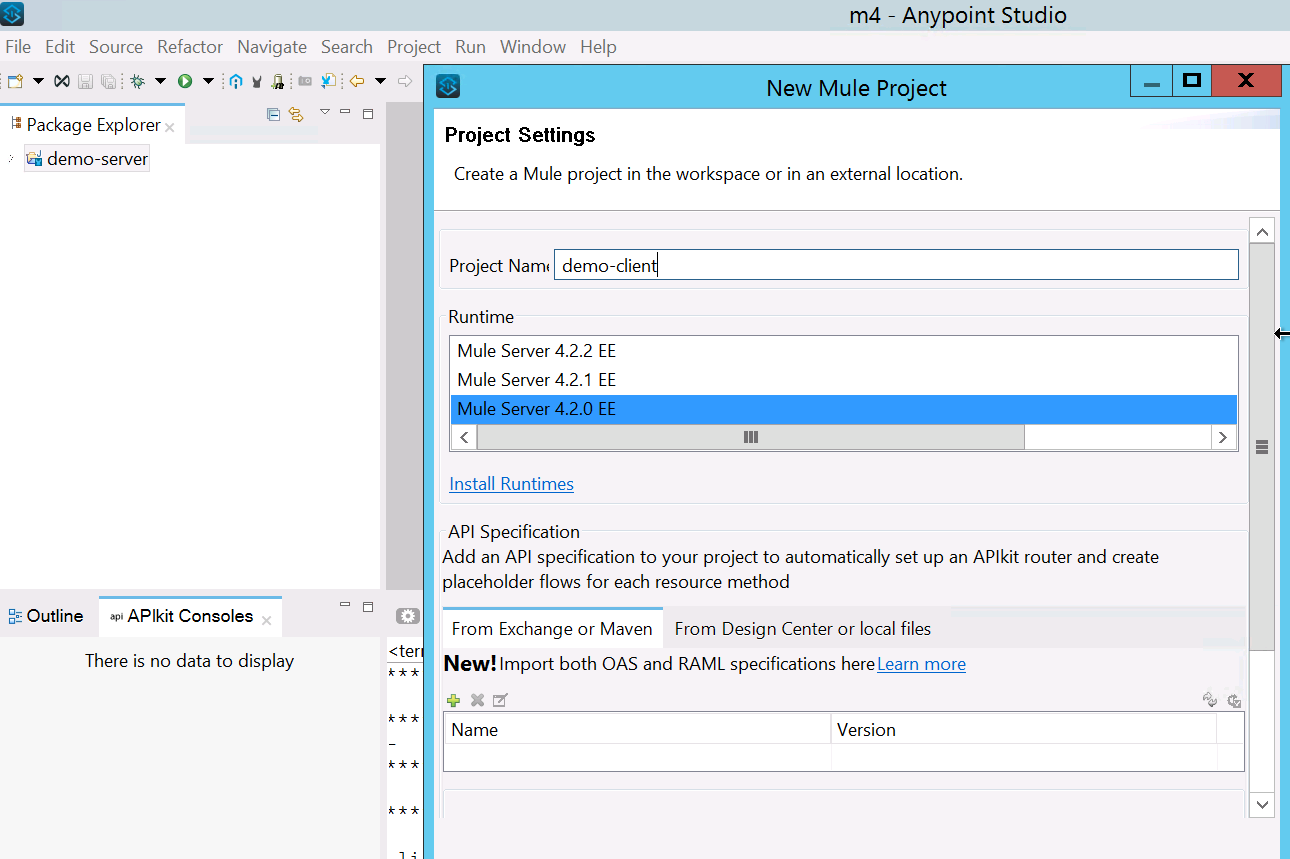
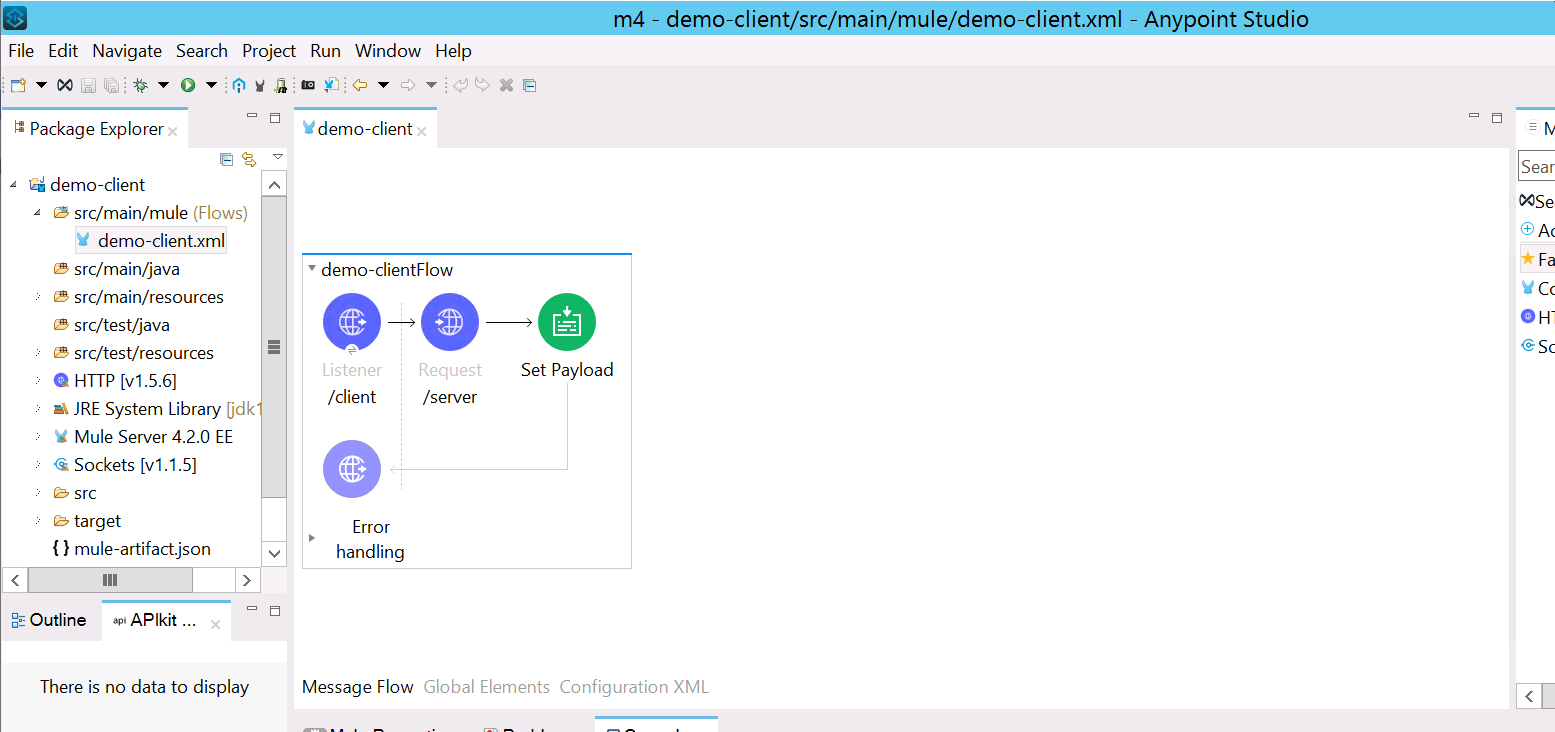
- Add HTTP listener and HTTP request (which points to your demo-server)
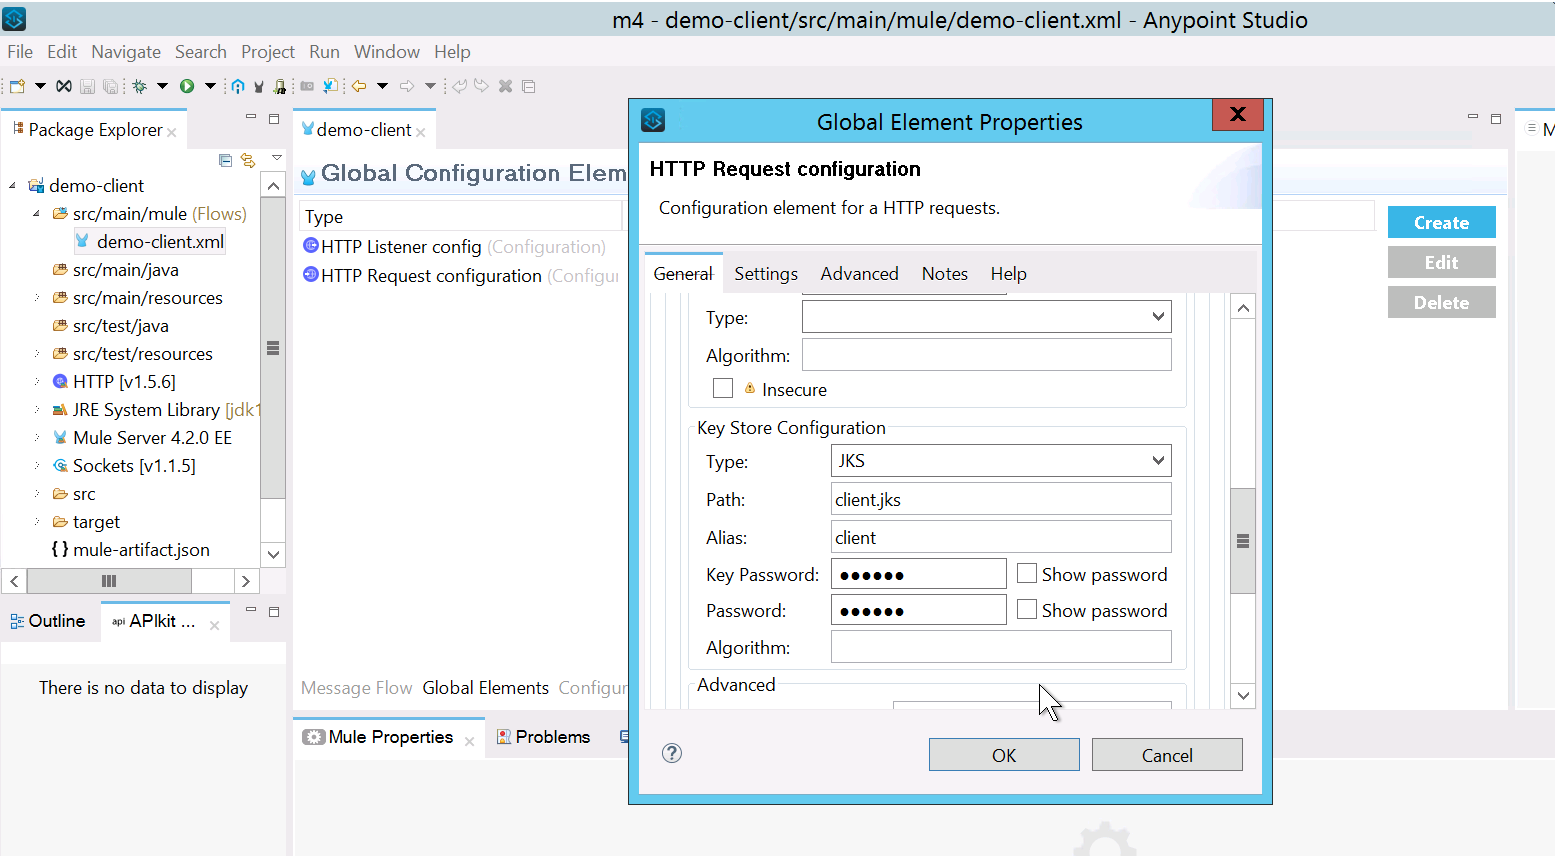
- Add client keystore to HTTP request, so server can validate and allow access to client.
- Since we have already added client public certificate to server keystore. It will provide a response from server.
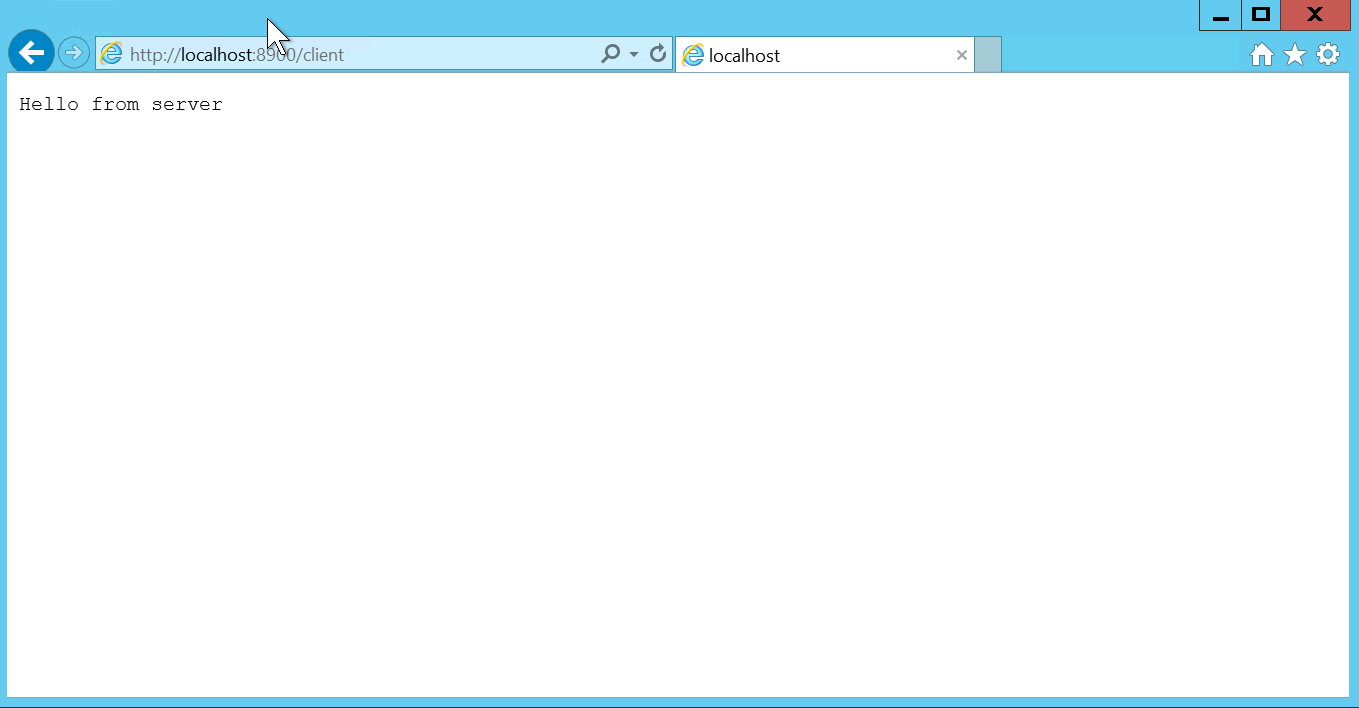
Import Server Public certificate(.crt) to the Client truststore:
This demonstrates one-way SSL as it only shares the client public certificate to server. To achieve two-way SSL, add the server public certificate to client truststore. Perform the below steps:
- Generate truststore from server.crt
keytool -import -alias server-cert -keystore server-truststore.jks -file server.crt - Add server-truststore.jks to truststore of demo-client
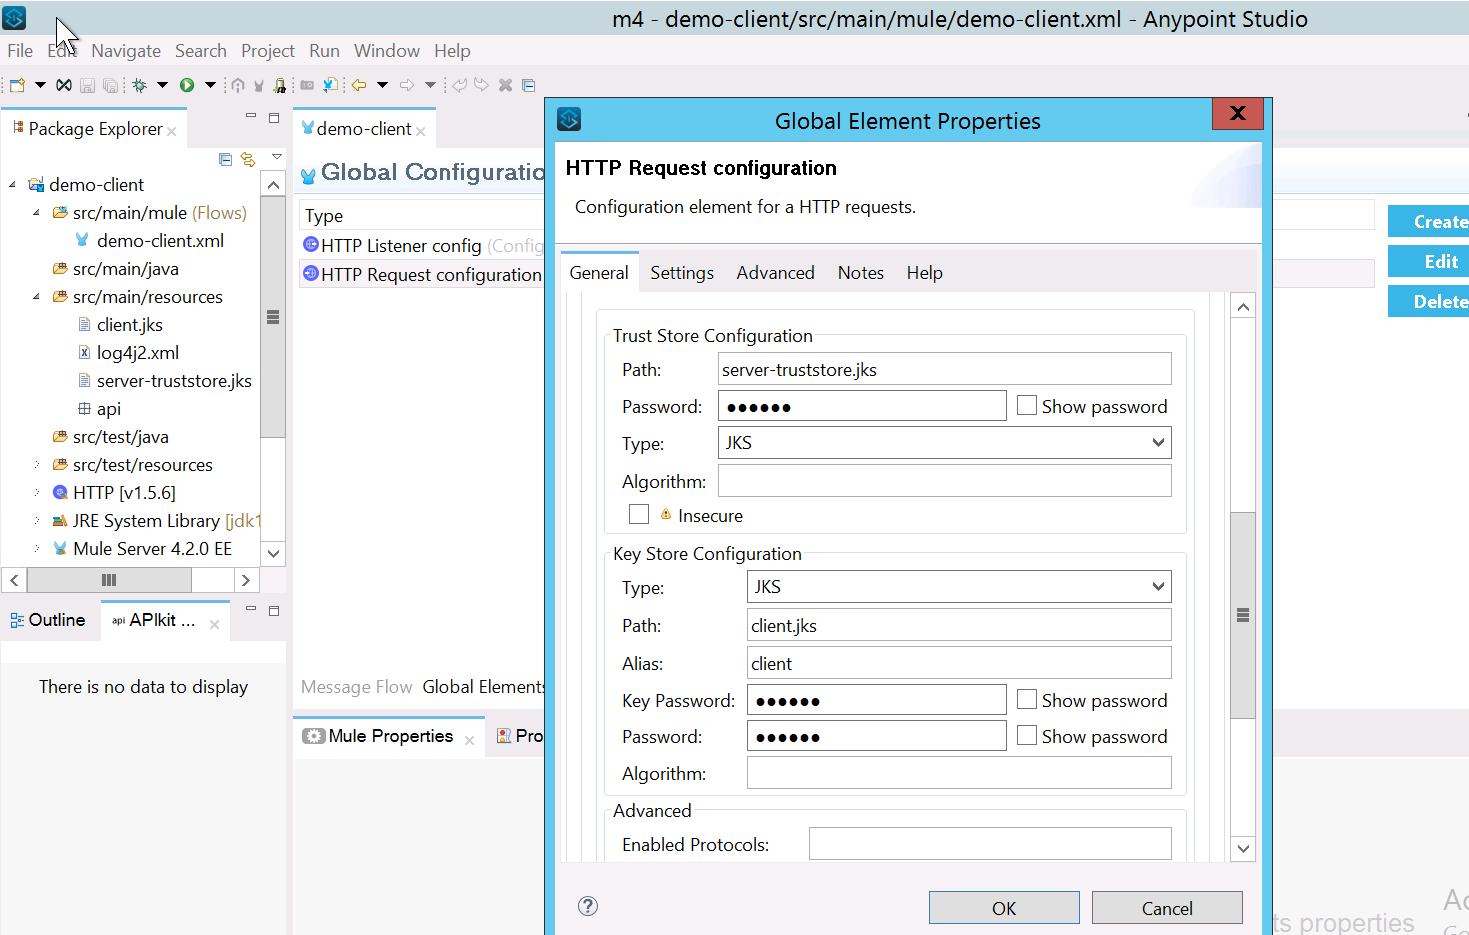
- Once you add the truststore, deploy your project locally to test the connectivity.
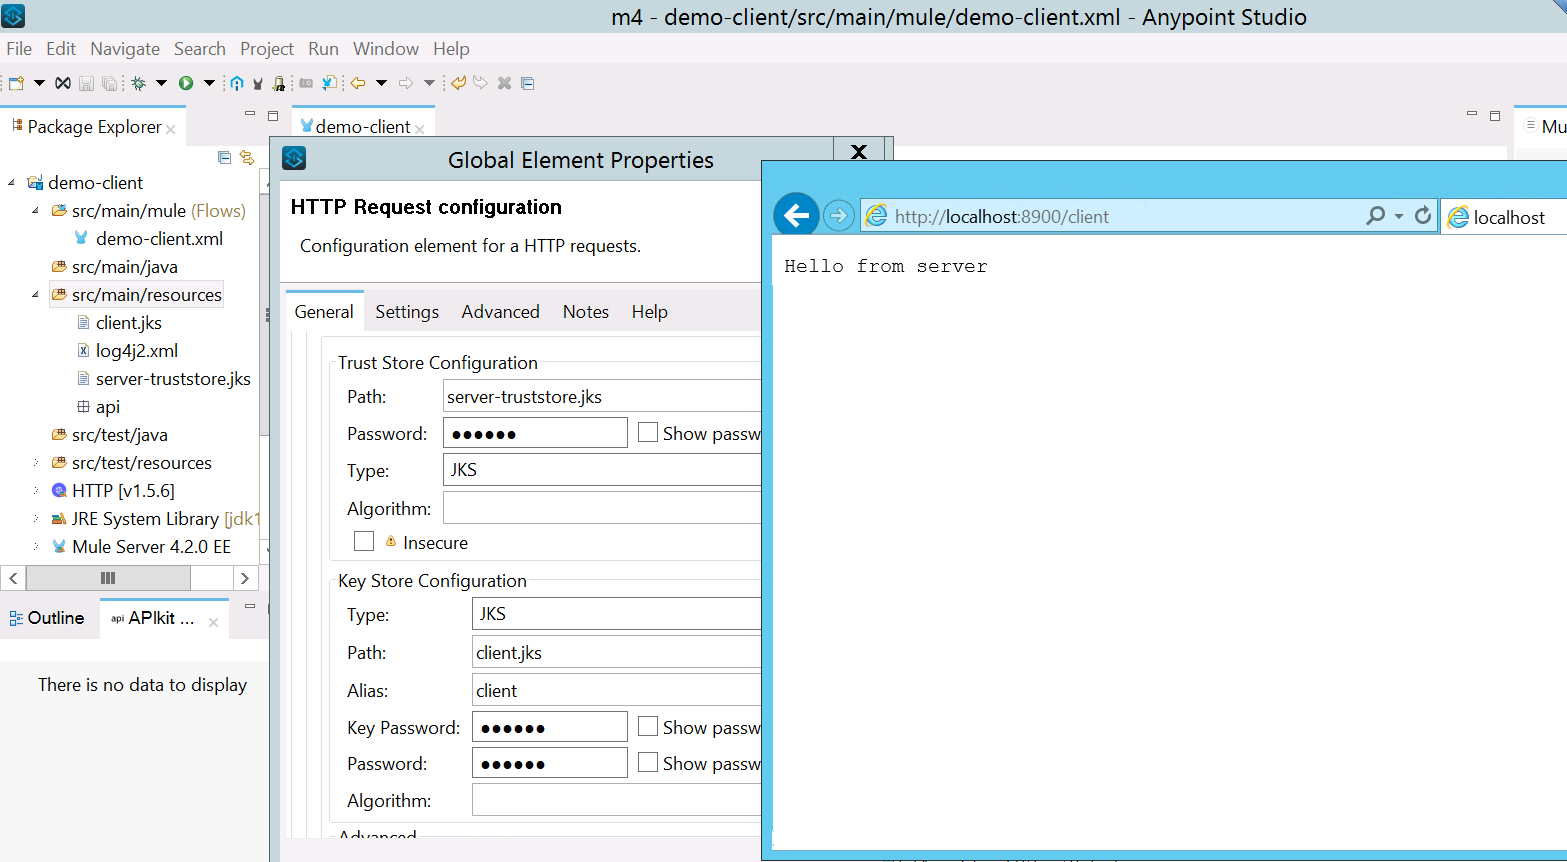
This is how two-way SSL works. In real-world case scenarios we only do configuration either on the server-side or client-side. I hope this example would help you to configure two-way SSL.
Opinions expressed by DZone contributors are their own.

Comments