Spring Security — Chapter 1
Join the DZone community and get the full member experience.
Join For FreeSpring Security is a framework that provides authentication and authorization to Java applications.
Authentication is used to confirm the identity of a user, and authorization checks the privileges and rights a user has that determine what resources and actions they have access to within an application.
Here, we will write a simple REST Controller, a greeting service that wishes you good morning when you go to localhost:7000/morning. We will see how it functions with and without security dependencies.
We will start by creating a spring boot project with the following dependencies.
xxxxxxxxxx
<dependency>
<groupId>org.springframework.boot</groupId>
<artifactId>spring-boot-starter-security</artifactId>
</dependency>
<dependency>
<groupId>org.springframework.boot</groupId>
<artifactId>spring-boot-starter-web</artifactId>
</dependency>
Now, we will create a simple REST controller that says, "Good Morning."
xxxxxxxxxx
public class GreetingsController {
("/morning")
public String getGreetings() {
return "Good Morning";
}
}
Let us update the application.properties file
xxxxxxxxxx
server.port=7000
You may also like: OAuth 2.0 Beginner's Guide.
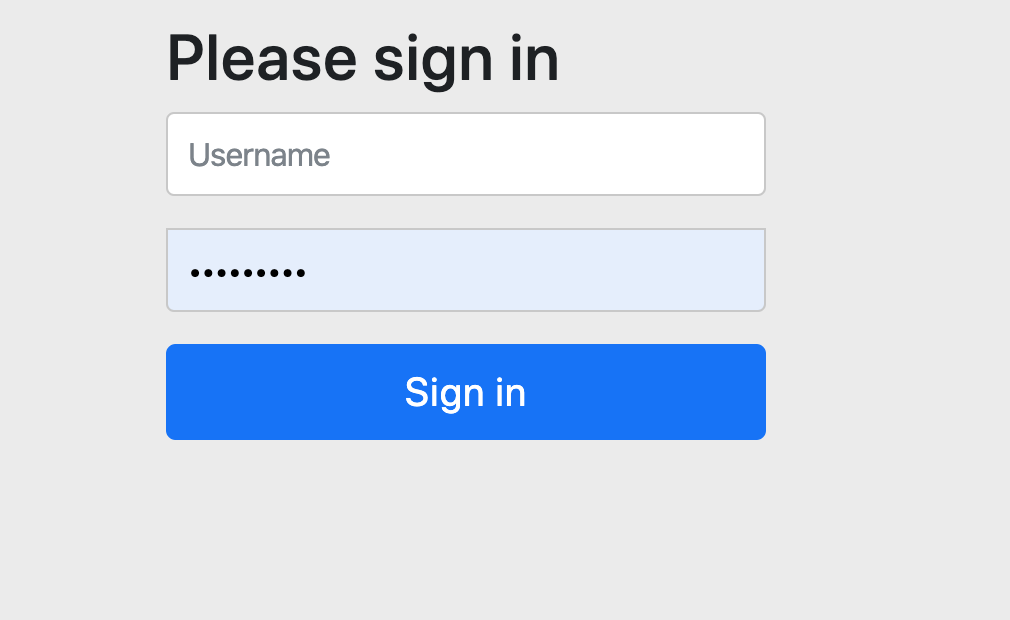
Now, if you run the application and go to localhost:7000/morning, you will be presented with a login screen, as shown below:

When you run the application, there will be a security password generated in the console. You can copy it and paste it. The default user name is "user", and the password can be copied from the console.
This will take you to page that says "Good Morning".
Now, if you comment out the security dependency and run the application, you will be taken directly to the page that wishes you "Good Morning".
This gives you a feel for Spring Security can help you secure your application. Now, let's override the default security User Name and Password.
One way of doing this is by creating the application.properties file, as shown below:
xxxxxxxxxx
server.port=7000
spring.security.user.name=hello
spring.security.user.password=world
Now, you can run the application. Make sure you uncomment the security dependencies in the POM file.
You will be taken to the same login screen as above, and you can enter "hello" as the username and "world" as the password. You will now be greeted with "Good Morning".
Another way of doing this is by using Java code. Let's comment out the last two lines in the application.properties file, as shown below:
xxxxxxxxxx
server.port=7000
#spring.security.user.name=hello
#spring.security.user.password=world
Now, let's write some code. This will require you to Autowire a password encoder. I am using the Bcrypt password encoder. When we try to run the application with @Autowire password encoder, we get an error. We should define a bean for the password encoder. You can also use the NoOpPasswordEncoder, which is deprecated. Have a look at the code below:
xxxxxxxxxx
public class SecurityConfig extends WebSecurityConfigurerAdapter {
private PasswordEncoder passwordEncoder;
protected void configure(AuthenticationManagerBuilder auth) throws Exception {
auth.inMemoryAuthentication()
.withUser("user").
// password("user").
// roles("USER");
password(passwordEncoder.encode( "user")).roles("USER");
}
public PasswordEncoder passwordEncoder() {
return new BCryptPasswordEncoder();
}
// @Bean
// public PasswordEncoder passwordEncoder() {
// return NoOpPasswordEncoder.getInstance();
// }
}
When using the NoOpPasswordEncoder you don't require an encoder for the password.
Now, by running this application, you will be taken to the same login screen where you can enter the username as "user" and the password as "user". You will be greeted with "Good Morning".
You can find the full source code at https://github.com/gudpick/security-demo.
You can find the video tutorial at https://youtu.be/e-9rPnlHWL8.
Further Reading
Opinions expressed by DZone contributors are their own.

Comments