Serverless with Fn Project on Kubernetes for Docker
Last week, the author deployed Fn Project on Kubernetes as a quick smoke test. See how to do it yourself in this helpful tutorial.
Join the DZone community and get the full member experience.
Join For FreeDocker for Mac
Last week I deployed Fn Project on Kubernetes as a quick smoke test. Fn is the new serverless platform that was open sourced at Java One 2017. Running it on Kubernetes is easier than ever because Docker directly supports Kubernetes now, as announced at the last DockerCon. In the end, it just worked without any issues.
Fn Project
Fn Project is an interesting new approach to the serverless world. It is cloud-agnostic. with Docker as the only dependency, and therefore avoids the cloud vendor lock-in. Also, developers are not bound to certain languages when using Fn. Functions are automatically placed into a Docker image without any additional effort for the developer, so they can be run anywhere by just pointing Fn to the correct image on Docker hub.
Fn ties into the world of Cloud Native Computing Foundation projects with support for Kubernetes and Prometheus as a first start and hopefully more to come.
To reproduce the steps, first make sure the latest version of Docker with Kubernetes support is installed properly and Kubernetes is enabled (in my case this is 17.12.0-ce-mac45 from the edge channel).
Prerequisites and Checks
With Kubernetes on Docker running, list the images of running Docker containers. This should show you the containers required for K8s if you enabled it in the Docker console under preferences:
$ docker container ls
Next, check if there are existing contexts. For example, I have mini tube and GKE configured as well. Make sure the * (asterisk) is set to docker-for-desktop:
$ kubectl config get-contexts
CURRENT   NAME                                         CLUSTER                                      AUTHINFO                                     NAMESPACE
*         docker-for-desktop                           docker-for-desktop-cluster                   docker-for-desktop
          gke_fmproject-194414_us-west2-a_fm-cluster   gke_fmproject-194414_us-west2-a_fm-cluster   gke_fmproject-194414_us-west2-a_fm-cluster
          minikube                                     minikube                                     minikube
If it is not set correctly, you can point kubectl to the correct Kubernetes context with the following command:
$ kubectl config use-context docker-for-desktop
Also, you can see the running nodes:
$ kubectl get nodes
NAME                 STATUS    ROLES     AGE       VERSION
docker-for-desktop   Ready     master    9d        v1.8.2
Check out the cluster, it just consists of a single node:
$ kubectl cluster-info
Kubernetes master is running at https://localhost:6443
KubeDNS is running at https://localhost:6443/api/v1/namespaces/kube-system/services/kube-dns/proxy
Setup
To get better visibility into K8s I recommend to install the Kubernetes Dashboard:
$ kubectl create -f
https://raw.githubusercontent.com/kubernetes/dashboard/master/src/deploy/recommended/kubernetes-dashboard.yaml
The dashboard is running in the kube-system namespace. You can check this with the following command:
$ kubectl get pods --namespace=kube-system
Enable Port Forwarding for the Dashboard
Enable port forwarding to port 8443 with the following command and make sure to use the correct pod name:
$ kubectl port-forward kubernetes-dashboard-7798c48646-ctrtl 8443:8443 --namespace=kube-system
With a web browser connect to https://localhost:8443. When asked, allow access to the untrusted site and click on “Skip”.
Alternative to Port Forward: Proxy
Alternatively, you could access it via the proxy service:
$ kubectl proxy
Then use the following URL with the browser
http://localhost:8001/api/v1/namespaces/kube-system/services/https:kubernetes-dashboard:/proxy/
Fn on Kubernetes
Helm
Make sure your Kubernetes cluster is up and running and working correctly. We will use the K8s package manager Helm to install Fn.
Install Helm
Follow the instructions to [install Helm(https://docs.helm.sh/using_helm/#installing-helm) on your system, e.g. on a Mac it can be done with brew. Helm will talk to Tiller, a deployment on the K8s cluster.
Init Helm and Provision Tiller
$ helm init
$HELM_HOME has been configured at /Users/frank/.helm.

Tiller (the Helm server-side component) has been installed into your Kubernetes Cluster.
Happy Helming!
Install Fn
You can simply follow the instructions about installing Fn on Kubernetes. I put the steps here for completeness. First, let’s clone the fn-helm repo from github:
$ git clone https://github.com/fnproject/fn-helm.git && cd fn-helm
Install chart dependencies (from requirements.yaml):
$ helm dep build fn
Then install the chart. I chose the release name fm-release:
$ helm install --name fm-release fn

Then make sure to set the FN_API_URL as described in the output of the command above.
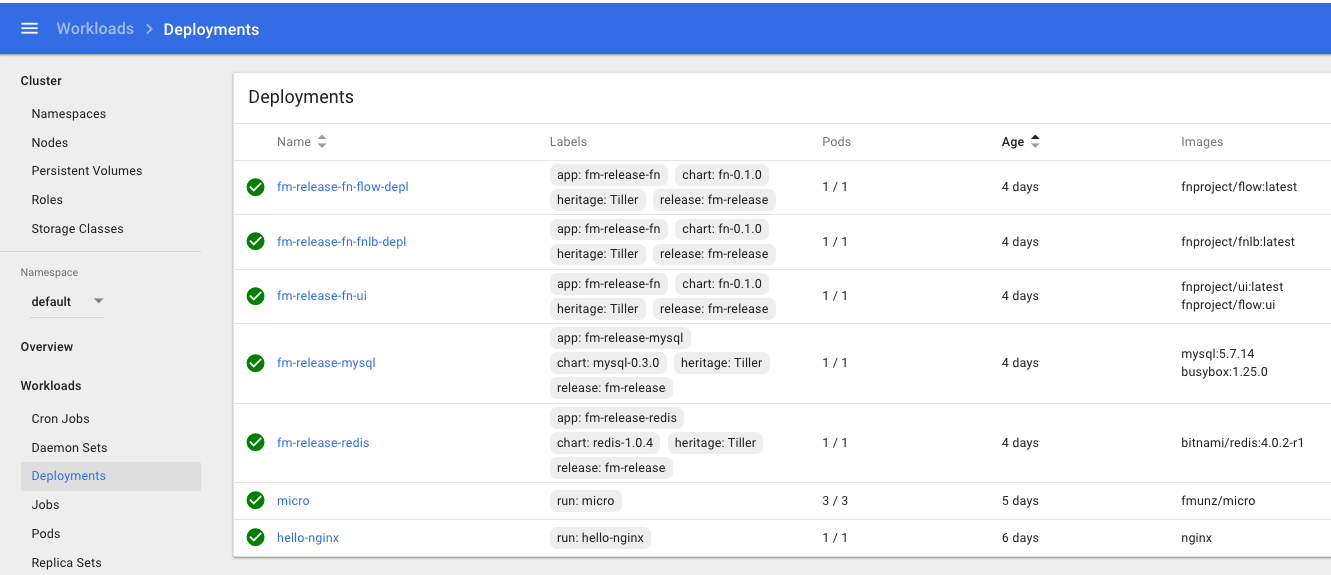
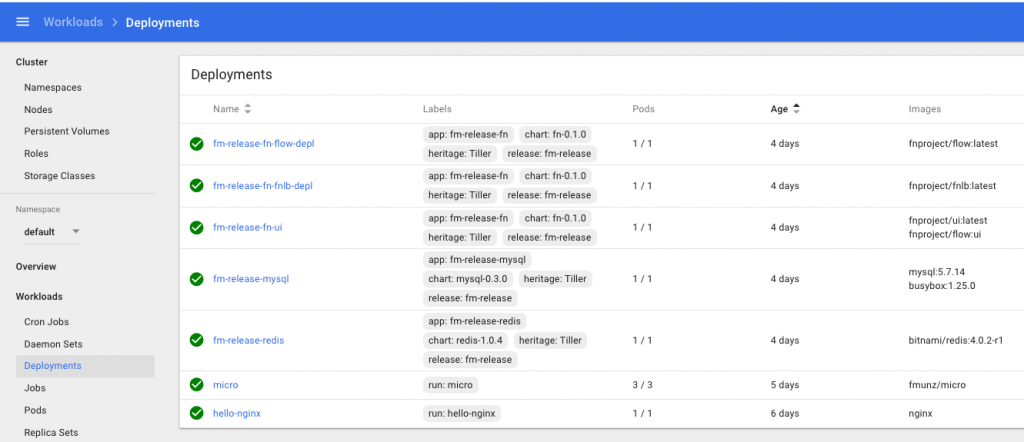
This should be it! You should see the following deployment from the K8s console.
TTry to run a function. For more details checke the Fn Helm instruction on github.
Summary
Installing Fn on K8s with Helm should work on any Kubernetes cluster. Give it a try yourself, code some functions and run them on Fn / Kubernetes. Feel free to check out my Serverless slides.
Published at DZone with permission of Frank Munz. See the original article here.
Opinions expressed by DZone contributors are their own.


Comments