Sending HL7 Message to Azure FHIR API Using Mule
In this tutorial, we take a look at working with HL7 messages and sending them to the Azure API, as well as configuring the API for FHIR.
Join the DZone community and get the full member experience.
Join For FreeThis document demonstrates how to:
- Work with HL7 messages
- Sending HL7 message to Azure API for FHIR
- Configuring the Azure Service bus
- Configuring Azure API for FHIR
Technologies Used:
- Azure Service Bus (use of ACK and NACK Mule3 connectors)
- Azure API for FHIR
- Anypoint Studio Mule3 Runtime
- HL7 EDI Connector from Anypoint Connectors Update Site
Architecture
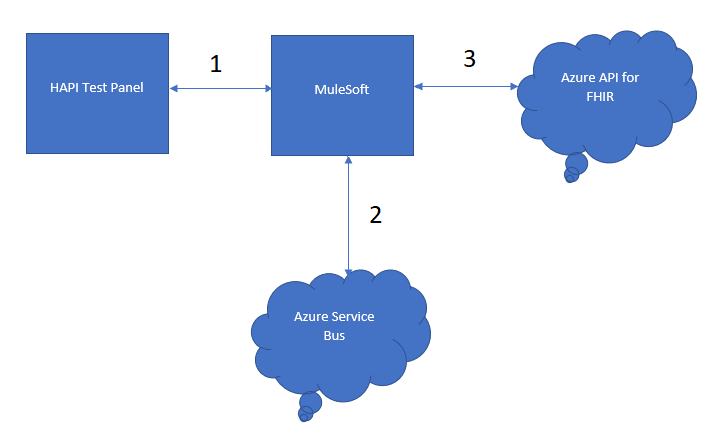
- HAPI Test Panel sends the message to MuleSoft.
- MuleSoft sends the same message to Azure Service Bus Queue.
- MuleSoft reads the message from Azure Service Bus Queue and sends it to Azure API for FHIR appropriately after converting it to FHIR format.
Configuring HAPI Test Panel
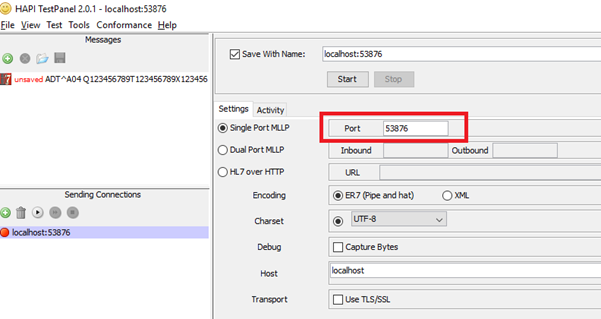
Clicking the Test -> ‘Populate TestPanel with Sample Message and Connections’. It will create a localhost connection.

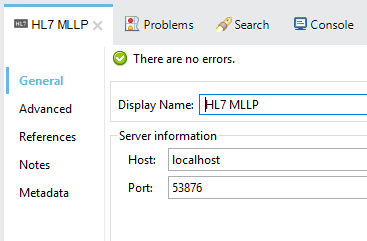
Populate the port number on which the HL7 Mule Connector is configured to run.
Detailed Implementation and Commentary on the implementation flow.
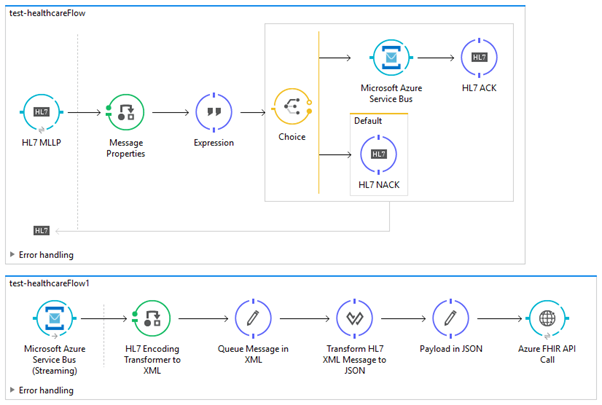
Once the HL7 message sent from HAPI Test Panel, it will be received on the HL7 MLLP Listener as shown in the above ‘test-healthcareFlow’ flow.
In the first flow i.e. ‘test-healthcareFlow’ is then further checking whether the element that we need to work upon inside the HL7 message is present in the HL7 message or not. The above choice router is checking if the HL7 message contains the PID or not. If we won’t get the PID inside HL7 message, the NACK i.e. negative acknowledgment will be sent back to HAPI Test Panel.
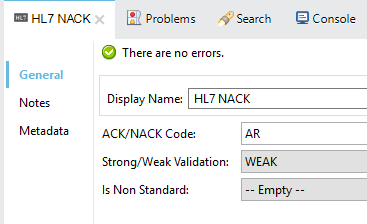
If the choice router gets the PID inside HL7 message, HL7 message will be sent to Microsoft Azure Service Bus and a success acknowledge will be sent to HAPI.
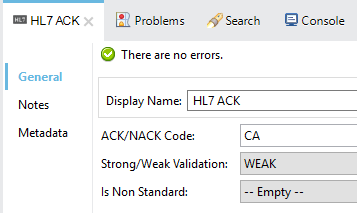
NOTE: Creating the Microsoft Azure Service Bus and Queue is described below in separate section.
In the second flow i.e. ‘test-healthcareFlow1’, Microsoft Azure Service Bus (Streaming) connector is consuming the previously saved message in queue. The message would be in HL7 format and we first need to transform it to XML format. This transformation is done through out of the box Mule3 HL7 Encoding Transformer component.
We further need to transform the resultant XML into JSON before sending it to Azure API for FHIR because Azure API for FHIR only takes the JSON as input.
NOTE: Creating the Azure API for FHIR is described below in separate section.
Once the JSON message sent to Azure API for FHIR, we can check it via Postman.
NOTE: Configuring the Postman to fetch data from Azure API for FHIR is described below in separate section.
Creating the Microsoft Azure Service Bus and Queue
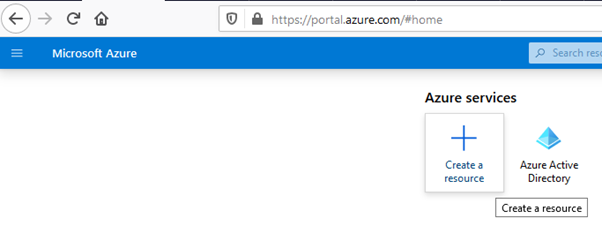
After login into the Azure Portal, click on create a resource as follows.
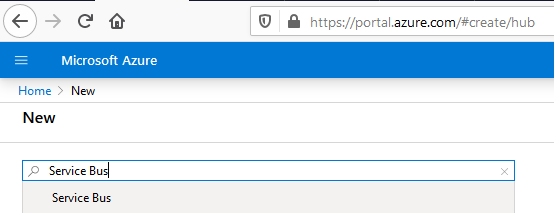
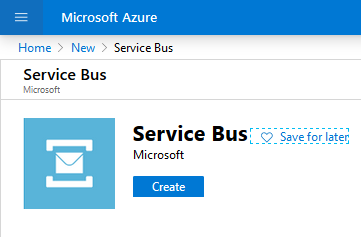
Search Service Bus as follows and click on it.
Click on Create button.
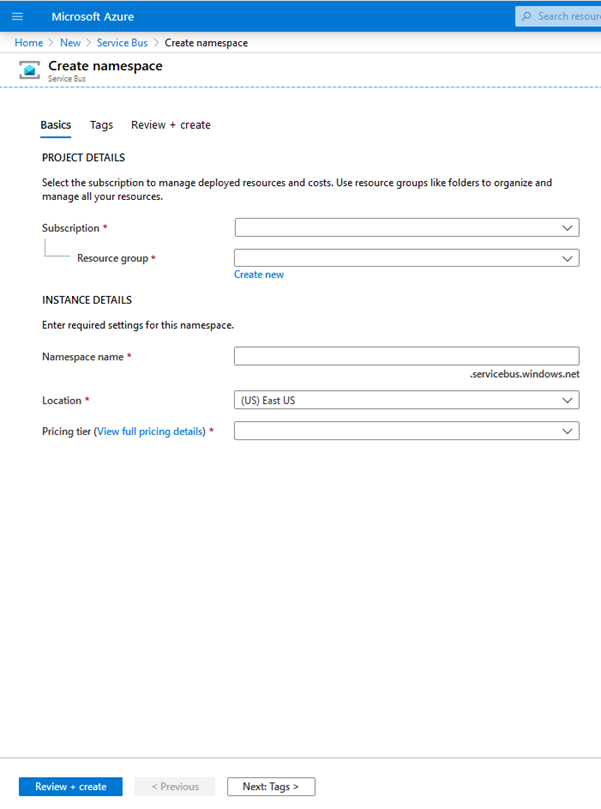
Select an appropriate subscription, resource group and enter the name of Service Bus.
Click Review + Create button to review and create the Service Bus.
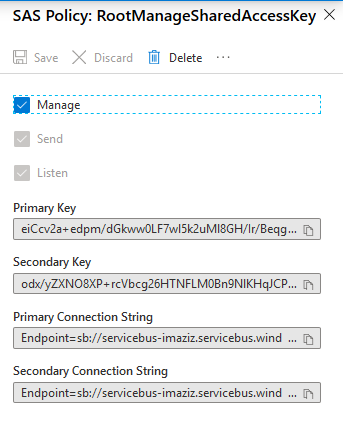
After creating the Service Bus, we need to enable Shared access policies. Click on the Shared access policies inside the newly created Service Bus and add RootManagedSharedAccessKey. It’s a default access policy and we just need to add it to the Service Bus.

Here you will see all the connection details that need to enter while connecting the Mule3 flow to this Service Bus.
Now the Service Bus has been created, we can create a Queue inside it.
Click on the Queue button to create Queue inside the Service Bus.

Fill up the required details for creating the Queue.
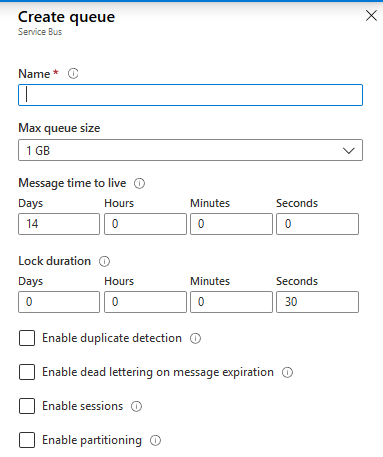
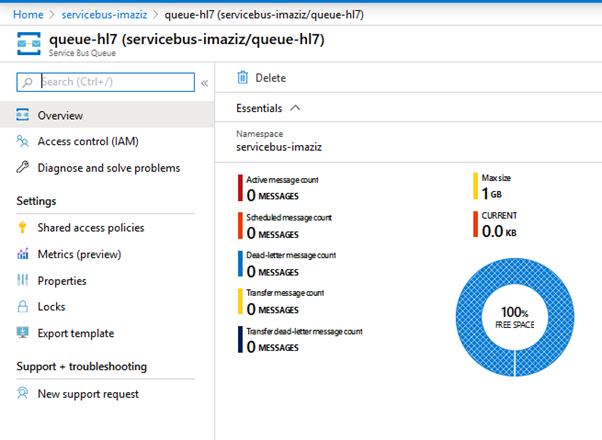
A queue has been created inside the Service Bus.
Creating the Azure API for FHIR
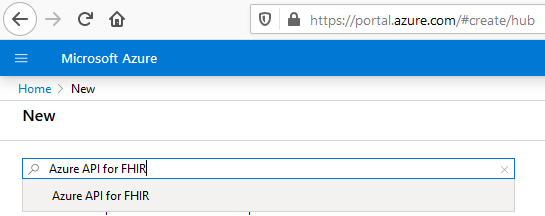
Again, click on create a resource and search for Azure API for FHIR as follows.
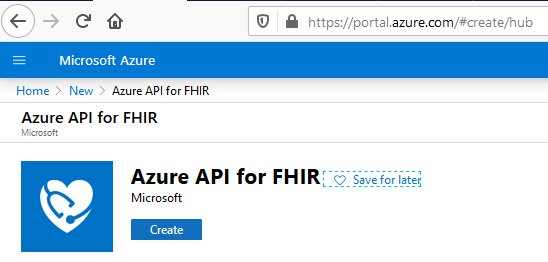
Click on Create button.
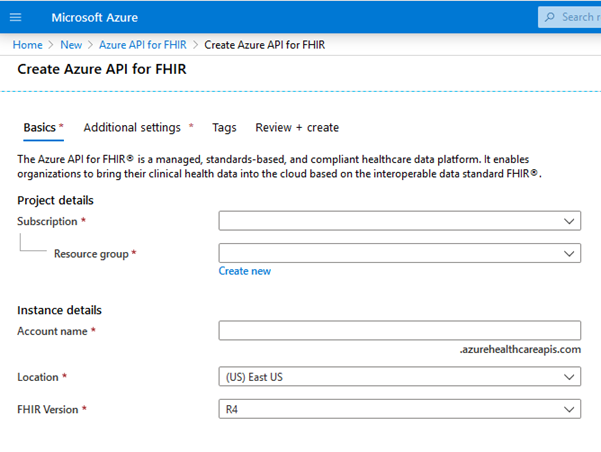
Select an appropriate subscription, resource group and enter the n.
Click Review + Create button to review and create the Service Bus.
Once the Azure API for FHIR is created, you will see its endpoint as follows:

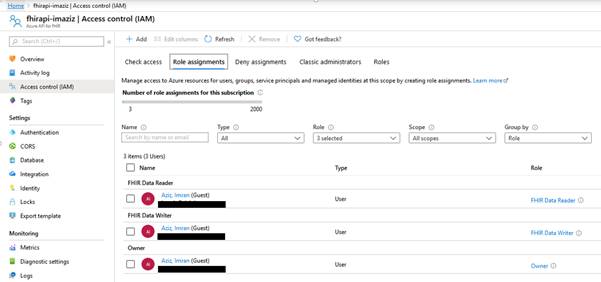
We need to assign the Read and Write Roles to Azure API for FHIR by clicking on the Access control (IAM).
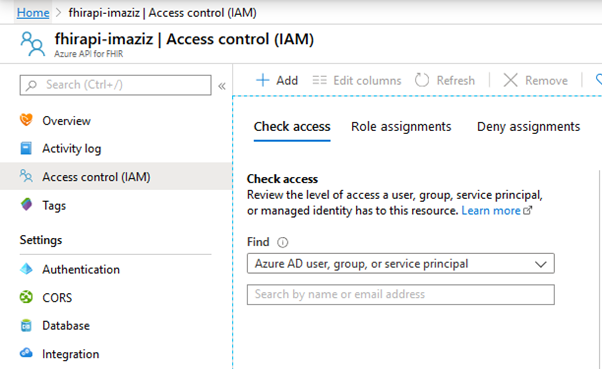
Click on Add button and add Read and Write roles to Azure API for FHIR as follows.
Configuring the Postman to Fetch Data From Azure API for FHIR
A detailed tutorial has been provided on below location.
https://docs.microsoft.com/en-gb/azure/healthcare-apis/access-fhir-postman-tutorial
In addition to this tutorial, the following are the things need to be documented:
The Tenant ID or Directory ID, Client ID, and Client Secret can be obtained after following the above tutorial and creating a new app registration.

Opinions expressed by DZone contributors are their own.

Comments