Run Your Executables in Azure Data Factory
In this article, I will describe how to run SSIS packages on an Azure-SSIS IR with a self-hosted integration runtime (self-hosted IR) configured as a proxy.
Join the DZone community and get the full member experience.
Join For FreeWhen migrating SQL Server from on-premises to the cloud, there is always an ask about how to migrate SSIS packages or other ETL jobs to the cloud. Azure Data Factory SSIS Integration Runtime (IR) offers to run SSIS packages in the cloud.
However, in certain circumstances, those ETL jobs or SSIS packages run executables such as .EXE as a part of a workflow or ETL pipelines. It becomes more challenging if you are migrating SQL Server running on-premises to PaaS as there is no access to PaaS compute to run those executables.
In this article, I will describe how to run SQL Server Integration Services (SSIS) packages on an Azure-SSIS Integration Runtime (Azure-SSIS IR) with a self-hosted integration runtime (self-hosted IR) configured as a proxy.
This feature allows us to access data and run tasks such as executables or processes on-premises or on a VM anywhere.
This feature can only be enabled on SSIS Data Flow Task and Execute SQL/Process Tasks for now. You can enable execute process task to run in Self Hosted integration runtime.
SSIS — SHIR Architecture
Below is the high-level architecture used in setting up this environment.

This architecture provisions Azure Data Factory with private endpoints.
- ADF PEs are created on the subnet shown in red color (e.g. 10.0.2.0/24).
- Storage account should be set up with a private endpoint and connected to one of the subnets of the Managed Instance vNet.
- SSIS-IR should be configured with vNet injection to the same subnets (e.g., 10.0.2.0/24). if you are using the express vNet injection method, then you need a dedicated subnet.
- In this lab environment, the VPN gateway is set up to have on-premises connectivity. setting up a VPN gateway is beyond the scope of this article.
- Configure inbound firewall rules for the subnets where SSIS-IR is mounted to allow ports 29876 and 29877.

- Set up Self Hosted Integration Runtime (SHIR) in ADF and install the SHIR in the on-premises machine. SHIR is establishing connectivity with ADF via the VPN connection. In an enterprise environment, this could be an Express Route (ER) connectivity as well.
- SQL Server Managed Instance (MI) is also part of this topology for data read and write use case examples. However, setting up MI is also beyond the scope of this article.
Setup and Configure Self-Hosted Integration Runtime (SHIR)
Use the following steps to create a self-hosted IR using the Azure Data Factory GUI.
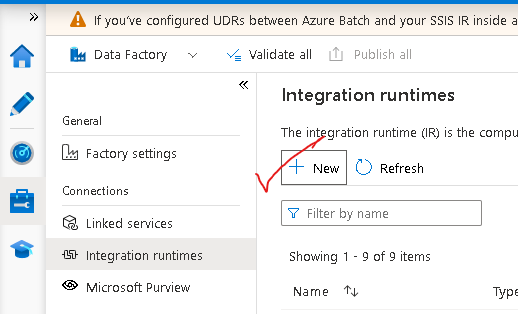
Select Integration runtimes on the left pane, and then select +New.
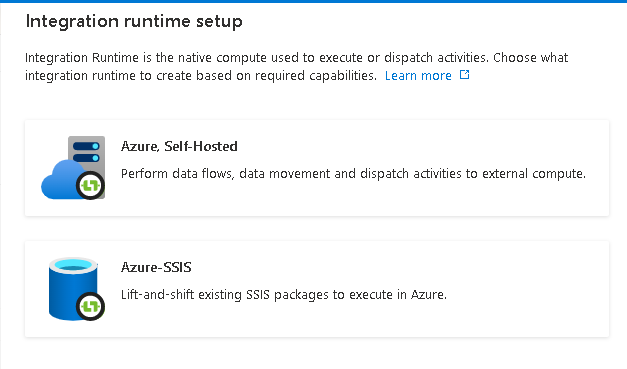
On the Integration runtime setup page, select Azure, Self-Hosted, and then select Continue.
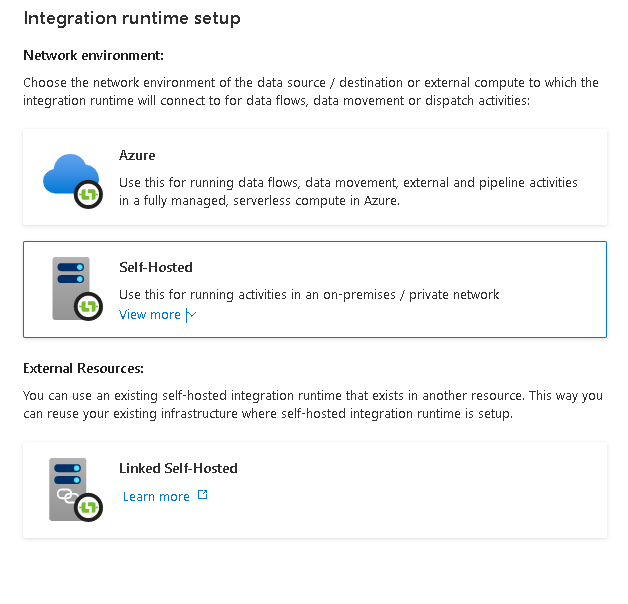
On the following page, select Self-Hosted to create a Self-Hosted IR, and then select Continue.
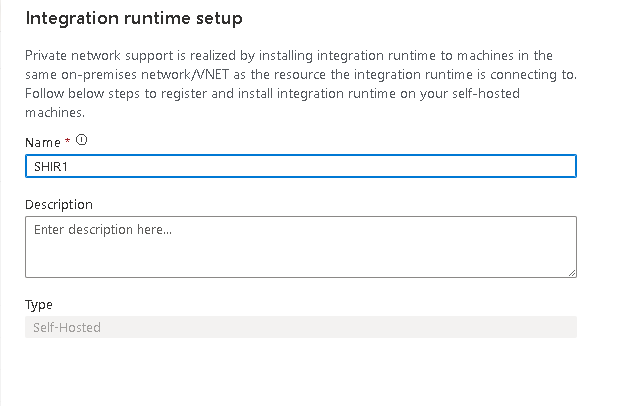
Provide a unique name for your IR. you can also provide an optional description. Then select Create.
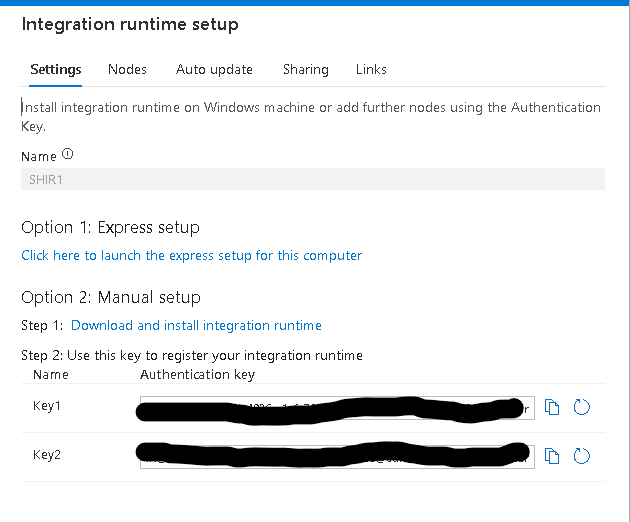
This would generate two keys that would be used to configure SHIR. In this article, I’m using Option two for installing integration runtime, which is “Manual Setup.”
Download the runtime as shown below from Option two on the machine where SHIR is going to be configured.
Run the installer to install the SHIR.
Once the installation is complete, on the Register Integration Runtime (Self-hosted) page, provide the key you captured earlier and select Register.
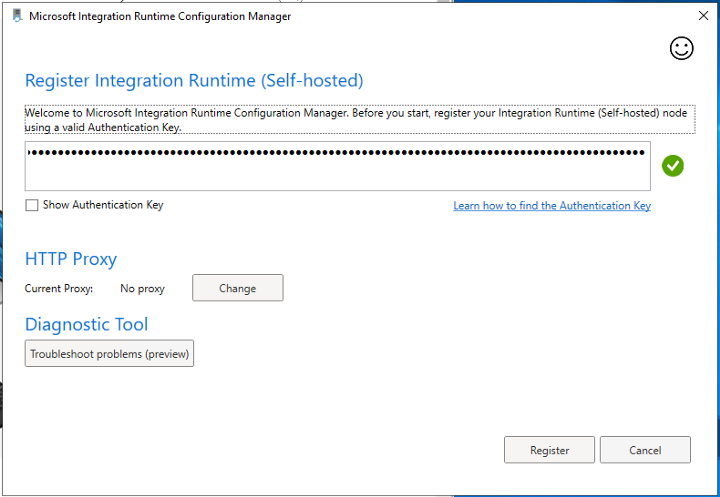
Note: If you are using a private endpoint for your ADF. Make sure the machine you are installing SHIR must resolve the ADF private endpoint.
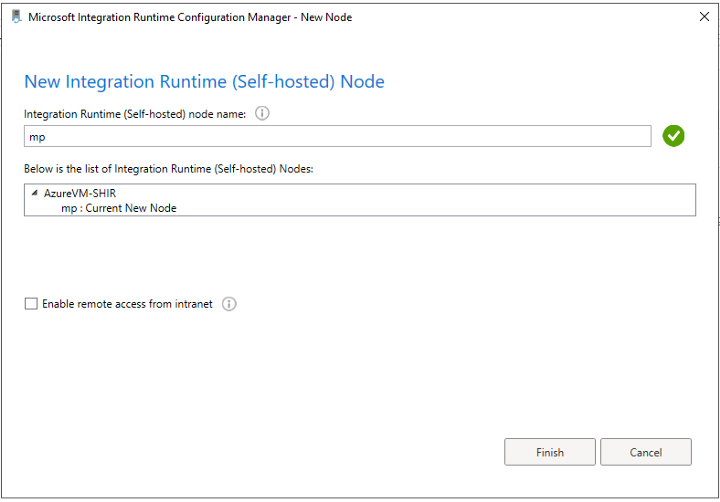
On the New Integration Runtime (Self-hosted) Node page, select Finish.
The registration process will begin. It may take a few minutes. After the self-hosted integration runtime is registered successfully, you see the following window:
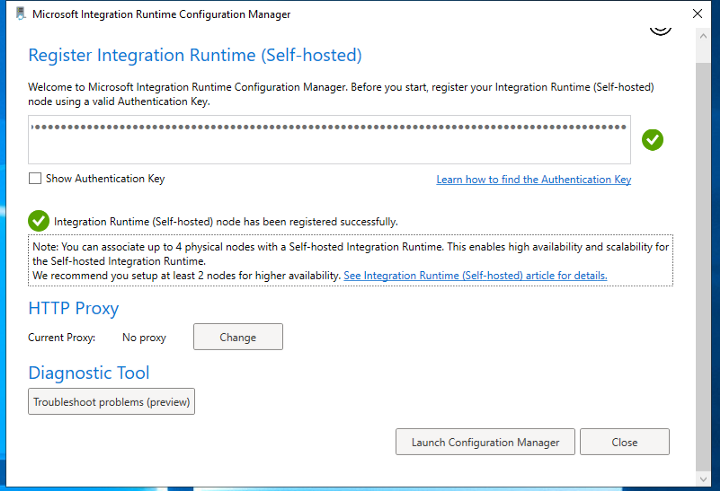
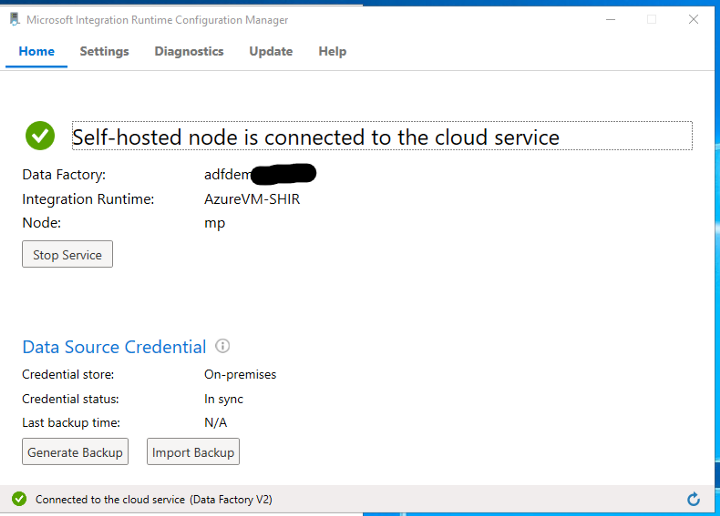
Click “Launch Configuration Manager”; it should look as shown below.
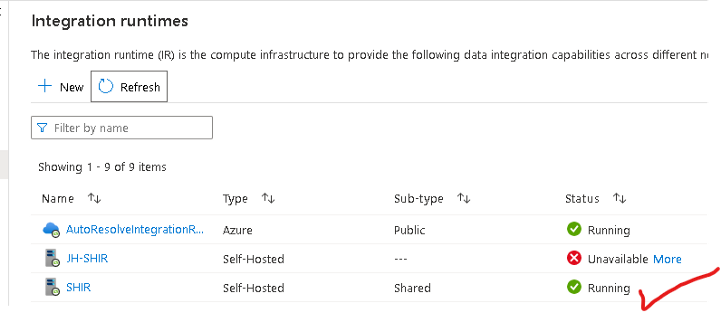
Visit ADF GUI. Click on Manage → Integration runtime.
Verify the status of SHIR. It should be in the “Running” state, as shown in the below figure.
Setup and Configure SSIS Integration Runtime (SSIS IR) With SHIR as a Proxy
In the following steps, we will create SSIS IR and define SHIR as a proxy created in the earlier steps.
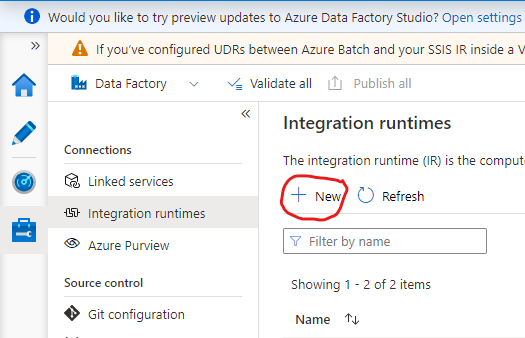
In the ADF GUI, select Integration runtimes on the left pane, and then select +New.
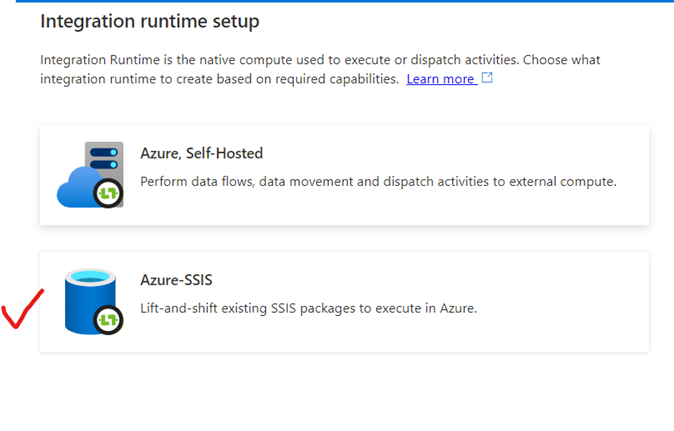
Select Azure-SSIS for Integration runtime setup, as shown in the below figure.
Provide the following:
- Name: Name of integration runtime.
- Location: Specify the location where integration runtime is created.
- Node size: The node size is the size and power of the virtual machine(s) that are running your integration runtime. If you are planning to run many packages in parallel, it is recommended to select high performing tier for that VM. Click Configure performance for the Azure-SSIS Integration Runtime — Azure Data Factory | Microsoft Docs to find out more about configuring SSIS-IR for high performance.
- Node Number: adjusts the scalability of the integration runtime. The throughput of the integration runtime is proportional to the AzureSSISNodeNumber. Set the AzureSSISNodeNumber to a small value at first, monitor the throughput of the integration runtime, then adjust the value for your scenario.
- Edition/license: Select the appropriate license as per your environment and needs. You can also take advantage of Azure Hybrid Benefits for SQL Server in licensing.
- Click Continue.

Note: Make sure you allow the port 29876 and 29877 on the subnet NSG, which you are going to mount the IR.
Now configure vNet injection for SSIS IR.
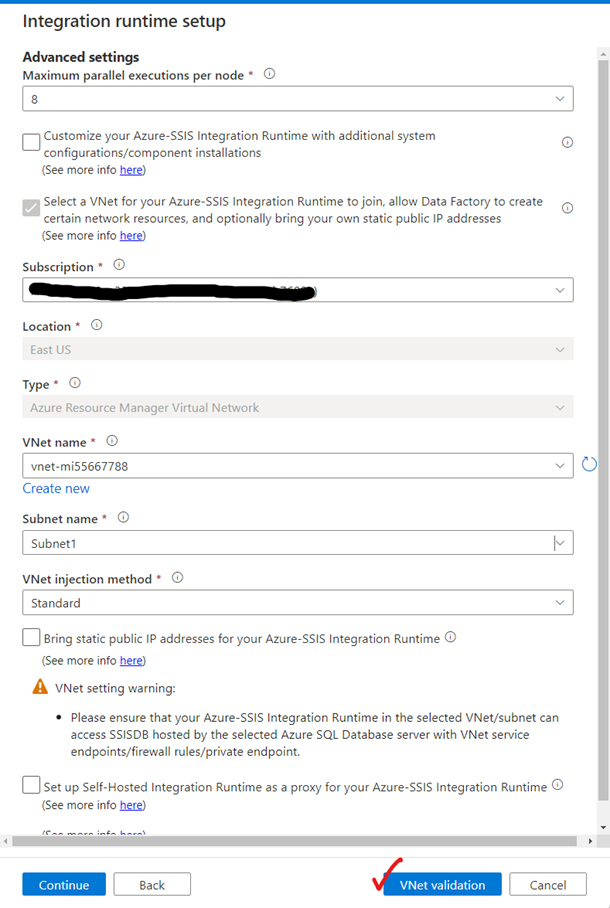
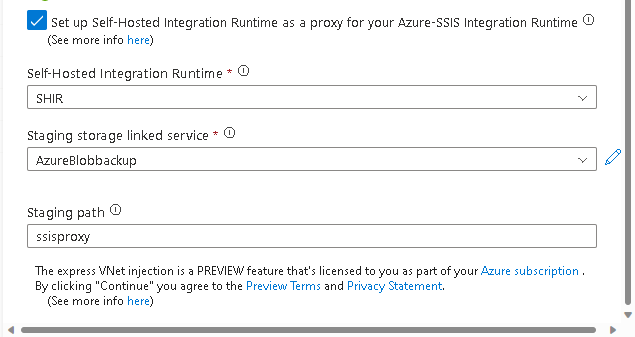
Select the “Set up Self-Hosted Integration Runtime as a proxy…” check box. Select SHIR from the dropdown created earlier. This also requires a storage link service.
Select your existing Azure Blob Storage linked service or create a new one that references the staging data store to be used when moving data between self-hosted and Azure-SSIS integration runtimes. For this purpose, the connect Via property of the staging storage linked service must be set to “AutoResolveIntegrationRuntime.”
Also, provide a Staging path → Specify the path in your staging data store to be used when moving data between Self-Hosted and Azure-SSIS Integration Runtimes; a default container will be used if unspecified.
Perform the vNet Validation and click “Continue.”
Click “Create” on the summary page. This will provision your SSIS-IR with SHIR acting as a proxy.
Once created successfully, ensure that the Azure SSIS IR and SHIR status shows “Running” in order to use it to run the SSIS packages.
Create a Sample Demo Executable .bat File
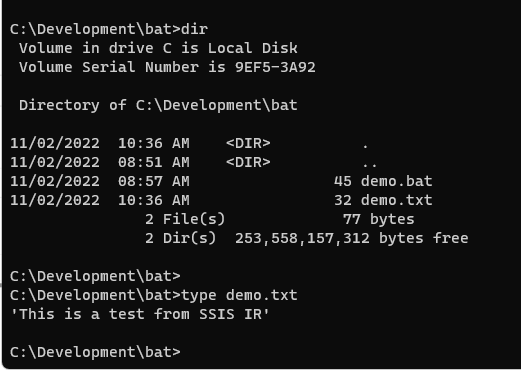
Create a batch file in the notepad with the following. Running this .bat file will create a demo.txt file with the contents provided, as shown below.
echo 'This is a test from SSIS IR' > demo.txt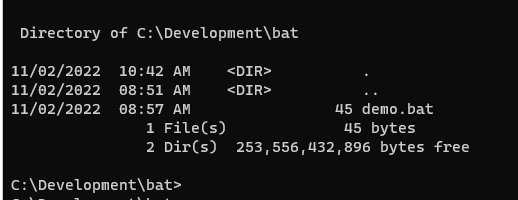
Develop a Sample SSIS Package
In the following steps, we will be developing a very simple SSIS package that would call the .bat file created earlier using “Execute Process Task.”
Launch the Visual Studio.
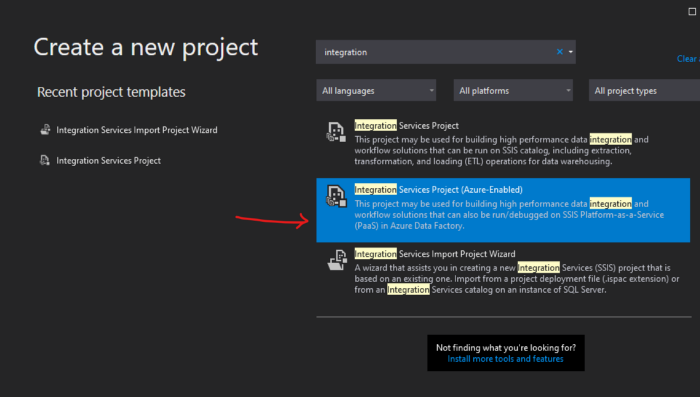
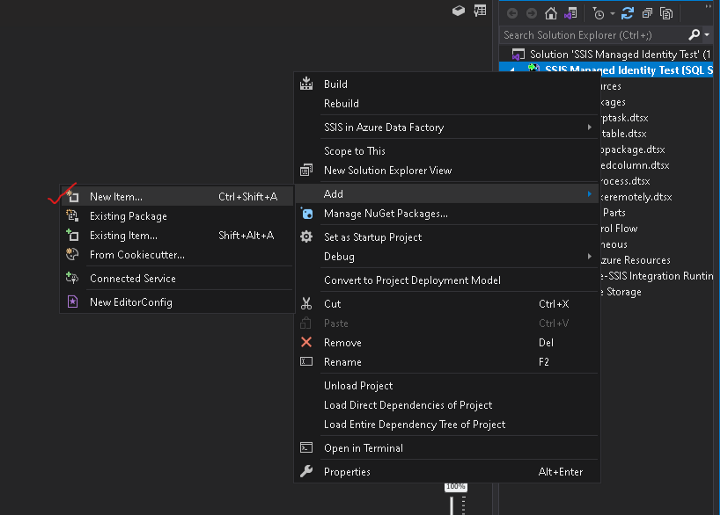
Create a new project, as shown below, by selecting either of the integration services project templates.
Now create a package in VS.
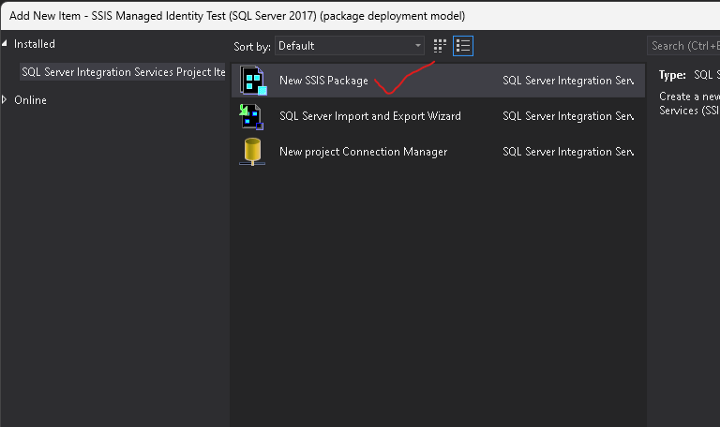
Select “New SSIS Package” and provide a package name.
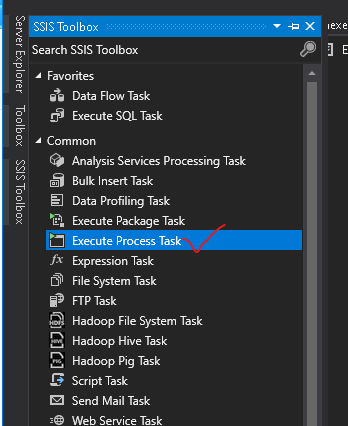
Drag “Execute Process Task” from the SSIS Toolbox to the designer panel.
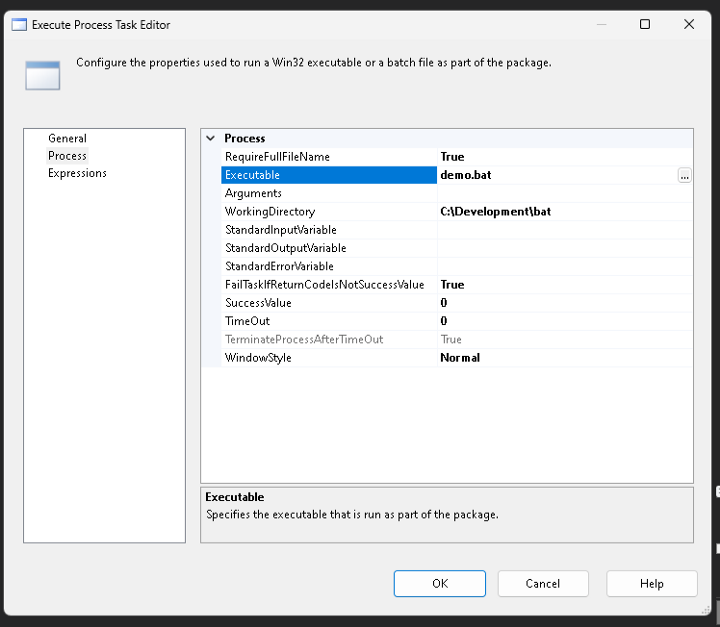
Double-click on “Execute Process Task” and click to the Process tab as shown below.
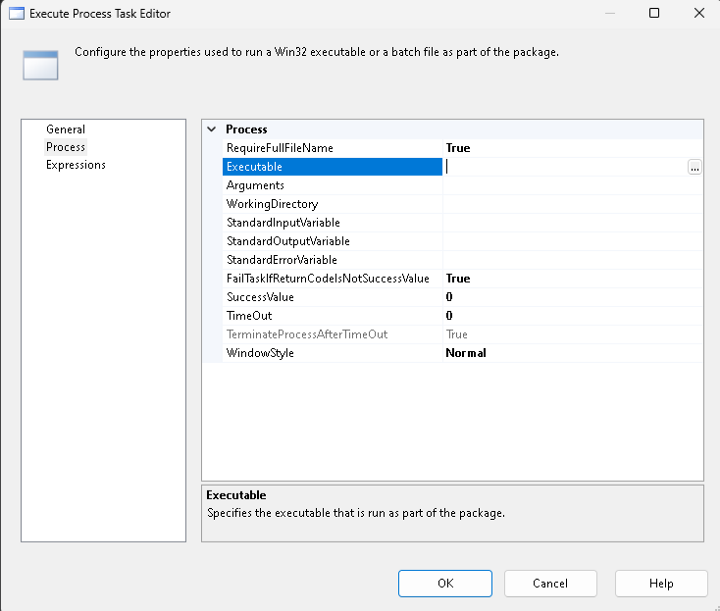
Specify “Executables” and “WorkingDirectory” as shown below. In my environment following entries were made. Please make changes according to your setup.
Exeutables → Demo.bat
WorkingDirectory → C:\Development\bat
Right Click on Execute Process Task and click Properties.
Set ExecuteOnProxy = True, as shown in the below figure.

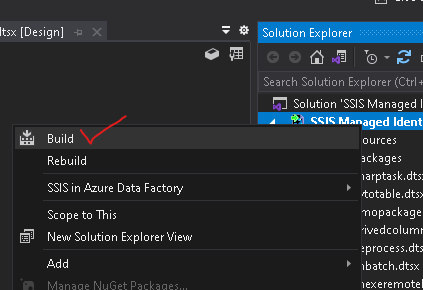
Once the package is ready, ensure the package does not have any errors. Right-click on the project and select the Build menu item, as shown below.
Upload Package to Azure Files
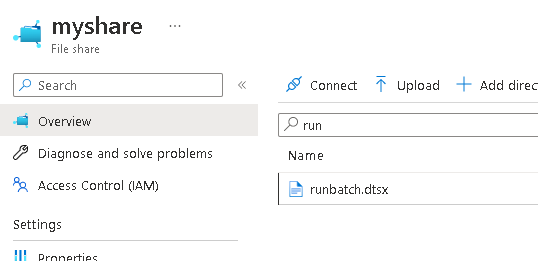
Upload your package to the Azure files. Setting up a storage account and Azure files is beyond the scope of this article. Make sure they are available for the packages to be uploaded.
Desing Pipeline in ADF
Launch ADF GUI.
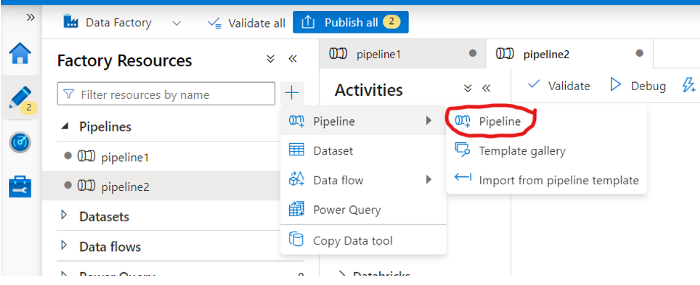
You can create a pipeline as shown below.
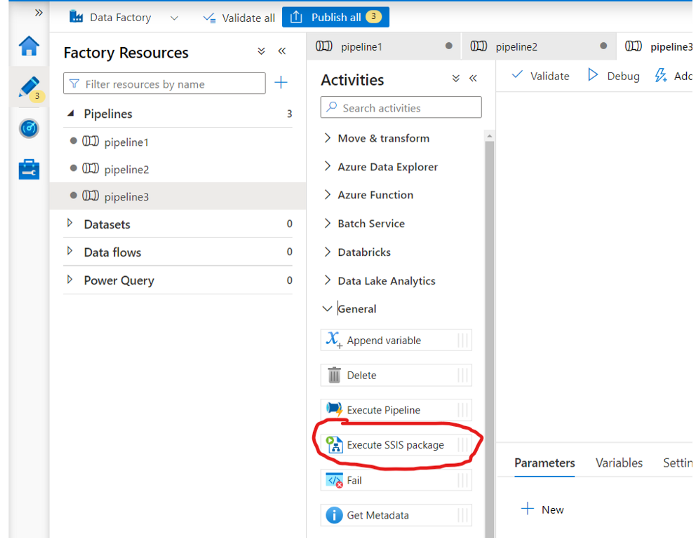
Under the General tab, drag and drop Execute SSIS package as shown below.
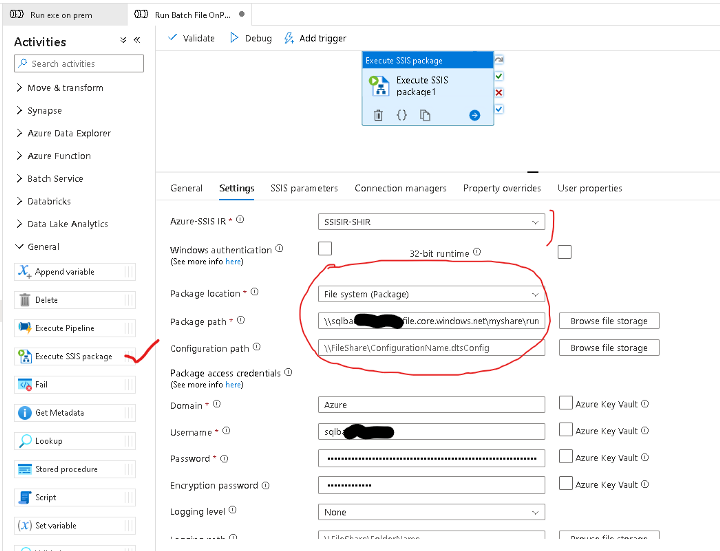
Click on the Settings tab and fill up the following as shown below.
Select the IR created.
Specify Folder, project, and package name.
Click Publish.
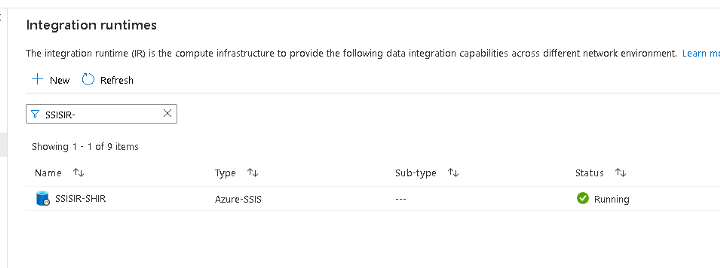
Make sure the IR we created earlier is in the “Running” state before we execute the pipeline. Click Manage →Integration runtime in ADF GUI.
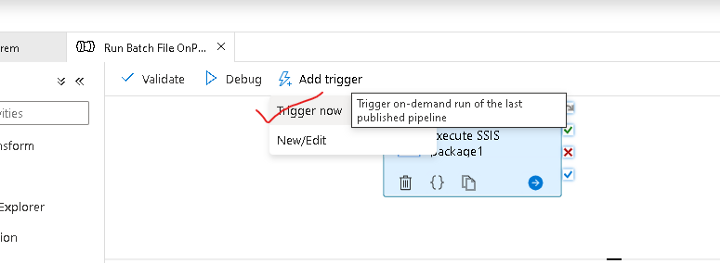
Run the pipeline. Click Add Trigger →Trigger Now.
Now click Manage →Pipeline runs.

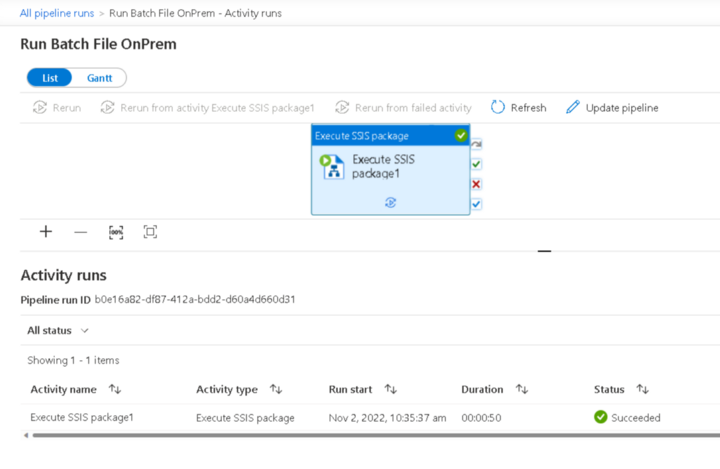
Click on the pipeline. As you can status shows “Succeeded.”
Verify in the on-prem or VM that the “Execute Process Task” ran via the SHIR. As you can see, the .txt file is created as a result of pipeline execution.
Conclusion
After setting up self-hosted IR as a proxy for SSIS IR, you can deploy and run your packages to access data and or run any SQL statements. Further, you can run any executables/processes, whether on-premises or on a VM in Azure or anywhere. The pipeline runs as Execute SSIS Package activities in Data Factory.
Published at DZone with permission of Muhammad Afzal. See the original article here.
Opinions expressed by DZone contributors are their own.

Comments