Razorpay Payment Gateway Integration In iOS Swift
In this article, we are going to focus on Razor Pay integration with iOS Swift 4 using Xcode 10.1. and learn how to integrate Razorpay with an iOS app.
Join the DZone community and get the full member experience.
Join For FreeIntroduction
Razorpay is one of the fastest growing payment solutions. It is robust and provides a developer-friendly API and SDK for Android, iOS, etc. It provides different modes of payments like credit cards, debit cards, net banking, UPI, and other popular wallets.
In this article, we are going to focus on Razor Pay integration with iOS Swift 4 using Xcode 10.1. and learn how to integrate Razorpay with an iOS app. We will create a demo app to integrate Razorpay and pay some amount by using the Razorpay payment gateway.
Prerequisites
- xcode 10.1
- Swift 4
- A Razorpay account (you can signup from here https://dashboard.Razorpay.com/#/access/signup)
- your Razorpay key id (you can get from here https://dashboard.Razorpay.com/#/app/keys)
Development
Step 1: Install pod for Razorpay
- Add pod 'Razorpay-pod' in the pod file.
- Run ‘pod install’ from the terminal.
- Now open the xcworkspace
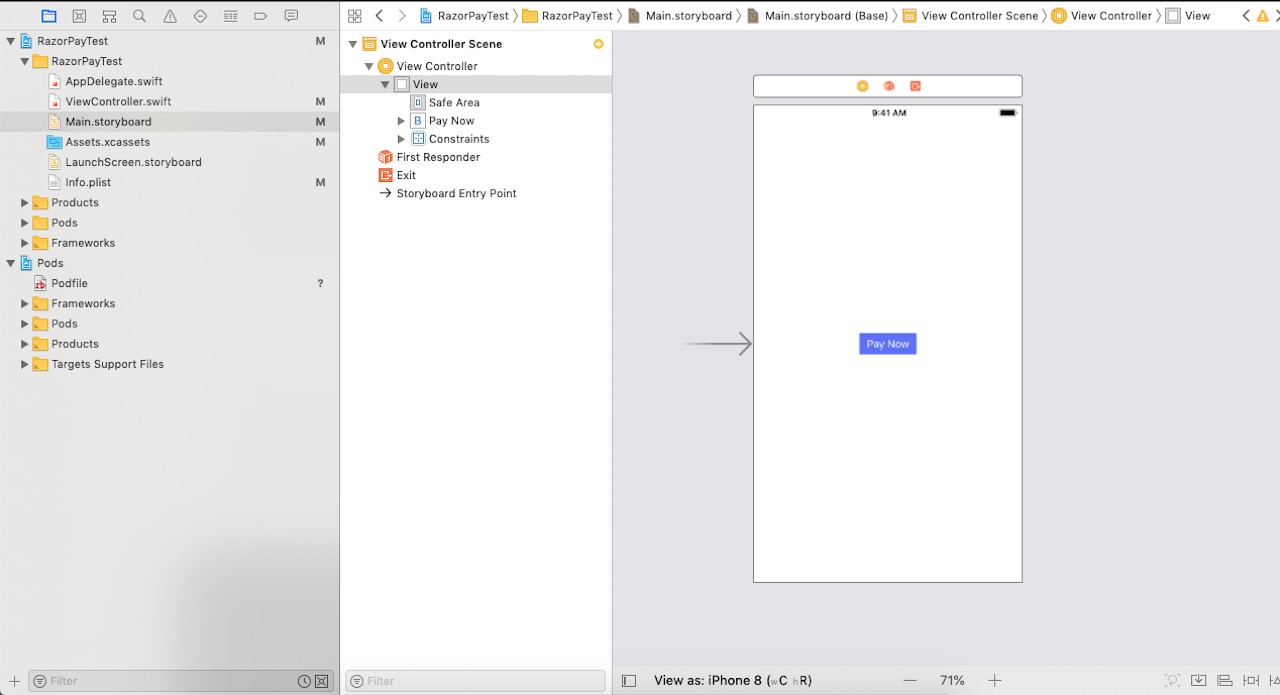
Step 2: Develop a basic UI as shown below.

Step 3: Import Razorpay to your view Controller.
importRazorpay
Step 4:
- Create an action outlet of the pay now button in your view controller.
 @IBAction func payNowClicked(_ sender: Any) {
         }
2. Create an instance reference variable of type Razorpay.
private var razorpay:Razorpay?3. Initialize that reference variable in the viewDidLoad method of the view controller by calling the init method with the public key and delegate.
override func viewDidLoad() {
      super.viewDidLoad()
       razorpay = Razorpay.initWithKey("rzp_test_FYCQAsmKTFF8FR", andDelegate: self)
    }
4. Create an extension of view controller and confirm RazorpayPaymentCompletionProtocol as shown below:
a) onPaymentSuccess(_ payment_id: String)
b) onPaymentError(_ code: Int32, description str: String)
 extension ViewController: RazorpayPaymentCompletionProtocol {
    func onPaymentSuccess(_ payment_id: String) {
        let alert = UIAlertController(title: "Paid", message: "Payment Success", preferredStyle: .alert)
        let action = UIAlertAction(title: "OK", style: .cancel, handler: nil)
        alert.addAction(action)
        self.present(alert, animated: true, completion: nil)
    }

    func onPaymentError(_ code: Int32, description str: String) {
        let alert = UIAlertController(title: "Error", message: "\(code)\n\(str)", preferredStyle: .alert)
        let action = UIAlertAction(title: "OK", style: .cancel, handler: nil)
        alert.addAction(action)
        self.present(alert, animated: true, completion: nil)
    }
}
As you can see in the above code, we have two methods onPaymentSuccess, and onPaymentError, the success method will be called if payment transaction is completed successfully where the onPaymentError will be called if the transaction is not completed successfully. It provides some error codes as given below:
Possible values for a failure code are:
- 0: Network error
- 1: Initialization failure/Unexpected behavior
- 2: Payment canceled by the user
Now inside the action outlet of the pay button, create a parameter for razor pay like:
  let options: [String:Any] = [
"amount" : "100" //mandatory in paise like:- 1000 paise ==  10 rs
            "description": "purchase description"
            "image": "https://url-to-image.png",
            "name": "business or product name"
            "prefill": [
                "contact": "9797979797",
                "email": "foo@bar.com"
                ],
                "theme": [
                    "color": "#F37254"
              ]
        ]
Progress Bar:
To support the theme color in the progress bar, pass HEX color values only.
After setting all the parameters, call the open method of Razorpay:
razorpay?.open(options)Complete the Demo Project that you can download here.
Published at DZone with permission of Chander Bhushan. See the original article here.
Opinions expressed by DZone contributors are their own.

Comments