Migrating From Docker to Rancher Desktop: A Comprehensive Guide
In this blog post, we’ll explore the reasons for migrating from Docker to Rancher Desktop, as well as the steps involved in the migration process.
Join the DZone community and get the full member experience.
Join For FreeIf you’re a developer, chances are you’ve worked with Docker at some point in your career. Docker has become the standard for containerization, allowing developers to package their applications in containers and deploy them anywhere. However, Docker isn’t the only containerization solution out there. Rancher Desktop is a popular alternative that offers many benefits over Docker. In this blog post, we’ll explore the reasons for migrating from Docker to Rancher Desktop, as well as the steps involved in the migration process.
Why Migrate from Docker to Rancher Desktop?
Before we dive into the migration process, let’s first explore the reasons why you might want to migrate from Docker to Rancher Desktop. Here are some of the key benefits of using Rancher Desktop:
- Improved UI/UX: Rancher Desktop offers a user-friendly interface that makes it easy to manage containers and Kubernetes clusters. The interface is intuitive and allows developers to manage their containers without having to use the command line.
- Kubernetes Integration: Rancher Desktop integrates with Kubernetes, allowing developers to manage their Kubernetes clusters from within the Rancher Desktop interface. This integration makes it easy to deploy, scale, and manage Kubernetes clusters, all from a single dashboard.
- Multi-Platform Support: Rancher Desktop supports multiple platforms, including Windows, macOS, and Linux. This makes it easy for developers to work with containers on any platform of their choice.
- Secure: Rancher Desktop offers several security features, including secure container isolation and network segmentation. These features make it easy to deploy and manage containers securely.
- Open-Source: Rancher Desktop is open-source, which means that developers can contribute to the project and help improve the software.
Now that we’ve explored the benefits of using Rancher Desktop let’s dive into the migration process.
Migration Steps
The migration process from Docker to Rancher Desktop involves the following steps:
Step 1: Backup Docker Containers
Before you migrate from Docker to Rancher Desktop, you should back up all of your Docker containers. This will ensure that you don’t lose any data during the migration process. You can use the Docker CLI to back up your containers using the following command:
docker save -o my_containers.tar my_image:latest
This command will create a backup of your Docker container in a .tar file.
Step 2: Uninstall Docker
The next step is to uninstall Docker from your system. You can do this using the following command:
sudo apt-get remove docker docker-engine docker.io containerd runc
This command will remove all Docker-related packages from your system.
Step 3: Install Rancher Desktop
Once you’ve uninstalled Docker, you can proceed with installing Rancher Desktop. You can download the latest version of Rancher Desktop from the official website.

Step 4: Import Docker Containers
After you’ve installed Rancher Desktop, you can import your Docker containers into Rancher Desktop using the following command:
docker load -i my_containers.tar
This command will import your Docker containers into Rancher Desktop.
Step 5: Start Containers
Once you’ve imported your Docker containers into Rancher Desktop, you can start them using the Rancher Desktop interface. Simply navigate to the “Containers” section of the interface and click on “Start” to start your containers.
Step 6: Test Containers
After you’ve started your containers, you should test them to ensure that they’re working correctly. You can do this by accessing your containers’ web interfaces and checking that they’re functioning correctly.
Steps to build container images using Rancher Desktop and create a Docker image with a Dockerfile:
- Install Rancher Desktop using the command brew install rancher.
- Choose CLI Options:
a. nerdctl for containers-runtime b. docker CLI for Moby-runtime - Create a folder with two files inside it, a Dockerfile and an HTML file. To create a Dockerfile, use the command vi Dockerfile. Populate the Dockerfile with the following code:
FROM alpine CMD["echo", "Hello World"] - Build the image using nerdctl with the command
nerdctl -n k8s.io build --tag helloworld:latest. - List images with the command
nerdctl -n k8s.io images - Create a namespace with the command
nerdctl namespace create test - List namespaces with the command
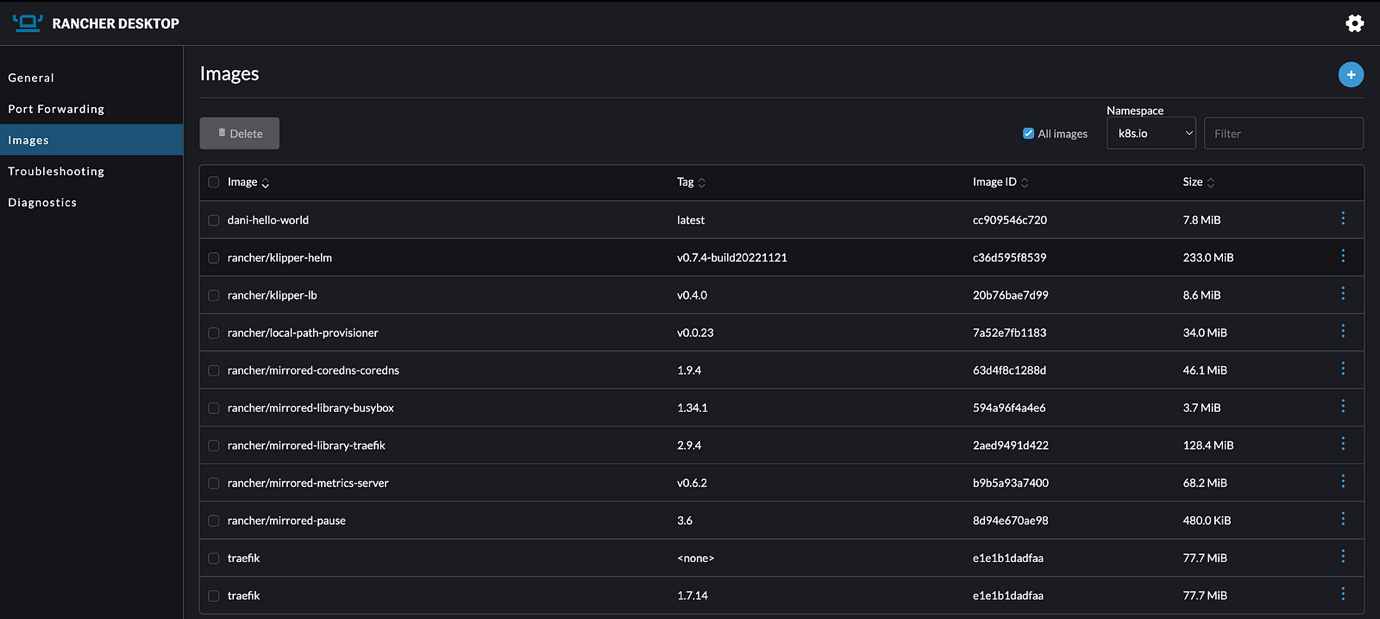
nerdctl namespace ls - Go to Rancher Desktop, navigate to Images, select the Image Namespace test, click on Add Image and pull the
nginx:latest image. - Run the built image with the command
nerdctl -n k8s.io run -d -p 8084:80 helloworld:latest in the k8s.io namespace.
Conclusion
Migrating from Docker to Rancher Desktop is a straightforward process.
Opinions expressed by DZone contributors are their own.

Comments