Migrate Mule 3 to Mule 4 Using MMA (Mule Migration Assistant)
This article helps you to Migrate (not entirely though) your Mule 3 Application to Mule 4. Though it doesn't work for the whole application, it is quick!
Join the DZone community and get the full member experience.
Join For FreeHello Guys!
You might have heard about an "Open Source " tool called Mule Migration Assistant (MMA) that is released by MuleSoft recently.
This article helps you to Migrate (not entirely though) your Mule 3 Application to Mule 4. Even though it doesn’t entirely migrate the whole application but whatever part is migrated, it migrates very quickly!
Note:
- This article covers basic info on MMA
- MMA cannot migrate the entire application as we have some things which cannot be converted like DataWeave syntaxes, inbound properties, etc. For that, we need manual effort.
- The connectors which cannot be converted will be shown in form of "Compatibility Module" which is a connector that shows in the Mule 4 app. Compatibility module provides a set of components that either adapts Mule 3 components into the Mule 4 architecture or in some cases, enables some Mule 3 components to work in Mule 4.
- Refer for Detailed documentation from https://github.com/mulesoft/mule-migration-assistant/blob/master/docs/user-docs/migration-tutorial.adoc
Let's get started.
Please make sure you have Anypoint Studio 6.x and 7.x versions both are required for Migration using MMA
Step 1: Download MMA
To download MMA, go to below document link and click on the circled link:

Note: Make sure Java is installed on your system.
Unzip it once it's downloaded
Step 2: Download a Mule 3 Project or Create One:
Now to get started, we need an existing Mule 3 application ! or Create one Mule 3 application. For this article, as suggested in the official document, I have downloaded an existing Mule 3 app from the exchange ( download button is enabled only if you log in to AnyPoint platform)
Download: https://anypoint.mulesoft.com/exchange/org.mule.examples/querying-a-mysql-database/minor/1.4/
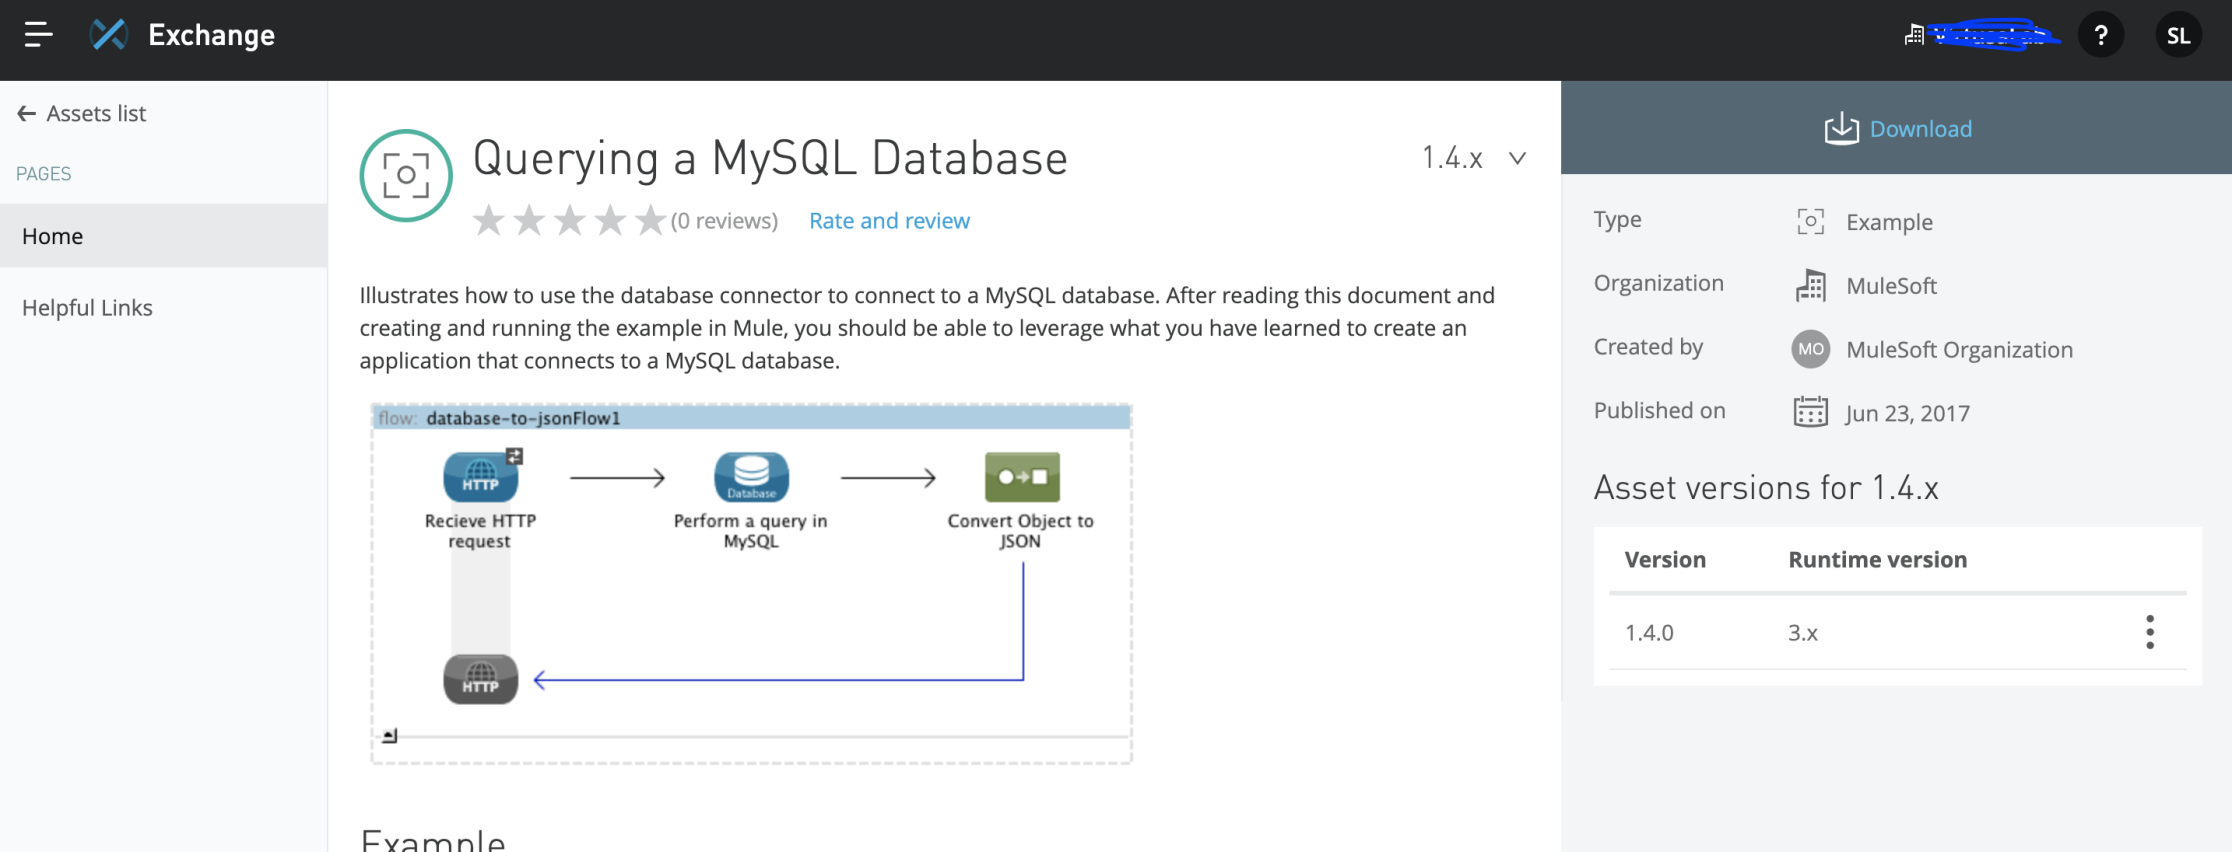
You can also create one as you have Anypoint studio 6 version on your system.
Step 3: Import Mule 3 App to Anypoint Studio 6 Version
You have to be careful here. we cannot just use the zip file as is for migration. We need to import the downloaded project into the studio and copy the path of it. It looks like below.
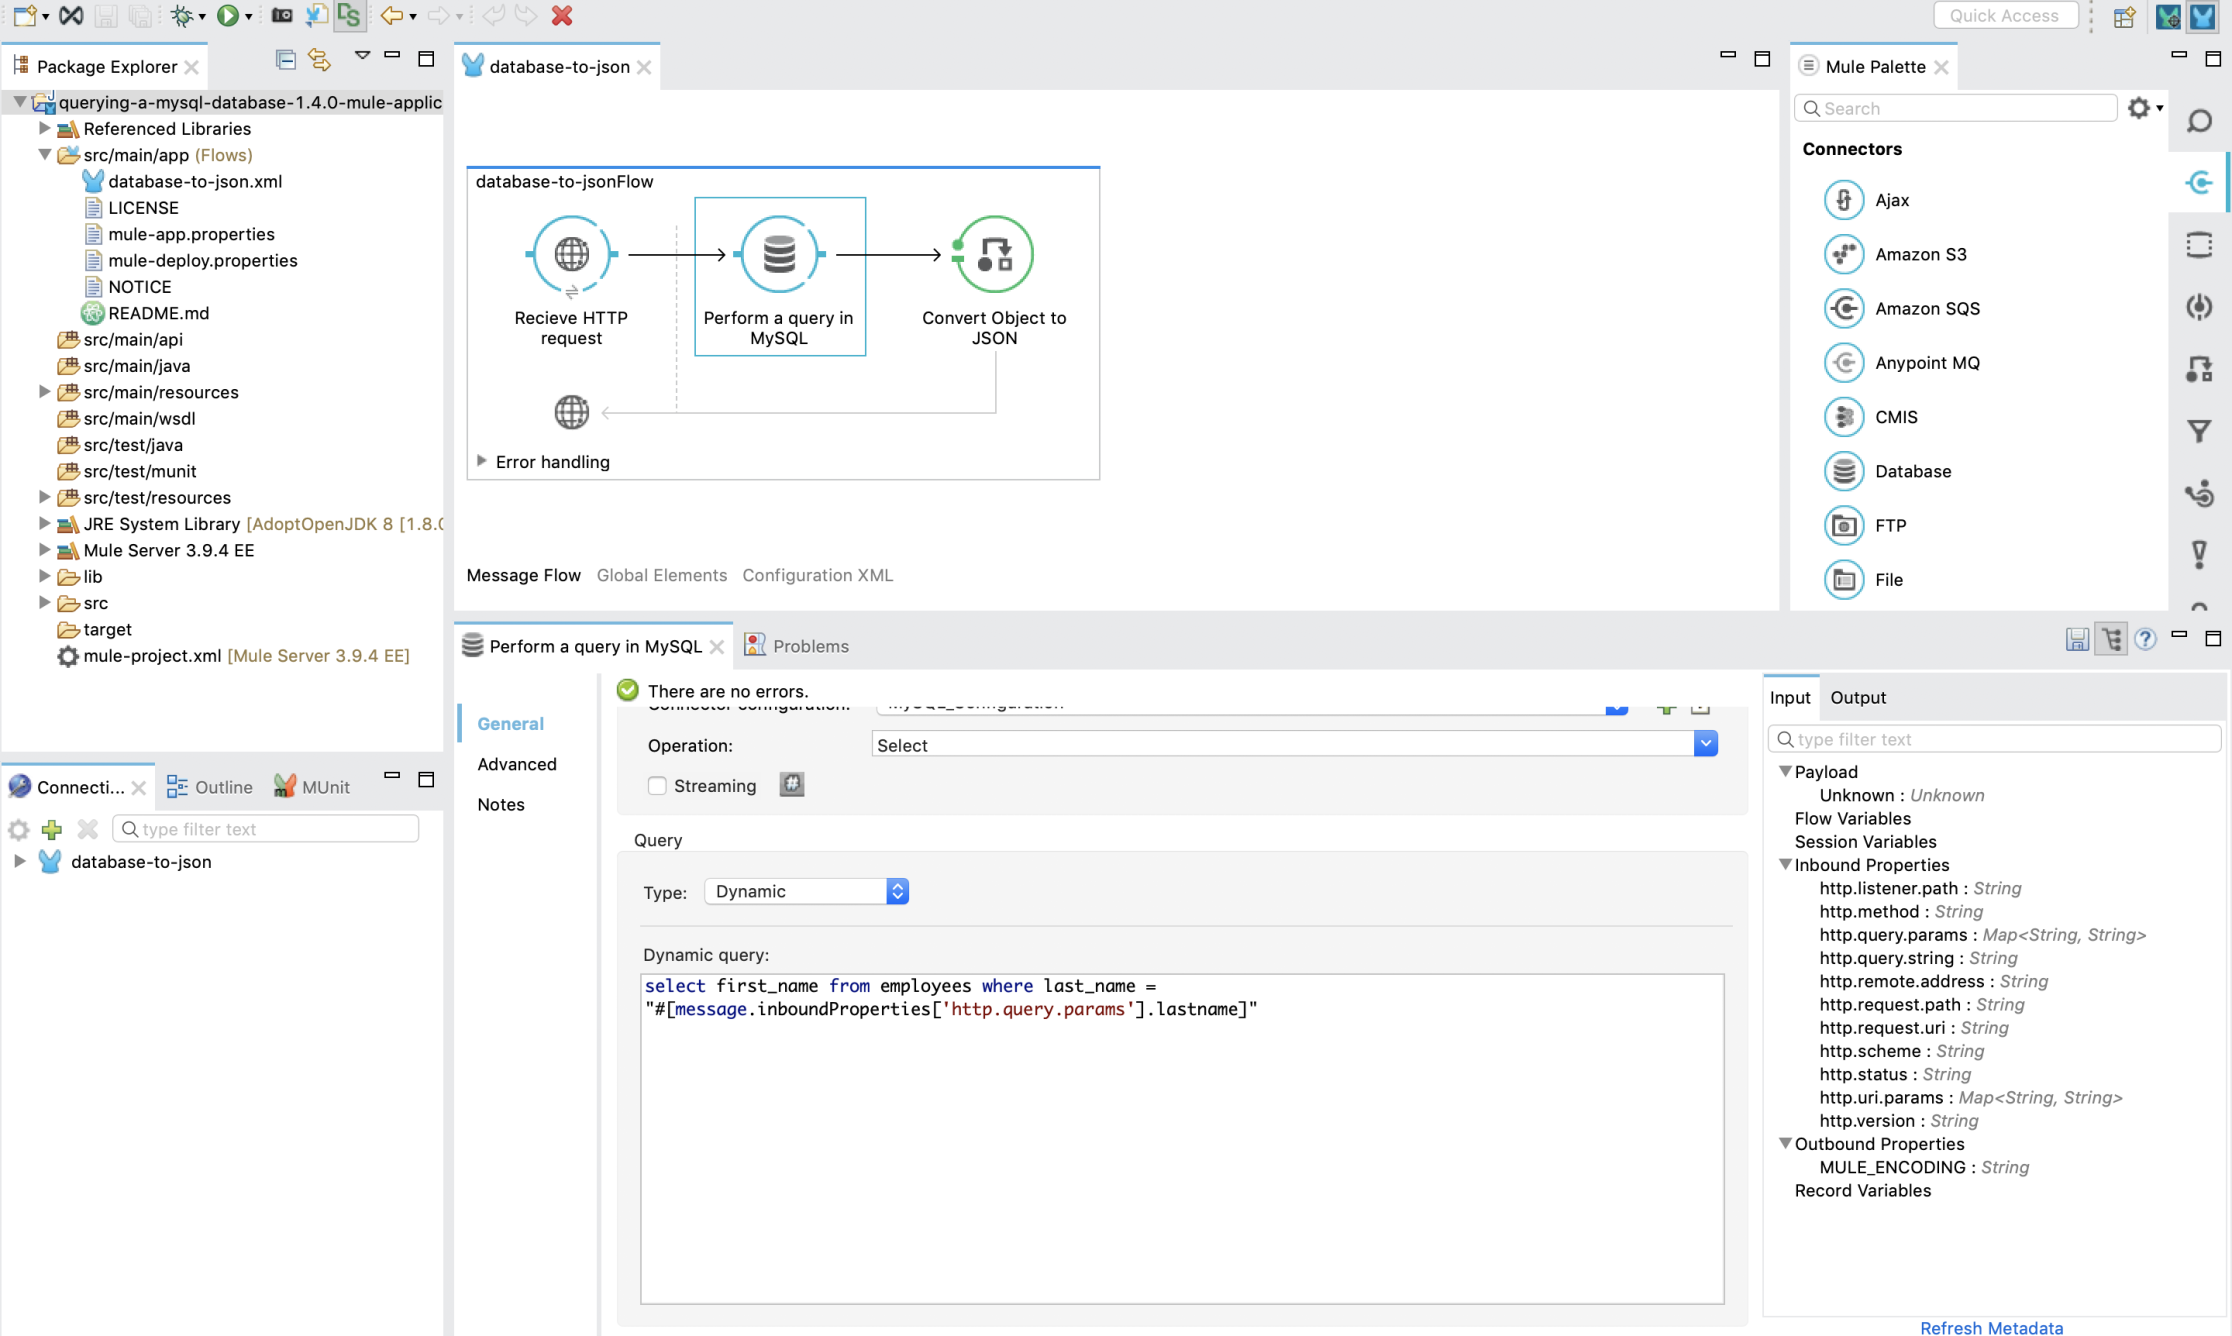
Mule 3.9 with Anypoint Studio 6:

You can see there is a Database connector and an inbound parameter (query param) lastname.
Step 4: Migrate Using MMA
This is a pretty simple step. we need to define 2 paths:
projectBasePath: which is Mule 3 app path (path of the workspace)
destinationProjectBasePath: is the path where you want to place the migrated app
Make sure Java is installed.
Command used:
$ java -jar mule-migration-assistant-runner-1.0.0.jar -muleVersion 4.3.0 -projectBasePath /Users/sravanyadav/AnypointStudio-6
/querying-a-mysql-database-1.4.0-mule-application-example -destinationProjectBasePath /Users/sravanyadav/Downloads
/querying-a-mysql-database-mule4
The same command for both windows and Mac OS
Make sure you run the command inside downloaded and unzipped MMA path
You can see that the app is migrated to Mule 4.3 version (as I have given runtime as 4.3 in command) and migrated app can be seen in the destination path.

For this particular app, it took close to 8 sec to migrate. Isn’t it great?
Also, a report is generated which is very important that it contains what are errors, warnings, and info.
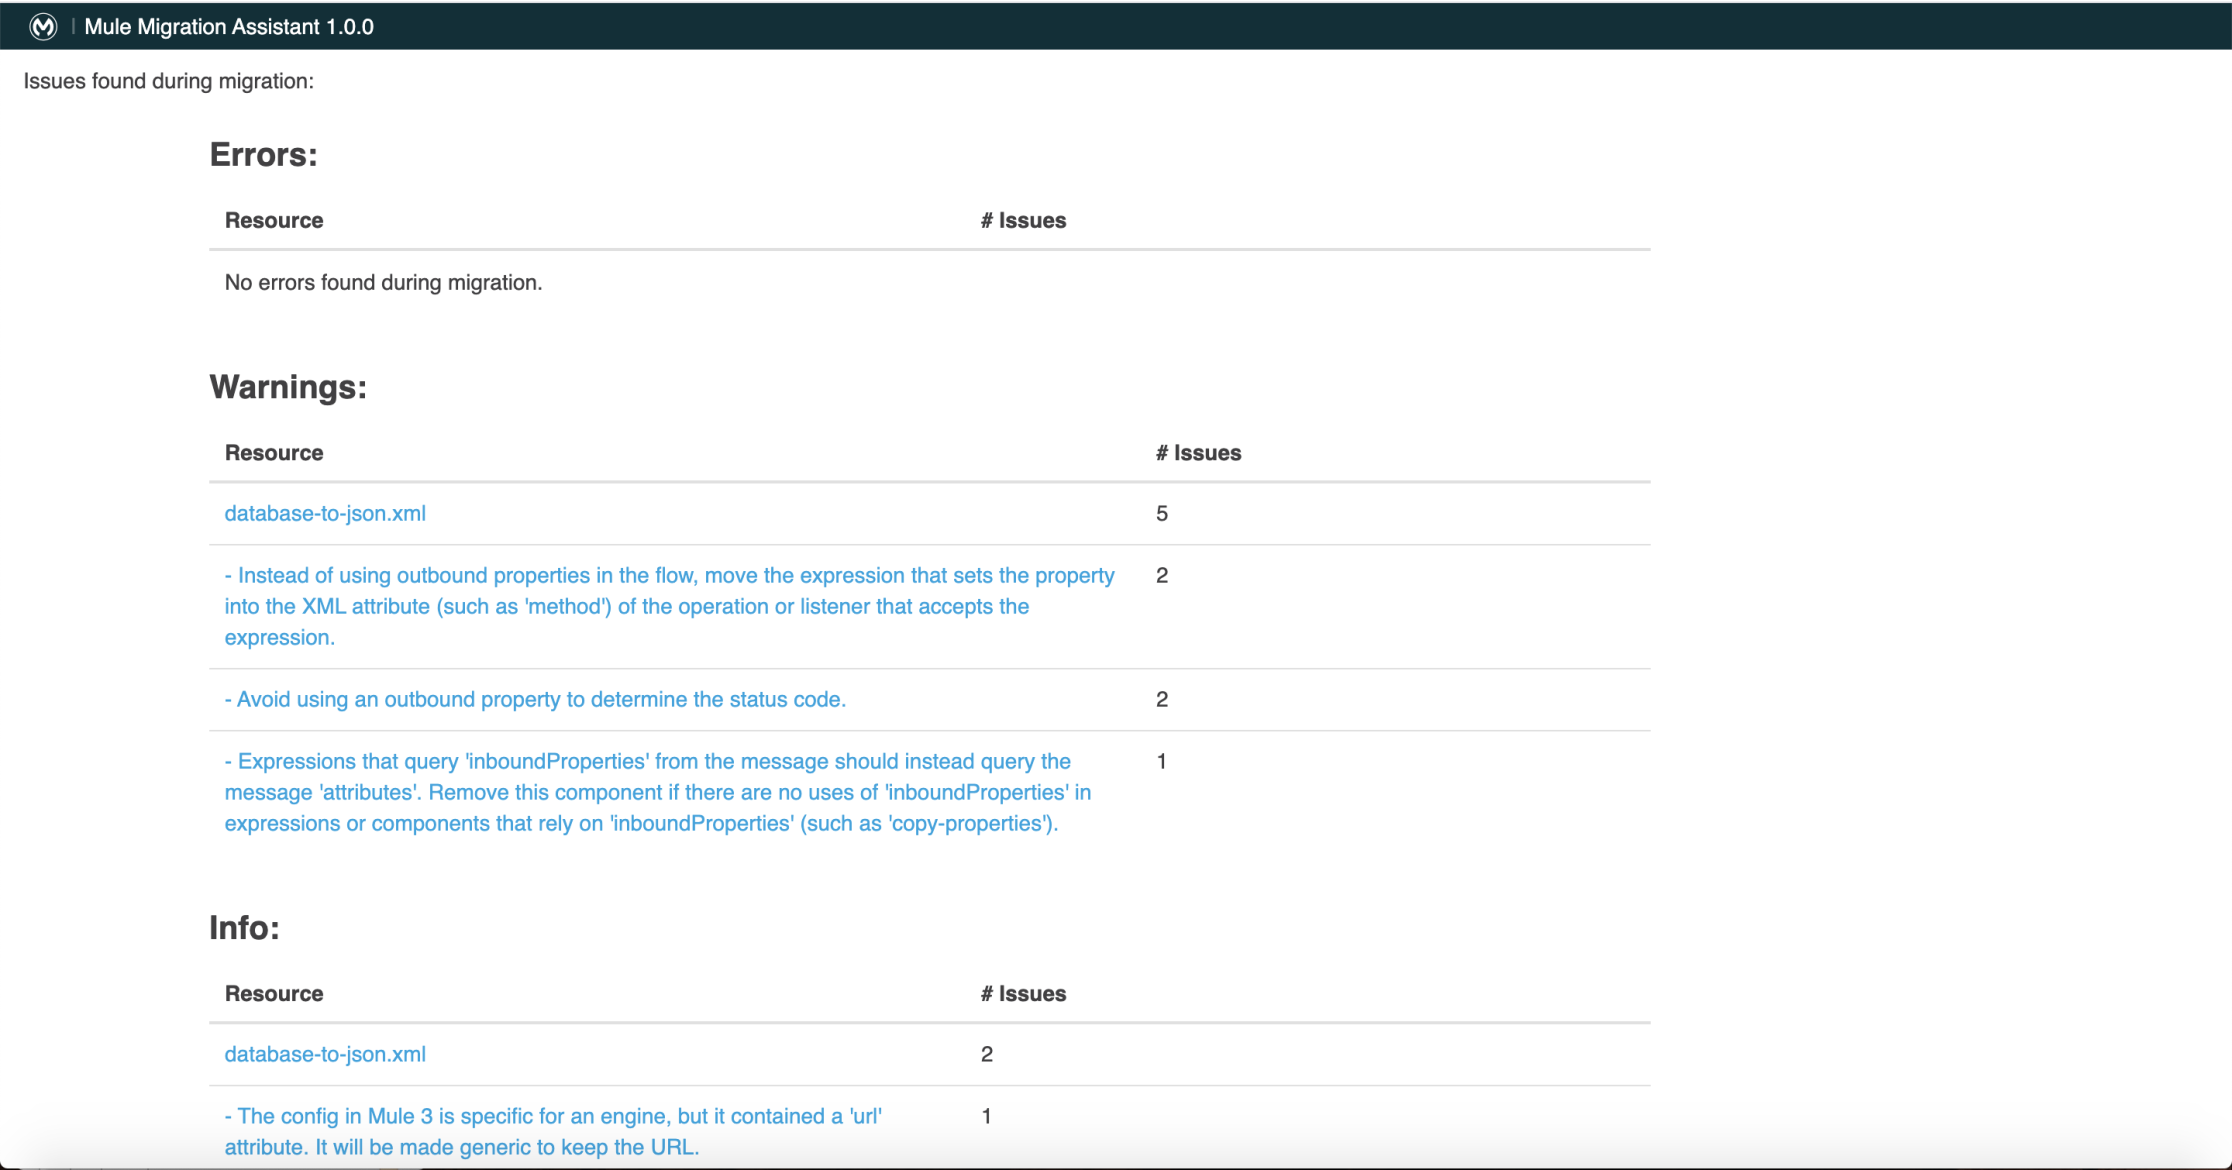
It fails and says that Is it a Mule Studio Project?

So please be careful while selecting the projectbase path .
Step 5: Manual Migration If Needed Based on the Summary Report
The last step is to manually migrate if any of the connectors or syntaxes are not migrated.
Now open Anypoint Studio 7, import the migrated app to the studio. And this is how it looks
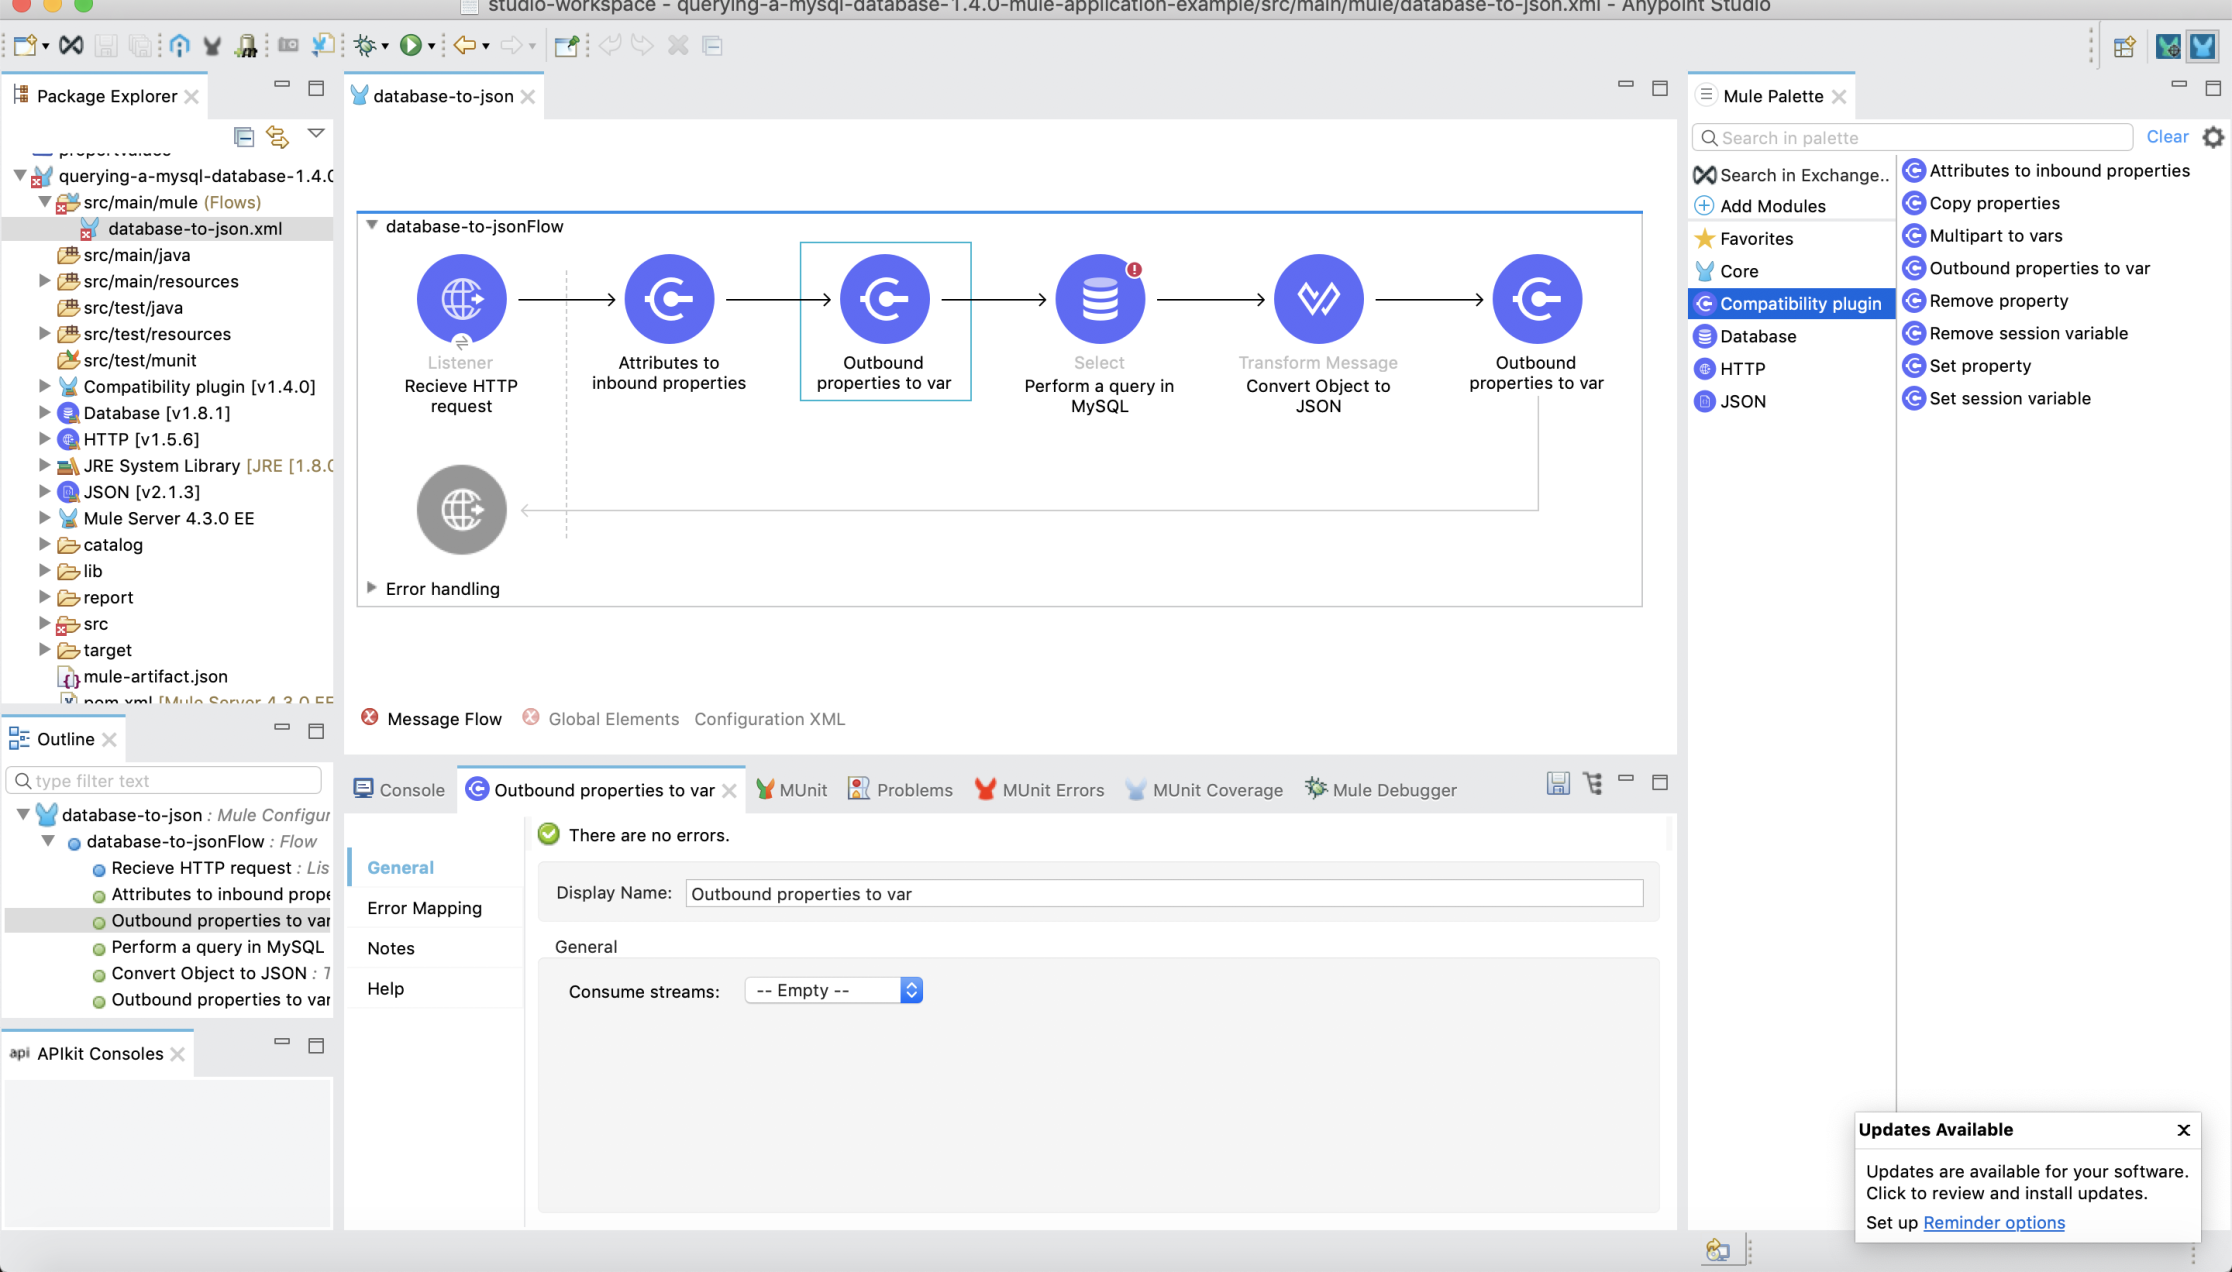
The first two connectors in-process phase are compatibility modules which asks you to migrate few inbound/outbound properties.
SO here are few things we need to do manual migration:
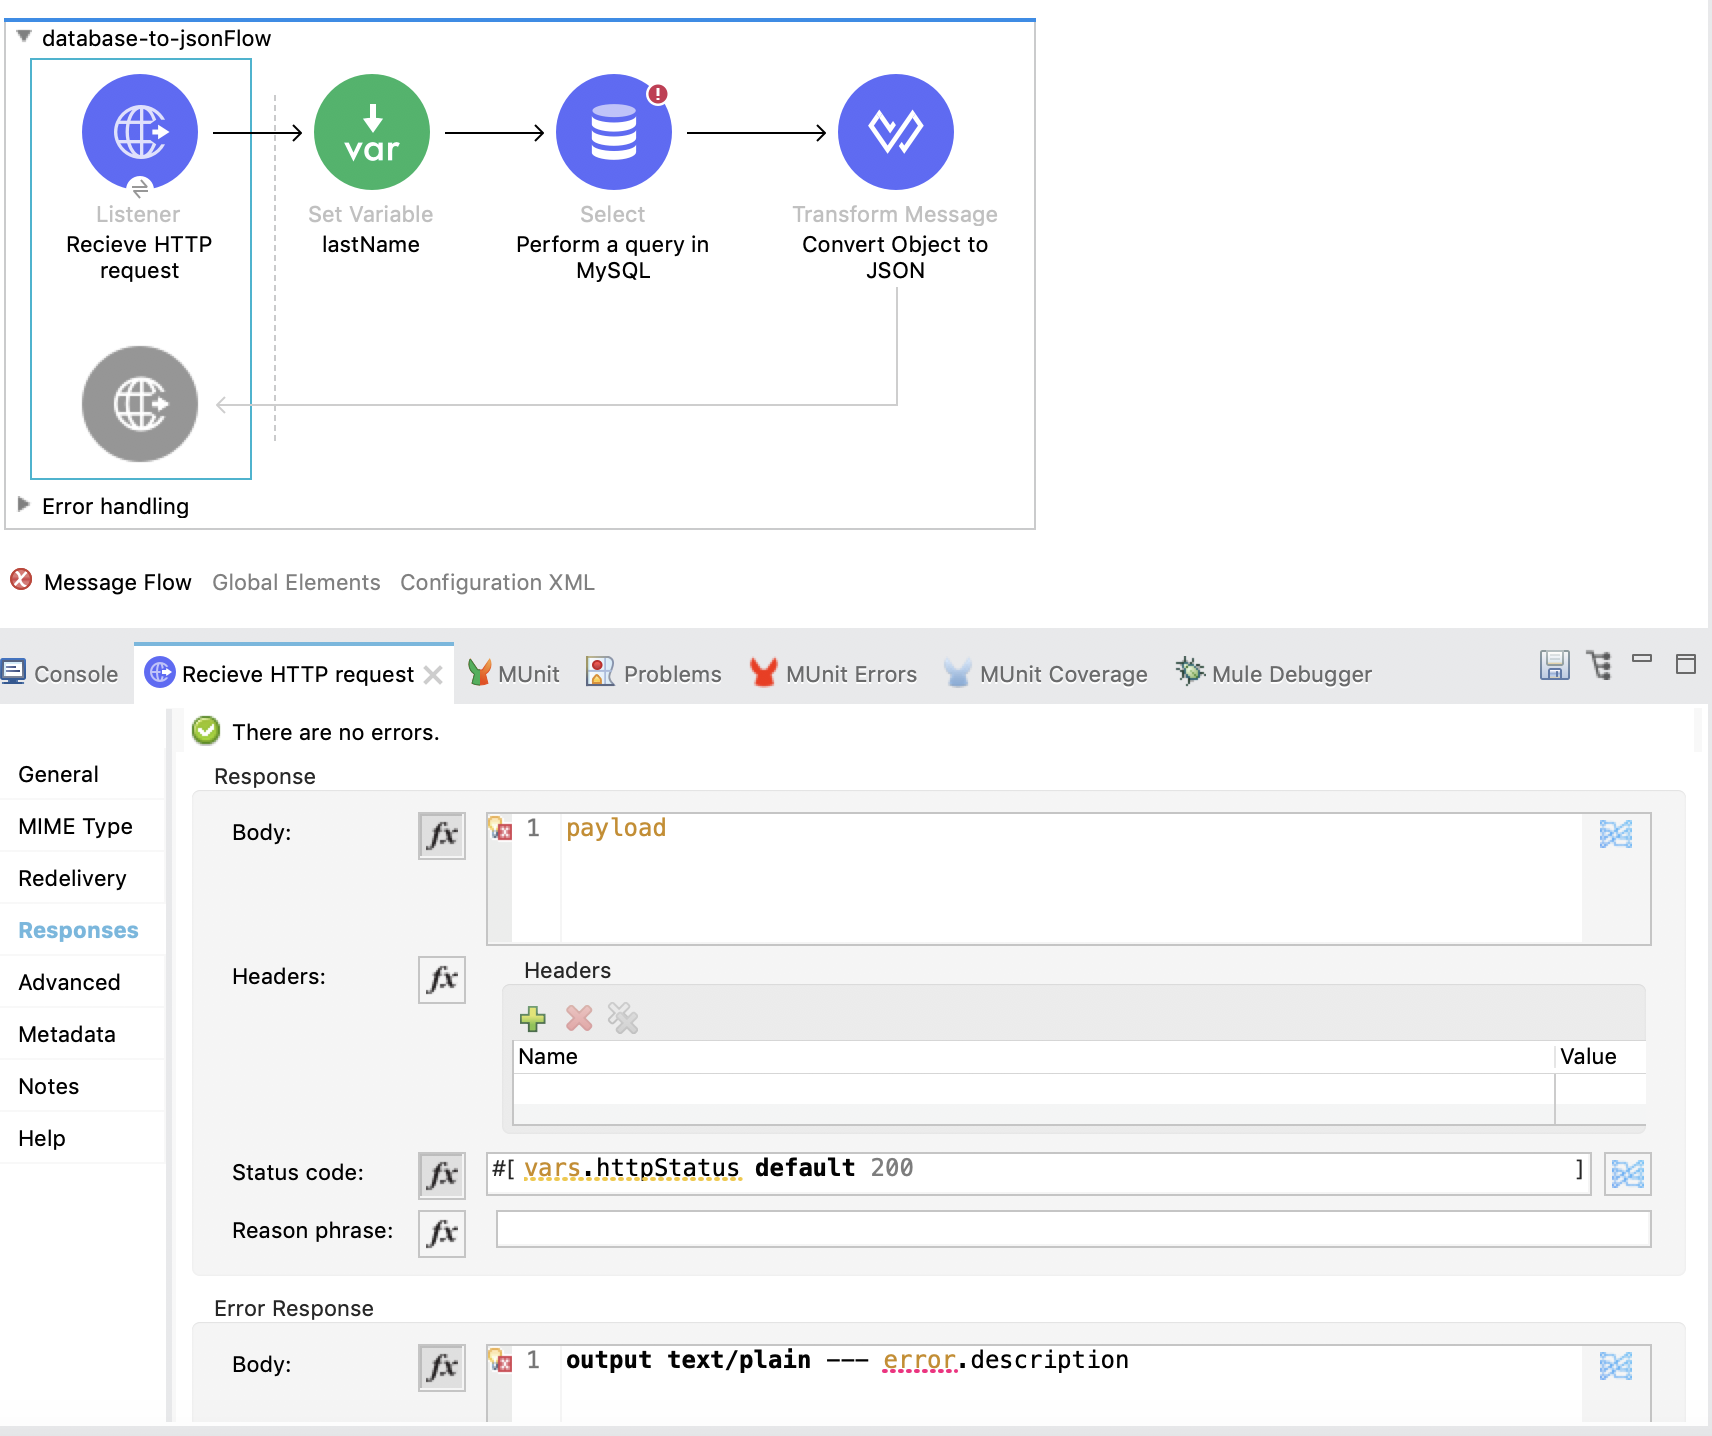
- Go to Http Listener responses tab and see what needs to be changed
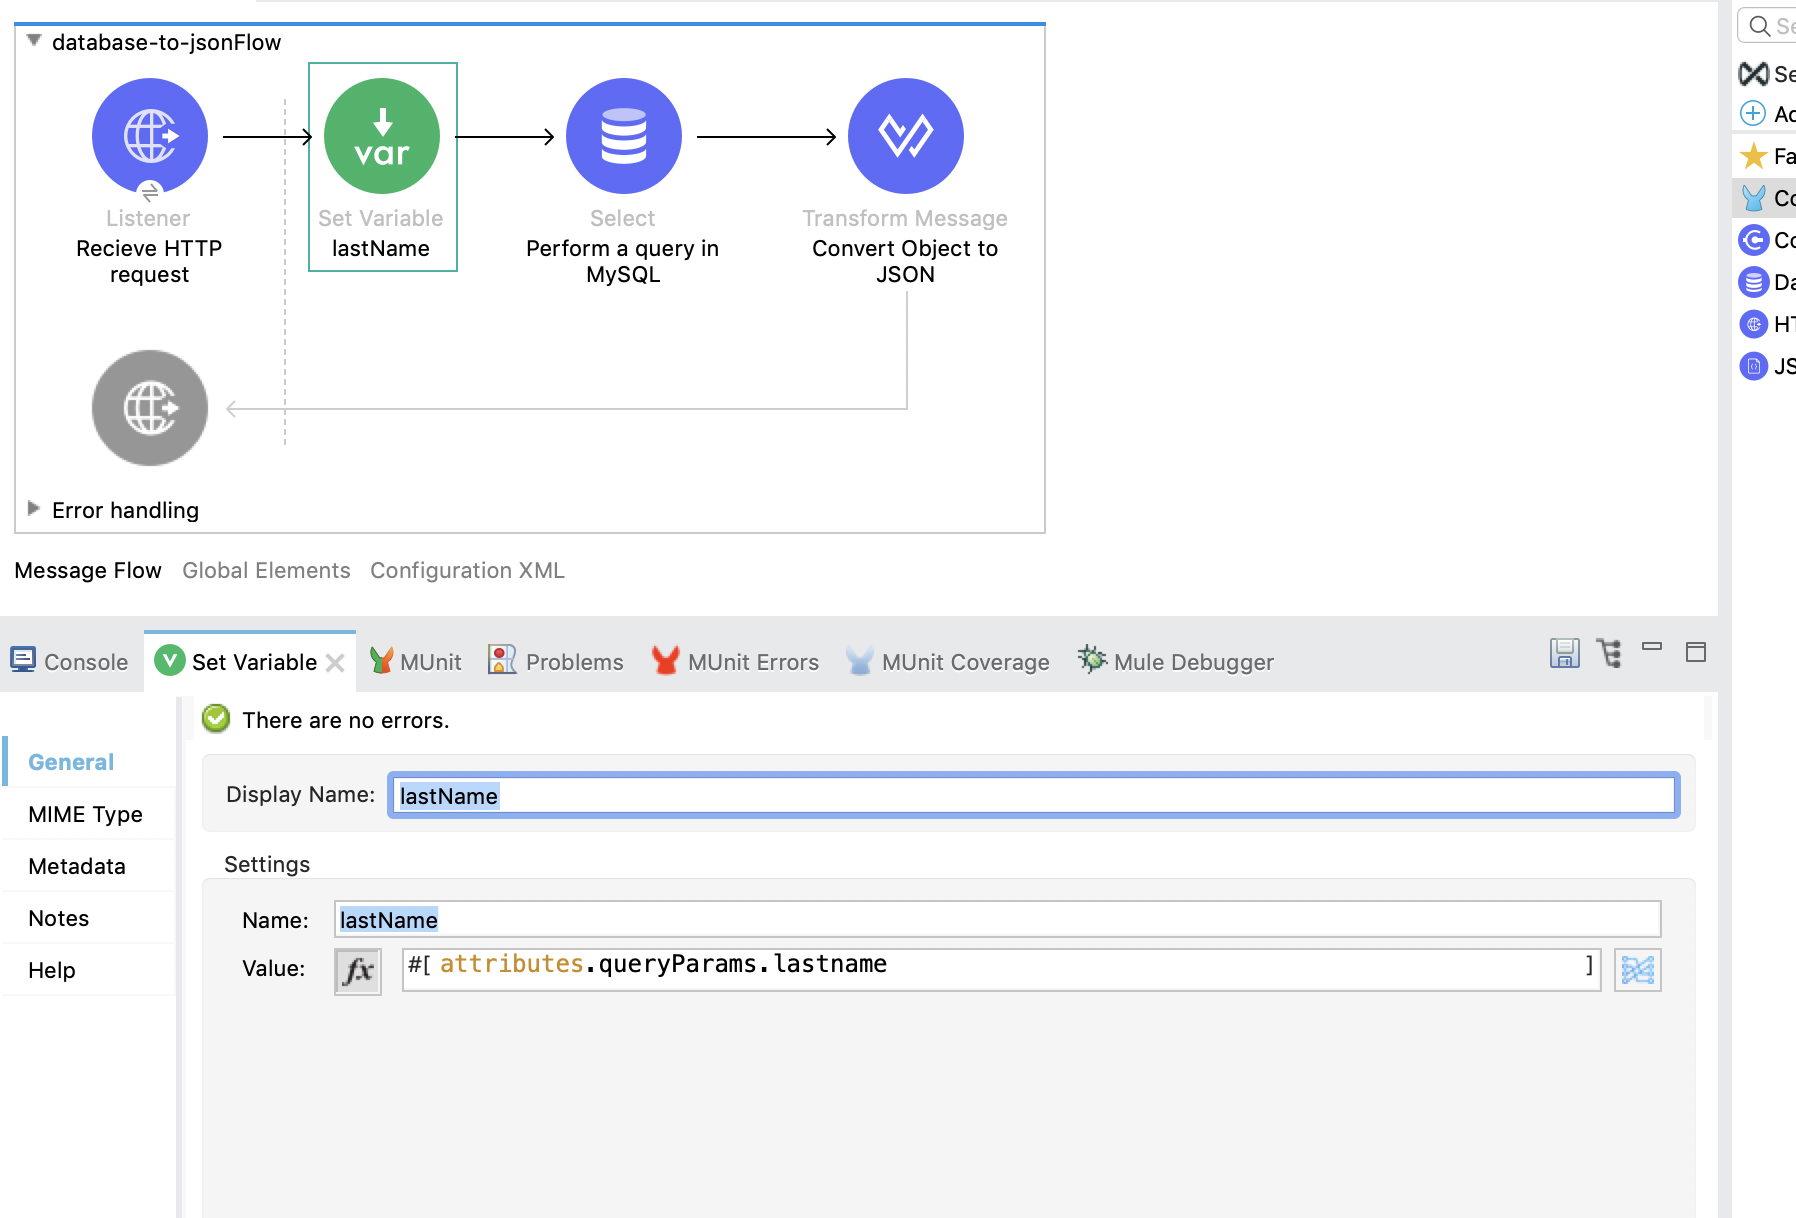
- Convert the syntax from inbound properties to attributes
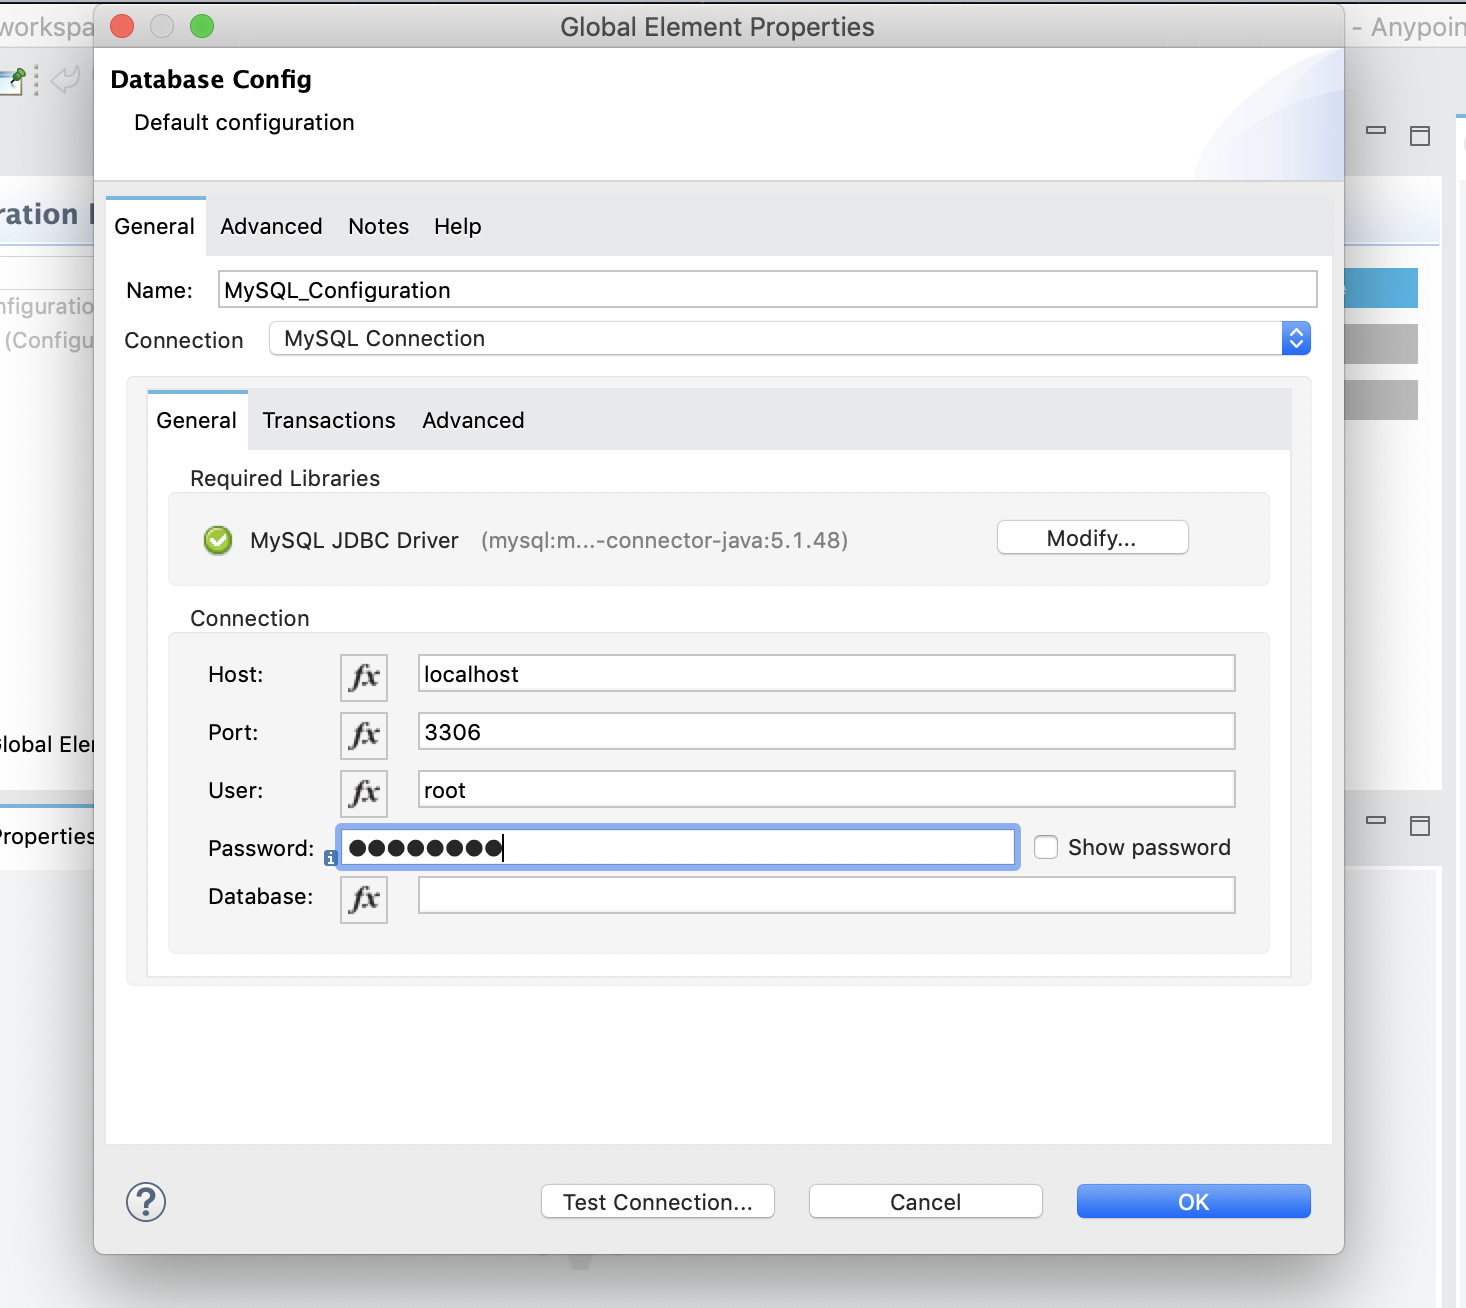
- Check the Database query and configuration.
All the above three are converted as below.
Remove compatibility modules and replace as below.
Before Manual migration:
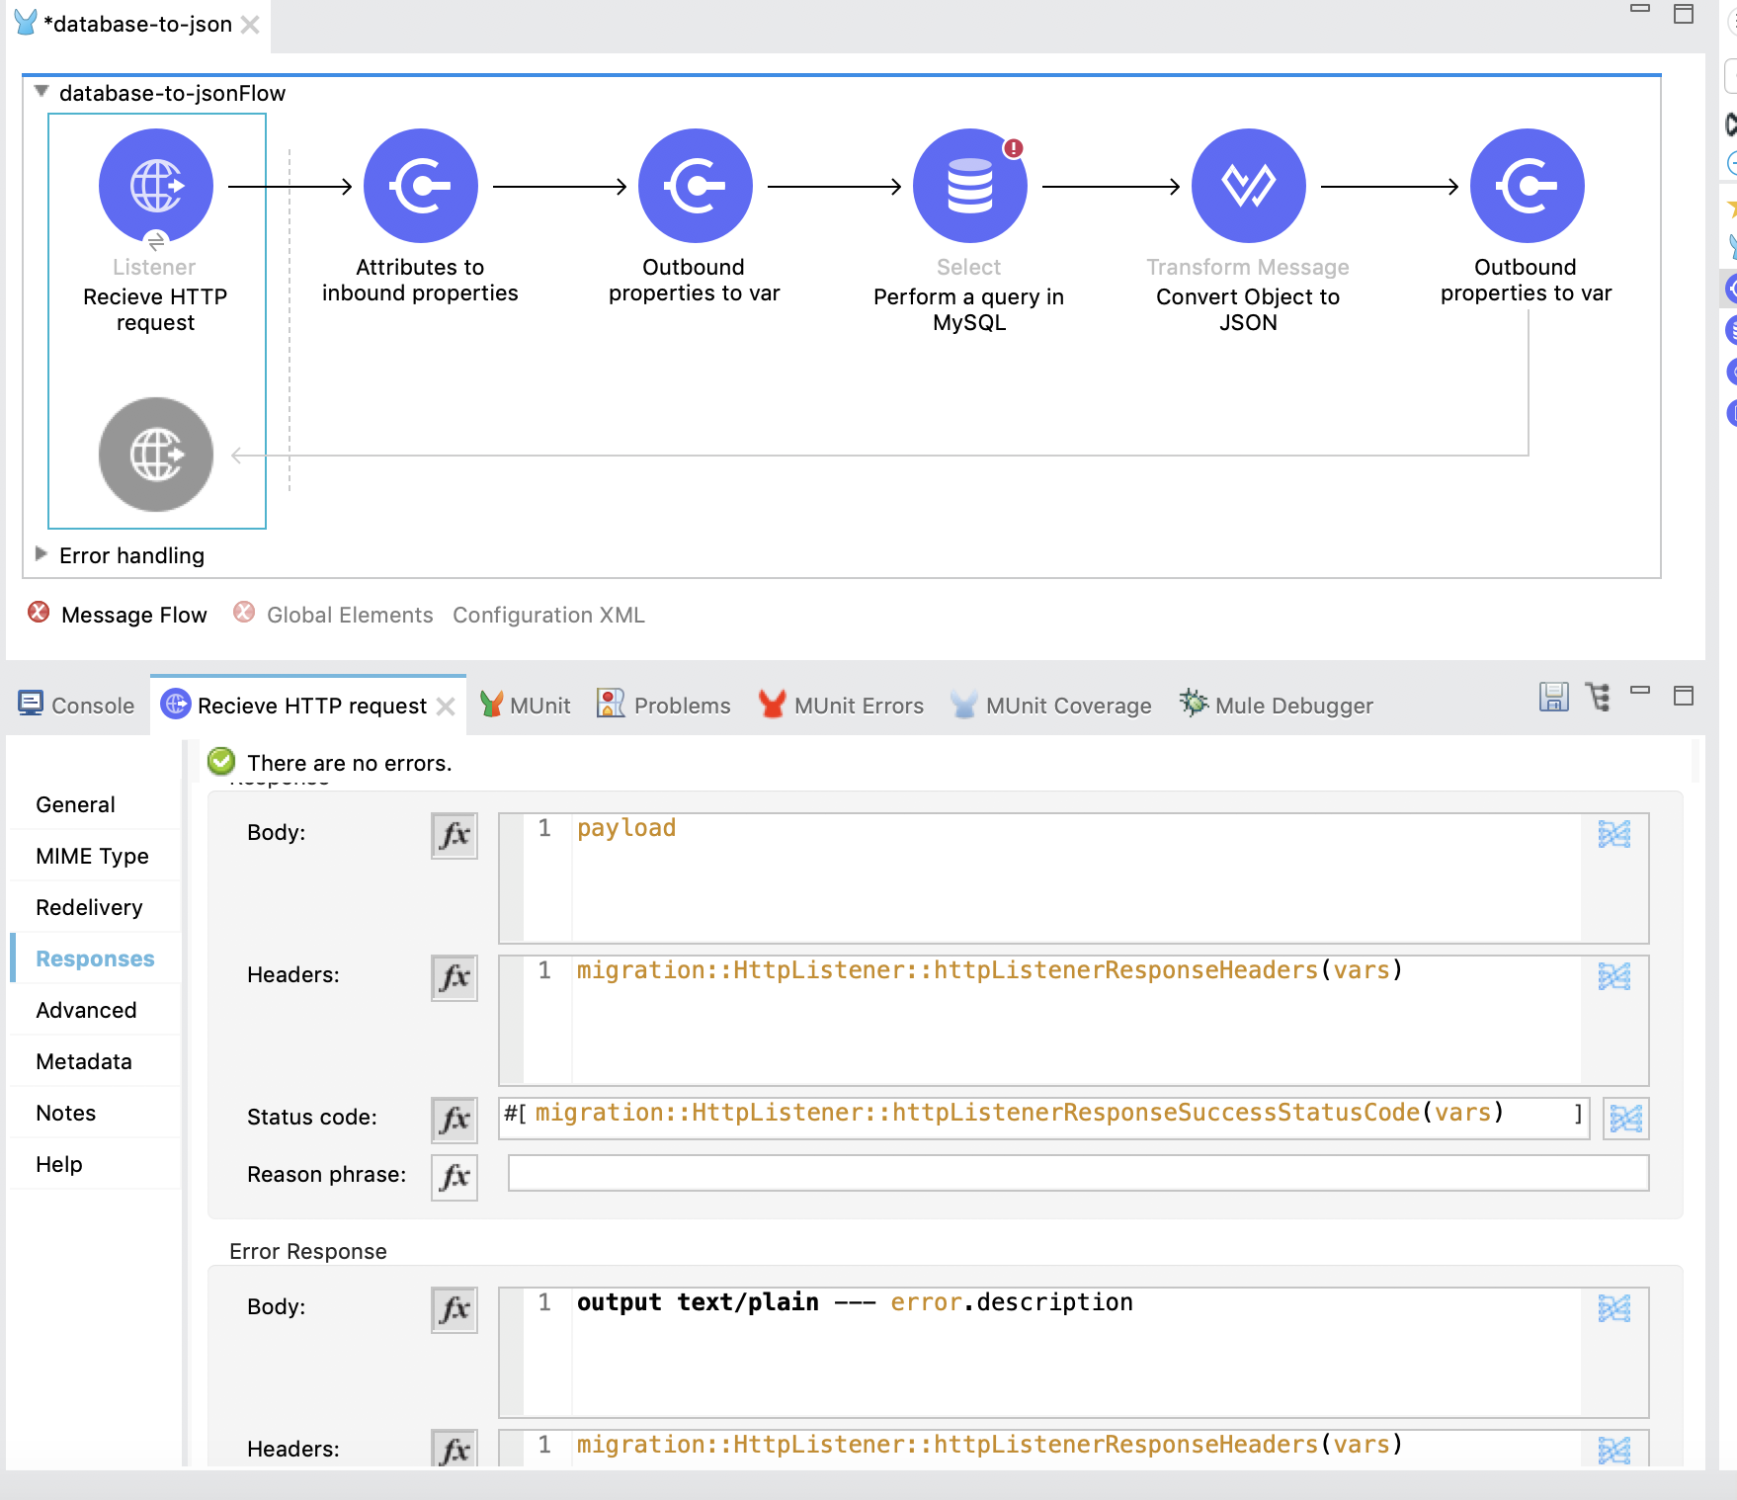
After Manual migration:
That's' it!
Your Mule 3 app is migrated to Mule 4 and good to go.
Mule 3 App:
Opinions expressed by DZone contributors are their own.

Comments