Logging AWS Elastic Beanstalk With ELK
The challenge of logging remains the same in Elastic Beanstalk as in any other environment: Multiple services mean multiple log sources.
Join the DZone community and get the full member experience.
Join For Free
AWS does not agree very well with my browser. Running a simple web application usually means that I have at least four to five AWS consoles open (EC2, RDS or DynamoDB, ELB, CloudWatch, S3). Add some AWS documentation tabs into it, and you have a very loaded browser.
Of course, it’s not just about the browser. Even if you understand exactly how you want to provision your infrastructure and how to use the various AWS services this involves, the actual management work involved can be extremely challenging.
AWS Elastic Beanstalk is a service that is meant to alleviate this situation by allowing users to deploy and manage their apps without worrying (that much) about the infrastructure deployed behind the scenes that actually runs them. You upload the app, and AWS automatically launches the environment, which can then be managed from…yes, yet another AWS console.
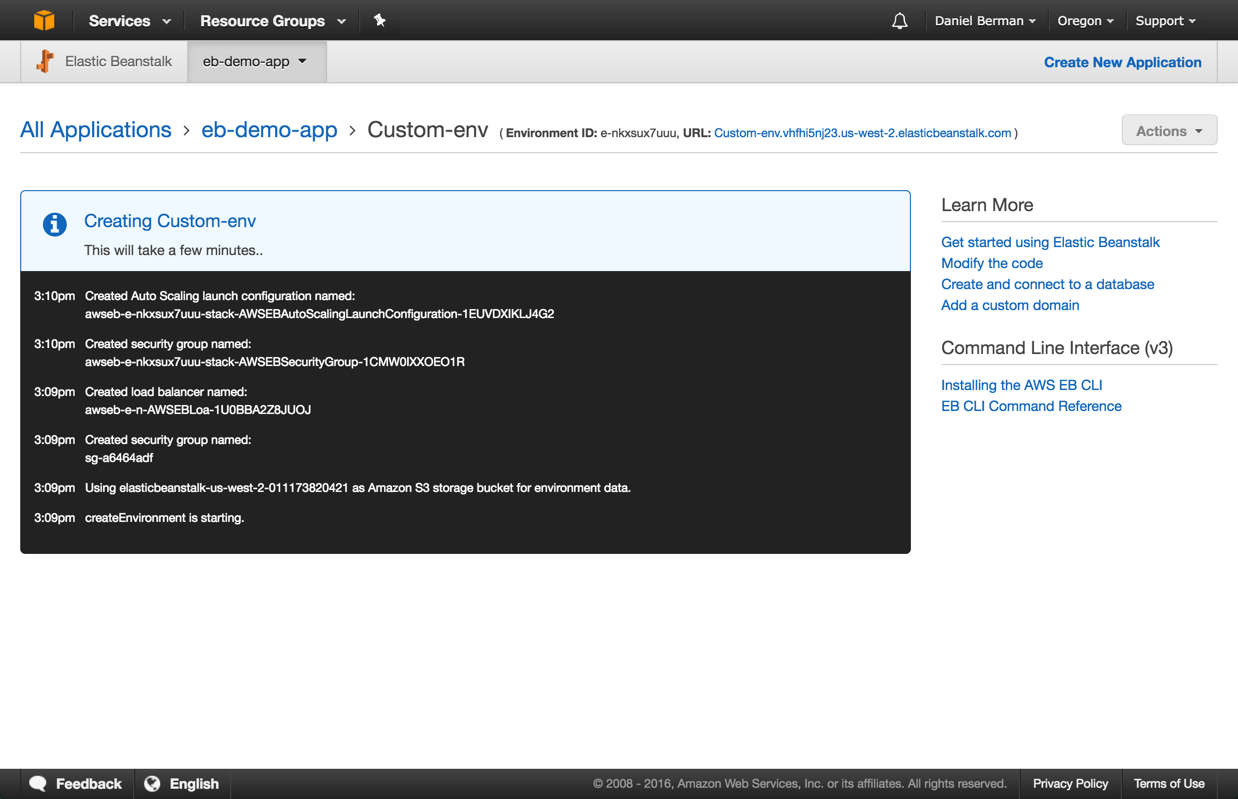
The challenge of logging remains the same in Elastic Beanstalk as in any other environment: Multiple services mean multiple log sources. The service itself generates logs, and you will most likely have numerous other web server logs and application logs to sift through for troubleshooting. Establishing a centralized logging system for Elastic Beanstalk, therefore, is a recommended logging strategy. This article will describe how to log the service using the ELK Stack (Elasticsearch, Logstash, and Kibana).
Elastic Beanstalk Logging
Elastic Beanstalk has pretty rich logging features.
By default, web server, application server, and Elastic Beanstalk logs are stored locally on individual instances. You can download the logs via the Elastic Beanstalk management console or via CLI (eb logs).
Elastic Beanstalk gives you access to two types of logs: tail logs and bundle logs. The former are the last one hundred lines of Elastic Beanstalk operational logs as well as logs from the web and application servers. The latter are full logs for a wider range of log files.
What logs are available in Elastic Beanstalk? There are a number of files you’re going to want to track. Web server access and error logs are a must, as are application logs. The Elastic Beanstalk service also generates a number of log files that on Linux are located here:
- /var/log/eb-activity.log
- /var/log/eb-commandprocessor.log
- /var/log/eb-version-deployment.log
Elastic Beanstalk logs are rotated every fifteen minutes, so you will probably want to persist the logs. To do this, you will need to go to the Log Options section on the Elastic beanstalk configuration page and then select the Enable log file rotation to Amazon S3 option. It goes without saying, of course, that the IAM role applied in your Elastic Beanstalk will need permissions to write to the S3 bucket.
Of course, you can simply SSH into the instances and access the log files locally, but this is impossible to do on a large scale. Enter ELK.
Shipping the Logs Into ELK
There are a few ways of getting the logs into ELK. The method you choose will greatly depend on what you want to do with the logs.
If you’re interested in applying filtering to the logs, Logstash would be the way to go. You would need to install Logstash on a separate server and then forward the logs — either from the S3 bucket using the Logstash S3 input plugin or via another log shipper.
The method I’m going to describe is using Filebeat. Filebeat belongs to Elastic’s Beats family of different log shippers, which are designed to collect different types of metrics and logs from different environments. Filebeat trails specific files, is extremely lightweight, can use encryption, and is relatively easy to configure.
An Elastic Beanstalk environment generates a series of different log files, so shipping in bulk via S3 will make it hard to differentiate between the different types in Kibana.
Installing Filebeat via an .ebextension
Instead of manually SSHing into your EC2 instance and manually installing Filebeat, Elastic Beanstalk allows you to automatically deploy AWS services and other software on your instances using an extension system called .ebextension.
To do this, you need to add an .ebextensions folder to the root directory of your application into which you need to add a .config file in YAML format defining what software and commands to deploy/execute when deploying your application.
In our case, the .config file will look something like this:
files:
   "/etc/filebeat/filebeat.yml":
      mode: "000755"
      owner: root
      group: root
      content:
         filebeat:
            prospectors:
             -
              paths:
                 - /var/log/eb-commandprocessor.log
              fields:
               logzio_codec: plain
               token: <<<*** YOUR TOKEN ***>>>
               environment: dev
              fields_under_root: true
              ignore_older: 3h
              document_type: eb-commands
             -
              paths:
                 - /var/log/eb-version-deployment.log
              fields:
               logzio_codec: plain
               token: <<<*** YOUR TOKEN ***>>>
               environment: dev
              fields_under_root: true
              ignore_older: 3h
              document_type: eb-version-deployment
            -
              paths:
                 - /var/log/eb-activity.log
              fields:
               logzio_codec: plain
               token: <<<*** YOUR TOKEN ***>>>
               environment: dev
              fields_under_root: true
              ignore_older: 3h
              document_type: eb-activity
             registry_file: /var/lib/filebeat/registry

        output:
        ### Elasticsearch as output
         logstash:
            hosts: ["listener.logz.io:5015"]
            ssl:
             certificate_authorities: ['/etc/pki/tls/certs/COMODORSADomainValidationSecureServerCA.crt']

commands:
 1_command:
    command: "curl -L -O https://artifacts.elastic.co/downloads/beats/filebeat/filebeat-5.0.1-x86_64.rpm"
    cwd: /home/ec2-user
 2_command:
    command: "rpm -ivh --replacepkgs filebeat-5.0.1-x86_64.rpm"
    cwd: /home/ec2-user
 3_command:
    command: "mkdir -p /etc/pki/tls/certs"
    cwd: /home/ec2-user
 4_command:
    command: "wget https://raw.githubusercontent.com/cloudflare/cfssl_trust/master/intermediate_ca/COMODORSADomainValidationSecureServerCA.crt"
    cwd: /etc/pki/tls/certs
 5_command:
    command: "/etc/init.d/filebeat start"
A few comments on the Filebeat configuration. Filebeat prospectors define the path to be crawled and fetched, so for each file under a path, a harvester is started.
In the configuration above, we’ve added some fields necessary for shipping to Logz.io’s ELK — namely, an account token and a codec type. If you’re using your own ELK deployment, you’ll need to apply the following changes:
- Remove those Logz.io-specific fields
- Add your own Logstash or Elasticsearch output:
output.logstash:
 hosts: ["localhost:5044"]
-OR-
output.elasticsearch:
 hosts: ["http://localhost:9200"]
Manually Installing Filebeat
If you want to install Filebeat manually, SSH into your EC2 instance and then check out this blog post or these Filebeat docs for installation instructions. Of course, you will need to download a certificate and configure Filebeat.
Analyzing the Logs in Kibana
If all works as expected, a new Elasticsearch index will be created for the logs collected by Filebeat that will then be displayed in Kibana. Logz.io makes this a seamless process — the logs will be displayed in Kibana within a few seconds of starting Filebeat. If you have your own ELK deployment, you will need to define the index pattern for the logs first — filebeat-*.
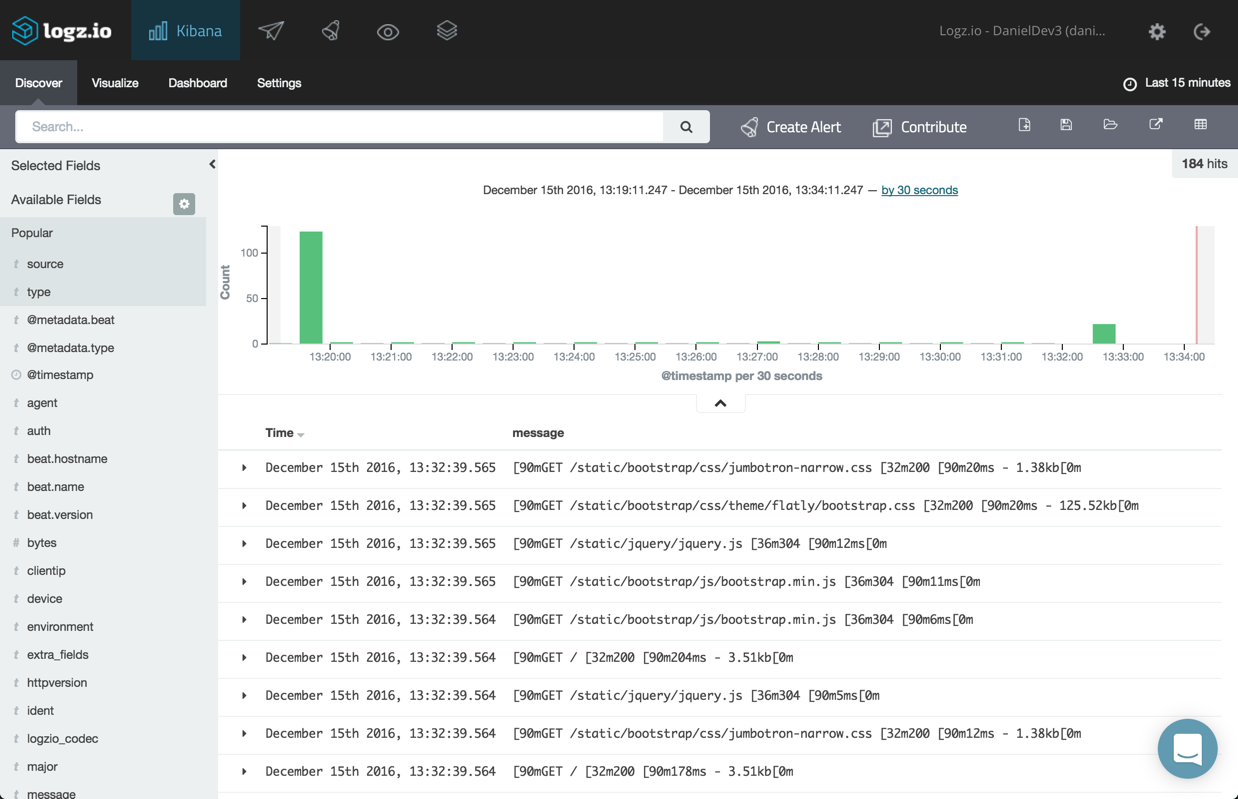
Now that your Elastic Beanstalk logs are being shipped to ELK, you can start playing round with Kibana for the purpose of analysis and visualization.
For starters, you can select some fields from the list on the left (e.g., type, source). Hover over a field and click add.
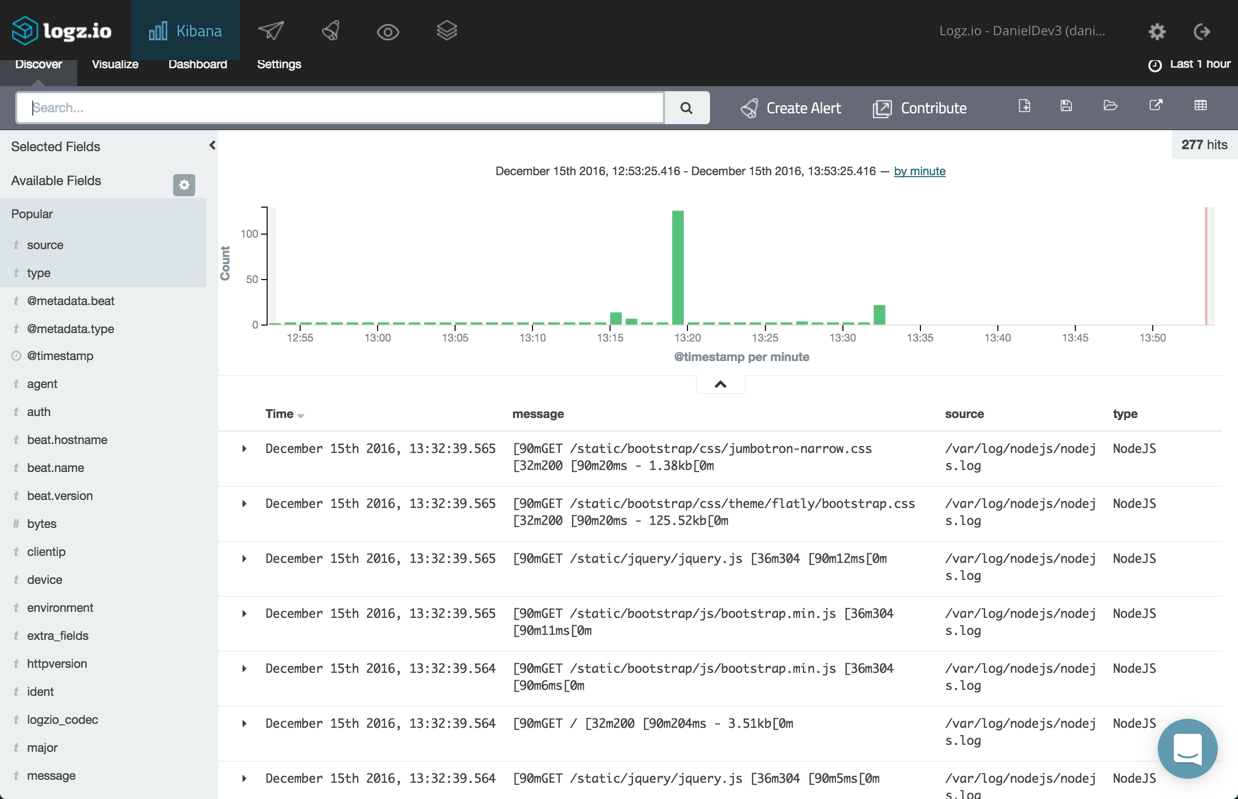
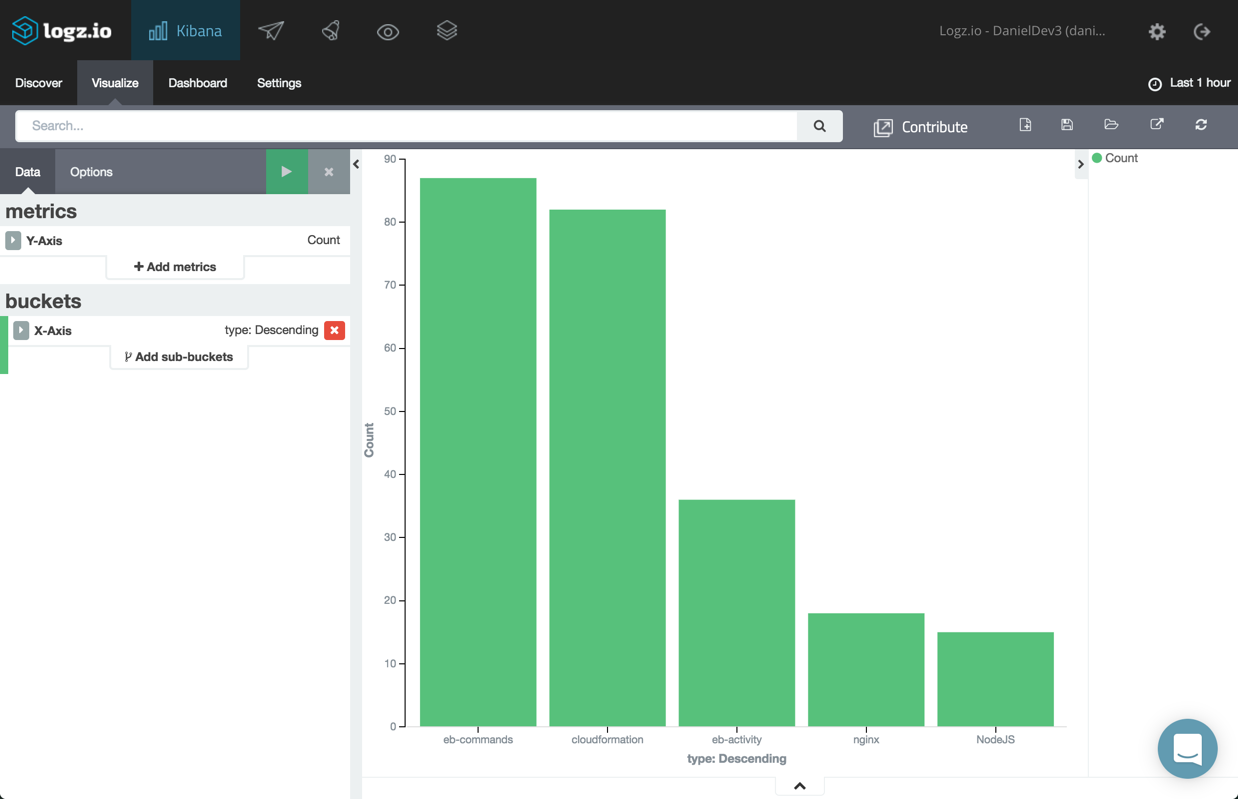
To get an idea of the type of logs being shipped and the respective number of log messages per type, select the “type” field and then click the “Visualize” button. You will be presented with a bar chart visualization giving you the breakdown you were looking for:
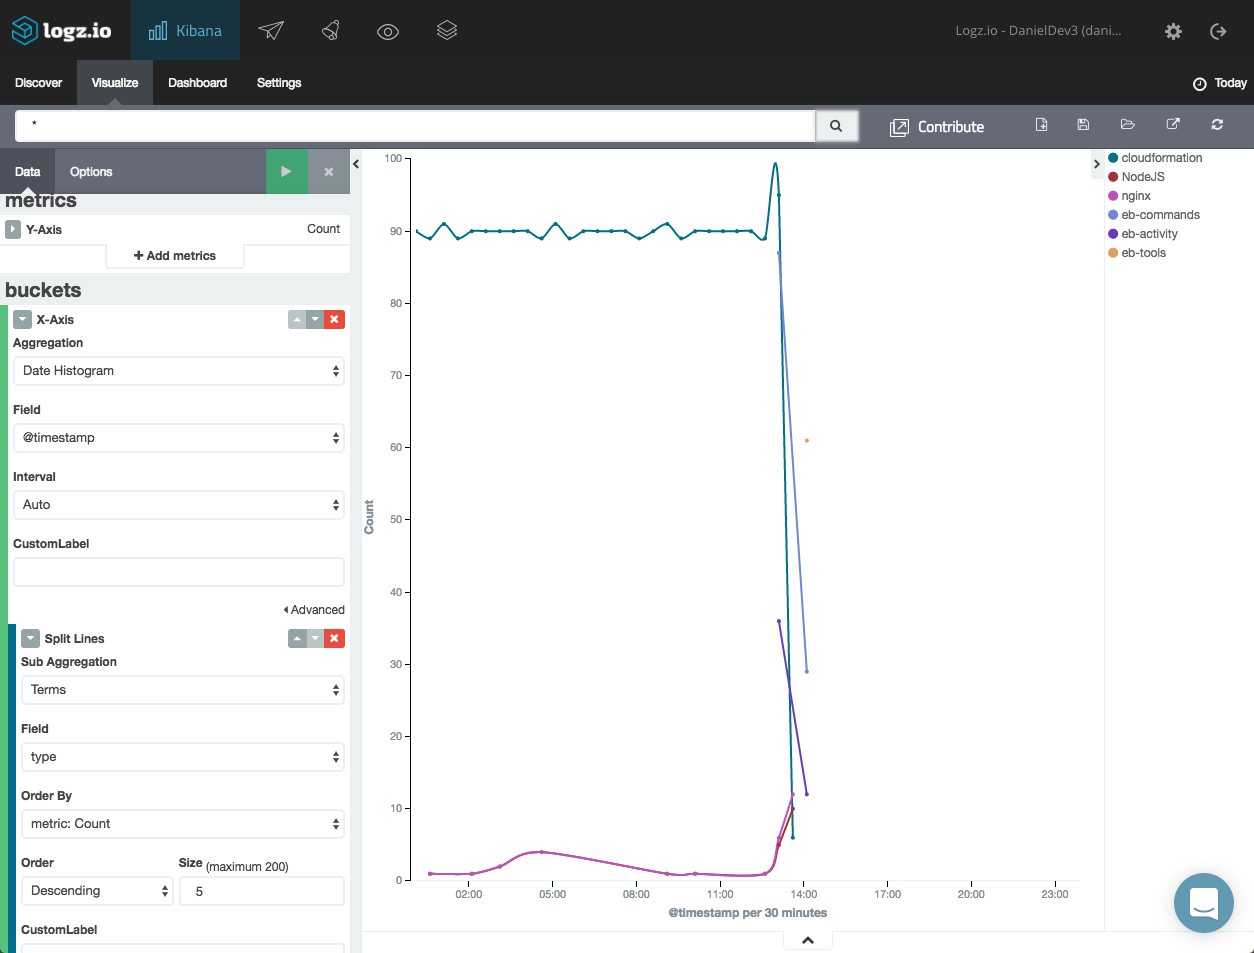
You can get a nice picture of your Elastic Beanstalk logs over time using a line chart visualization. The configuration for this visualization consists of a count Y-axis and an X-axis based on a date histogram and a split-line aggregation of the “type” field.
Here is the configuration and the end result:
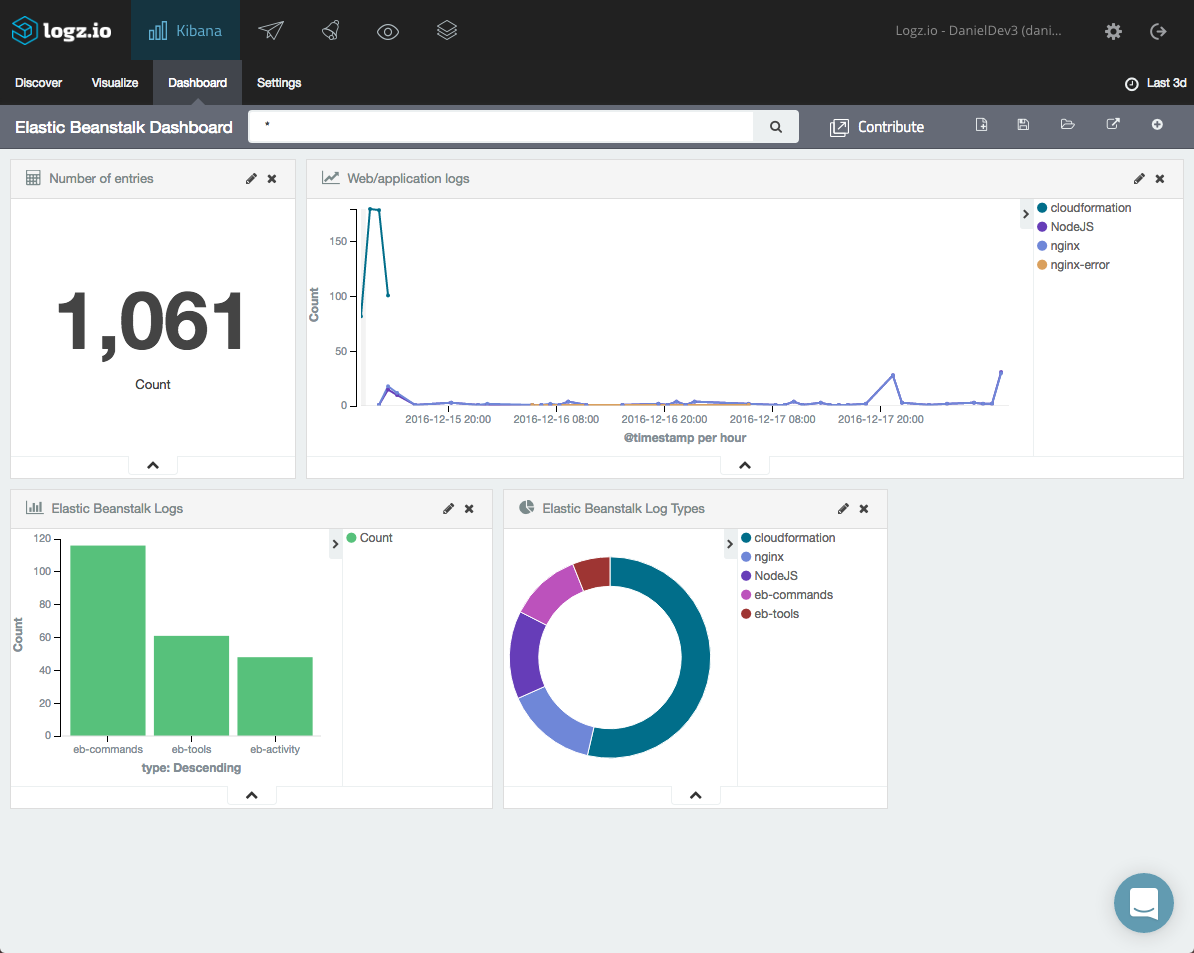
You can create a series of visualizations and then combine them into your own Elastic Beanstalk dashboard:
Endnotes
Elastic Beanstalk helps developers roll apps into production by taking care of the provisioning and configuration of the AWS resources necessary to run them. One aspect that remains a challenge, though, is logging, and that’s where ELK comes into the picture.
Published at DZone with permission of Daniel Berman, DZone MVB. See the original article here.
Opinions expressed by DZone contributors are their own.

Comments