Kubernetes CronJob: An Introduction
Sometimes, you need to schedule an application process or other repetitive operations. Here's an overview of CronJob, a useful feature of Kubernetes.
Join the DZone community and get the full member experience.
Join For FreeSometimes, it’s necessary to schedule an application process, some repetitive operations, like sending emails, alerts, verifications, and so on.
On a server, we usually use a cron, which is easy to set up and maintain. If you aren't familiar with it, you can find here all you need to know.
It is also possible to run a crontab using Docker, but how do you do that using Kubernetes?
Indeed, Kubernetes runs differently, because it is possible to have one or more instances of the same services in a load balance case, a crontab should run just once, regardless of several up instances.
On the other hand, we need a crontab to run once in every process for one or more pods.
Kubernetes has a feature called CronJob to fix that problem.
This article explains how CronJob works, describes a few limitations, and gives some tips to avoid common errors.
The examples below were based on kind.
Example of how to create a Cronjob:
apiVersionbatch/v1beta1
kindCronJob
metadata
namemy-cron-job
spec
schedule"*/1 * * * *"
jobTemplate
spec
template
spec
containers
namemy-cron-job
imagecurlimages/curl
resources
limits
cpu"1"
memory"300Mi"
requests
cpu"1"
memory"300Mi"
args
/bin/sh
-c
date; echo "Starting an example of CronJob"; resp=$(curl -I --http2 https://www.google.com) ; echo $resp; exit 0
restartPolicyNever
successfulJobsHistoryLimit3
failedJobsHistoryLimit3
A Cronjob was created and it runs every minute with a curl image.
You have also set a limit of resources (CPU and memory), the best way to visualize that if you use an AWX, Azure or GCP instance as args will be a simple curl on Google site.
This example never restarts and there’s a limit for successful and failed history jobs, in this case, 3.
spec.successfulJobsHistoryLimit - The number of successfully finished cron-jobs to retain
spec.failedJobsHistoryLimit - The number of failed finished cron-jobs to retain
If you want to know more about the CronJob API, I strongly recommend reading this.
Now, run the following command to apply your CronJob in your Kubernetes.
xxxxxxxxxx
$ kubectl apply -f cronjob.yml
If no error occurs, you are able to see your recently configured cron job using the following command.
xxxxxxxxxx
$ kubectl get cronjob
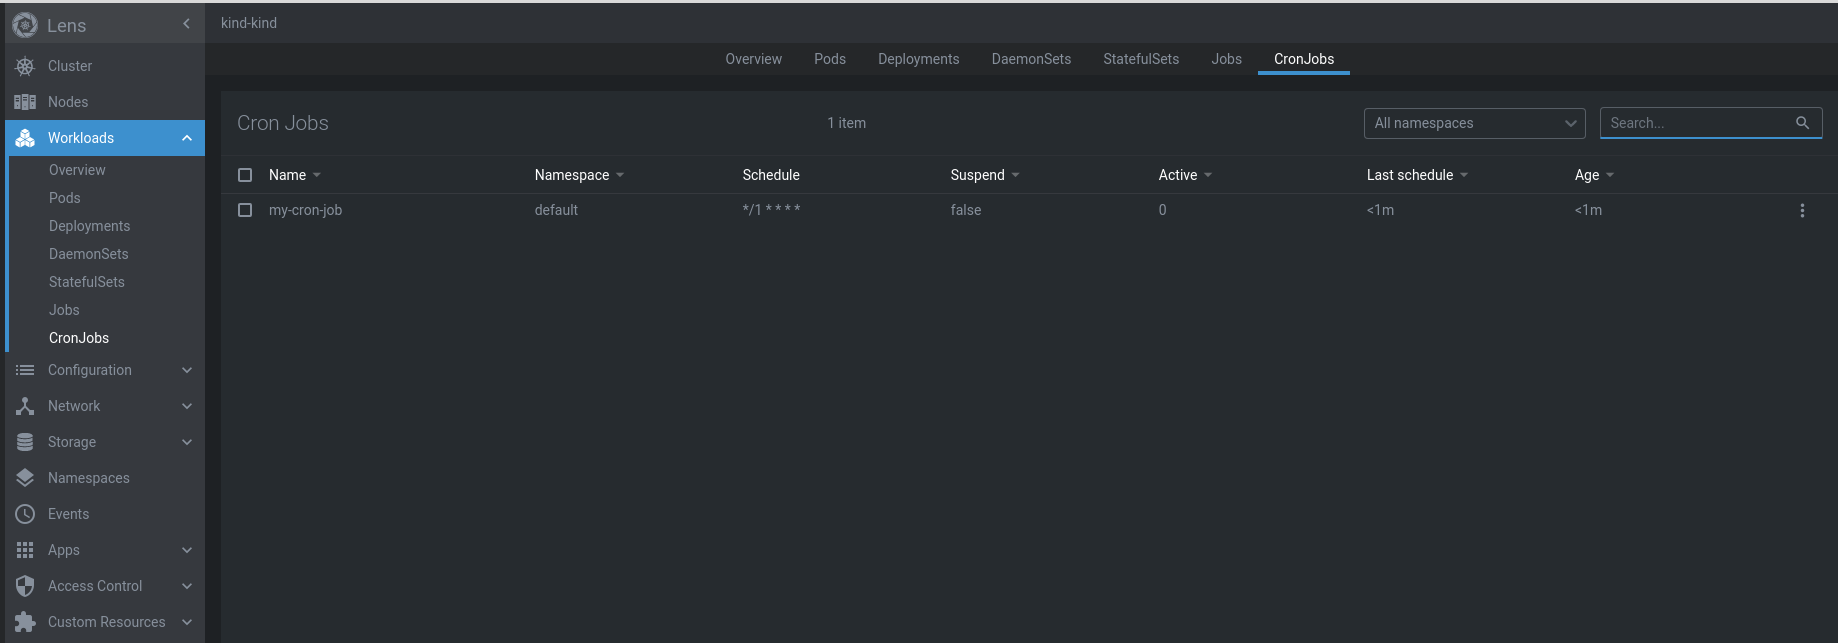
I use Lens to visualize all available cron jobs, it’s very useful to track and monitor in Kubernetes.

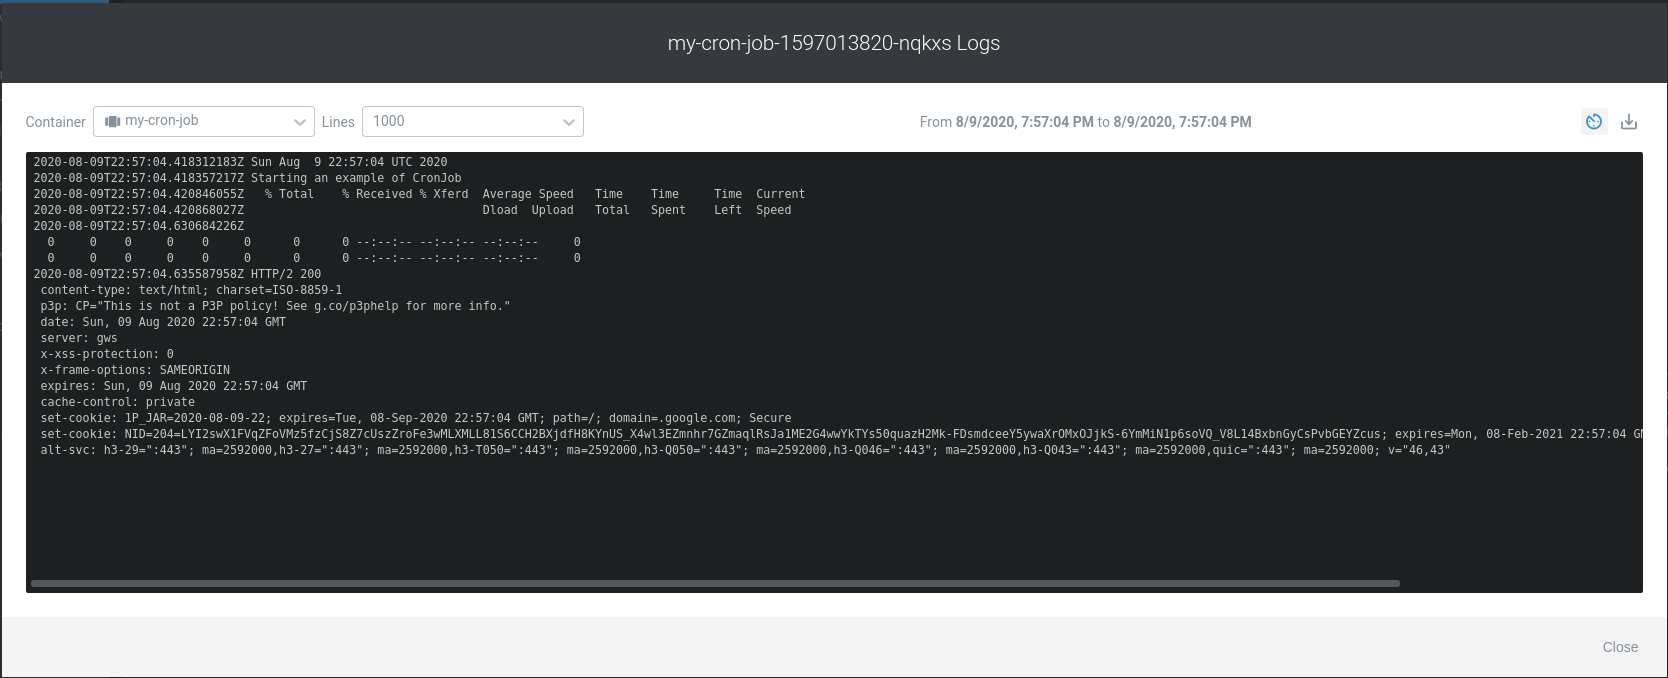
Checking logs:
To delete an entry, just run the following command
xxxxxxxxxx
$ kubectl delete cronjob my-cron-job
This example runs a simple Cron and only an instance of one.
One limitation I found is the possibility to schedule more than one CronJob for the same process by adding one line in each one. However, CronJob isn’t available in the current version (Kubernetes v1.8 [beta]), you have to replicate the same CronJob using parallelism. For another schedule, you need to create another cron entry. I’m looking forward to the chance to schedule more than one pattern for the same process.
Conclusion: Kubernetes CronJon is very useful and easy to learn. You can read and learn more about API parameters in this link and run some tests to better understand how it works.
Opinions expressed by DZone contributors are their own.

Comments