IoT Arduino Programming: Monitor Enviroment
In this IoT Arduino programming tutorial, the Arduino board is connected to a set of sensors and an ethernet shield. Sensors used in this IoT Arduino programming project are:
Join the DZone community and get the full member experience.
Join For Freedata collected using sensors is sent to the cloud using thethings.io. this iot arduino programming example shows how easy it is to build an iot project. the final result of this iot project is shown below:
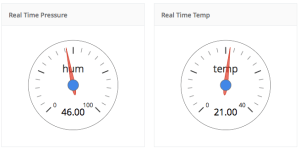 as a result, this iot arduino programming tutorial will teach you how to build a dashboard using three different environment parameters:
- temperature
- humidity
- pressure
if you are not familiar with iot projects, it is useful to read this tutorial . this is an interesting project because you can use it to monitor the air in your room, to predict weather, or to know if your room is comfortable.
in this iot arduino programming tutorial , the arduino board is connected to a set of sensors and an ethernet shield. the sensors used in this iot arduino programming project are:
- dht11 (temperature and humidity sensor)
- bmp180 (pressure sensor)
both sensors can be connected to +5v and they are perfect for an arduino uno. the details of the sketch and the way the sensors are wired to arduino are not important, so it will not be shown here (but it is very very simple!).
the code to read data from dht11 and bmp180 is shown below:
#include <adafruit_bmp085.h>
#include "dht.h"
#define dhtpin 2 //arduino pin
#define dhttype dht11 // dht11 type

dht dht(dhtpin, dhttype);
adafruit_bmp085 bmp;

void setup() {
serial.begin(9600);
serial.println("connected");
bmp.begin();
dht.begin();
}

void loop() {
float h = dht.readhumidity();
// read temperature as celsius (the default)
float t = dht.readtemperature();
float prespa = bmp.readpressure();
float presmb = prespa * 1013.25 / 101325;
}
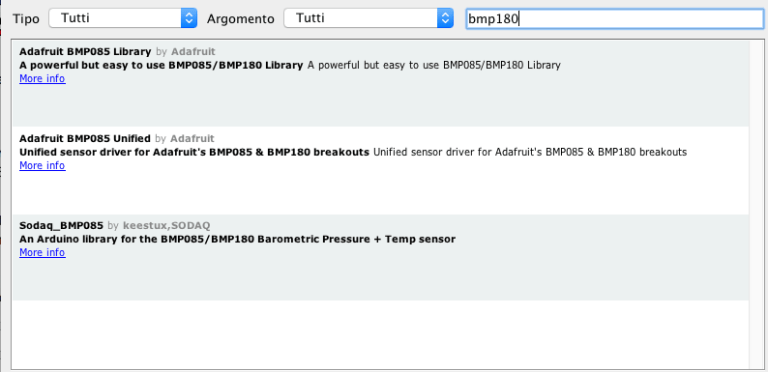
one important thing to remember is to import the bmp180 library. you can do so using the library manager feature in arduino ide and look for bmp180 sensor:
let us focus our attention to the most important part in iot arduino programming: how to send data to the cloud. of course, you have to use an ethernet shield or wifi shield to connect arduino to the internet.
as cloud iot platform , this iot project uses thethings.io . this iot cloud platform is very easy to use and has interesting features like creating dashboards with the data you send.
you can create a free account and try it. this platform supports rest services so that you can call services using an arduino http client. anyway, thethings.io provides an arduino library to simplify the process. you can download it from its github repository and install it in your ide. once the library is ready, it is important to setup the ethernet shield properly:
...
// mac address
byte mac[] = { 0xde, 0xad, 0xbe, 0xef, 0xfe, 0xed };  // arduino mac address
ethernetclient client;
ipaddress ip(192, 168, 1, 178); // arduino ip add
ipaddress dns1(8, 8, 8, 8);
ipaddress gw(192, 168, 1, 1);
...
void setup() {
...
ethernet.begin(mac, ip, dns1, gw); // you could use dhcp instead
...
}
the next step is configuring the thethings.io platform to accept data coming from arduino. in this case you have to create a “thing” that is like a physical object that sends data. below is a screenshot of a thing created for this tutorial:
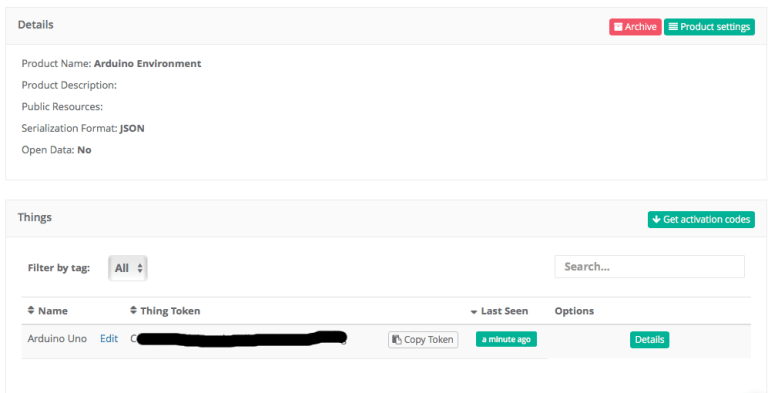 the important thing is the
token
that is the unique id to identify your thing (like an arduino board). this token has to be sent when connecting to thethings.io to identify your arduino board. once the platform is configured correctly, the final step is setting up the code for sending data:
// thethings tkoken
#define token "_xxxxxxxxxxxxxxxxxxx"
// the thing server address
thethingsioethernet thing(token);
....
void sendvalues(float temp, float hum, float pres) {
delay(1000);
serial.print("sending data to thethigs...");
thing.addvalue("temp", string(temp));
thing.send();
delay(1000);
thing.addvalue("hum", string(hum));
thing.send();
delay(1000);
thing.addvalue("pres", string(pres));
thing.send();
}
you can monitor the value read from the sensors sent to the cloud:
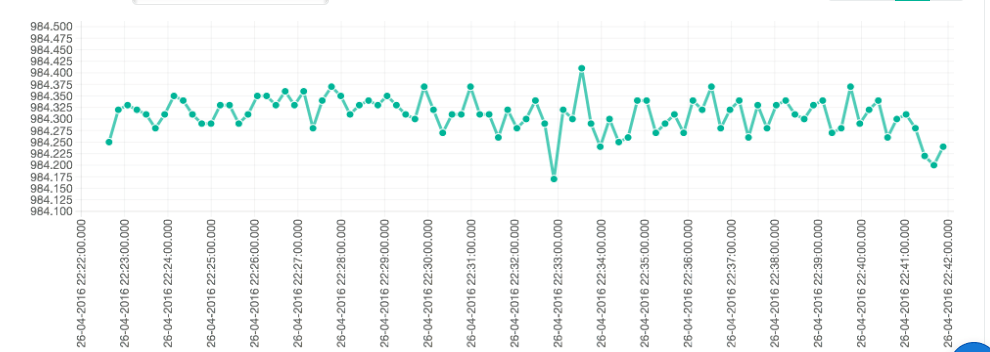
 using the dashboard feature you can create a custom dashboard to show charts created from the data:
 or
or
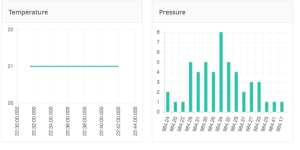
it is possible to get real time value or historical values.
at the end of this iot arduino programming tutorial, you gained the knowledge how arduino sends data to the cloud and create dashboard using this information.
Published at DZone with permission of Francesco Azzola, DZone MVB. See the original article here.
Opinions expressed by DZone contributors are their own.

Comments