Implementing Clustering With MuleSoft AnyPoint Runtime Manager
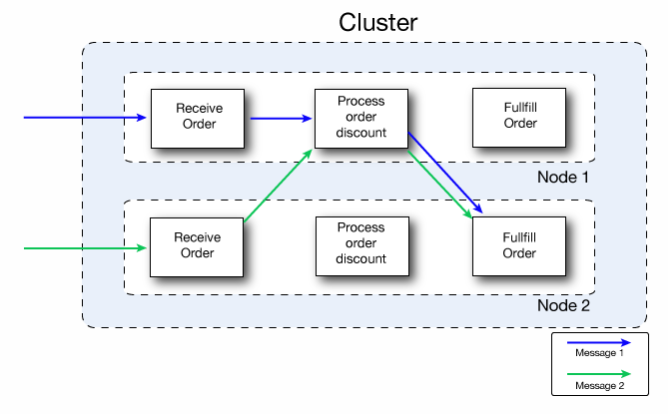
In simple terms, virtual servers composed of multiple nodes and they communicate and share information through a distributed shared memory grid.
Join the DZone community and get the full member experience.
Join For Free
1.0 What Is Clustering?
Clustering is a group of servers or mule runtime which acts as a single unit. Mulesoft Enterprise Edition supports scalable clustering to provide high availability for the Mulesoft application. In simple terms, virtual servers composed of multiple nodes and they communicate and share information through a distributed shared memory grid.
By default, Mulesoft ensures the High availability of applications if clustering implemented. Let's consider the scenario one of the nodes in cluster crashed or goes down and under maintenance. In such cases, Mulesoft will ensure that requests are processed by other nodes in the cluster.
Mulesoft clustering also ensures that the request is load balanced between all the nodes in a cluster.
Clustering is only supported by on-premise Mule runtime and it is not supported in Cloudhub.

1.1 Types Of Clustering
There are two types of Clustering in MuleSoft.
- Unicast.
- Multicast.
A unicast cluster requires that you configure the IP addresses of the nodes in the cluster. If a server has multiple interfaces, use the internal IP address that allows the node to communicate directly with other nodes. Clustering across different subnets is not supported.
A multicast cluster comprises servers that automatically detect each other. Servers that are part of a multicast cluster must be on the same network segment.
One advantage of multicast clusters is that the server status doesn’t need to be Running to configure it as a node in a cluster. Another is that you can add nodes to the cluster dynamically without restarting the cluster.
1.2 Benefits Of Clustering
- Clustering helps in improving application performance by dividing the workload between nodes in the cluster.
- Horizontal Scaling can be done easily whenever required.
- Automatic coordination of access to resources, such as files, databases, and FTP sources.
- Automatic load balancing of processing within a cluster.
- Improve Performance, Automatic Failover, High Availability.
2.0 Prerequisites
- Java 8 must be installed on your machine.
- Anypoint Platform Account.
- Mule runtime engines must be running on your machines.
3.0 Setting Up MuleSoft Cluster Using AnyPoint Platform
3.1 Setup Mule Runtime Engine (e.g. mule-ee-distribution-standalone-4.2.2)
Download Mule runtime from here.
Unzip the downloaded Mule runtime.
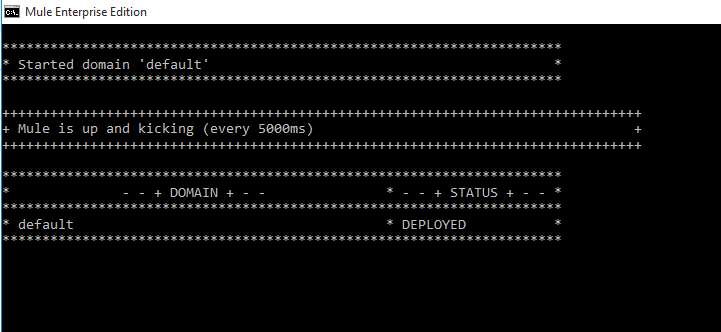
3.2 Start the Mule Runtime Engine
To start the mule runtime, you need to go to folder “\mule-enterprise-standalone-4.2.2\bin” on command prompt and run mule.


3.3 Login into Anypoint Platform and Add Servers
To create a cluster, Go To Runtime Manager → Servers → Add Servers

Once you click on Add Servers, it will give commands that you need to run on your machine.
./amc_setup -H 05a5f0c9-f282-48da-8afc-7324bbc488a3---239397 server-name
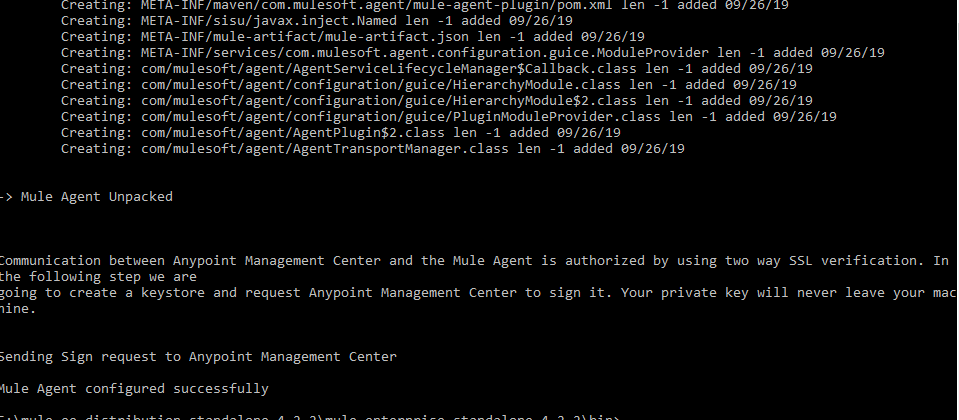
You can provide server-name in the above command. Please make sure you execute this command at folder “\mule-enterprise-standalone-4.2.2\bin”.
Once you execute the above command, it will configure mule agent on your machine and you can even see the server added to the Anypoint platform.


You can see server1 is created in Anypoint Platform under Runtime Manager→ Servers
 Similarly, you can add more servers in Anypoint Platform Runtime Manager.
3.4 Create Anypoint Cluster
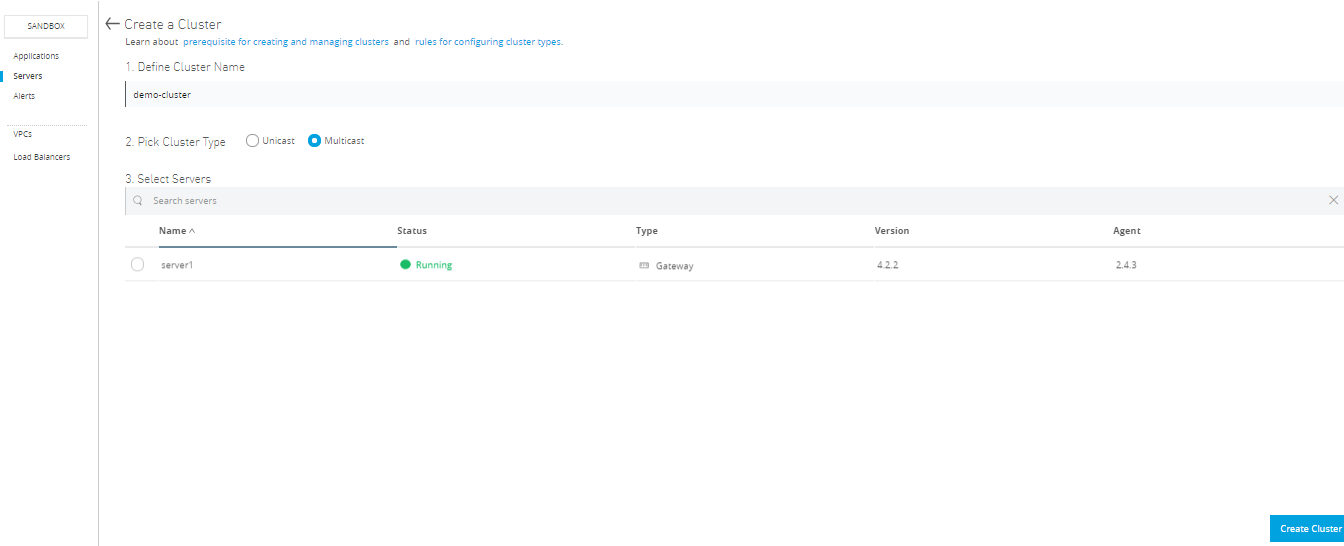
Before creating a cluster, you need to make sure at least one server is created otherwise it will not allow us to create a cluster. You can go to Runtime Manager → Servers → Create Cluster.

Now click on Create Cluster and start filling the details. Finally, click on create cluster and it will create a cluster. Please make sure you select all the servers that need to be part of the cluster.
During this creation process, it will restart all the servers assigned in the cluster. Once servers are restarted, you can see the cluster in Anypoint Runtime Manager.


Similarly, you can add more servers in your cluster using the Add Server button. In the future, depending on the load and performance of application you can easily do Horizontal Scaling.

4.0 Deploying Application Into Cluster
For deploying Application into the cluster, Go To Runtime Manager → Applications → Deploy Application.

In the above image, you can see the newly created cluster name has been populated as Deployment Target. If you choose Deployment Target as cluster then it will automatically deploy the application to all the servers in your cluster and you can find the application under “\mule-enterprise-standalone-4.2.2\apps”
5.0 MuleSoft Server Group V/S Cluster
Server Group and Clustering both run in multiple distributed nodes. In the server group, instances of the application are isolated from each other.
In clustering, nodes are aware of each other, share common information and synchronize status.
All the servers in the server group and cluster must be running on the same version of mule runtime.
For further details, Please go through video “Implementing Mule Runtime, Clustering, High Availability, and Deploying Application Using Mulesoft“
This is how you can achieve clustering for your on-premise Mulesoft application.
Further Reading
Opinions expressed by DZone contributors are their own.

Comments