Implementing a Jenkins Plugin From Scratch in 5 Steps and Less Than 5 Minutes
If Jenkins does not yet have the plugin you need, this tutorial shows you how to structure, execute, and package your own Jenkins plugin from scratch.
Join the DZone community and get the full member experience.
Join For FreeAbout a thousand plugins are available in the Jenkins Update Center, but it could be that a plugin which covers your specific purpose hasn't been implemented yet. In that case, you can do it by yourself! If you have Java development skills and know a little bit of Maven, this task isn't impossible.
You need the Java JDK 7 or 8 and Maven 3.1.1 or later in order to successfully complete the process detailed below.
Before you start you need to update the settings.xml file of your local Maven installation this way:
1) Add a mirror to the mirrors list for the Jenkins Update Centre:
<mirrors>
...
    <mirror>
      <id>repo.jenkins-ci.org</id>
      <url>http://repo.jenkins-ci.org/public/</url>
      <mirrorOf>m.g.o-public</mirrorOf>
    </mirror>
...
</mirrors>
2) Add a profile for Jenkins to the profiles list:
<profiles>
...
<profile>
      <id>jenkins</id>
      <activation>
        <activeByDefault>true</activeByDefault>
      </activation>
      <repositories>
        <repository>
          <id>repo.jenkins-ci.org</id>
          <url>http://repo.jenkins-ci.org/public/</url>
        </repository>
      </repositories>
      <pluginRepositories>
        <pluginRepository>
          <id>repo.jenkins-ci.org</id>
          <url>http://repo.jenkins-ci.org/public/</url>
        </pluginRepository>
      </pluginRepositories>
    </profile>
...
</profiles>
Step 1: Create the Plugin Structure
From a shell command, run:
mvn -U org.jenkins-ci.tools:maven-hpi-plugin:createThis will create the structure of the plugin project in your file system:
project root: Contains the pom.xml and all the project subdirectories.
src/main/java: Contains the deliverable Java source code for the project.
src/main/resources: Contains the deliverable resources for the project, such as property files. For Jenkins plugins it contains the Jelly files for the plugin UI.
src/test/java: Contains the unit testing classes for the project.
src/test/resources: Contains resources necessary for unit testing purposes only.
Step 2: Create the Project for Your Favorite IDE
To transform the project into an Eclipse project, run from a shell command:
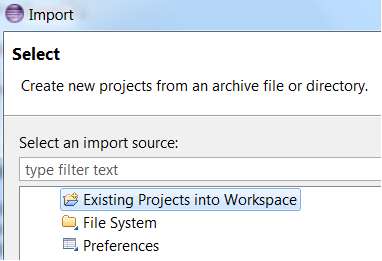
mvn -DdownloadSources=true -DdownloadJavadocs=true -DoutputDirectory=target/eclipse-classes -Declipse.workspace=/path/to/workspace eclipse:eclipse eclipse:add-maven-repoSimilar commands exist to transform the project into a NetBeans or IntelliJ project. Now you can import the project into an Eclipse workspace the usual way:

Step 3: Add Your Code
Start to code. You can use any Java stuff and library you need for the business logic. The plugin UIs are implemented in Jelly.
Step 4: Execute It Locally
You can run (and debug) a plugin at development time in your local machine. From a shell command, execute:
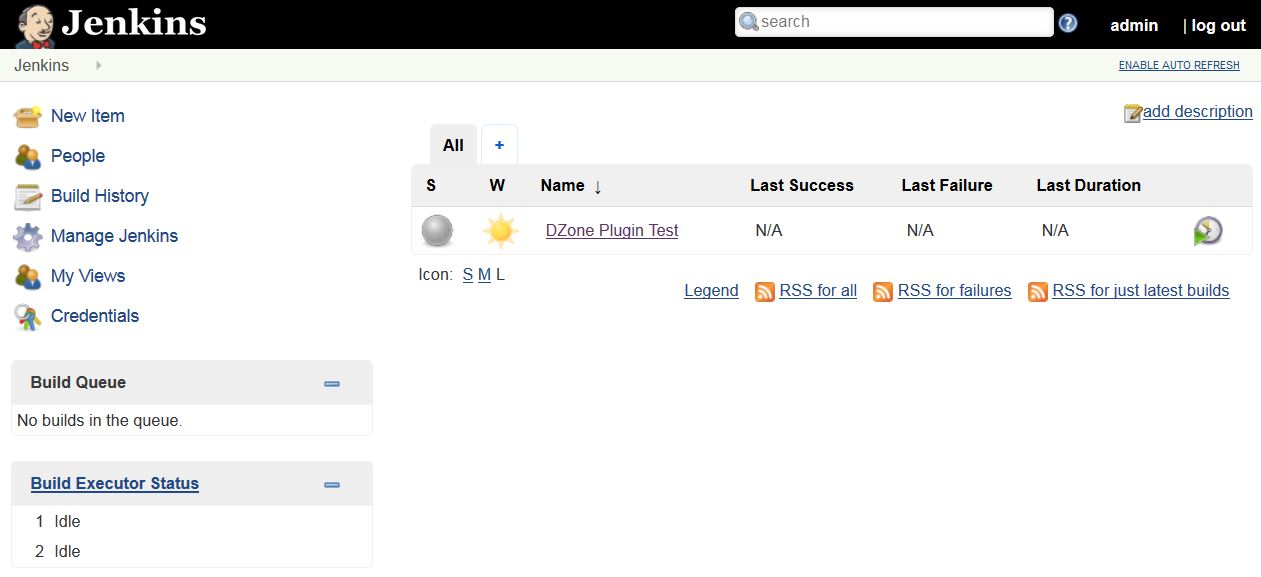
mvn hpi:runThe Maven Jenkins plugin will start a local Jenkins sandbox to emulate the CI server environment:

Step 5: Package It
When you are happy with your implementation and have a stable version, you can package the plugin running the following command:
mvn packageIt will create the .hpi installer in the target directory of the project. It is ready to be deployed on any Jenkins server the usual way:

Whatever the complexity of the Jenkins plugins you are going to implement, the steps to start with are always the same described in this post. To learn more about plugin development, you can find in my Github space a complete example of an Open Source Jenkins plugin implemented by me. Happy coding!
Published at DZone with permission of Guglielmo Iozzia. See the original article here.
Opinions expressed by DZone contributors are their own.

Comments