How to Install Payara 5 With NGINX and Let's Encrypt Over Oracle Linux 7.x
See how you can use Payara, NGNIX, and Let's Encrypt together as an app server, reverse proxy, and for SSL certificates, respectively.
Join the DZone community and get the full member experience.
Join For FreeFrom field experience, I must affirm that one of the greatest and stable combinations I've seen is Java Application Servers + Reverse Proxies. Although some of the functionality is a clear overlap, I tend to put reverse proxies in front of application servers for the following reasons (please see this NGINX page for more details):
- Load balancing: The reverse proxy acts as a traffic cop and could be used as an API gateway for clustered instances/backing services
- Web acceleration: Most of our modern applications use SPA frameworks, hence it is worth caching all the JS/CSS/HTML files and freeing the application server from that responsibility
- Security: Most HTTP requests could be intercepted by the reverse proxy before any attempt against the application server, increasing the opportunity to define rules
- SSL Management: It is easier to install/manage/deploy OpenSSL certificates in Apache/NGINX compared to Java KeyStores. Besides this, Let's Encrypt officially supports NGINX with plugins.
Requirements
To demonstrate this functionality, this tutorial combines the following stack in a classic (non-Docker) way, though most of the concepts could be useful for Docker deployments:
- Payara 5 as application server
- NGINX as the reverse proxy
- Let's Encrypt SSL certificates
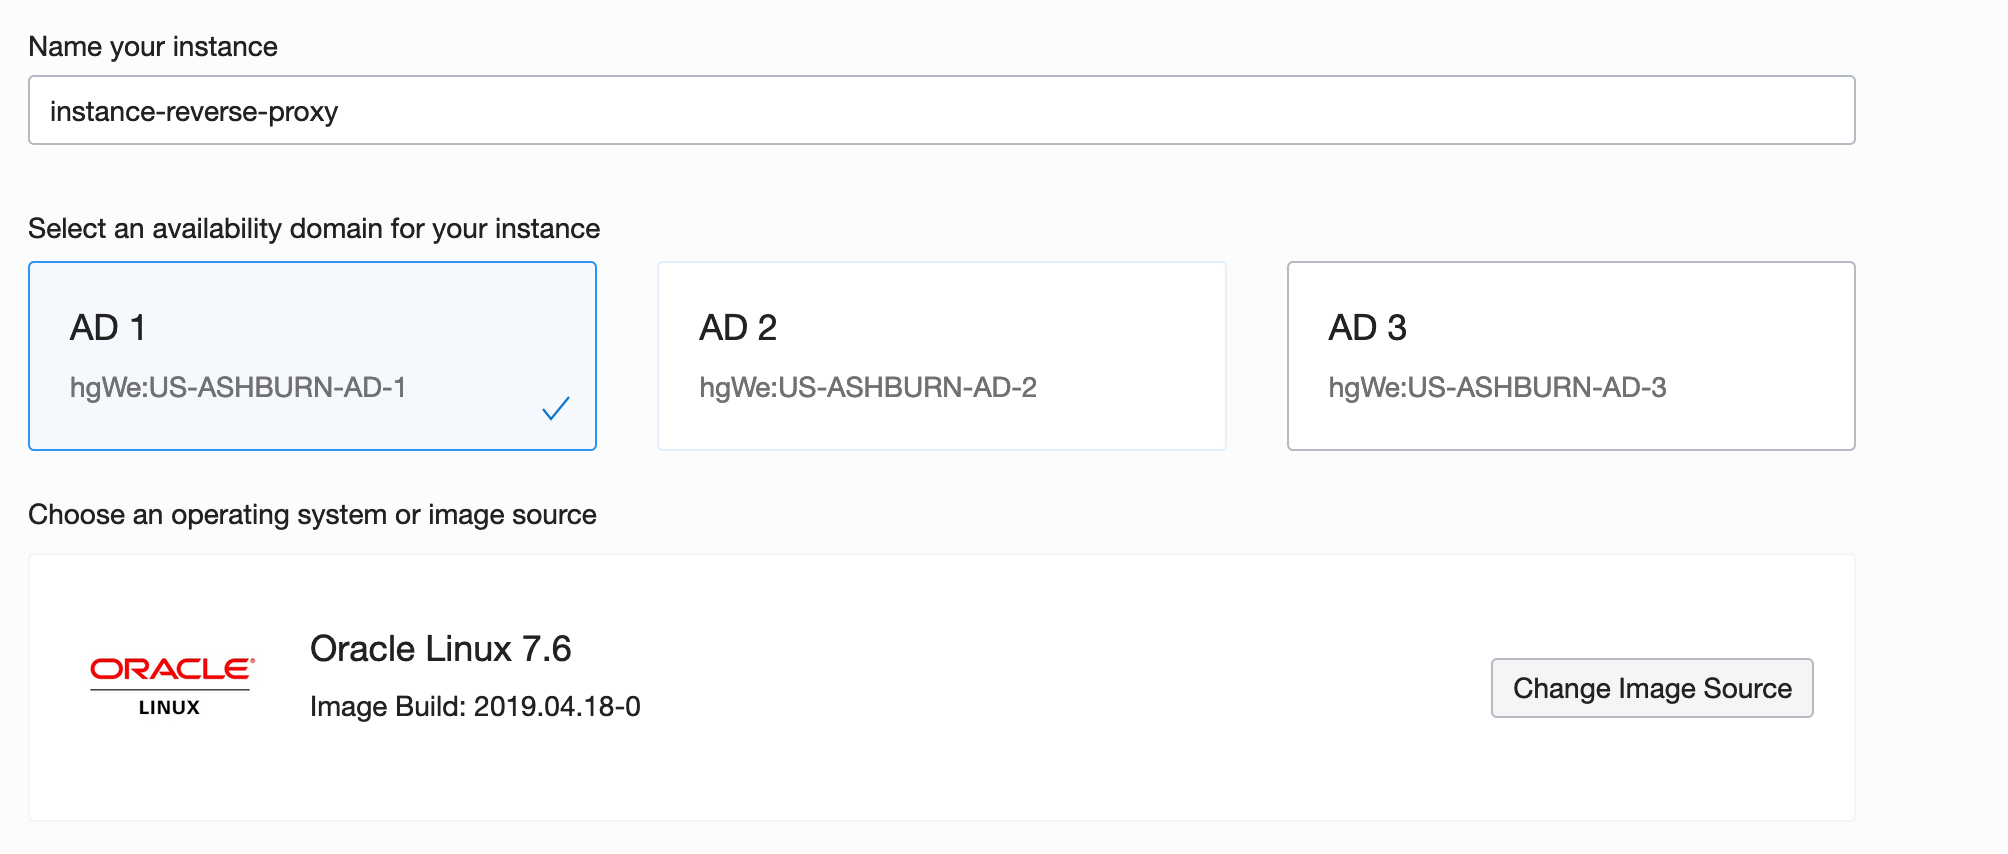
It is assumed that a clean Oracle Linux 7.x (7.6) box will be used during this tutorial and tests will be executed over Oracle Cloud via a root user.
Preparing the OS
Since Oracle Linux is binary compatible with RHEL, an EPEL repository will be added to get access to Let's Encrypt. It is also useful to update the OS:
yum -y update
yum -y install https://dl.fedoraproject.org/pub/epel/epel-release-latest-7.noarch.rpm
Setting Up Payara 5
In order to install the Payara application server, a couple of dependencies will be needed, like a Java Developer Kit. For instance, OpenJDK is included in Oracle Linux repositories.
yum -y install java-1.8.0-openjdk-headless
yum -y install wget
yum -y install unzip
Once all the dependencies are installed, it is time to download, unzip, and install Payara. It will be located at /opt following standard Linux conventions for external packages:
cd /opt
wget -O payara-5.191.zip https://search.maven.org/remotecontent?filepath=fish/payara/distributions/payara/5.191/payara-5.191.zip
unzip payara-5.191.zip
rm payara-5.191.zip
It is also useful to create a payara user for administrative purposes, such as to administrate the domain(s) or to run Payara as a Linux service with systemd:
adduser payara
chown -R payara:payara payara5
echo 'export PATH=$PATH:/opt/payara5/glassfish/bin' >> /home/payara/.bashrc
chown payara:payara /home/payara/.bashrc
A systemd unit is also needed:
echo '[Unit]
Description = Payara Server v5
After = syslog.target network.target

[Service]
User=payara
ExecStart = /usr/bin/java -jar /opt/payara5/glassfish/lib/client/appserver-cli.jar start-domain
ExecStop = /usr/bin/java -jar /opt/payara5/glassfish/lib/client/appserver-cli.jar stop-domain
ExecReload = /usr/bin/java -jar /opt/payara5/glassfish/lib/client/appserver-cli.jar restart-domain
Type = forking

[Install]
WantedBy = multi-user.target' > /etc/systemd/system/payara.service
systemctl enable payara
Additionally, if remote administration is needed, a secure admin should be enabled:
sudo -u payara /opt/payara5/bin/asadmin --host localhost --port 4848 change-admin-password
systemctl start payara
sudo -u payara /opt/payara5/bin/asadmin --host localhost --port 4848 enable-secure-admin
systemctl restart payara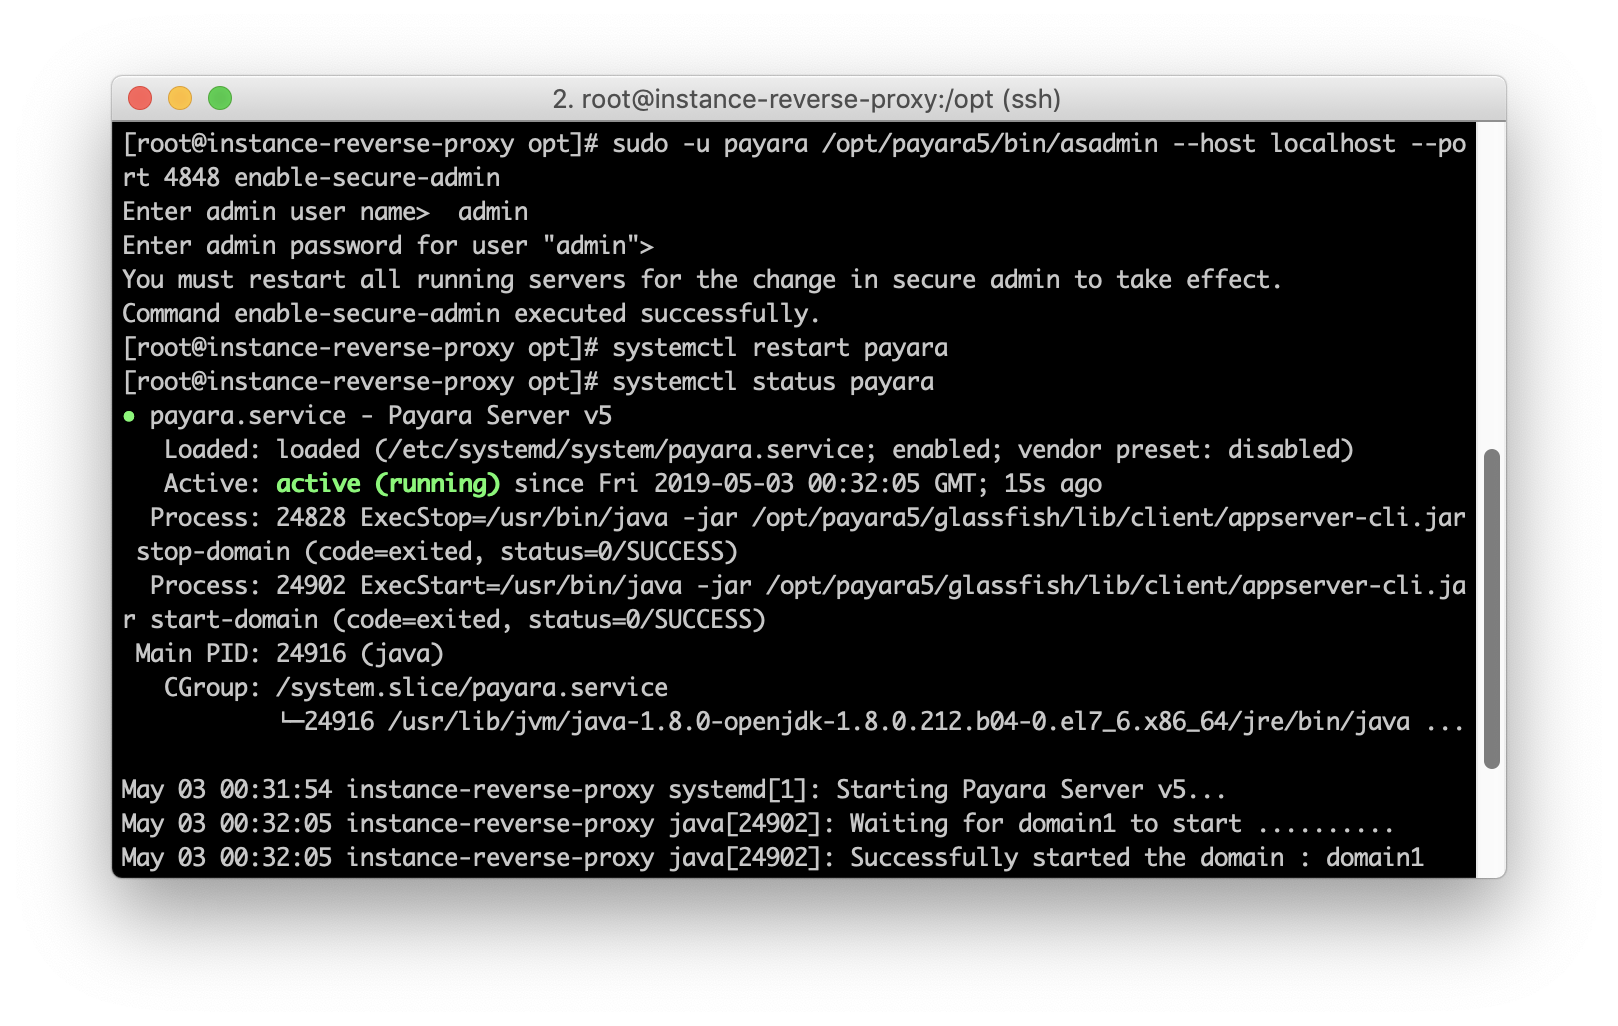
Oracle Cloud's default configuration will create a VNIC attached to your instance, so you should check the rules to allow access to ports.
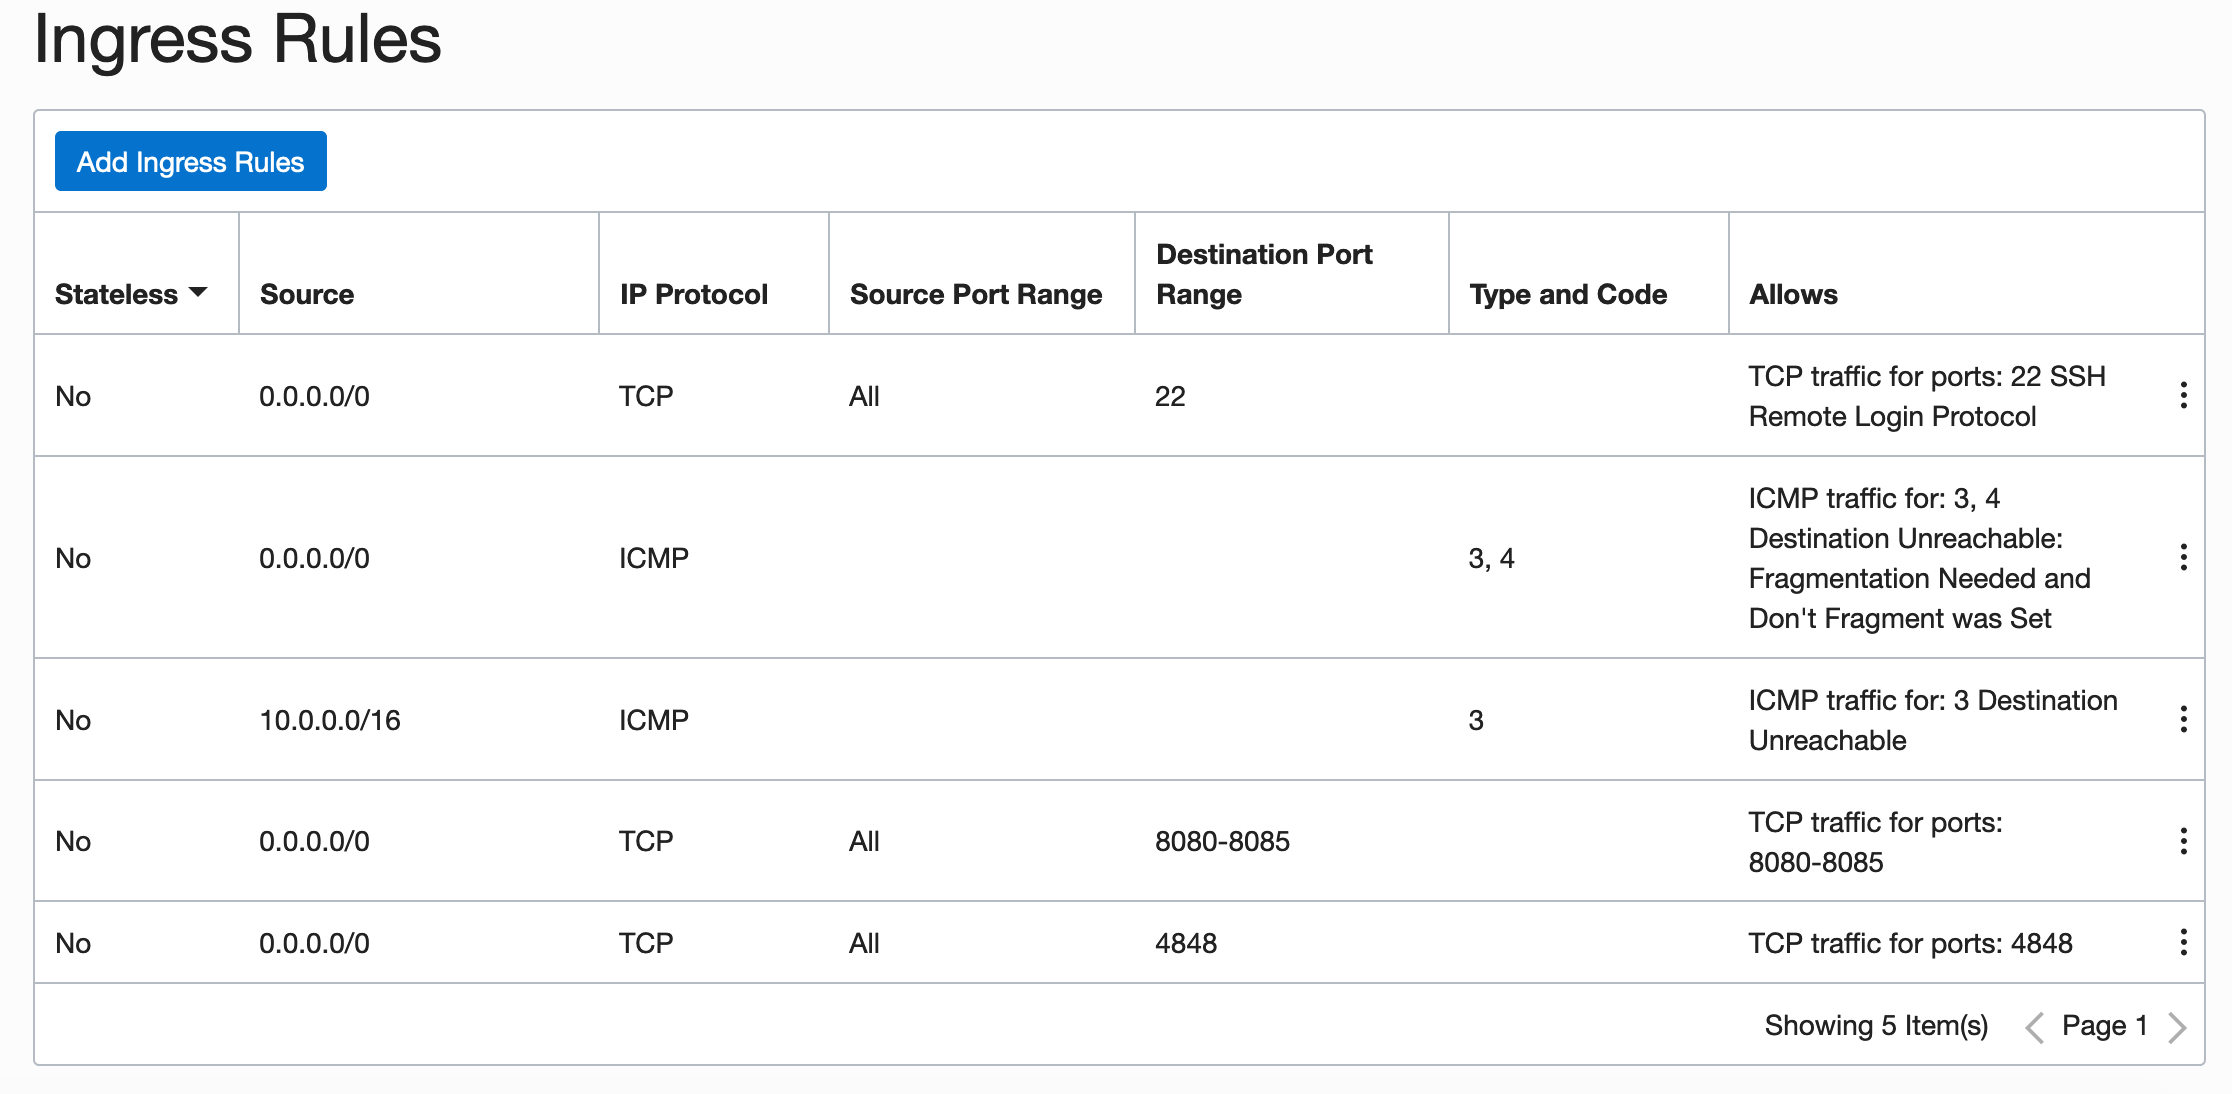
By default, Oracle Linux instances have a restricted set of rules in iptables and SELinux, so ports should be opened with firewalld and SELinux should be configured to allow reverse proxy traffic:
firewall-cmd --zone=public --permanent --add-service=http
firewall-cmd --zone=public --permanent --add-service=https
firewall-cmd --zone=public --permanent --add-port=4848/tcp
setsebool -P httpd_can_network_connect 1
With this, the access is guaranteed to the http+https+payara admin port.
Setting Up the NGINX Reverse Proxy
NGINX is available at EPEL:
yum -y install nginx
systemctl enable nginx
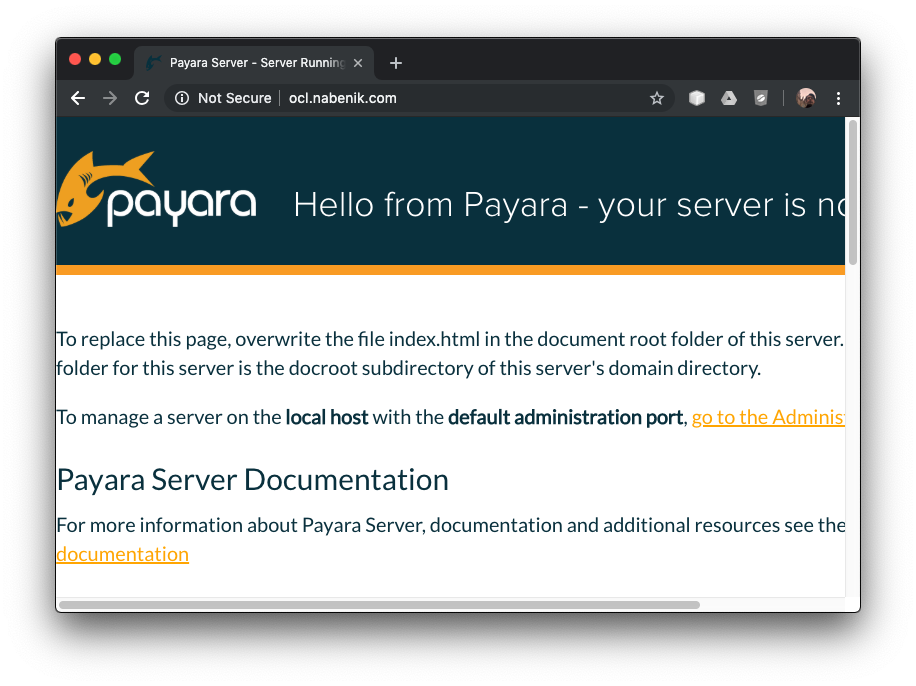
At this time, you will need an FQDN pointing to your server, otherwise, Let's encrypt validation won't work. For this tutorial, the ocl.nabenik.com domain will be used. If your domain propagated properly, you should see a page like this:
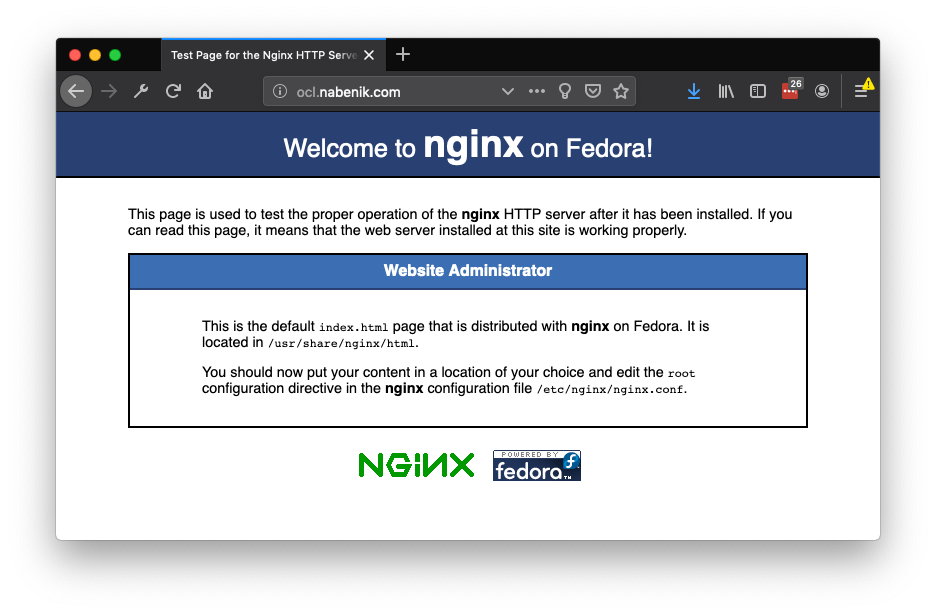
Don't worry, the Fedora logo is due to EPEL usage, but you're running Oracle Linux.
Now it's time to setup NGINX as a reverse proxy — an opinionated deployment option is to create a /etc/nginx/sites-available and /etc/nginx/sites-enabled structure inside the NGINX configuration to isolate/manage multiple domains with the same instance (AKA virtual hosts).
mkdir -p /etc/nginx/sites-available
mkdir -p /etc/nginx/sites-enabled
mkdir -p /var/www/ocl.nabenik.com/
chown -R nginx:nginx /var/www/ocl.nabenik.com

echo 'server {
    server_name ocl.nabenik.com;

    gzip on;
    gzip_types      text/css text/javascript text/plain application/xml;
    gzip_min_length 1000;

    location ^~ /.well-known/acme-challenge/ {
        allow all;
        root /var/www/ocl.nabenik.com/;
        default_type "text/plain";
        try_files $uri =404;
    }

    location / {
        proxy_pass             http://localhost:8080;
        proxy_connect_timeout       300;
        proxy_send_timeout          300;
        proxy_read_timeout          300;
        send_timeout                300;
    }

    error_page  500 502 503 504  /50x.html;
    location = /50x.html {
        root  /usr/share/nginx/html;
    }

    listen 80;
}' > /etc/nginx/sites-available/ocl.nabenik.com.conf
To enable the new host, a symlink is created on sites-enabled:
ln -s /etc/nginx/sites-available/ocl.nabenik.com.conf /etc/nginx/sites-enabled/ocl.nabenik.com.confAfter that, you should include the following line inside /etc/nginx/nginx.conf, just before the config file ends.
include /etc/nginx/sites-enabled/*.conf;It is also useful to check your configuration with nginx -t. If all works properly, you should reach Payara after an NGINX reload.
Setting Up Let's Encrypt
Once the reverse proxy is working, certbot should be enough to add an SSL certificate. The plugin itself will create a challenge at ^~ /.well-known/acme-challenge/, hence the proxy exclusion is mandatory (as reflected in the previous configuration step).
yum install -y certbot-nginx
certbot --nginx -d ocl.nabenik.com
One of the caveats of using certbot is the dependency of the Python version. Another alternative, if you find any issues, is to install it with pip
yum install -y python-pip
pip install certbot-nginx
certbot --nginx -d ocl.nabenik.com
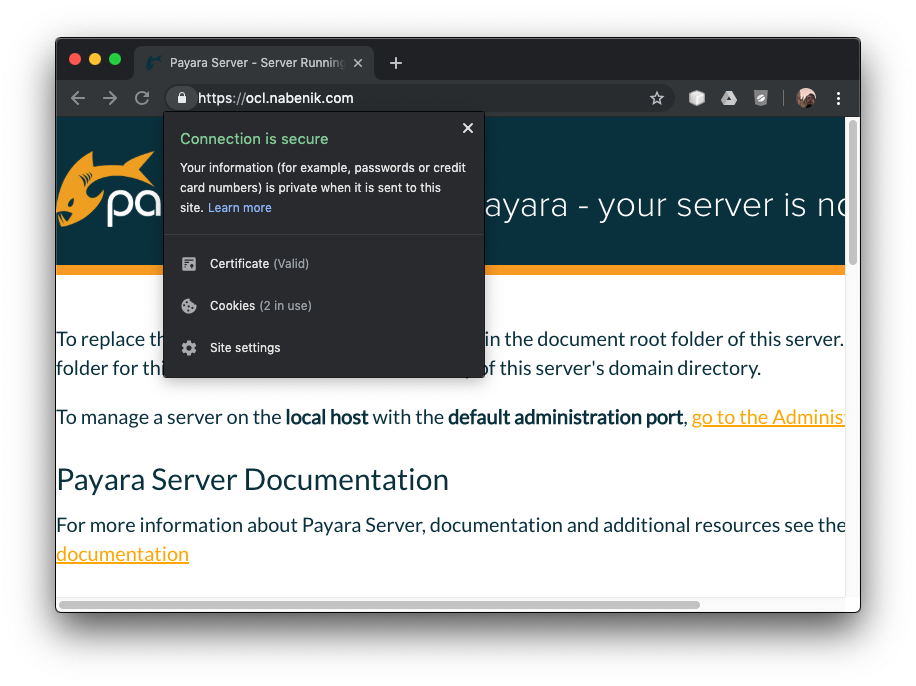
If everything works as expected, you should see the Payara page under SSL.
Finally and most importantly, Let's Encrypt certificates are valid for 90 days, so you could add certification renewal (crontab -e) as a cron task:
15 3 * * * /usr/bin/certbot renew --quietOpinions expressed by DZone contributors are their own.

Comments