How To Develop a Modern Image Gallery With HTML, CSS, and JavaScript
In this tutorial, the reader will take a walk-through on how to build a modern image gallery using HTML, CSS, and JavaScript.
Join the DZone community and get the full member experience.
Join For FreeWith technological advancements, imagining has played a big role in online communication. Image galleries are the most used ways to showcase images and provide a better user experience.
In this tutorial, we will take a walk-through on how to build a modern image gallery using HTML, CSS, and JavaScript. This tutorial will guide you on creating a grid layout, adding hovers to images, and filtering images by categories. By using these skills, you can create a visually appealing and functional image gallery.
Whether you are a beginner or an experienced web developer, this tutorial will provide you with the knowledge and skills to create a modern image gallery using the latest web technologies.
1. Set up the HTML Structure
Create a basic HTML structure for the image gallery with a container div and a grid div. Inside the grid div, create a div for each image with an img tag.
!DOCTYPE html>
<html lang="en">
  <head>
    <meta charset="UTF-8" />
    <meta data-fr-http-equiv="X-UA-Compatible" content="IE=edge" />
    <meta name="viewport" content="width=device-width, initial-scale=1.0" />
    <title>imageGallery</title>
    <link rel="stylesheet" href="style.css" />
  </head>
  <body>
    <div class="gallery">

      <div class="grid">
        <div class="item">
          <img src="beautiful-flower.jpg" />
        </div>
        <div class="item">
          <img src="beautiful-flowers.jpg" />
        </div>
        <div class="item">
          <img src="hill.jpg" />
        </div>
        <!-- Add more image divs as needed -->
      </div>
    </div>

  </body>
</html>
2. Style the Gallery With CSS
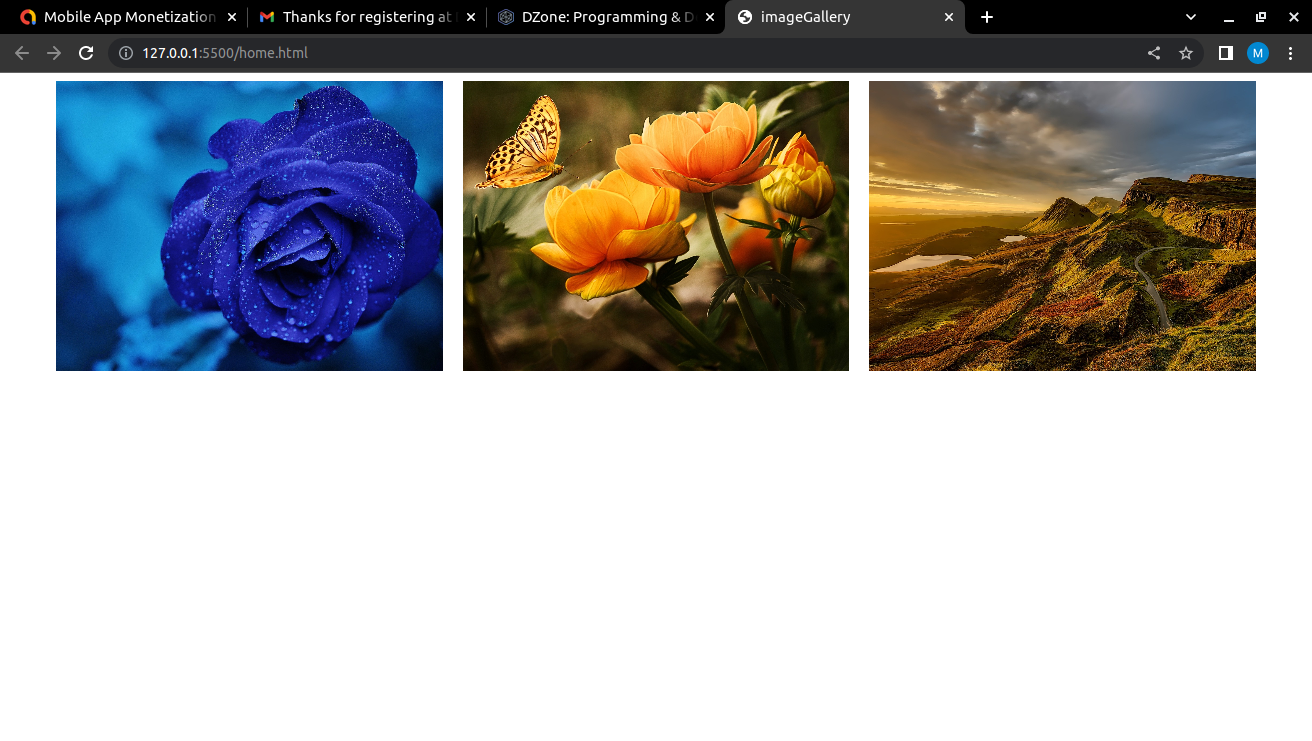
Add CSS styles to create a responsive grid layout for the gallery, and add hover effects to the images.
.gallery {
  max-width: 1200px;
  margin: 0 auto;
}

.grid {
  display: grid;
  grid-template-columns: repeat(auto-fit, minmax(250px, 1fr));
  grid-gap: 20px;
}

.item {
  position: relative;
  overflow: hidden;
  height: 0;
  padding-bottom: 75%;
  cursor: pointer;
}

.item img {
  position: absolute;
  top: 0;
  left: 0;
  width: 100%;
  height: 100%;
  object-fit: cover;
  transition: transform 0.3s ease;
}

.item:hover img {
  transform: scale(1.2);
}
Output

Let's Continue with the creation by adding more properties.
3. Add Filter Buttons With JavaScript
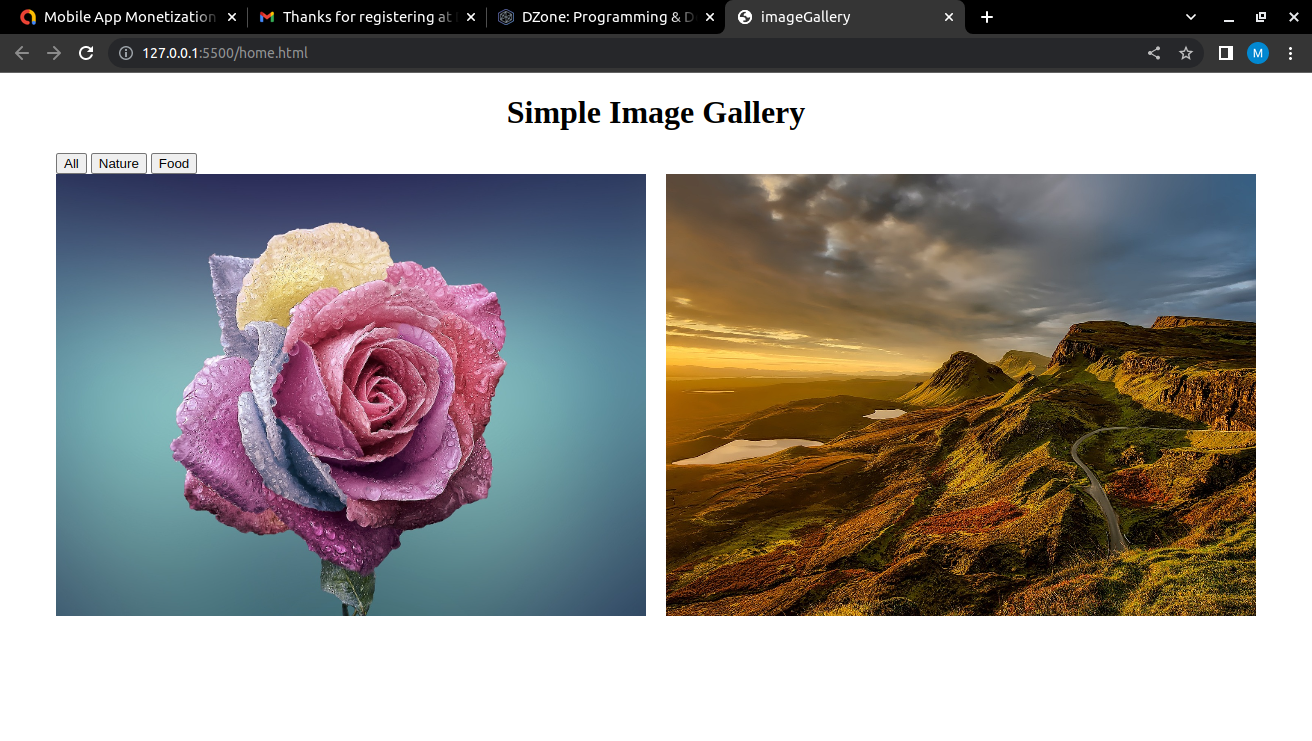
Create filter buttons that allow users to filter the gallery by category. Use JavaScript to add event listeners to the buttons and filter the images based on their class.
First, let us edit the HTML file to hold more images.
<!DOCTYPE html>
<html lang="en">
  <head>
    <meta charset="UTF-8" />
    <meta data-fr-http-equiv="X-UA-Compatible" content="IE=edge" />
    <meta name="viewport" content="width=device-width, initial-scale=1.0" />
    <title>imageGallery</title>
    <link rel="stylesheet" href="style.css" />
  </head>
  <body>
    <h1 align="center">Simple Image Gallery</h1>
    <div class="gallery">
      <div class="filters">
        <button class="filter-btn" data-filter="all">All</button>
        <button class="filter-btn" data-filter="nature">Nature</button>
        <button class="filter-btn" data-filter="food">Food</button>
      </div>
      <div class="grid">
        <div class="item">
          <img src="beautiful-flower.jpg" />
        </div>
        <div class="item">
          <img src="beautiful-flowers.jpg" />
        </div>
        <div class="item">
          <img src="hill.jpg" />
        </div>
        <!-- Add more image divs as needed -->
      </div>
    </div>
    <div class="gallery" style="margin-top: 40px;">
      <div class="grid">
        <div class="item nature">
          <img src="beautiful.jpg" />
        </div>
        <div class="item food">
          <img src="food2.jpg" />
        </div>
        <div class="item nature">
          <img src="hill.jpg" />
        </div>
        <!-- Add more image divs as needed -->
      </div>
    </div>
    <script src="js.js"></script>
  </body>
</html>
Link the JS file as shown and add the code below to your Javascript file. On my end, it saves as js.js.
Use JavaScript to add event listeners to the buttons and filter the images based on their class.
const filterBtns = document.querySelectorAll('.filter-btn');
const gridItems = document.querySelectorAll('.item');

filterBtns.forEach(btn => {
  btn.addEventListener('click', () => {
    const filter = btn.dataset.filter;
    filterItems(filter);
    setActiveFilterBtn(btn);
  });
});

function filterItems(filter) {
  gridItems.forEach(item => {
    if (filter === 'all' || item.classList.contains(filter)) {
      item.style.display = 'block';
    } else {
      item.style.display = 'none';
    }
  });
}

function setActiveFilterBtn(activeBtn) {
  filterBtns.forEach(btn => {
    btn.classList.remove('active');
  });
  activeBtn.classList.add('active');
}
4. Customize the Gallery as Needed
You can customize the gallery by adding more filters, changing the CSS styles, or adding more functionality with JavaScript.
![Simple Image Gallery]() Conclusion
Conclusion
By following the steps outlined in this tutorial, you can create a responsive and user-friendly gallery that is both visually appealing and functional. With the use of modern web technologies such as CSS Grid and JavaScript, you can create an image gallery that is both easy to maintain and scalable for future enhancements. We hope this tutorial has been helpful in guiding you through the process of building a modern image gallery and that you are now equipped with the skills to create your own unique gallery. Keep practicing and exploring the latest web technologies, and you'll be amazed at what you can create!
Happy coding!
Opinions expressed by DZone contributors are their own.

 Conclusion
Comments