How to Create a Kubernetes Cluster on AWS in Few Minutes
While we await the release of Kubernetes's EKS management service, we've compressed the installations of K8s into a few simple steps.
Join the DZone community and get the full member experience.
Join For FreeInstalling Kubernetes on AWS
Amazon Web Services (AWS) recently introduced a managed Kubernetes service called EKS. Nevertheless, it’s still under preview mode. Therefore, at the moment Kubernetes can be installed on AWS as explained in the Kubernetes documentation either using conjure-up, Kubernetes Operations (kops), CoreOS Tectonic or kube-aws. Out of those options I found kops extremely easier to use and its nicely designed for customizing the installation, executing upgrades and managing the Kubernetes clusters over time. In this article I will explain how to use Kubernetes Operations tool to install a Kubernetes Cluster on AWS in few minutes.
Steps to Follow
1. First we need an AWS account and access keys to start with. Login to your AWS console and generate access keys for your user by navigating to Users/Security credentials page.
2. Install AWS CLI by following its official installation guide:
# OSX using Homebrew
brew install awscli

# Linux
pip install awscli --upgrade --user
3. Install kops by following its official installation guide:
# OSX using Homebrew
brew install kops

# Linux
curl -LO https://github.com/kubernetes/kops/releases/download/$(curl -s https://api.github.com/repos/kubernetes/kops/releases/latest | grep tag_name | cut -d '"' -f 4)/kops-linux-amd64chmod +x kops-linux-amd64sudo mv kops-linux-amd64 /usr/local/bin/kops
4. Configure the AWS CLI by providing the Access Key, Secret Access Key and the AWS region that you want the Kubernetes cluster to be installed:
aws configure

AWS Access Key ID [None]: AccessKeyValue
AWS Secret Access Key [None]: SecretAccessKeyValue
Default region name [None]: us-east-1
Default output format [None]:
5. Create an AWS S3 bucket for kops to persist its state:
aws s3api create-bucket \
--bucket imesh-kops-state-store \
--region us-east-1
6. Enable versioning for the above S3 bucket:
aws s3api put-bucket-versioning --bucket imesh-kops-state-store --versioning-configuration Status=Enabled7. Provide a name for the Kubernetes cluster and set the S3 bucket URL in the following environment variables:
export KOPS_CLUSTER_NAME=imesh.k8s.local
export KOPS_STATE_STORE=s3://imesh-kops-state-store
Add above code block can be added to the ~/.bash_profile or ~/.profilefile depending on the operating system to make them available on all terminal environments.
8. Create a Kubernetes cluster definition using kops by providing the required node count, node size, and AWS zones. The node size or rather the EC2 instance type would need to be decided according to the work load that you are planning to run on the Kubernetes cluster:
kops create cluster \
--node-count=2 \
--node-size=t2.medium \
--zones us-east-1a \
${KOPS_CLUSTER_NAME}
If needed execute the kops create cluster help command to find additional parameters:
kops create cluster --help9. Review the Kubernetes cluster definition by executing the below command:
kops edit cluster ${KOPS_CLUSTER_NAME}10. Now, let’s create the Kubernetes cluster on AWS by executing kops update command:
kops update cluster ${KOPS_CLUSTER_NAME} --yes11. Above command may take some time to create the required infrastructure resources on AWS. Execute the validate command to check its status and wait until the cluster becomes ready:
kops validate cluster

Using cluster from kubectl context: imesh.k8s.local
Validating cluster imesh.k8s.local
INSTANCE GROUPS
NAME               ROLE    MACHINETYPE  MIN  MAX  SUBNETS
master-us-east-1a  Master  m3.medium    1    1    us-east-1a
nodes              Node    m4.xlarge    2    2    us-east-1a
NODE STATUS
NAME                           ROLE    READY
ip-172-20-48-50.ec2.internal   node    True
ip-172-20-50-191.ec2.internal  node    True
ip-172-20-55-27.ec2.internal   master  True
Your cluster imesh.k8s.local is ready
Once the above process completes, kops will configure the Kubernetes CLI (kubectl) with Kubernetes cluster API endpoint and user credentials.
12. Now, we need to deploy the Kubernetes dashboard to access the cluster via its web based user interface:
kubectl apply -f https://raw.githubusercontent.com/kubernetes/dashboard/master/src/deploy/recommended/kubernetes-dashboard.yaml13. Execute the below command to find the admin user’s password:
kops get secrets kube --type secret -oplaintext14. Execute the below command to find the Kubernetes master hostname:
kubectl cluster-info

Kubernetes master is running at https://api-imesh-k8s-local-<dynamic-id>.us-east-1.elb.amazonaws.com
KubeDNS is running at https://api-imesh-k8s-local-<dynamic-id>.us-east-1.elb.amazonaws.com/api/v1/namespaces/kube-system/services/kube-dns:dns/proxy
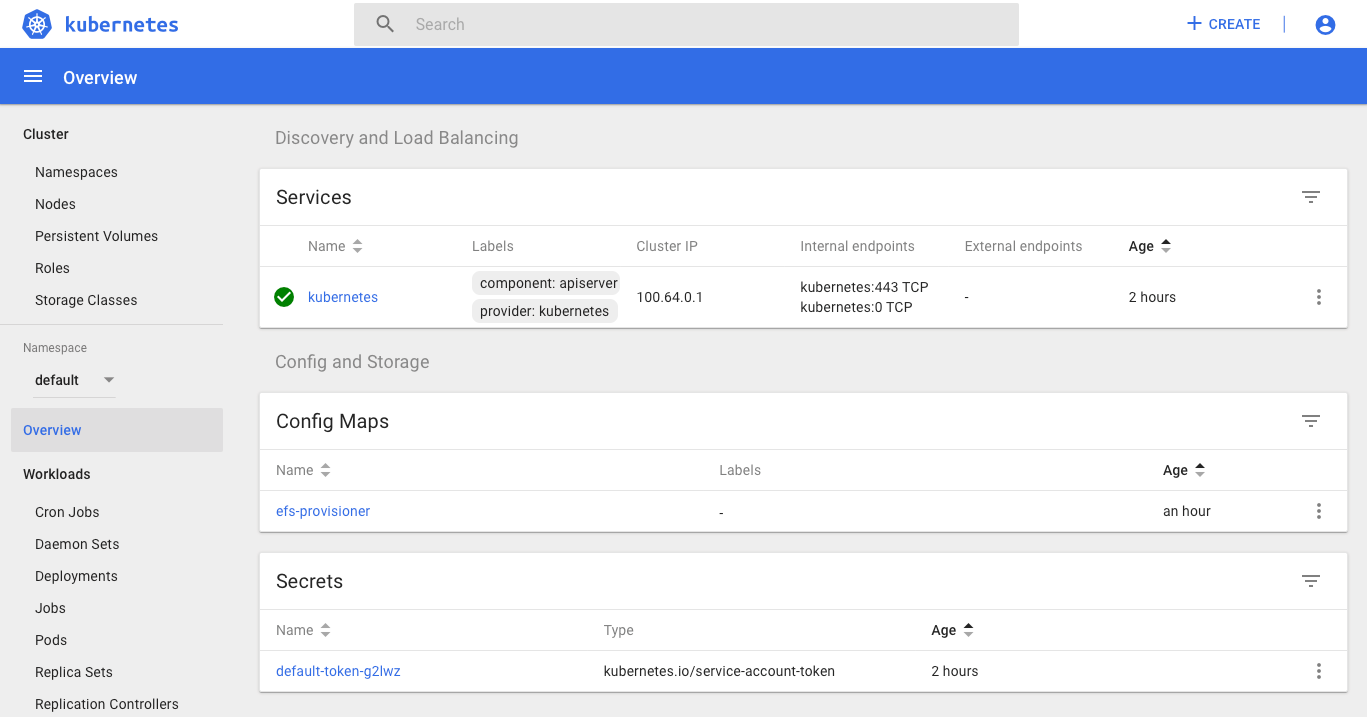
15. Access the Kubernetes dashboard using the following URL:
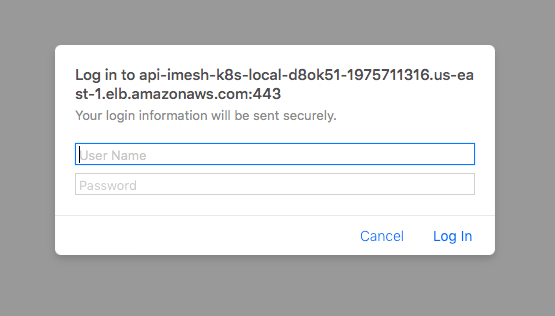
https://<kubernetes-master-hostname>/uiProvide the username as admin and the password obtained above on the browser’s login page:

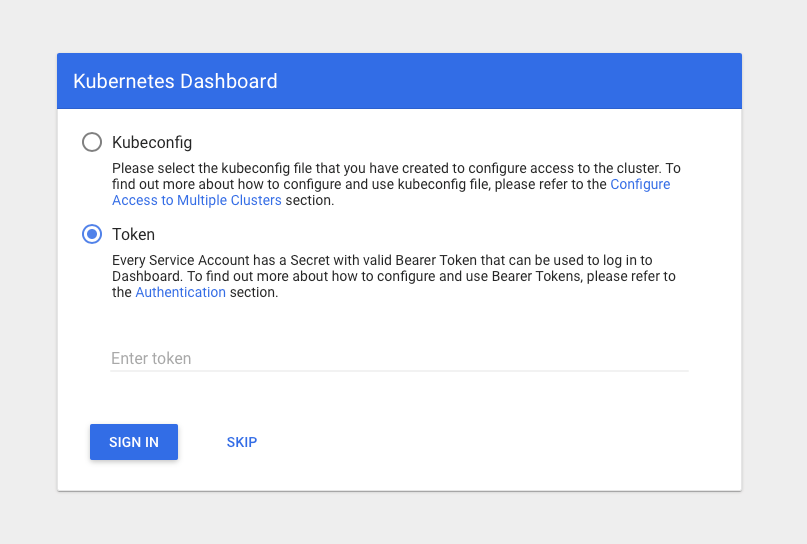
Provide the same admin password as the service account token on the service token request page:


References:
[1] Kubernetes Turn-key Cloud Solutions, Kubernetes Documentation: https://kubernetes.io/docs/getting-started-guides/aws/
[2] Kubernetes Operations Documentation: https://github.com/kubernetes/kops/tree/master/docs
[3] AWS Managed Kubernetes Service: https://aws.amazon.com/eks/
[4] AWS Instance Types: https://aws.amazon.com/ec2/instance-types/
Published at DZone with permission of Imesh Gunaratne. See the original article here.
Opinions expressed by DZone contributors are their own.

Comments