Creating a New Project With TeamCity
Let's learn how to use the TeamCity CI server for building and deploying a variety of project formats, version control, and other basics.
Join the DZone community and get the full member experience.
Join For Freeteamcity is a continuous integration server that supports building and deploying a variety of different project formats, including those from intellij idea and visual studio. developers can verify check-ins before committing them to version control, customize build parameters and track version control and build history in one place.
in this tutorial, we'll learn the basic of how to use teamcity by configuring a java project on teamcity, building it, view unit test results, break the build with a code check-in, and then fix it again.
let's get to work.
first, go to your teamcity's url and log in. if this is your first time logging in, you will need to get a username and password from your server administrator.
next, click administration on the upper right-hand side of the overview page. this will take you to the administration area where you can create a new project.
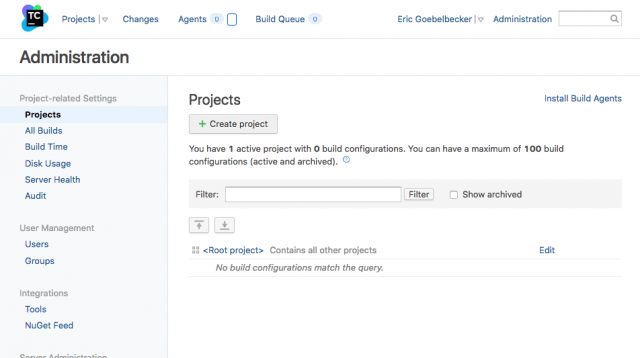
click the create project button.
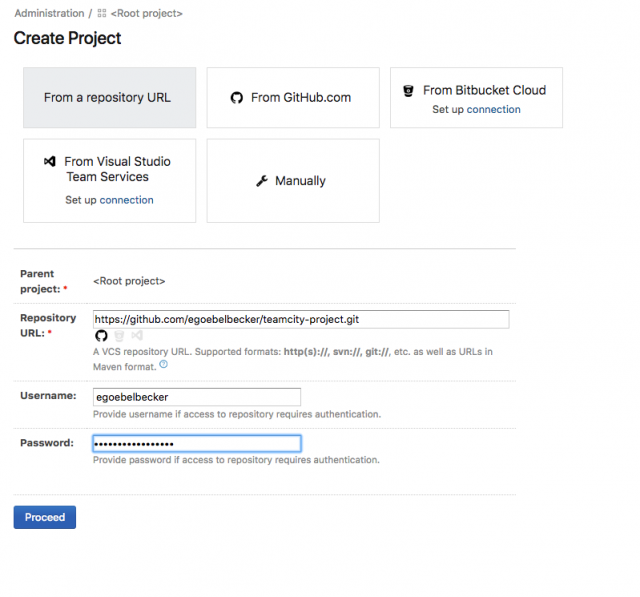
for this example, add the new project with a repository url. enter the url and the authentication information for the source repository and click proceed.
even though teamcity has specific support for github, we are inputting a github url as if it were any got system. we'll cover github support in a later unit.
next, teamcity prompts for a project and build name. accept the defaults and click proceed.
teamcity will check the project out and analyze the build script to determine how to build it. teamcity supports maven, ant, or gradle for java. it works with msbuild or nant for .net. it can also manage ruby projects with rake, as well as a variety of other build tools with other languages.
this is a simple gradle project, so after a few moments, teamcity offers two different build steps.
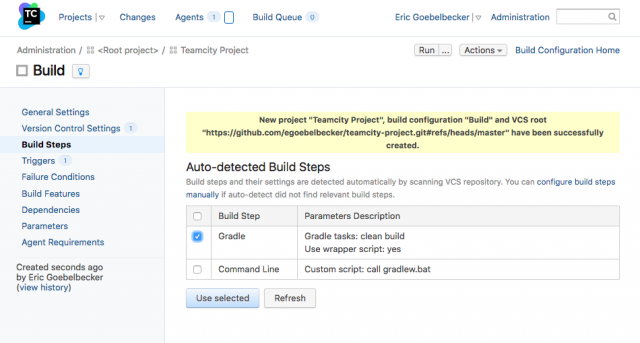
the first is to call gradle with "clean build," which is what we want. click on use selected.
and we have a project that is ready to be run.
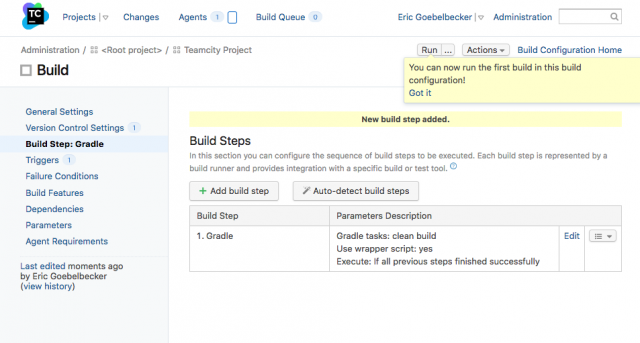
before we run the first build, let's add the project to the overview page so it's easier to get to it. click on the teamcity logo on the upper left-hand corner of the page.
this brings up an almost empty page. click on the configure visible projects link.
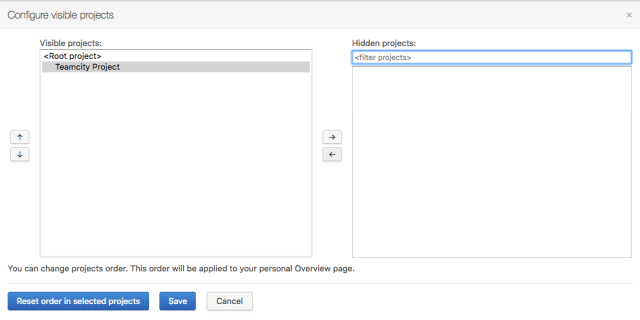
use the accumulator to add teamcity project to the list of visible projects and then save the results. this will make the project easier to access as we work.
click on teamcity project. this takes us to the project view page.
above the project information, we see that this server has one build agent and zero builds in the build queue. agents execute the builds, and if there aren't enough agents to run all of the pending builds, teamcity queues them on a first-in-first-out basis.
let's take a quick look at our project code too.
we have a single java class below:
public class teamcity {
    public boolean getstatus() {
        return true;
    }
}
and a single test:
import org.junit.test;
import static org.junit.assert.*;
public class teamcitytest {
    private teamcity teamcity = new teamcity();
    @test
    public void getstatus() {
        asserttrue(teamcity.getstatus());
    }
}
let's start a build. click the run button on the upper right-hand side of the project page.

after a few seconds, the build completes, and we see that it has passed. one test was successfully run.
from the build results page, we can view our test.
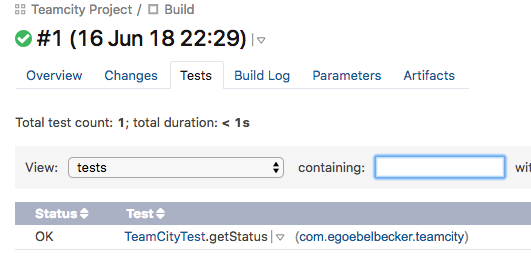
teamcity lists the test class name and the test method(s), along with the results.
we can also click the build log tag for a record of the build.
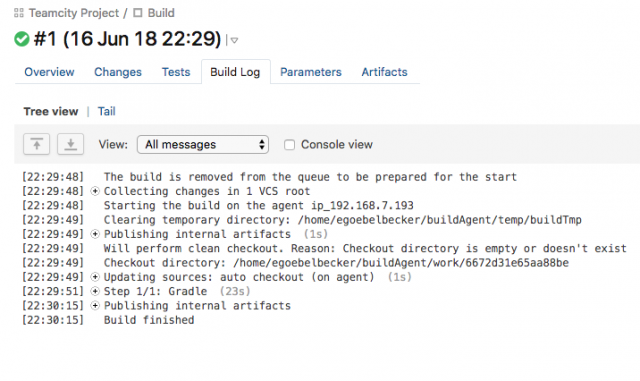
the log viewer collapses some log entries. clicking on the + icon expands them.
teamcity build behavior is configurable. click on edit configuration settings.
on the build configuration screen, click on show advanced options.
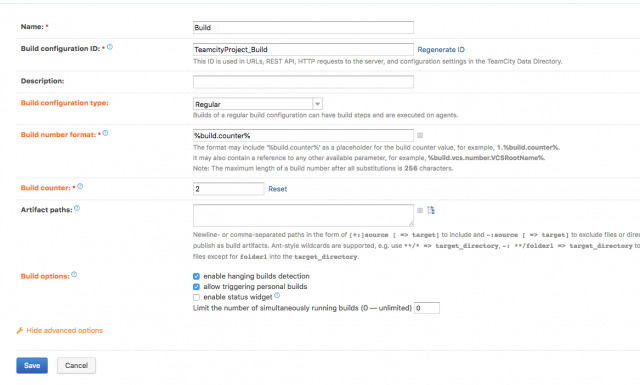
change the build number format.

teamcity defines variables that can be used to create build numbers. the default is a counter that increments with each build. prefix the build number with tutorial.
let's take a look at the artifact paths too.

similar to build numbers, teamcity offers a mechanism for creating build output locations using variables. these variables can be used to move the build results to different paths and different file names.
finally, click on triggers in the left-hand side menu.

teamcity is watching all branches of the git project for changes. if we click the add trigger button, we see a selector to add different trigger types.
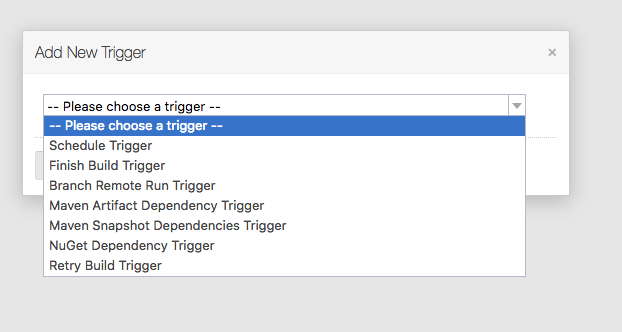
for now, watching the git repository is all we need.
one of teamcity's more powerful features is the ability to pre-stage a commit. we can modify our code and test it in a build on the server without committing it to the remote repository. let's give it a try.
open the java project in intellij.
first, add the teamcity plugin in intellij if it is not already installed.
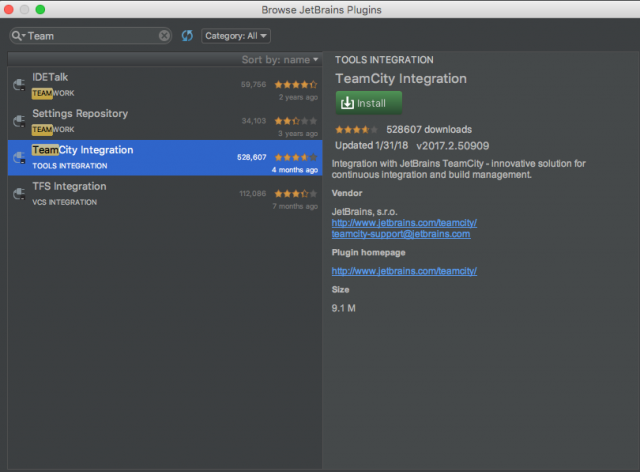
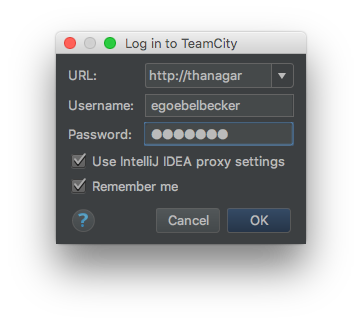
next, go to the teamcity menu and authenticate to the teamcity server.
now we can modify the code. open the teamcity class and change getstatus() return value to false.
public class teamcity {
    public boolean getstatus() {
        return false;
    }
}
commit the change but do not push it.
next, select remote run outgoing changes... in the teamcity menu.
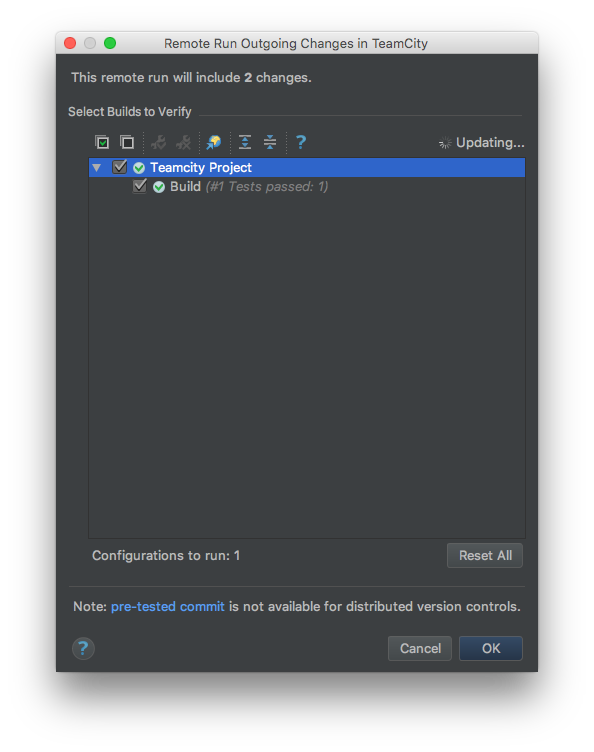
select the project name and click ok to run the build. after a few moments, intellij will notify you that the build has failed.
the teamcity tool window displays the test that failed
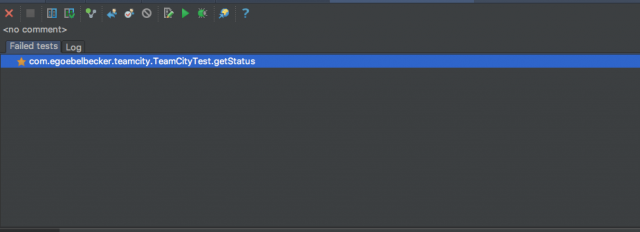
and the test output alongside it.
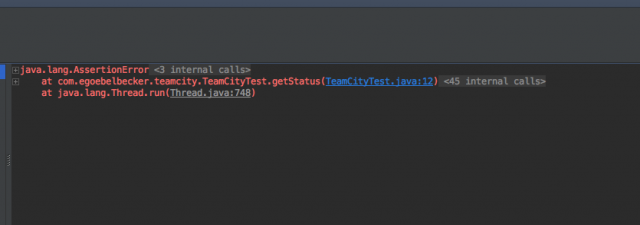
we see what we expect. our one-and-only test has failed.
go to the teamcity server, and view the list of builds for teamcity project.
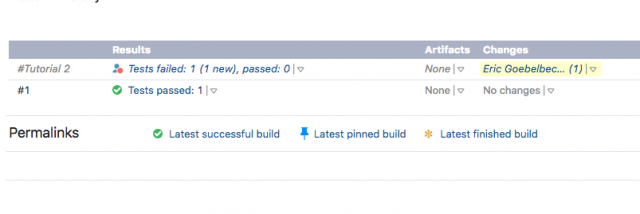
the pre-staged commit, in the form of a personal build, is at the top of the build list. the build has put out new build number scheme; it's called tutorial #2.
personal builds are only visible to the users that create them. they can be triggered as pre-staged commits, or from the teamcity server by viewing the drop-down control under the run button.
let's ignore teamcity and push the broken change to git.
after a few minutes, teamcity will pick up the change in git, and run a build.

the build fails.

click on the build to see details.
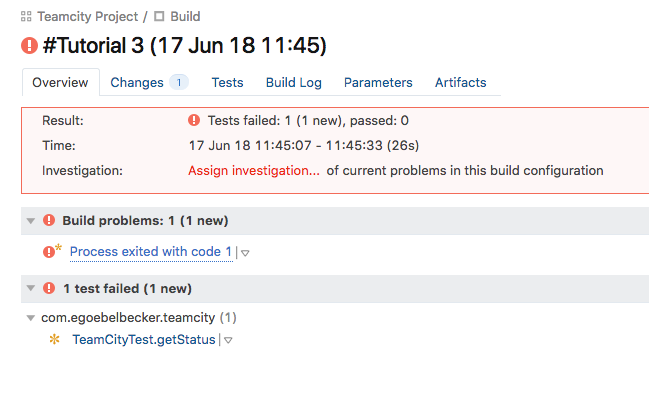
we see the test that failed.
click the changes tab under the build name.
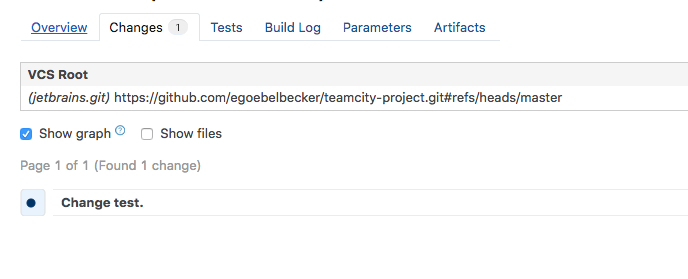
this displays the commit that triggered the build.
go back to the build detail. click assign investigation in the red banner near the top.
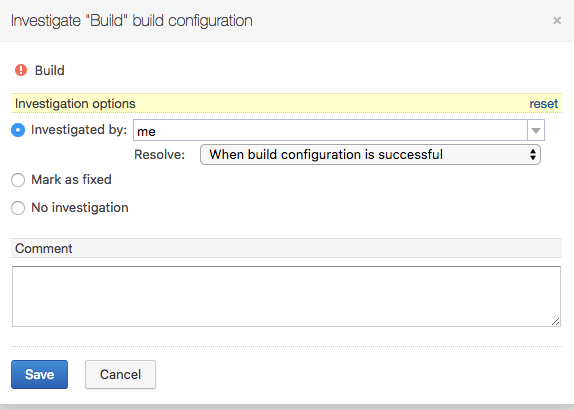
we can assign responsibility for fixing the build to a user. assign the investigation to yourself. user profiles have a list of open investigations. teamcity will close this investigation automatically when a build runs successfully.
go back to the code and change the return value of getstatus back to true. check-in and push the change.
a new build will be triggered soon.
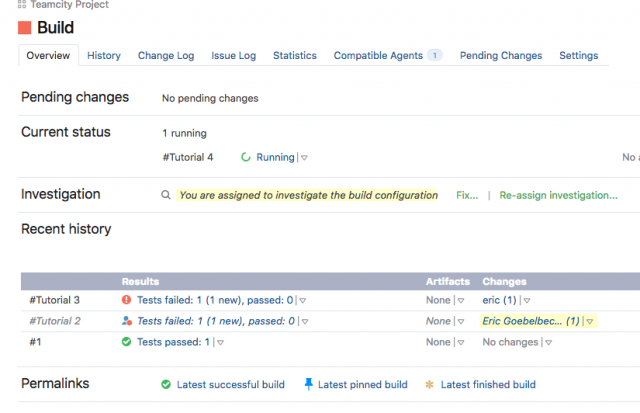
and, it passes.

the investigation is closed. we can view the log for this successful build and also view the changes that fixed it.
in this tutorial, we imported a java project to teamcity. we built the project, examined build and test logs, and then used teamcity pre-staged commits to check a code change before committing it. we also broke the build and reviewed how to manage build issues with teamcity.
teamcity is a powerful ci system that will improve how you and your team manage builds and deployments. get started with it today!
want to learn how to more about teamcity applications? check out our teamcity course: continous integration with teamcity .
Published at DZone with permission of Eric Goebelbecker, DZone MVB. See the original article here.
Opinions expressed by DZone contributors are their own.

Comments