Continuous Integration and Delivery With AWS Code Pipeline
This article is intended to present a concise illustration of how to configure a CI/CD process for Mule Applications using AWS Source Code engines.
Join the DZone community and get the full member experience.
Join For FreeAgenda:
- Introduction
- Should-Have
- AWS CodeBuild configuration
- AWS CodePipeline configuration
Introduction
This article is intended to present a concise illustration of how to configure a CI/CD process for Mule Applications using AWS Source Code engines like AWS CodeCommit, CodeBuild, and CodePipeline.
Should-Have
- MuleSoft Project with maven
- Mule enterprise credentials
- AWS permission to:
- Create branches in repositories
- Execute git actions in repositories: pull, commit, merge, push.
- Configure mandatory roles for CodeBuild and CodePipeline
- Configure CodeBuild MuleSoft Project
- Configure CodePipeline
- AWS permission to:
AWS CodeBuild Configuration
Create AWS CodeCommit repository for MuleSoft project:
- Login with Admin user in AWS console:
![aws console]()
- Once successful login, find CodeCommit.
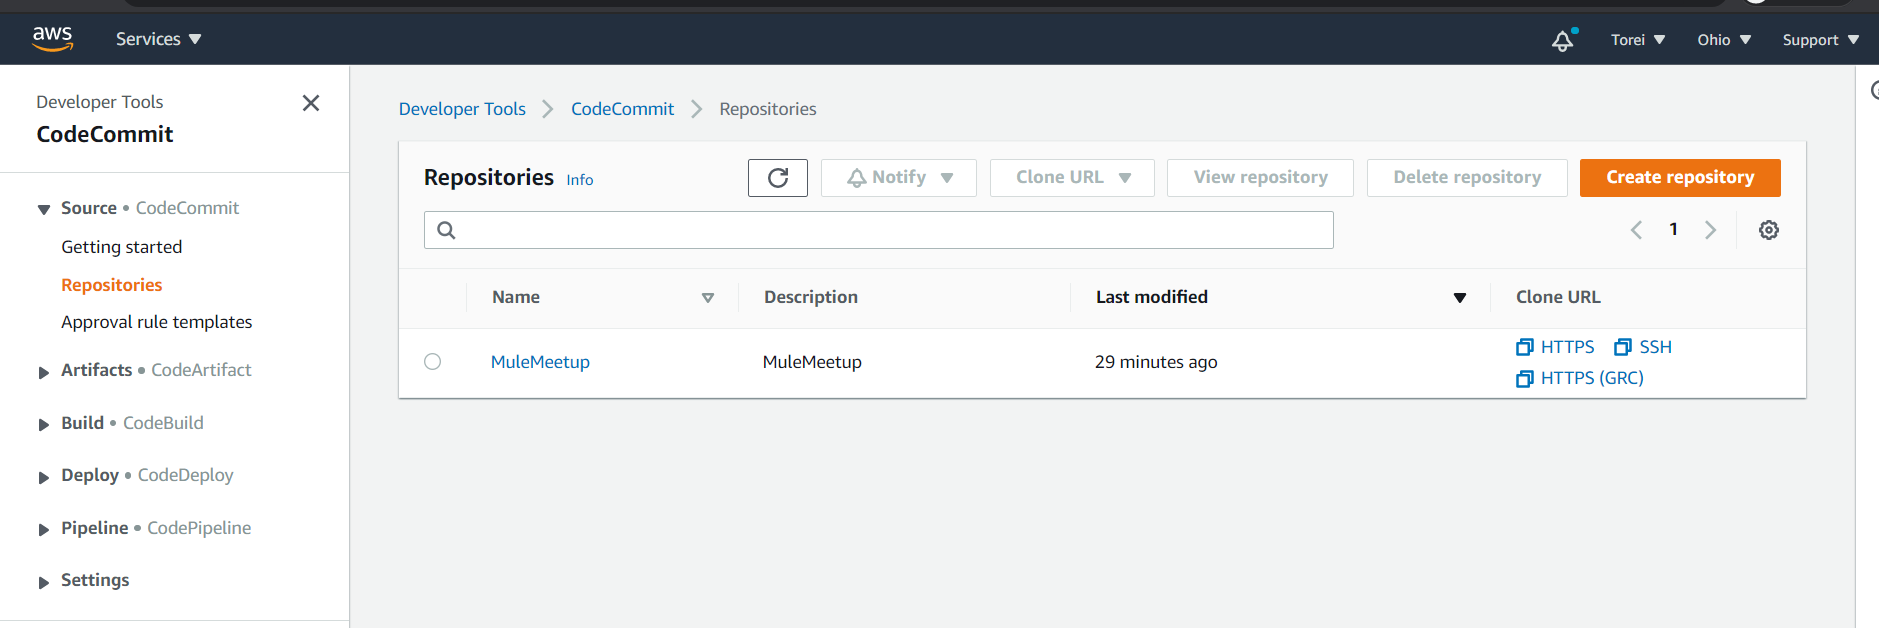
- Open CodeCommit and create a repository for the required MuleSoft project. For instance, below, one sample project repository is created in CodeCommit.
![codecommit]()
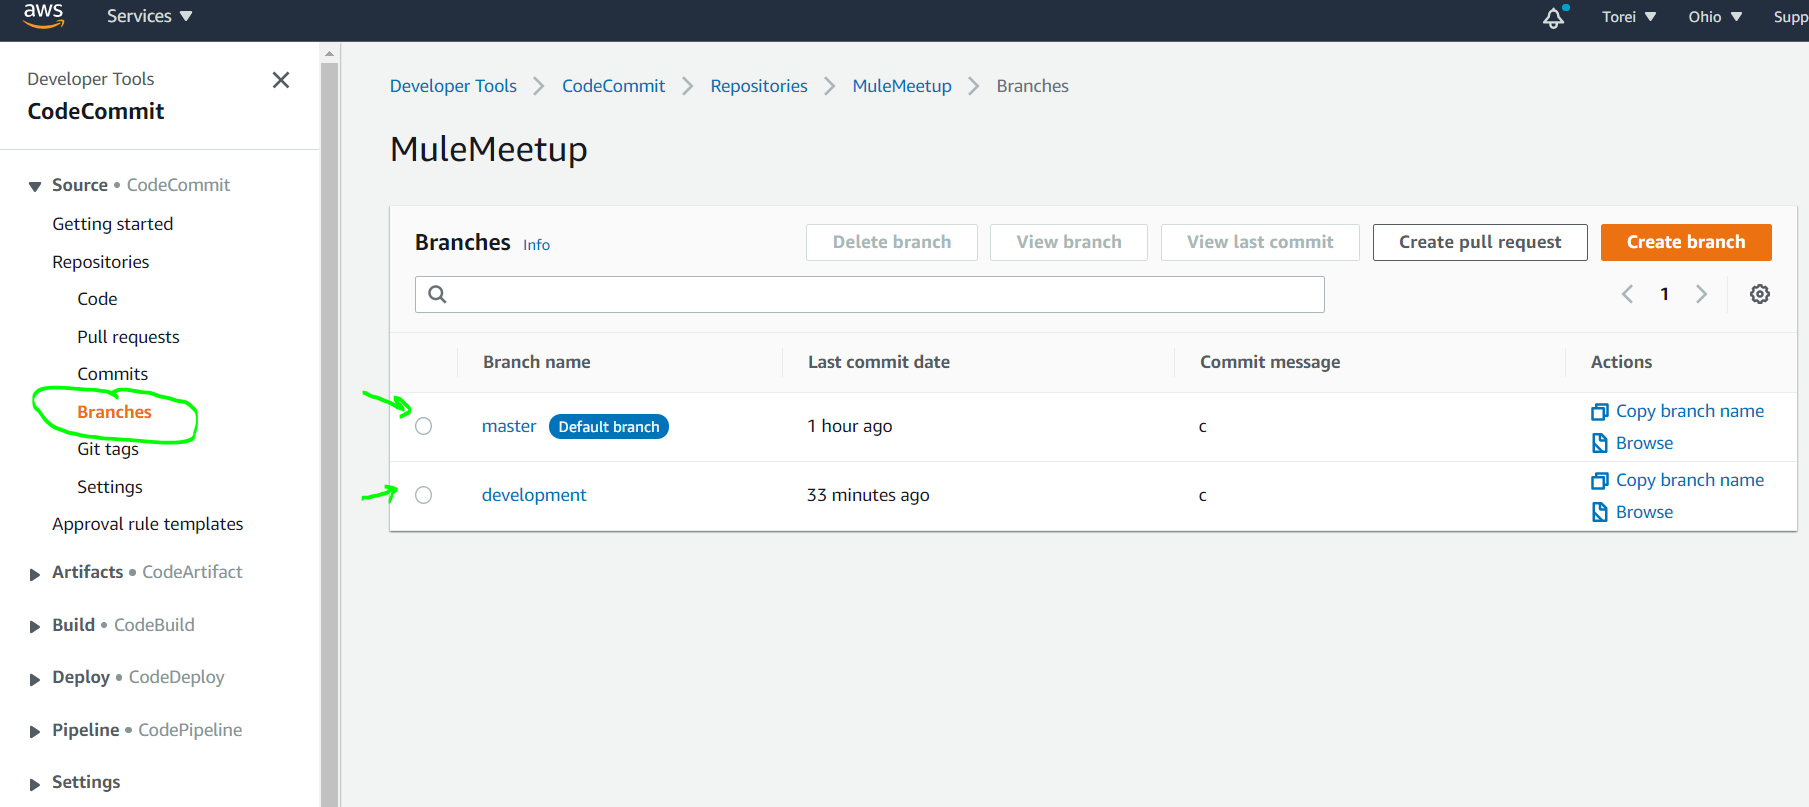
- With repository: Multiple branches created as per requirement..go to the branch in MuleMeetup.
![branches]()
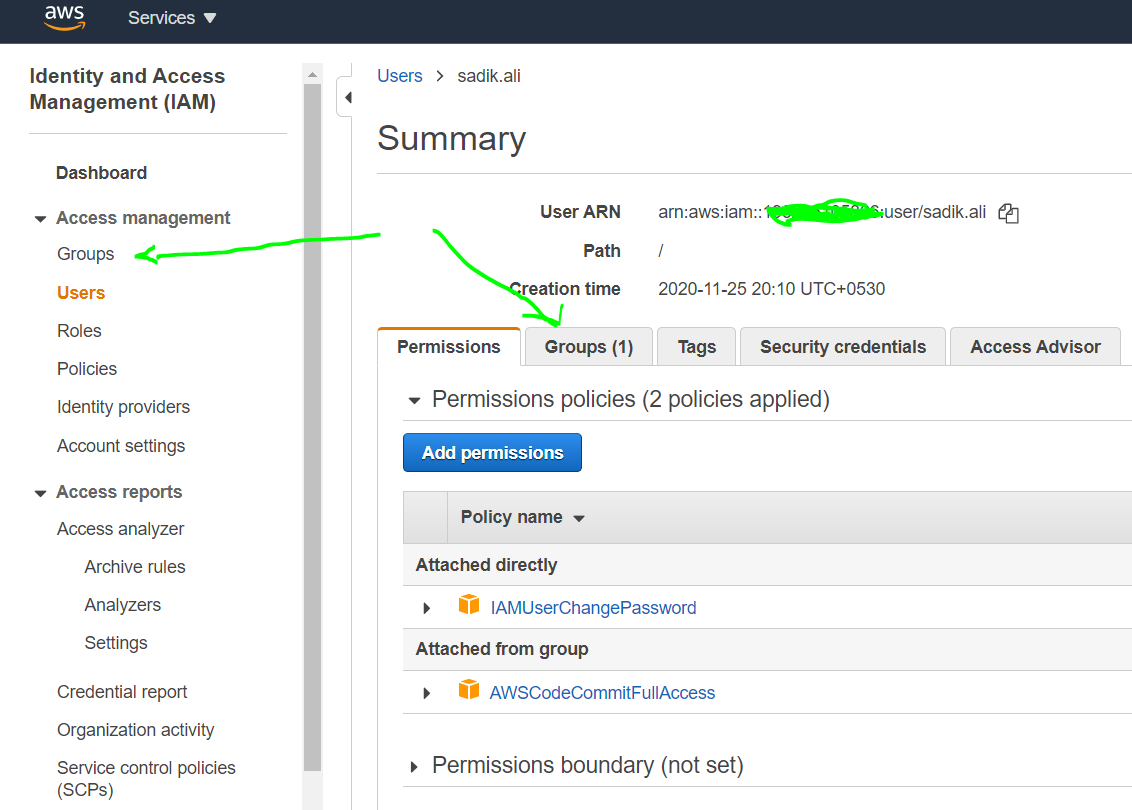
- With Admin user in console, Identity and Access Management (IAM) section and create a user who is authorized to perform a pull, commit, merge, push on MuleMeetup repository.
- Create a user group:
![aws groups]()
- Create user and assign role and associate with a group created in the above step — these steps to segregate users into a group to assign roles based on roles and responsibilities.
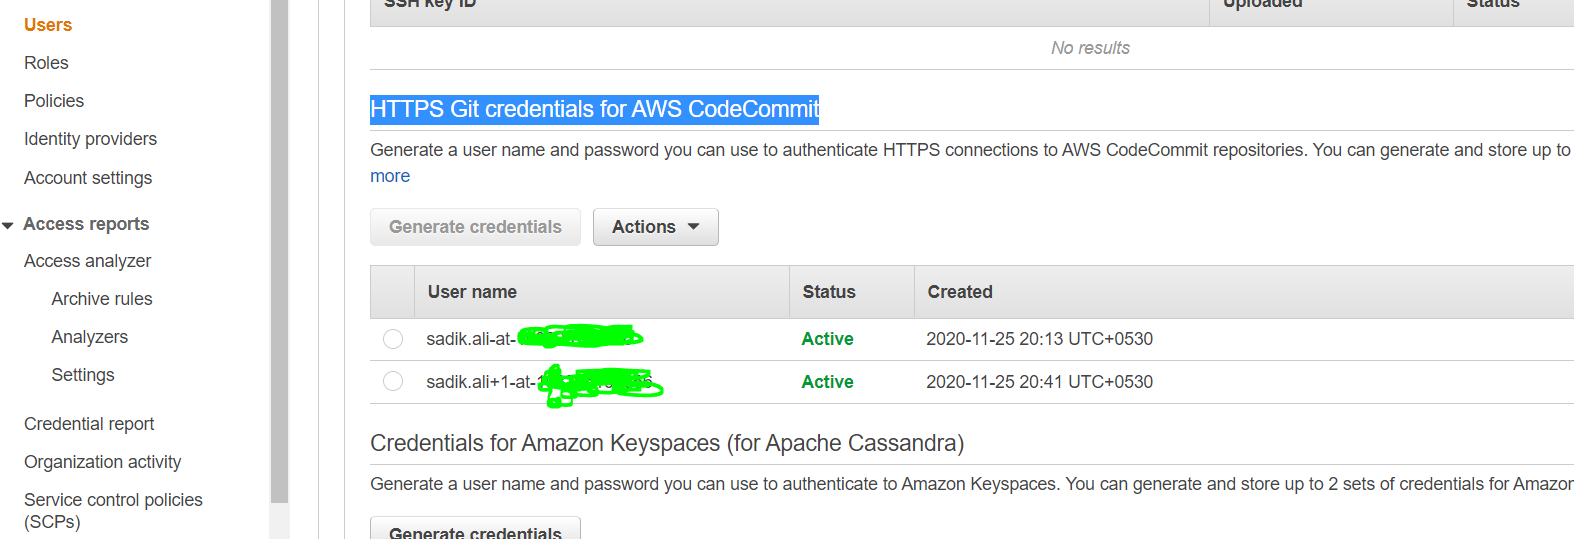
- Generate HTTPS Git credentials for AWS CodeCommit for the IAM user and download it; it will authenticate the user to act on codes in the repository.
AWS CodePipeline Configuration
- Now, all configurations are done to start building CodeBuild.
- Go to CodeBuild with Admin login in the console and look for CodeBuild tool in the console panel.
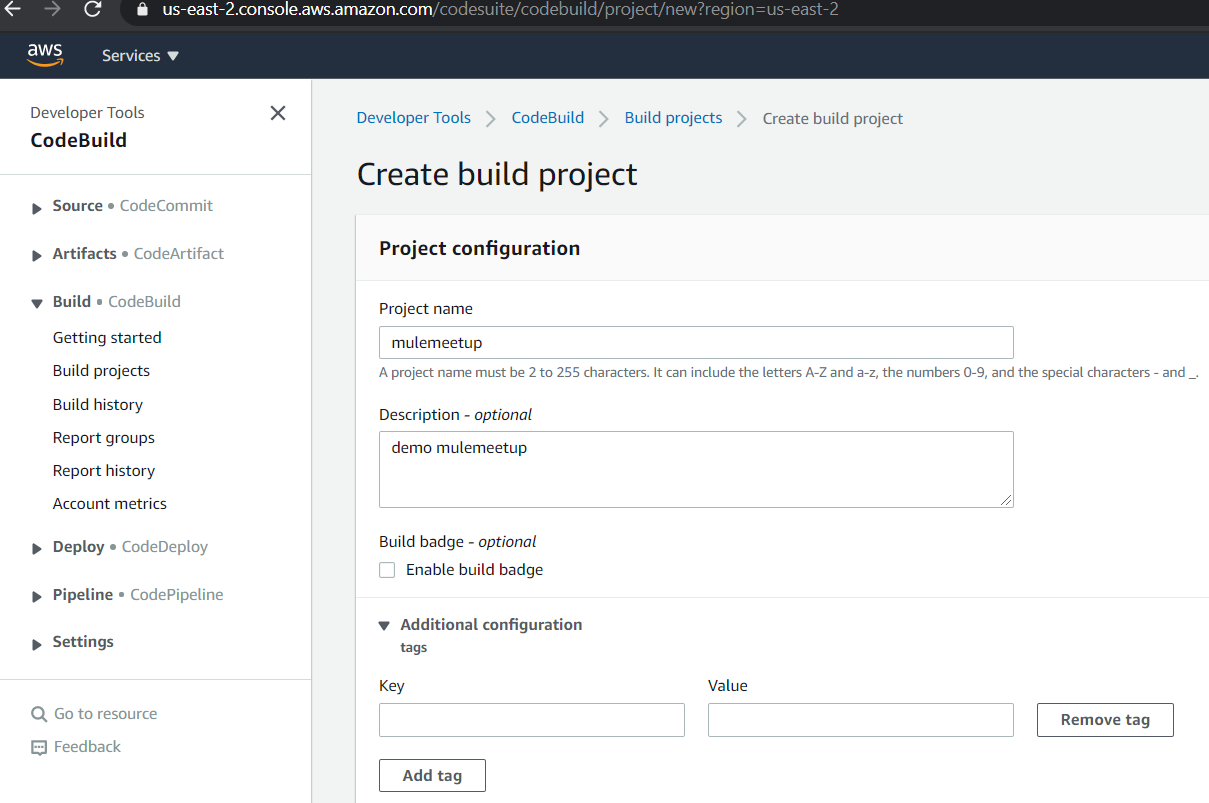
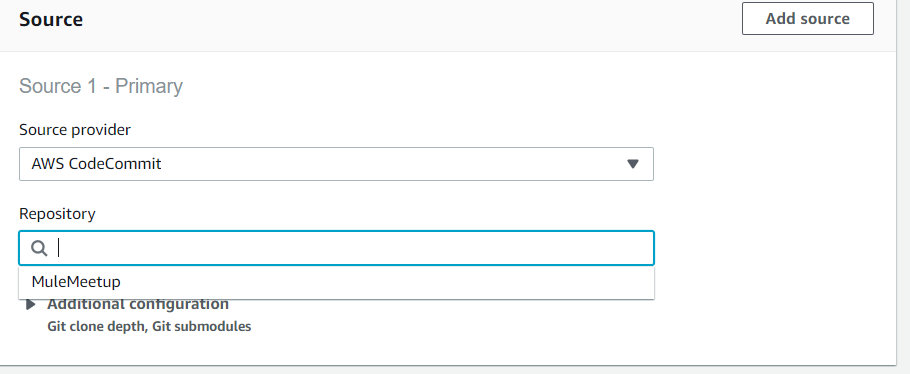
- Create Buildproject process. As we are not using AWS Bucket here and deploying code cloudhub hence bucket configuration is not required in this article.
- Follow the below entries while configuring the process as below:
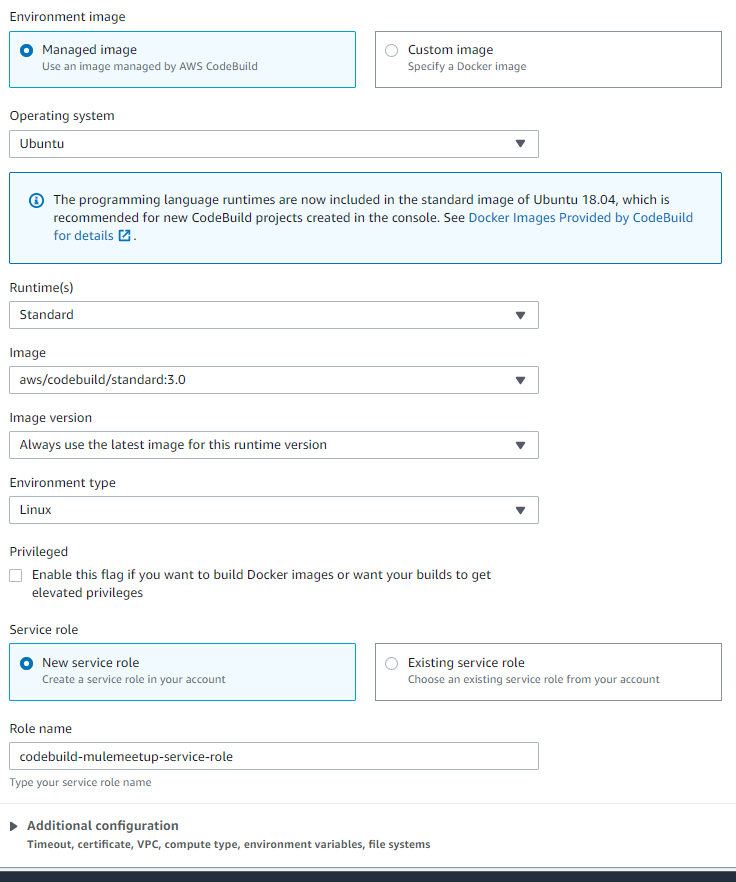
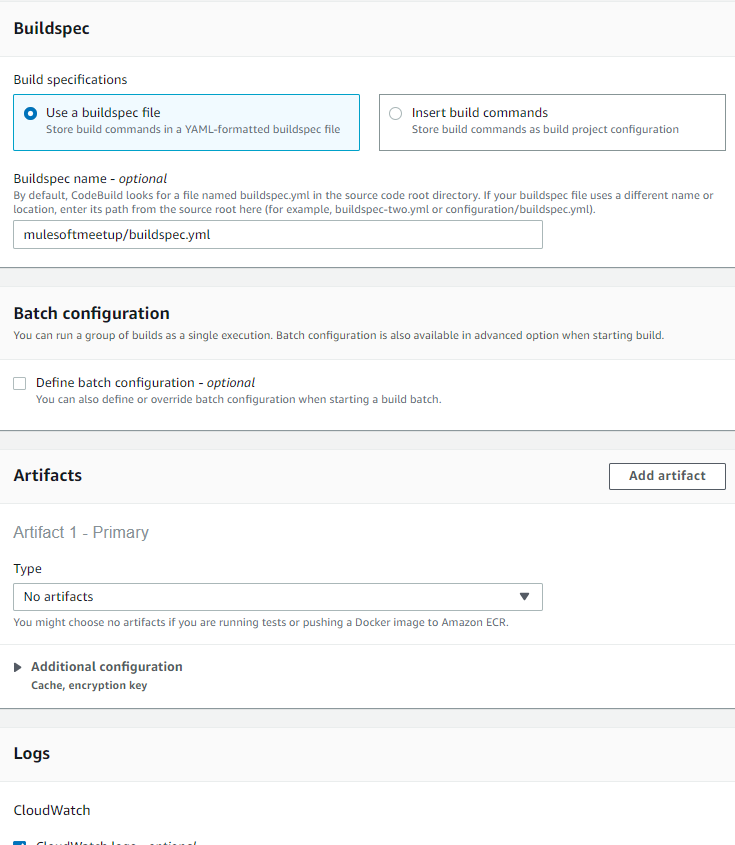
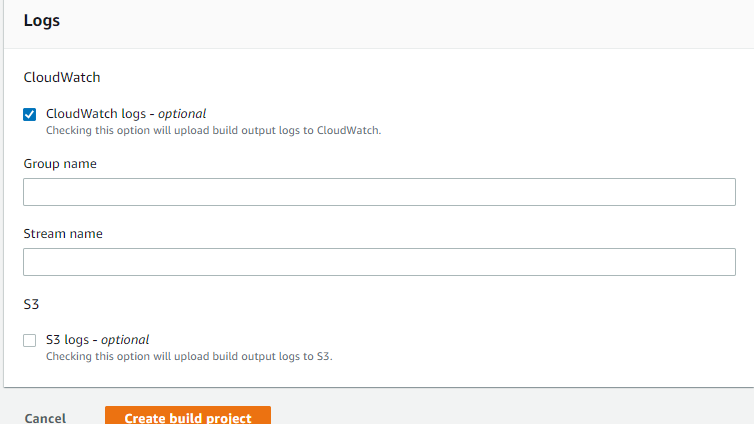
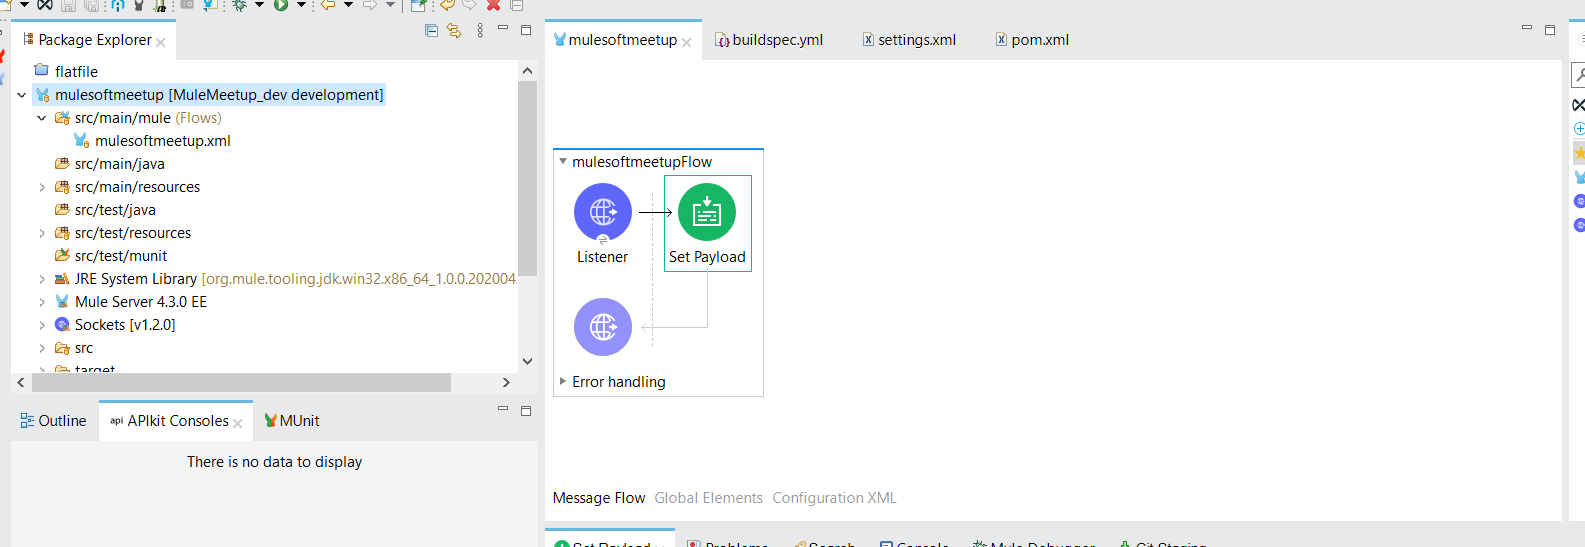
- Now login with IAM user as created in the above step and checkout code in Anypoint Studio.
Open CodeCommit tool and go to respective repository and branch to clone associate studio code to clone URL.
![mulemeetup]()
![set payload]()
- Follow files and folders in the project as recommended by CodeBuild as below.
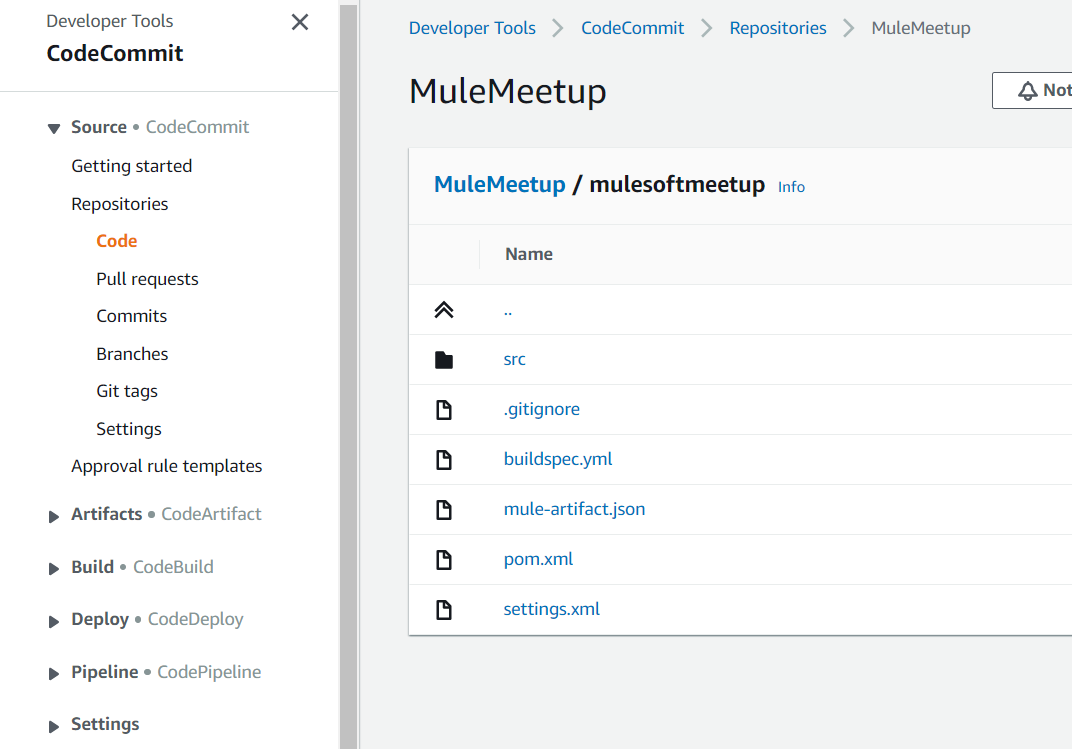
- Buildspec.yml → Code with instructions for the pipeline phases execution. It will cover the different phases in this guide.
x
version: 0.1
env:
variables:
JAVA_HOME: "/usr/lib/jvm/java-8-openjdk-amd64"
phases:
pre_build:
commands:
- cp ./mulesoftmeetup/settings.xml /root/.m2/settings.xml
- cd mulesoftmeetup/
- mvn clean test
build:
commands:
- mvn package -DskipTests
post_build:
commands:
- mvn deploy -DmuleDeploy -DskipTests
artifacts:
files:
- target/*.jar
discard-paths: yes
cache:
paths:
- '/root/.m2/**/*'
- pom.xml → POM configuration file of the Mule app.
xxxxxxxxxx
<plugin>
<groupId>org.mule.tools.maven</groupId>
<artifactId>mule-maven-plugin</artifactId>
<version>3.3.5</version>
<extensions>true</extensions>
<configuration>
<cloudHubDeployment>
<objectStoreV2>true</objectStoreV2>
<uri>https://anypoint.mulesoft.com</uri>
<muleVersion>${app.runtime}</muleVersion>
<username>${username}</username>
<password>${password}</password>
<!-- <businessGroup>${businessGroup}</businessGroup> -->
<workers>1</workers>
<workerType>Micro</workerType>
<region>us-west-1</region>
<environment>Sandbox</environment>
<applicationName>mulemeetup</applicationName>
<properties>
<key>app</key>
</properties>
</cloudHubDeployment>
<executions>
<execution>
<id>deploy</id>
<goals>
<goal>deploy</goal>
</goals>
</execution>
</executions>
<classifier>mule-application</classifier>
</configuration>
</plugin>
Now are all set to build the application and log in with the user who is authorized to execute the build process in CodeBuild.
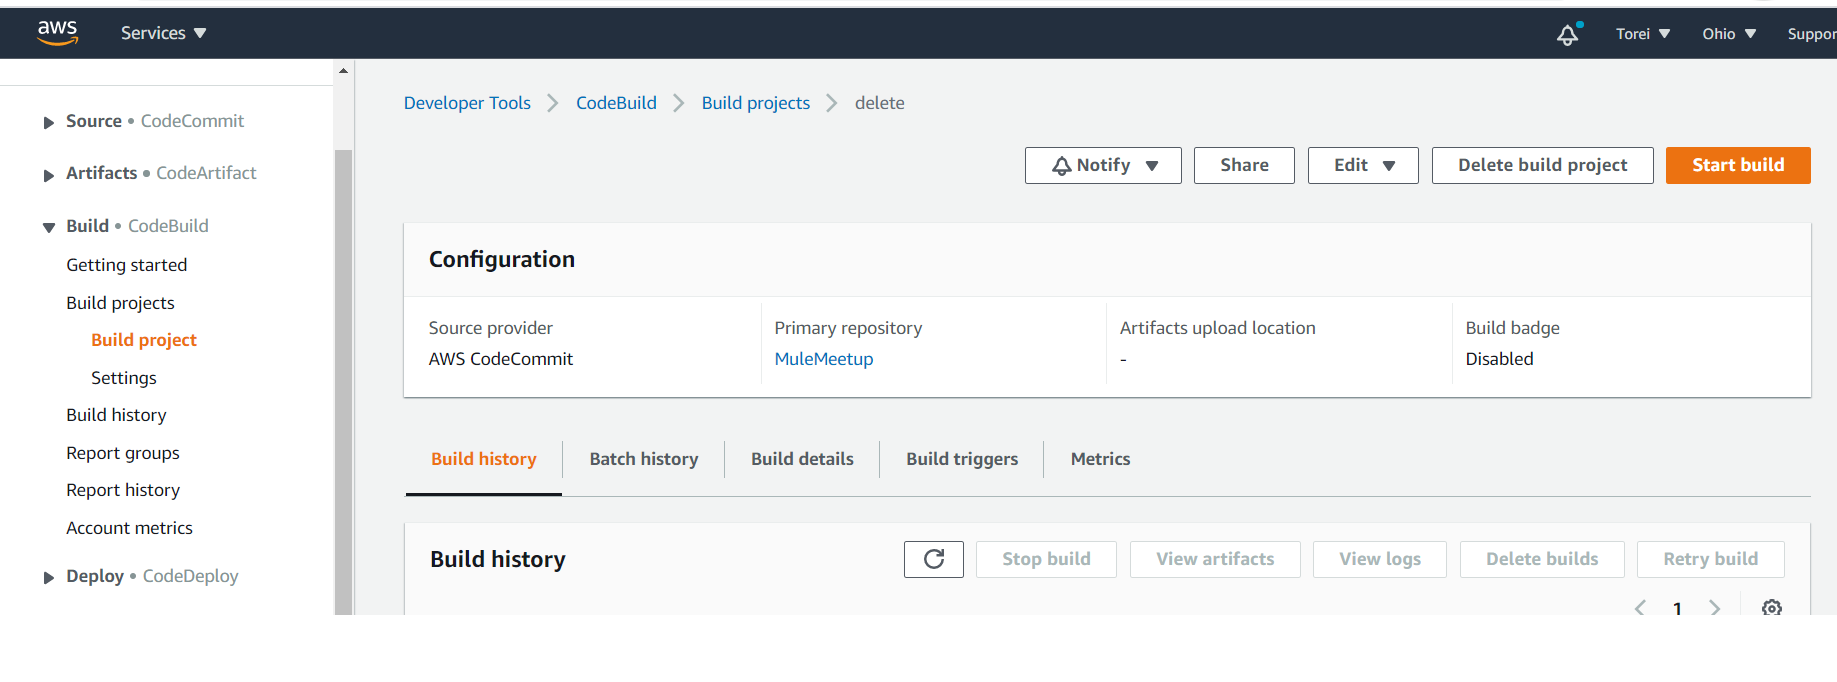
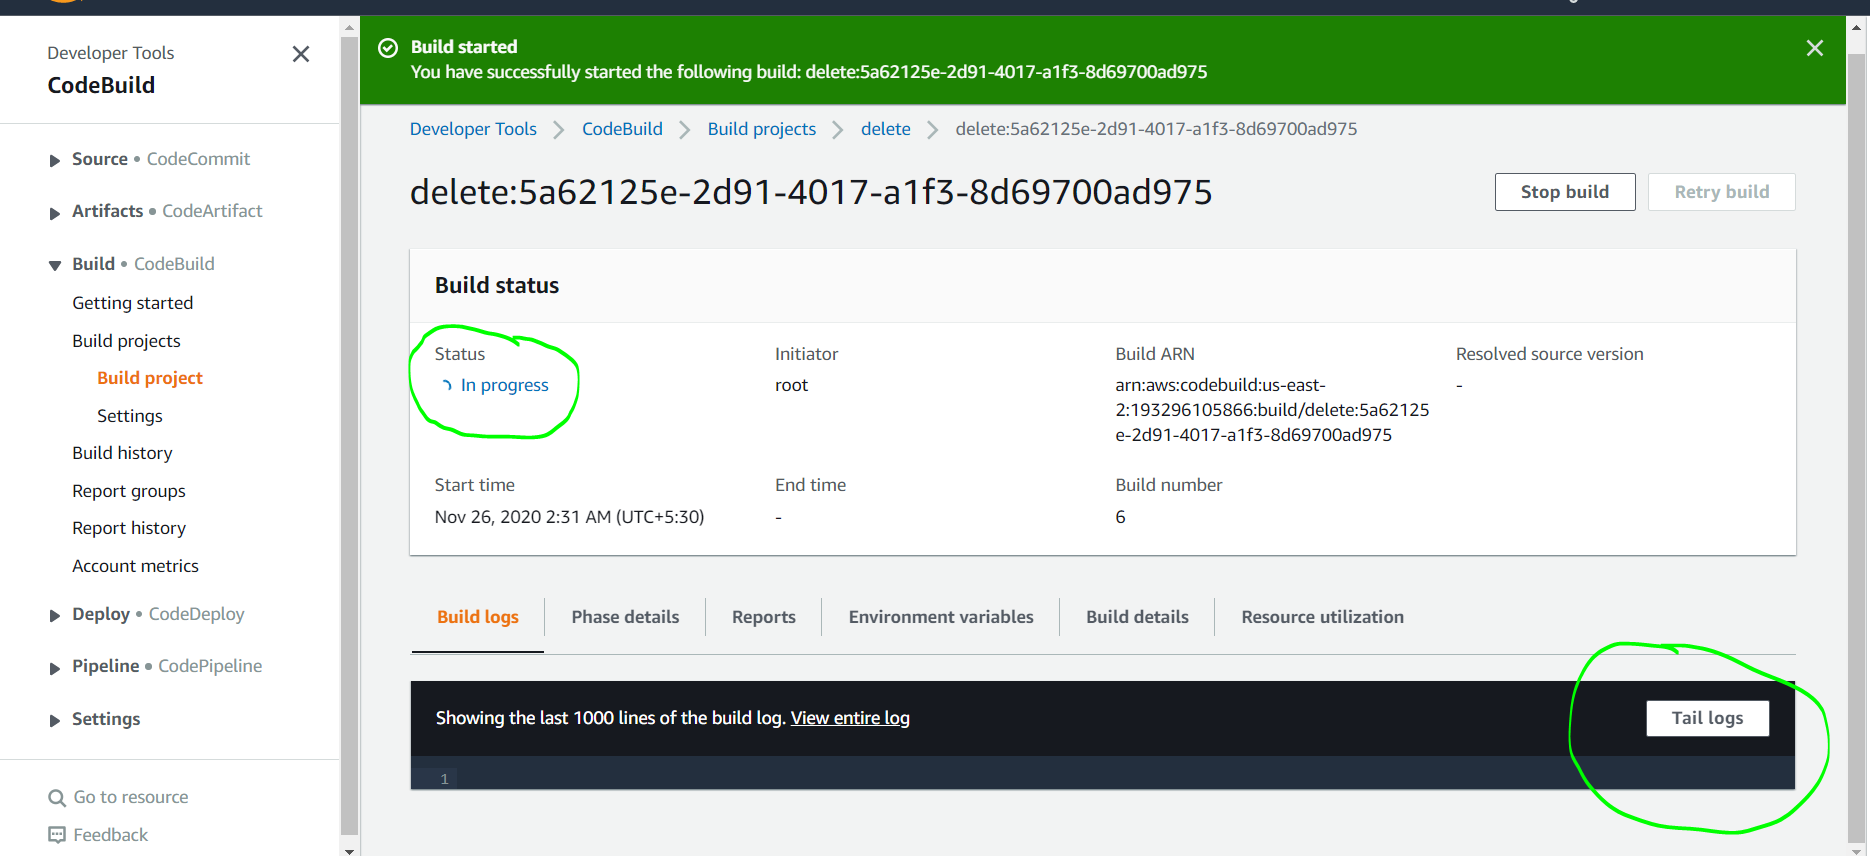
Once we execute the Build process, we can monitor the con dashboard or tail-logs to validate the status of execution.
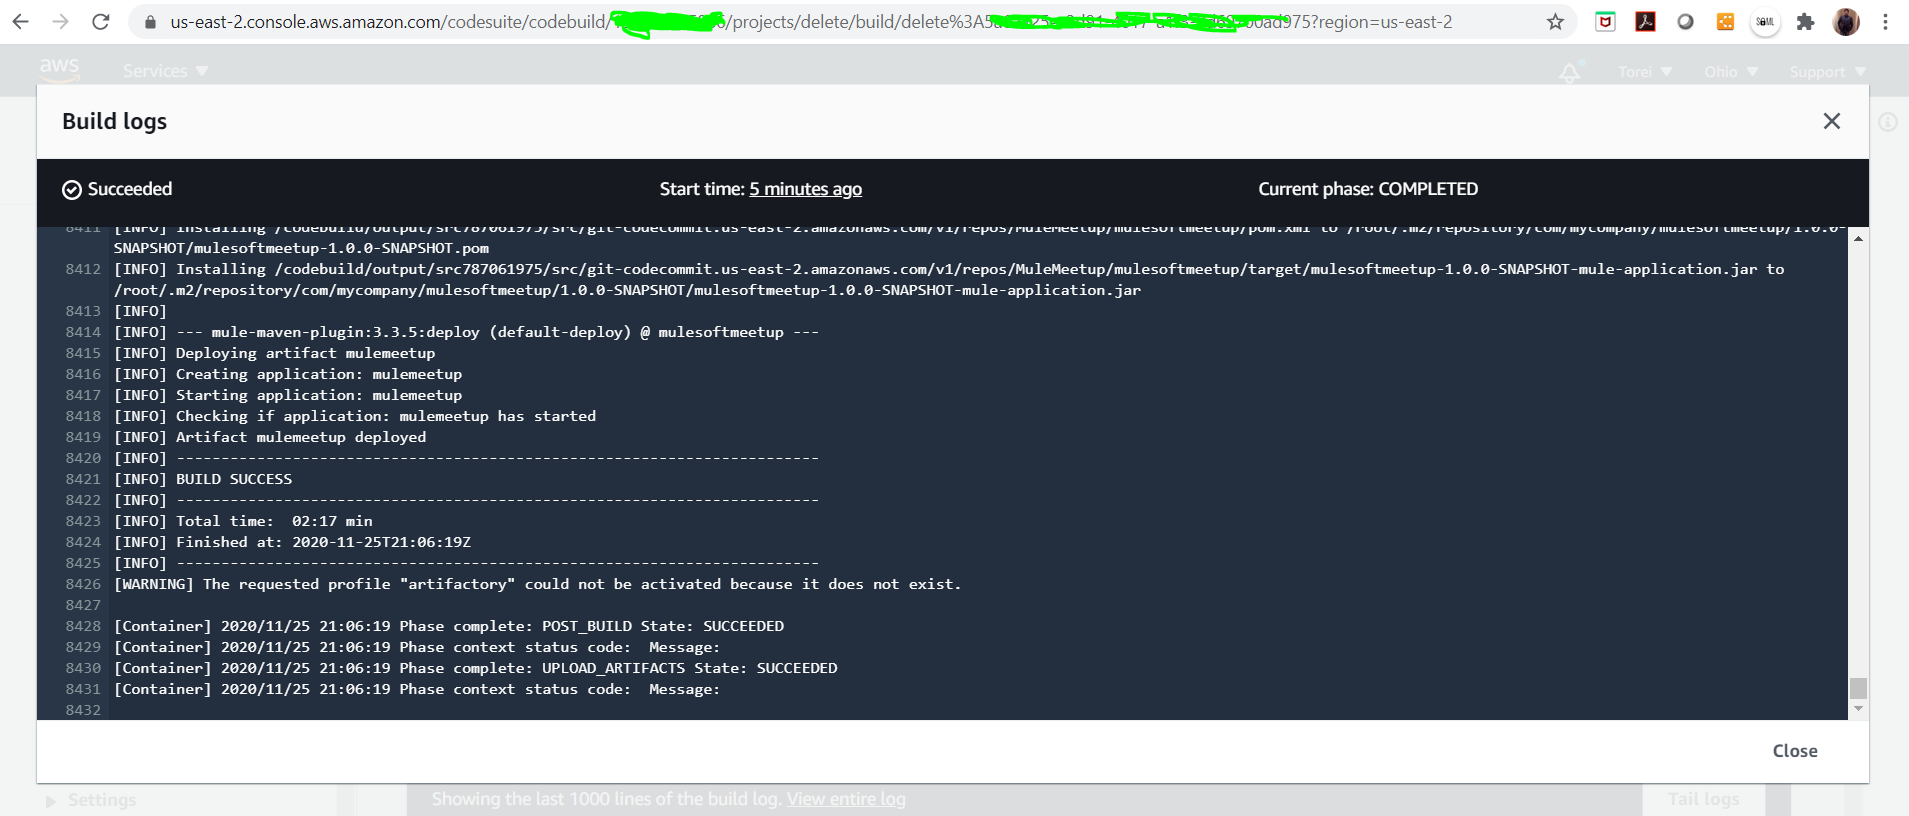
With the Tail log, we can see maven dependencies are being downloaded and build/deployment is successful.

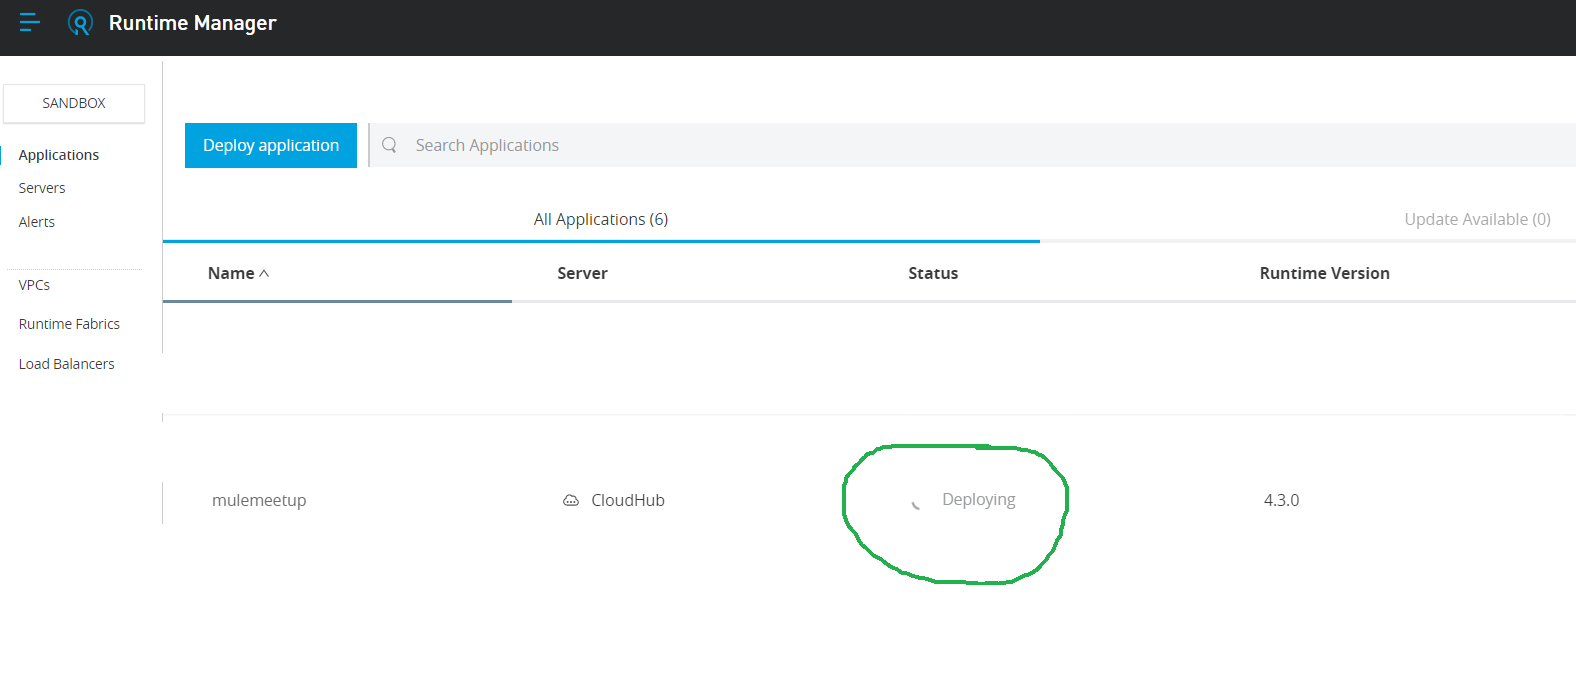
Now we can build process to CI/CD process using AWS CodeCommit/CodeBuild.
Opinions expressed by DZone contributors are their own.



Comments