Butler CLI: Export/Import Jenkins Plugins and Jobs
The Butler CLI makes it easier to import and export Jenkins jobs and plugins when migrating Jenkins jobs to a new server.
Join the DZone community and get the full member experience.
Join For FreeNot long ago, I had to migrate Jenkins jobs from an old server to a new one. That’s where StackOverflow came into play. Below are the highest-voted answers I found:
Copy the jobs directory
Jenkins Remote API
In spite of their advantages, those solutions come with their downsides, especially if you have a large number of jobs to move or no access root to the server. But, guess what? I didn’t stop there. I have come up with a CLI to make your life easier and export/import not only Jenkins jobs, but also plugins like a boss.
To get started, find the appropriate package for your system and download it. For Linux:
wget https://s3.us-east-1.amazonaws.com/butlercli/1.0.0/linux/butler
chmod +x butler
mv butler /usr/local/bin/
Note: For Windows, make sure that the butler binary is available on the PATH. This page contains instructions for setting the PATH on Windows.
Once done, verify the installation worked, by opening a new terminal session and checking if butler is available :
butler help1 — Plugins Management
To export Jenkins jobs, you need to provide the URL of the source Jenkinsinstance:
butler plugins export --server localhost:8080 --username admin --password adminAs shown above, butler will dump a list of plugins installed to stdout and a new file plugins.txt will be generated, with a list of installed Jenkins pluginswith name and version pairs:
Now, to import the plugins to the new Jenkins instance, use the command below with the URL of the Jenkins target instance as an argument:
butler plugins import --server localhost:8080 --username admin --password adminButler will install each plugin on the target Jenkins instance by issuing API calls.
2 — Jobs Management
To export Jenkins jobs, just provide the URL of the source Jenkinsserver:
butler jobs export --server localhost:8080 --username admin --password adminA new directory jobs/ will be created with every job in Jenkins. Each job will have its own configuration file config.xml.
Now, to import the jobs to the new Jenkins instance, issue the following command:
butler jobs import --server localhost:8080 --username admin --password adminButler will use the configuration files created earlier to issue API calls to target Jenkins instance to create jobs.
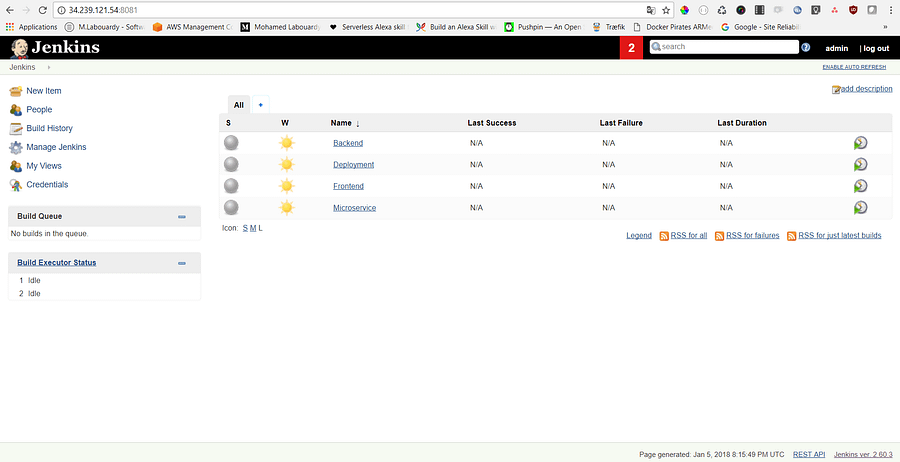
Once you are done, check Jenkins and you should see your jobs successfully created:
Hope this helps! The CLI is still in its early stages, so you are welcome to contribute to the project on GitHub.
Published at DZone with permission of Mohamed Labouardy, DZone MVB. See the original article here.
Opinions expressed by DZone contributors are their own.


Comments