How to Code AngularJS Quickly with Sublime Text Editor
Sublime Text Editor can help you write in AngularJS much more quickly.
Join the DZone community and get the full member experience.
Join For Freeafter working with angularjs for sometime now, i was looking for an editor that helps me code efficiently and effectively with angularjs . this is when i discovered the sublime text editor . this article presents tips on what needs to be done to write angularjs code with the sublime text editor.
i have to confess that it has been a fulfilling experience to code in angularjs with sublime once installation and configuration are done. i was able to complete my angularjs hello world program within few minutes . trust me, it is worth your time. let me know what you think about it.
do the following and enjoy the angular ride:
- download and install sublime text editor from http://www.sublimetext.com/ .
- download angular sublime package (zip file) developed by the angular-ui team from this page: https://github.com/angular-ui/angularjs-sublime-package . this page consists of greater details on further customizing sublime for angularjs.
- unzip and name the root package (angularjs-sublime-packager-master) as “angularjs”. make sure you have all the files within this package only.
- copy angularjs folder.
- open sublime text editor and paste the “angularjs” folder by opening “preferences > browse packages”
- paste some of the following configuration (json format) by opening the “preferences > settings – user”. the file would look like the following:
// settings in here override those in "default/preferences.sublime-settings", and
// are overridden in turn by file type specific settings.
{
"auto_complete_selector": "source - comment, meta.tag - punctuation.definition.tag.begin",
"auto_complete_triggers":
        [
            {
            "characters": "ng-controller=\"*",
            "selector": "punctuation.definition.string"
            }
        ]
}-
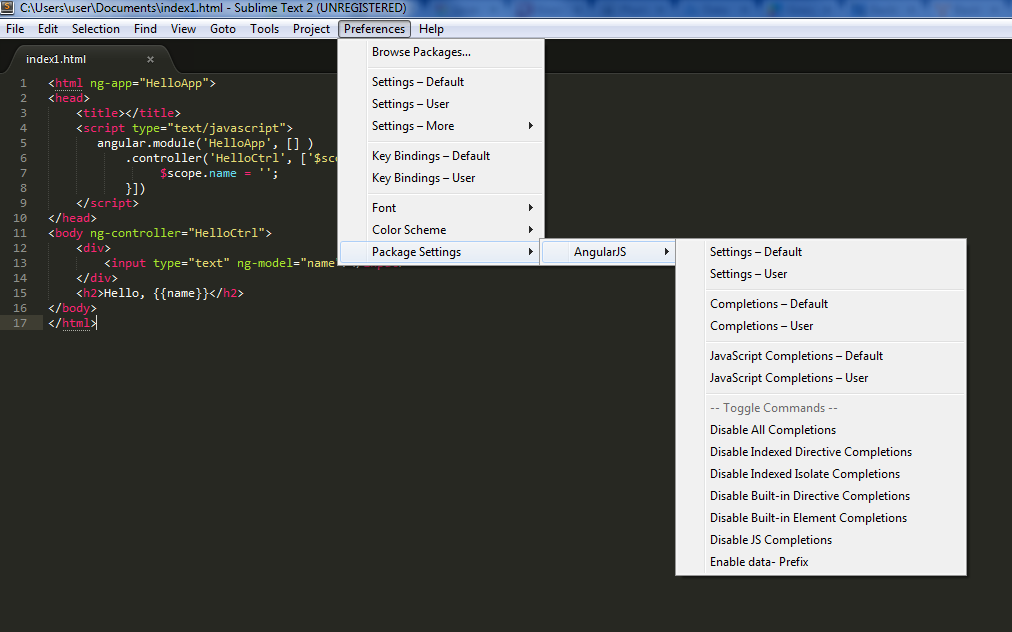
close sublime and open it again. and, try your angularjs hello world program. you could check the preferences related to angularjs and customize appropriately as shown in following screenshot. after that, you're all set to code!
Published at DZone with permission of Ajitesh Kumar, DZone MVB. See the original article here.
Opinions expressed by DZone contributors are their own.


Comments