ActiveMQ Integration With Mulesoft
Learn how to integrate Apache ActiveMQ, an open source message broker written in Java, with the Mule ESB in this tutorial.
Join the DZone community and get the full member experience.
Join For FreeApache ActiveMQ is an open source message broker written in Java with a full JMS client.

ActiveMQ is used in ESB implementations such as Apache ServiceMix and MuleSoft. In the enterprise, ActiveMQ is used for its flexibility in configuration, and its support for a relatively large number of transport protocols, including MQTT, AMQP, REST, and WebSockets.
Mule With Activemq Integration
ActiveMQ supports the JMS 1.1 and J2EE 1.4 specifications and it is easy to integrate with Mule.
Let's see how we can integrate Mule ESB with ActiveMQ.
1. Activemq Setup on Server
This link provides the installation requirements and downloadable Apache ActiveMQ file.

Download it and extract the content to any location on your PC. I prefer to keep it under Program Files.
Go to the conf folder and make sure managementContext is set to "true" in the activemq.xml file.
Path : C:\Program Files\apache-activemq-5.15.0-bin\apache-activemq-5.15.0\conf

Launch a command prompt and go to the path one level before bin.
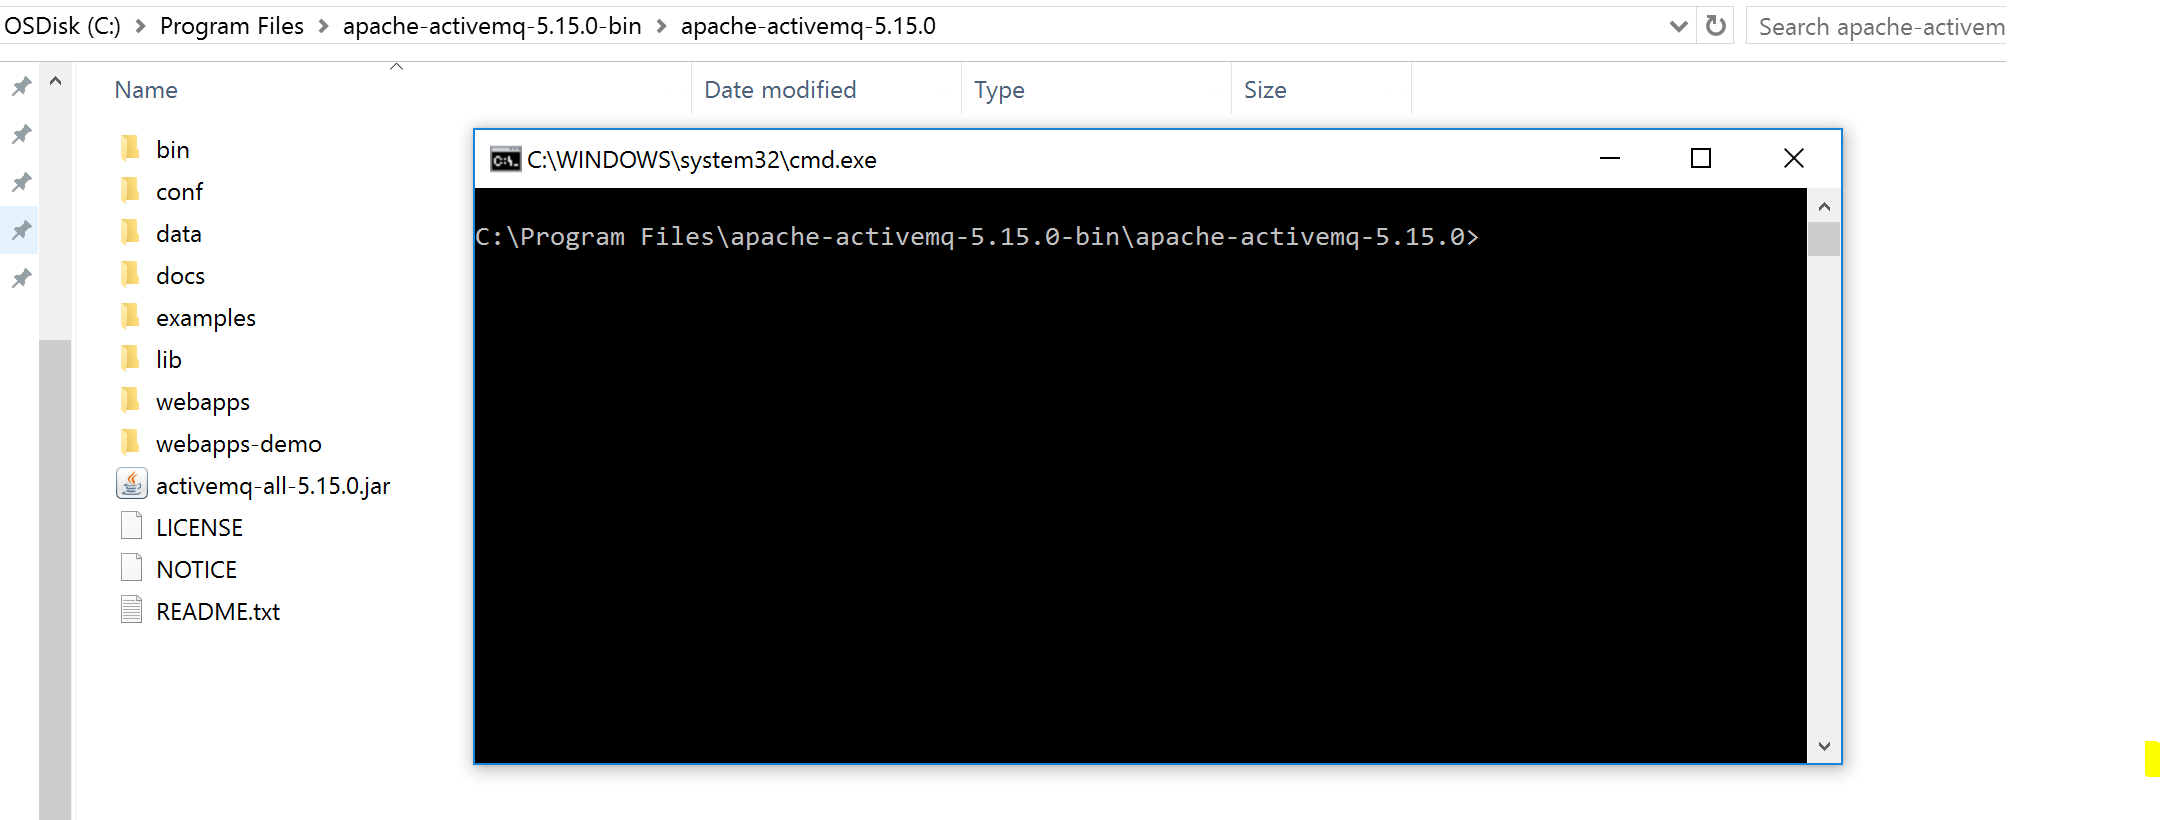
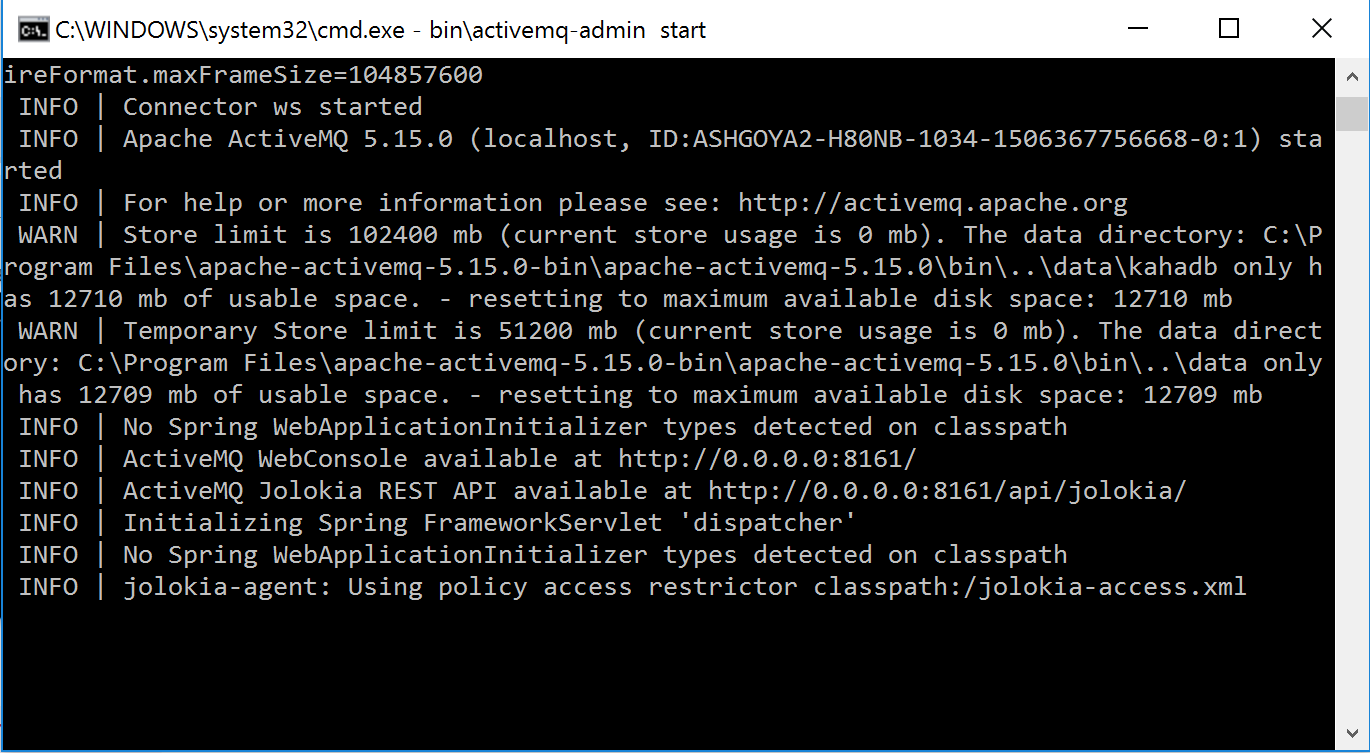
Run the command - bin\activemq-admin start to start the ActiveMQ broker. After we run this command, the ActiveMQ web console will be available on http://localhost:8161.
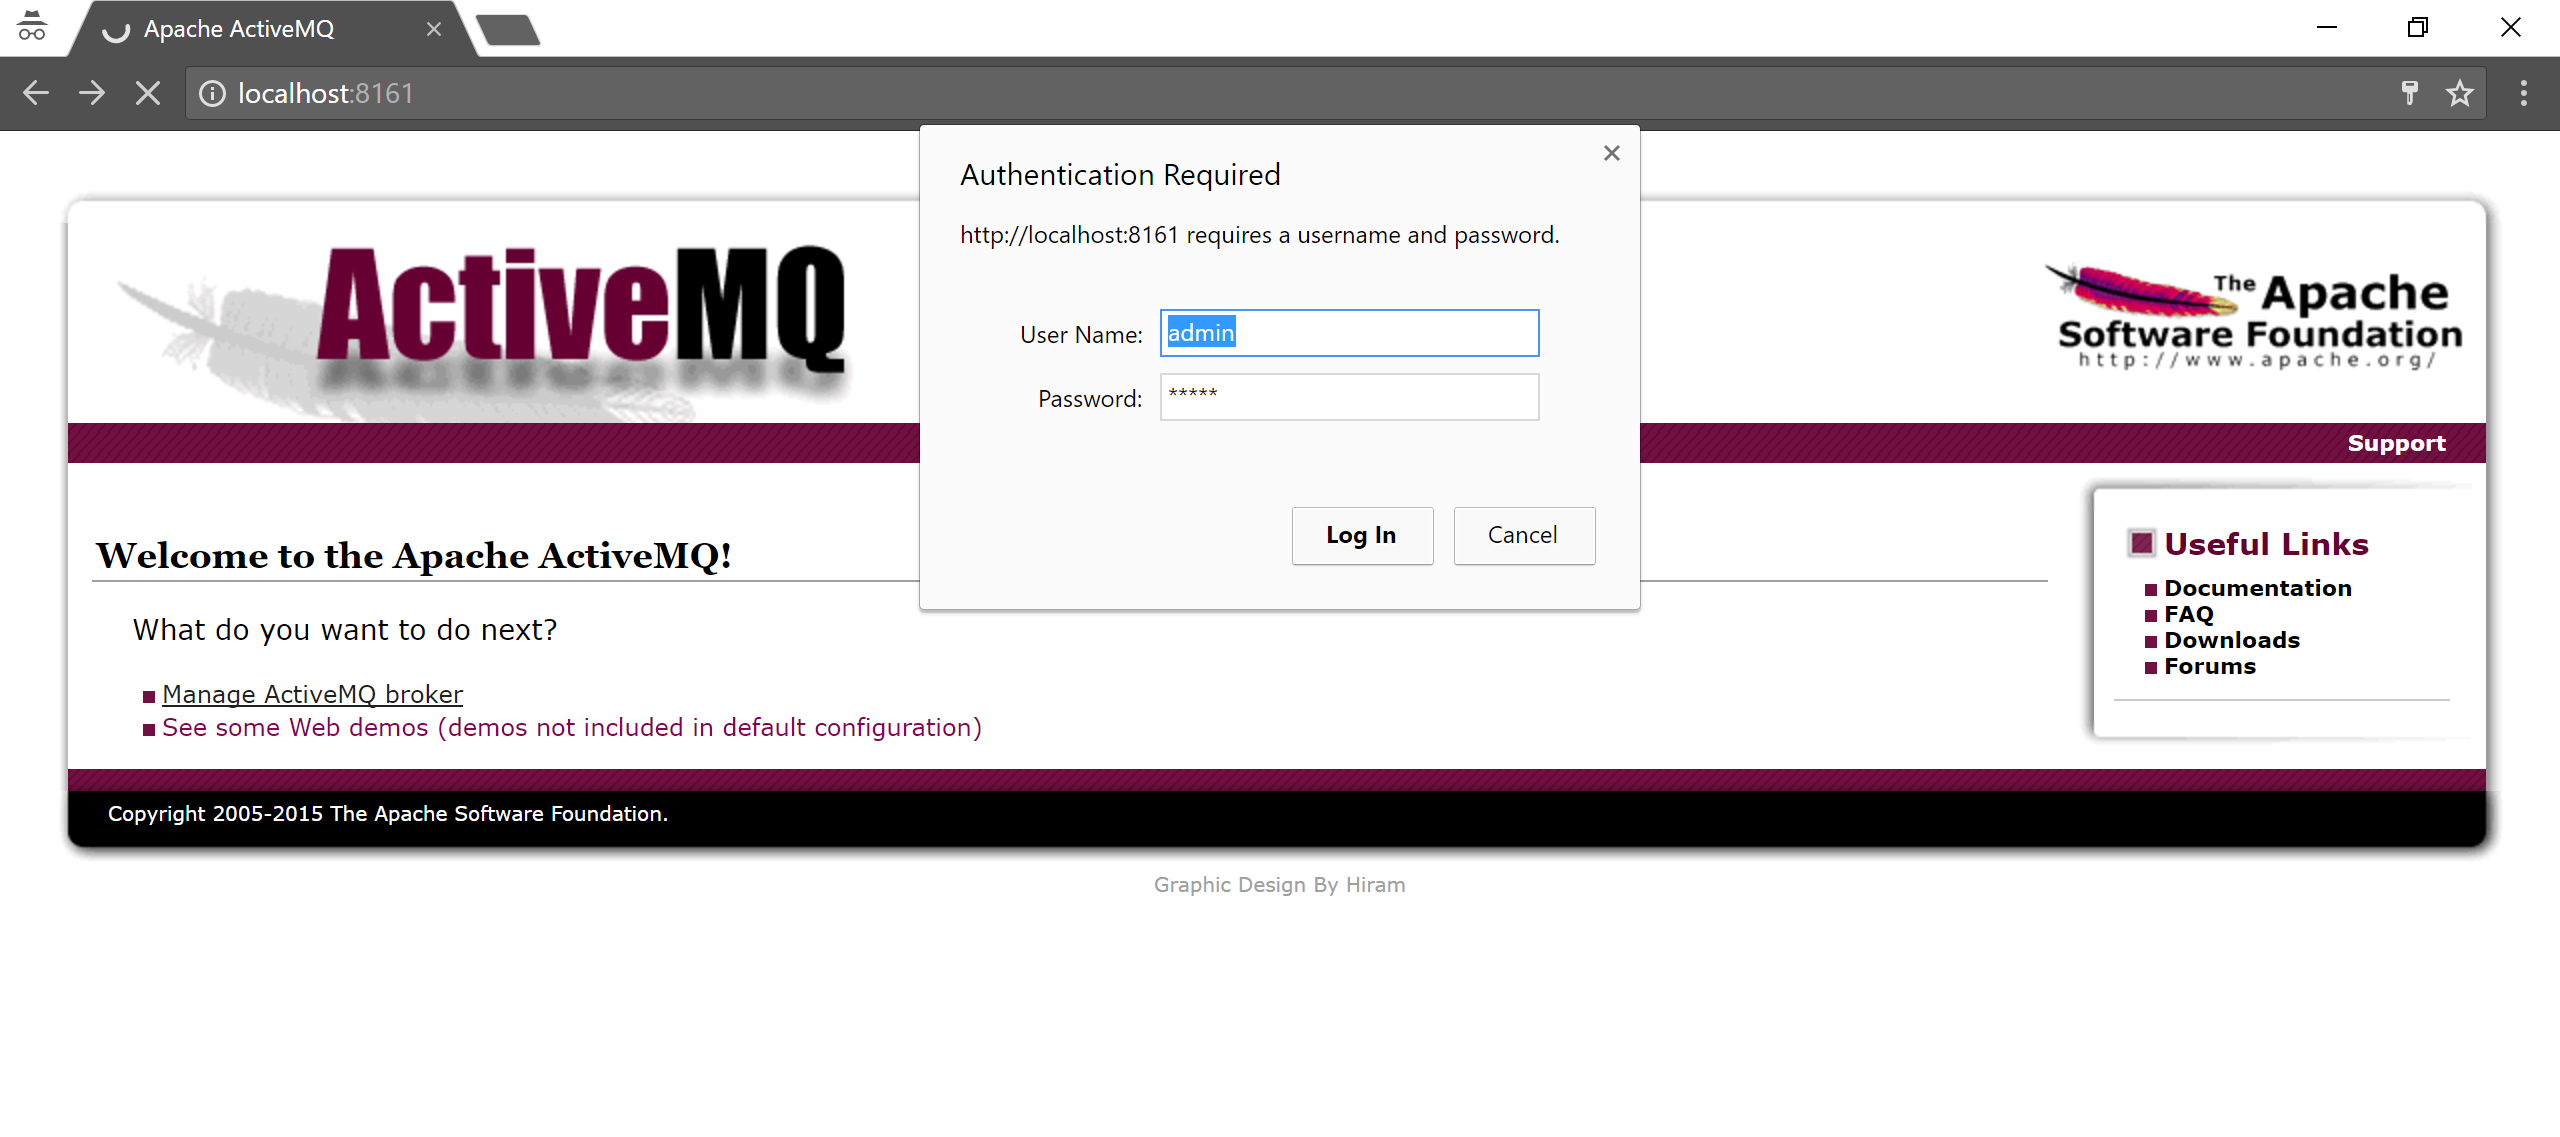
On the console, if you click on Manage ActiveMQ broker; it will ask for creds. Default creds are admin/admin. Use these to log into the broker.
 Once you log into the broker, it will take you to the Home page. Now that you are logged in, you can start creating queues, topics, subscribers, and connections for different protocols.
Let's start by creating a queue. I am giving the queue name "muleQueue." You can give any name to your queue.
Once the queue is created, it will show the number of pending messages, number of consumers, and other details. As the queue was created just now, there are no messages.
Mulesoft Application
Let's create a MuleSoft application in Anypoint Studio which can publish a message to this queue and a flow which can subscribe to messages from this queue.
This is the Mule flow which will publish messages on the ActiveMQ queue. You can drag and drop a HTTP, JMS, and Set payload component onto the canvas to build this flow.
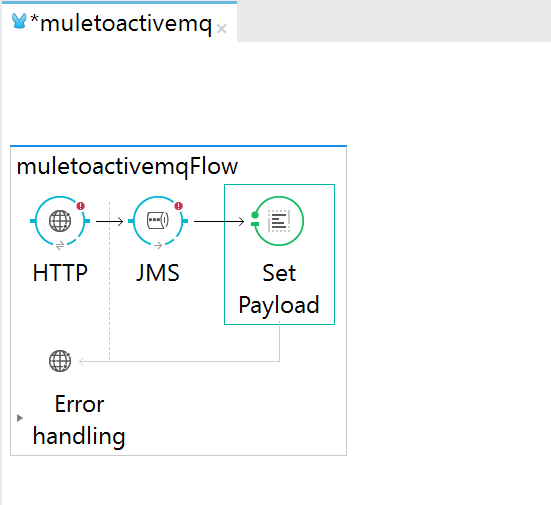
Configurations:
1. HTTP:
Host: 0.0.0.0, Port : 8091, Path = /sendmessage
2. JMS:
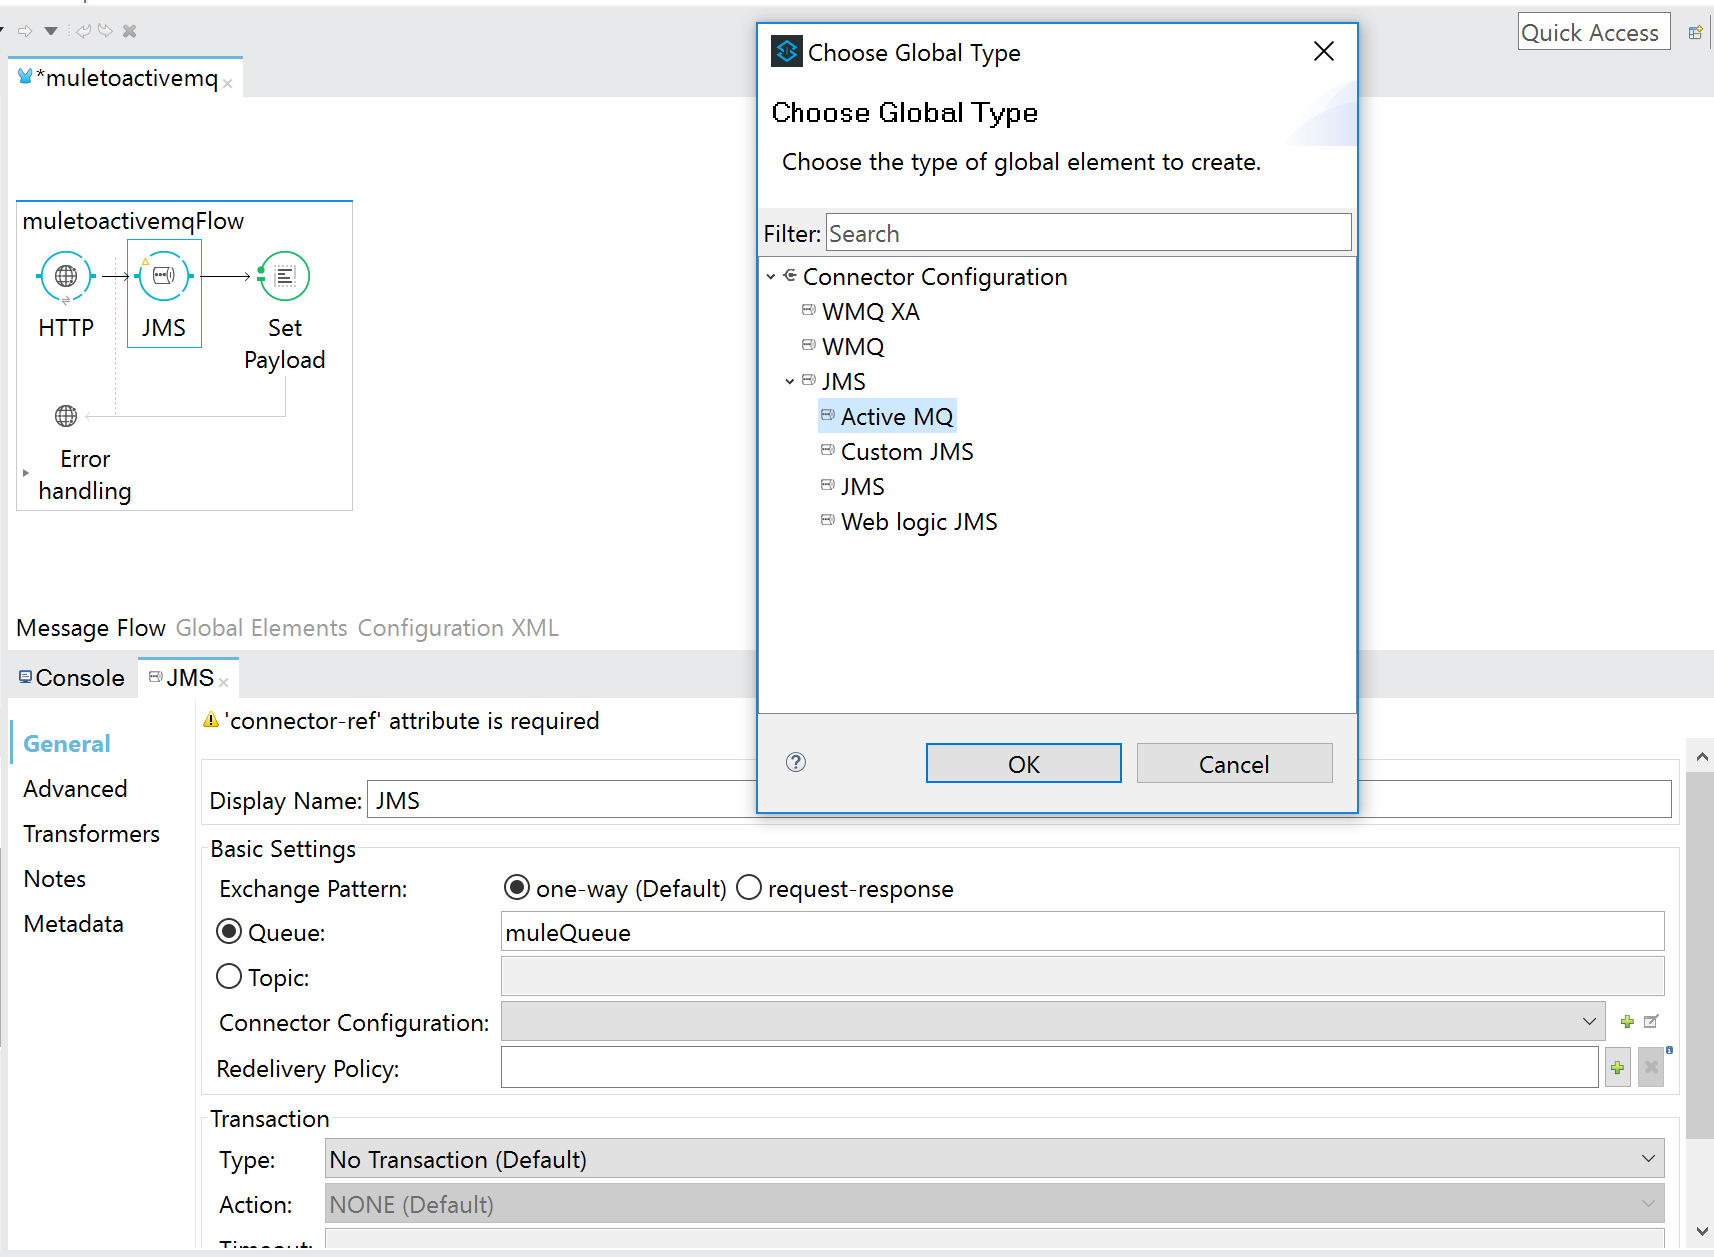
Select Queue and provide "muleQueue" as the queue name.
Click the green + sign to configure the Connector configuration and select Active MQ, as shown below.
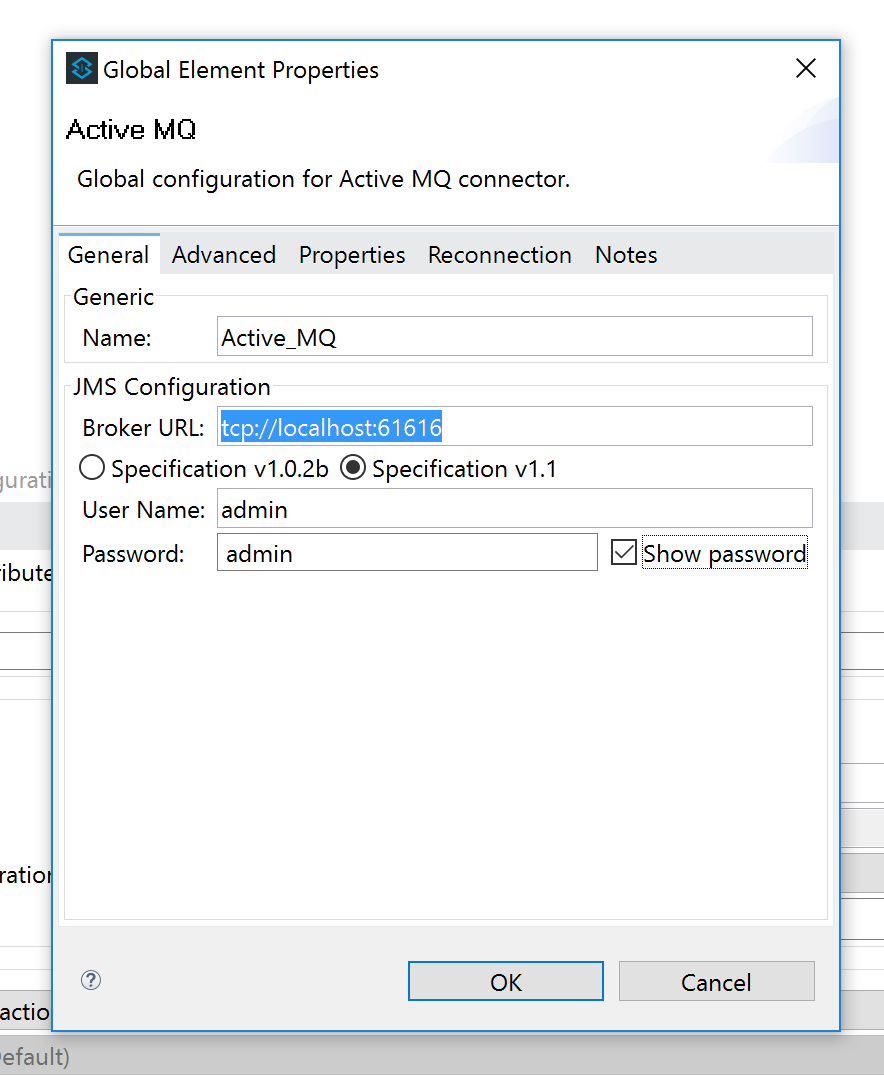
Once you select ActiveMQ, it will take you to the window below, where the broker URL will be pre-configured, as shown. Select the specification, provide username and password as shown, and click OK. JMS configuration is complete.
3. Set Payload:
I have set up this payload: Your Mule message has been published to ActiveMQ muleQueue!!
Mule Runtime
Mule flow is configured properly. Let's run it. When you run it for the first time, you will observe the below exception:
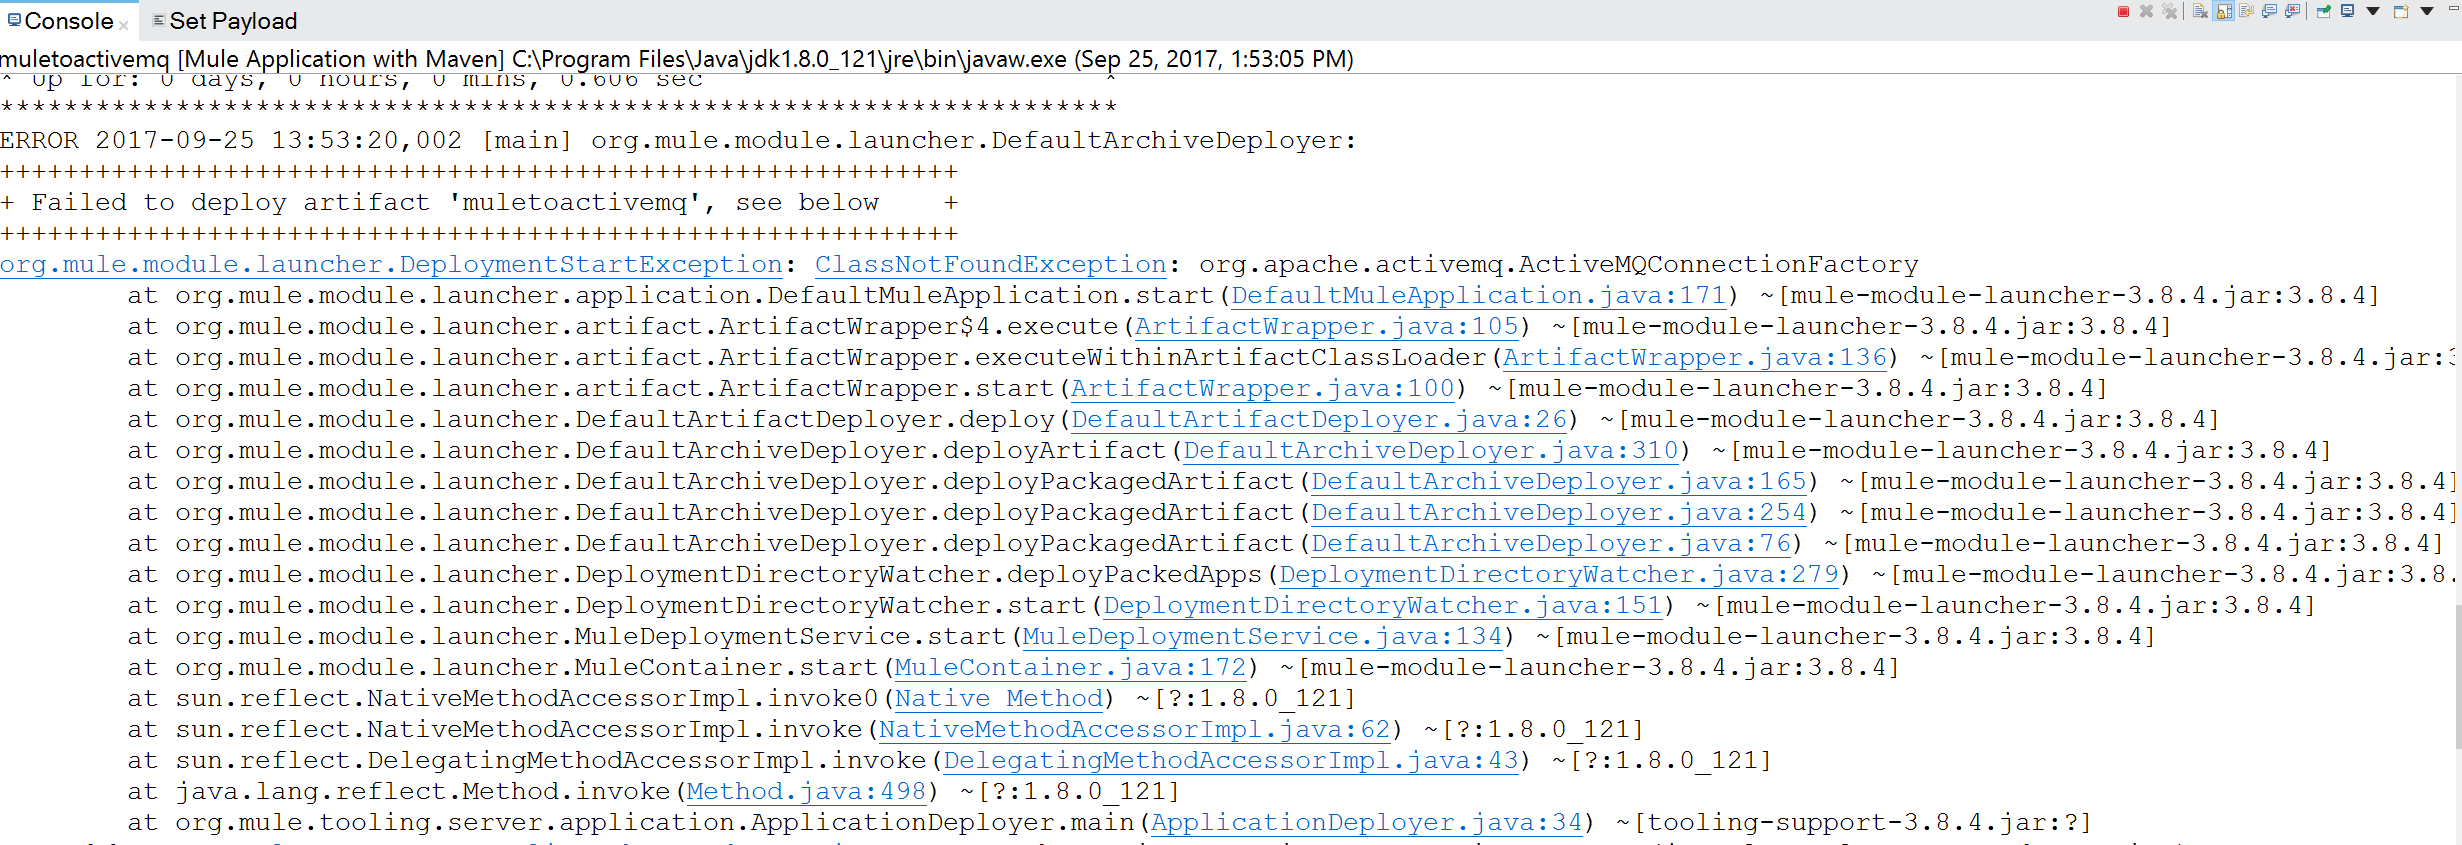
To fix this, right click on your Mule project and set the Build Path. Provide activemq-all-5.15.0.jar in the build path. You need to download it separately. Once we set up the build path, this jar will be available in Referenced Libraries in the project.
Let's try to run it again. Now it will be deployed without any issues.
Invoke Mule Flow and Publish Message
To invoke the Mule flow, please go to Postman and send a request to the HTTP endpoint.
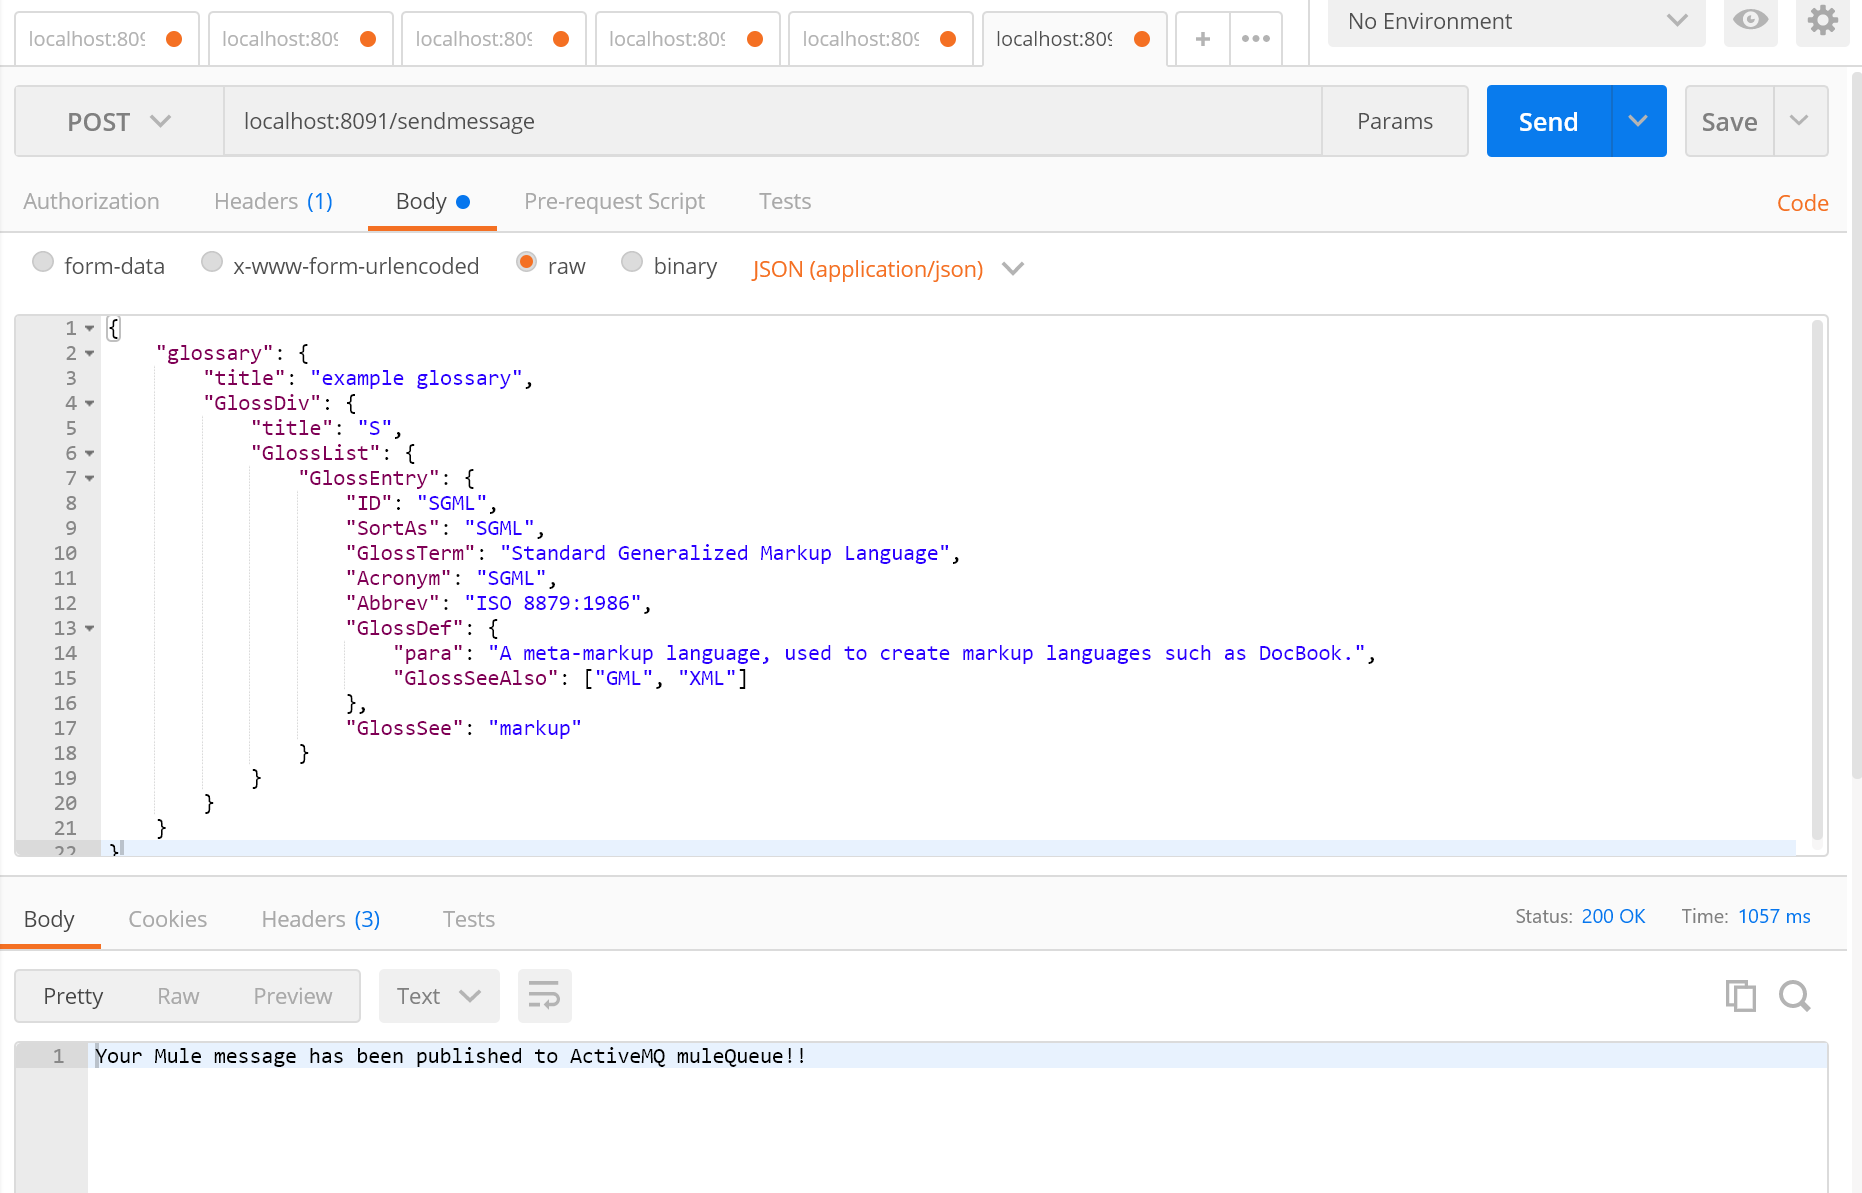
I have taken a sample JSON message online. The endpoint will be localhost:8091/sendmessage.
The message is published successfully on ActiveMQ as per the response on Postman.
Let's check on the ActiveMQ broker:
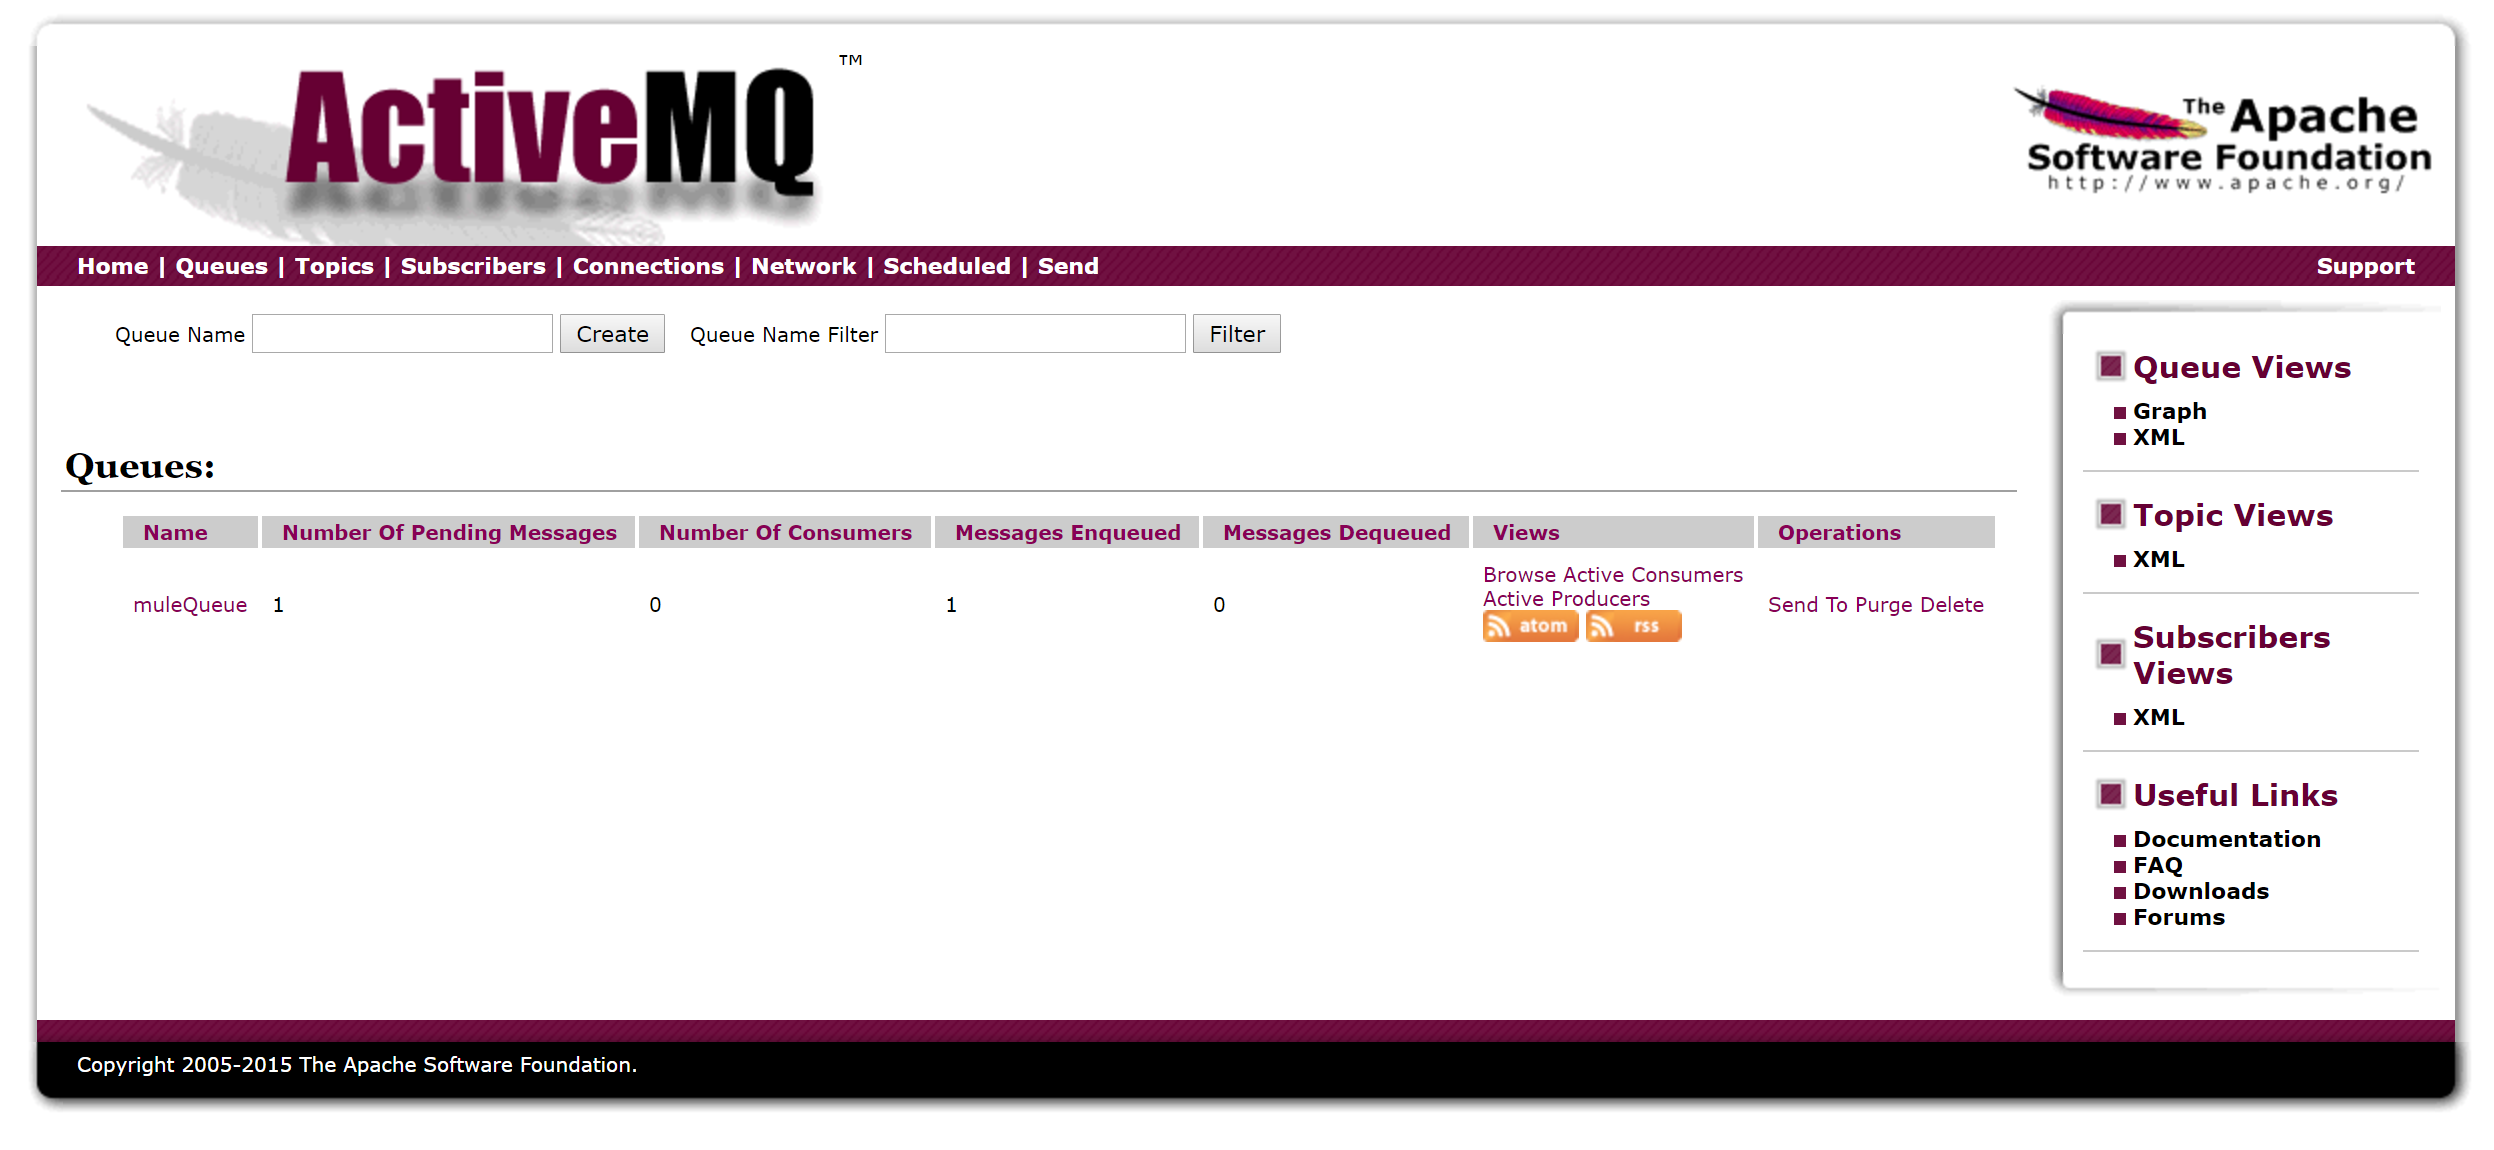
Earlier the message count was 0; now it has increased to 1 as we have published a message.
We can see that Mule setup with ActiveMQ is very easy.
Let's create a flow to consume this message. It will have JMS as a consumer and a File component to write the message.
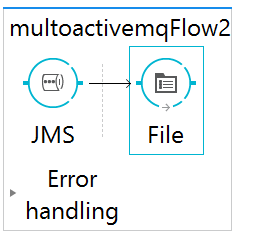
Configuration:
1. JMS: It will be configured the same way as we have configured in the first flow.
2. File: Just provide the path as src/test/resources/messages.
The flow is configured. Let's run it.
Mule Runtime:
Just after the flow is deployed, the message which was already present in the muleQueue will be consumed by this flow and it will be written to the folder location provided in the File component.
The message count will be now 0 in the queue.
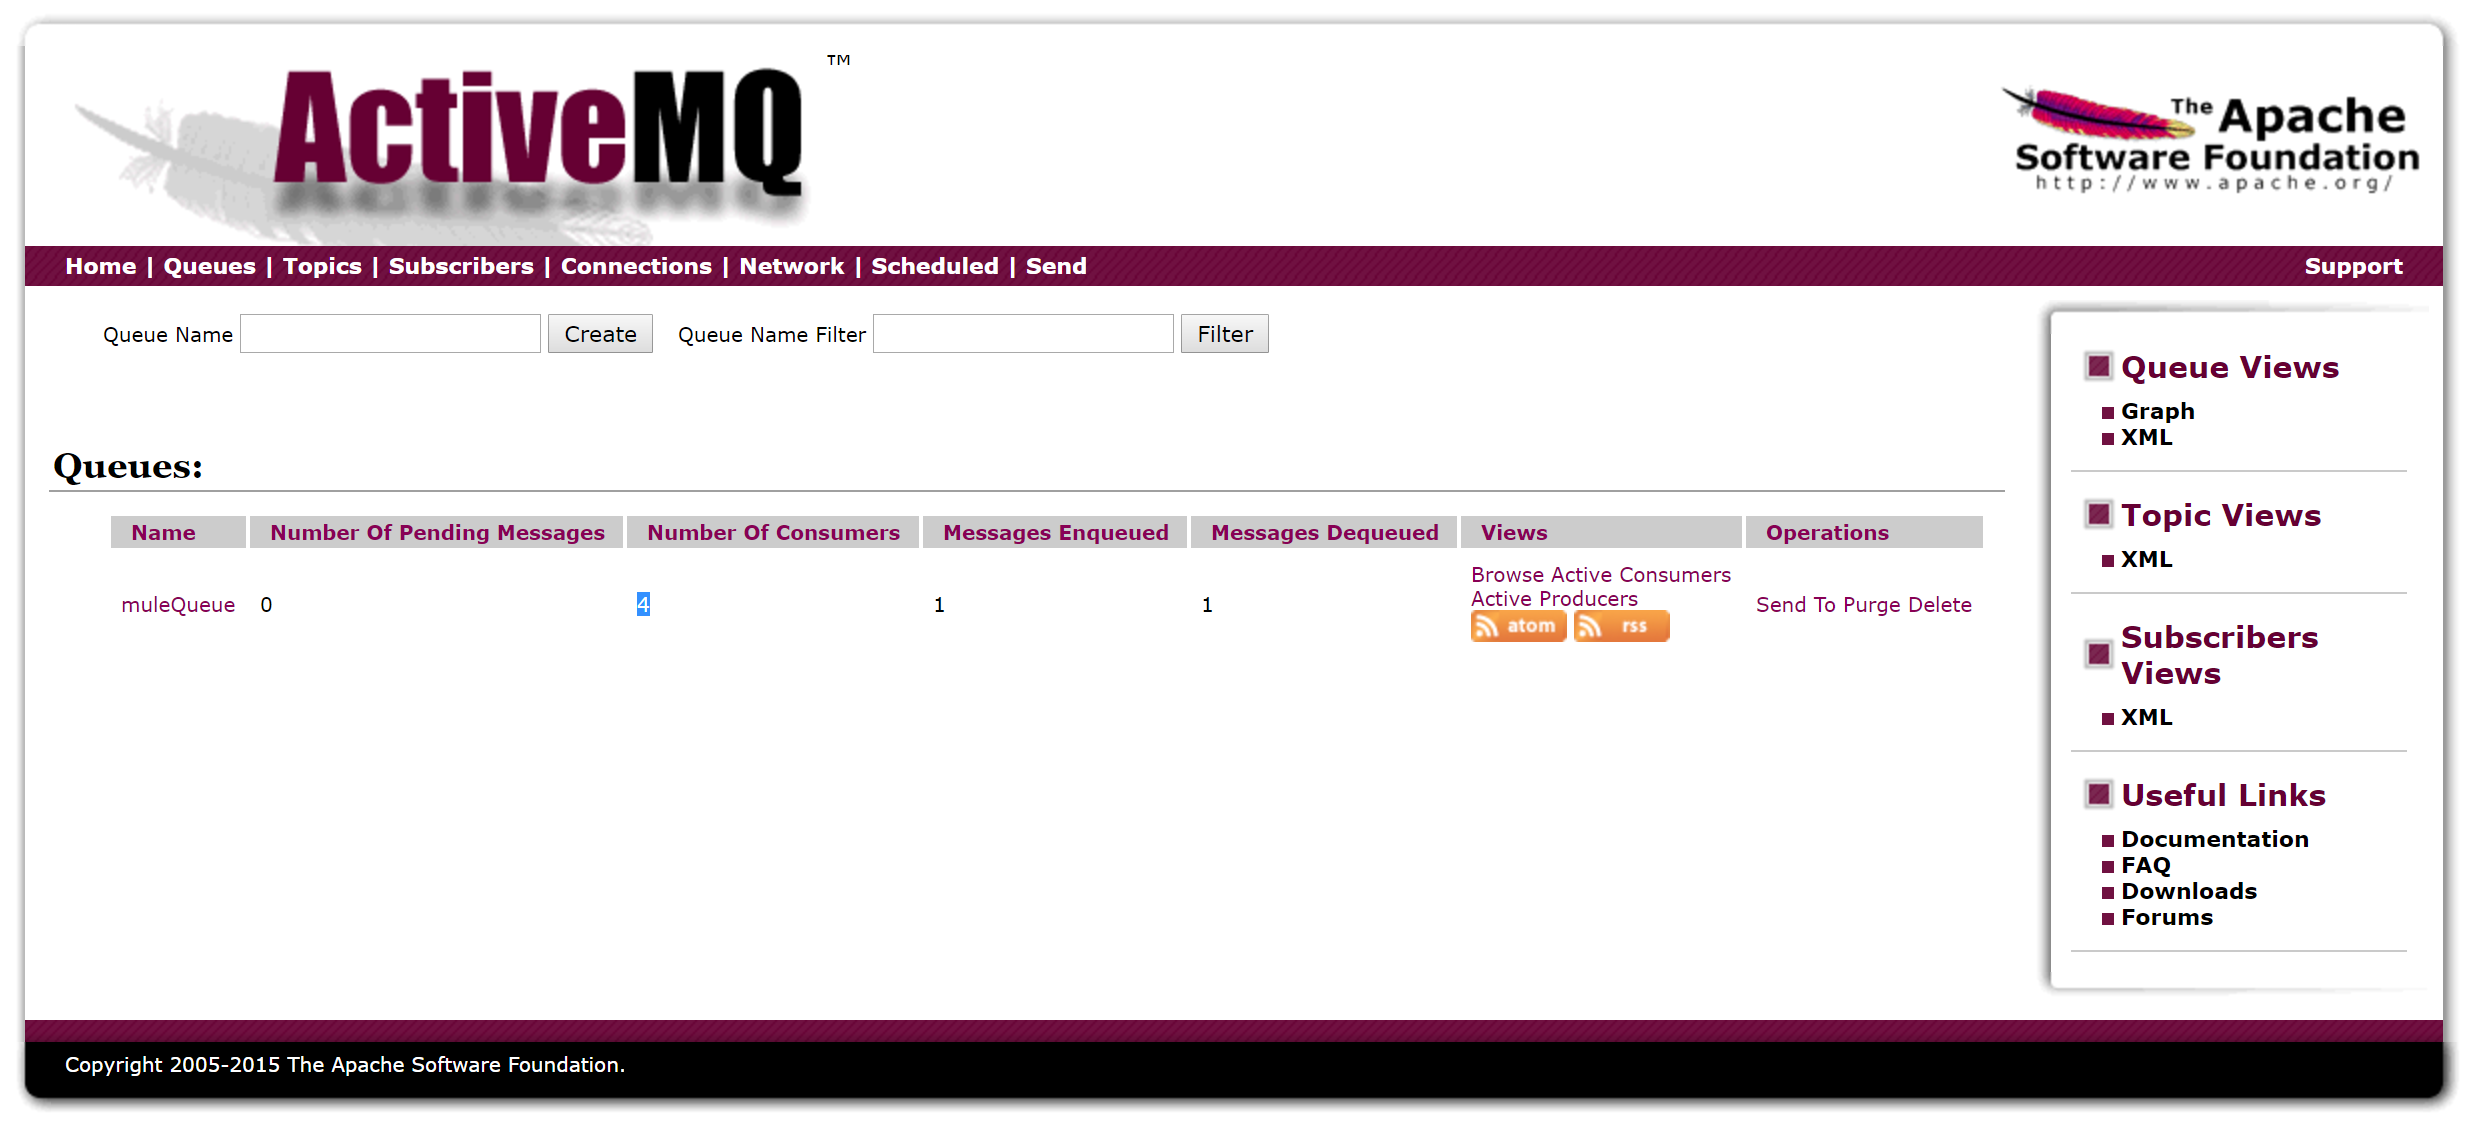
The message will be written to the src/test/resources/messages folder:
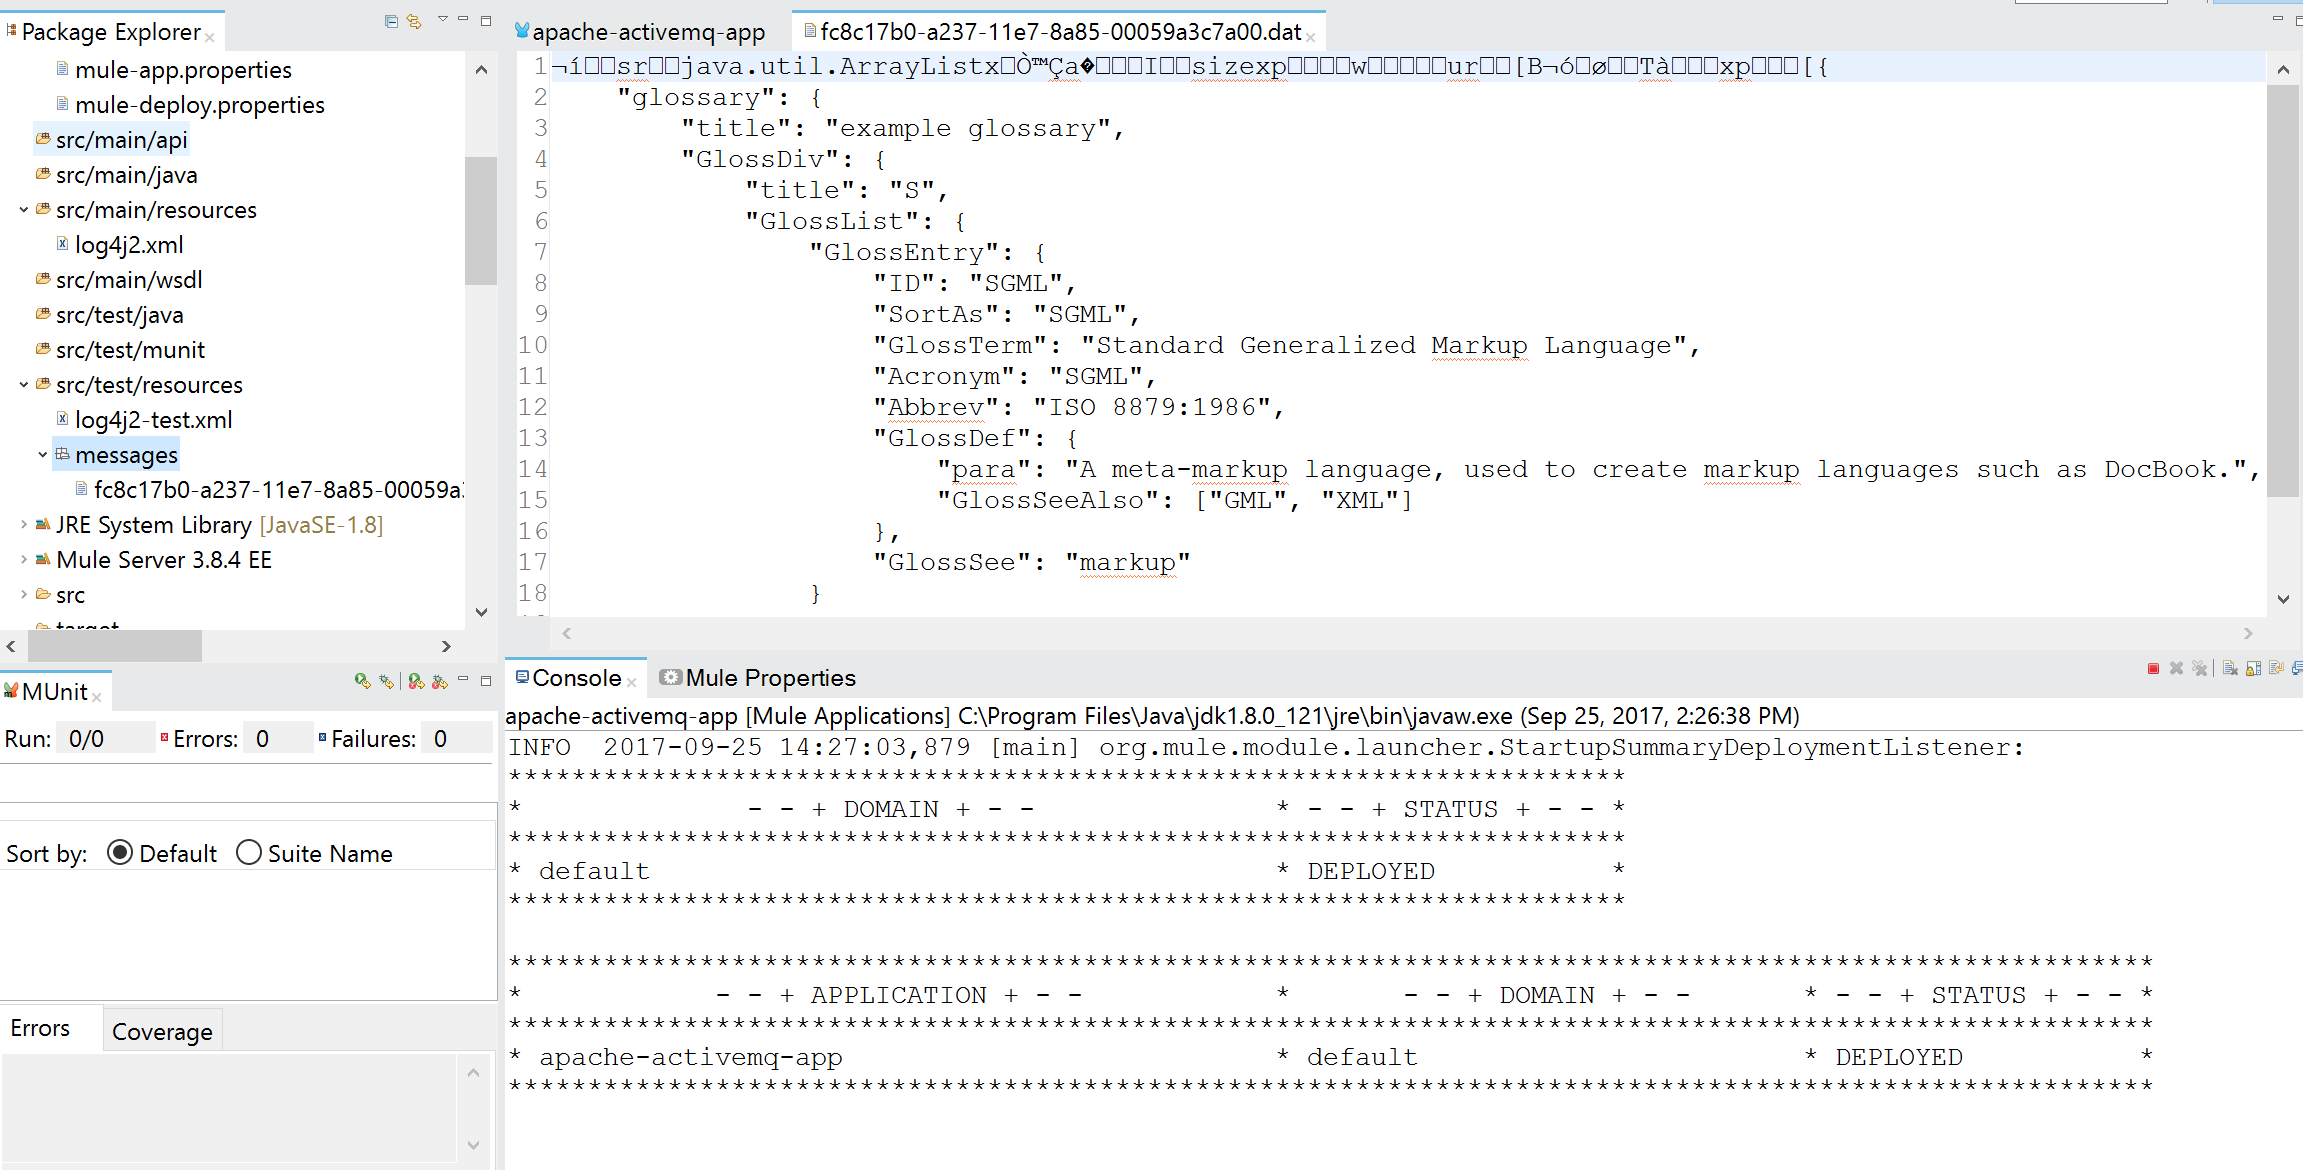
Message content looks different than what we have provided in Postman.
To fix this, we can use the Object to String transformer, as shown below:
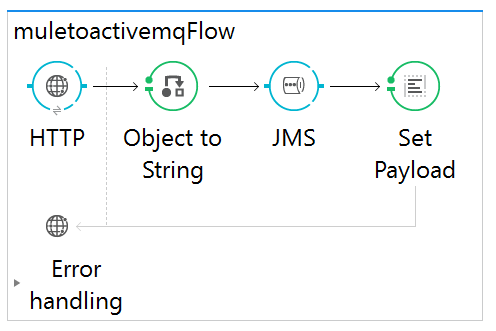
Try again through Postman; let's see how the message looks. It is exactly same as we have provided in Postman.
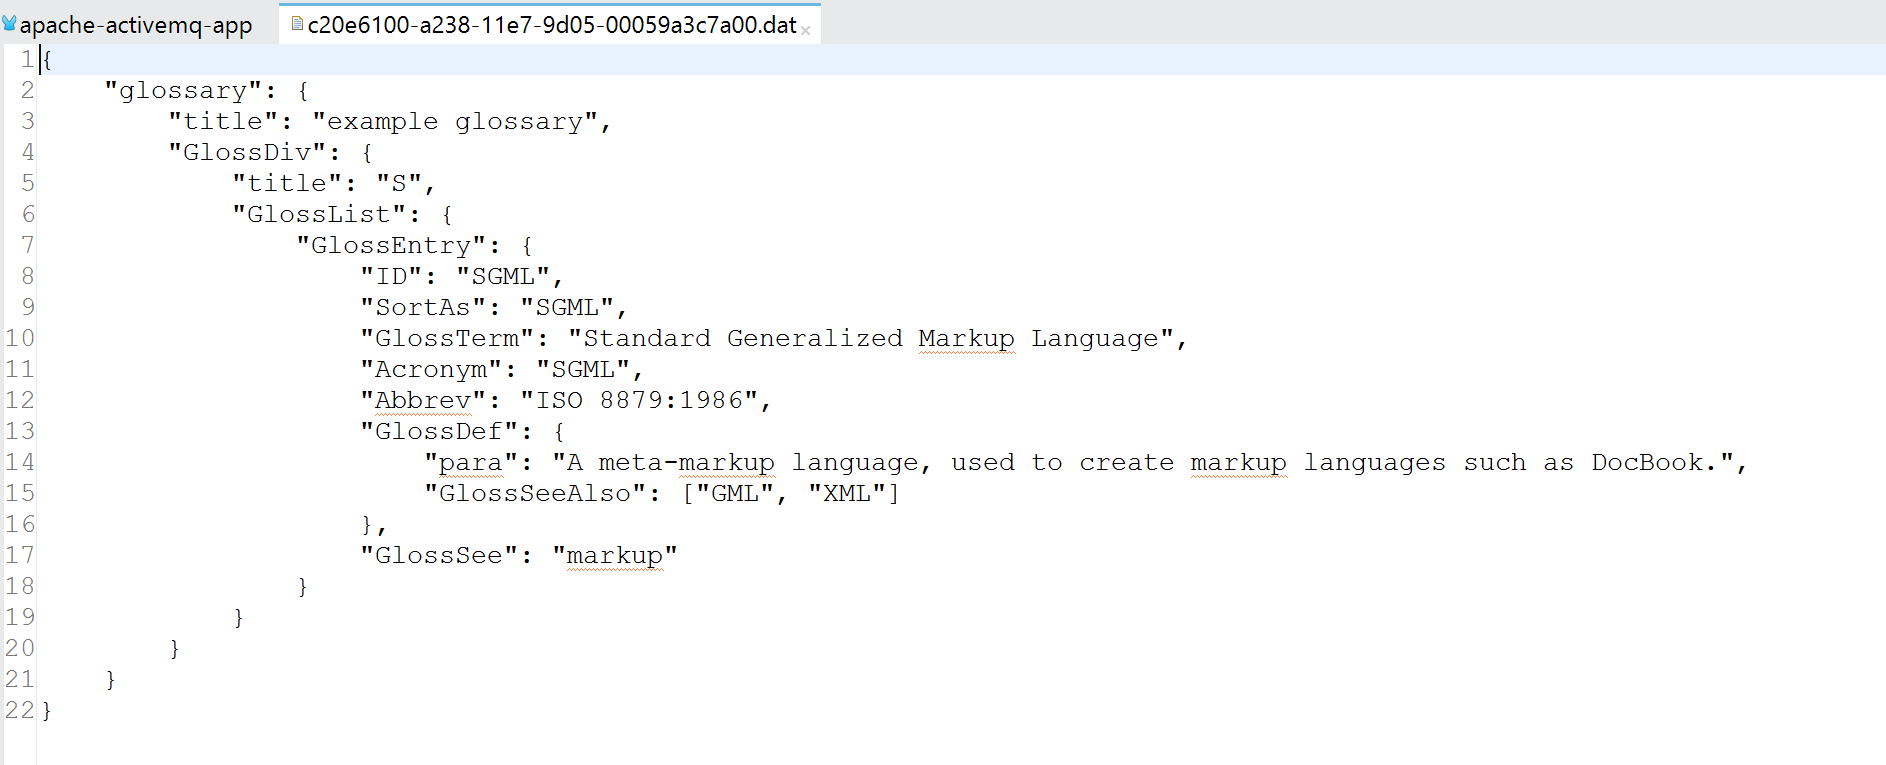
This completes the demonstration of MuleSoft integration with ActiveMQ.
Please provide feedback. It will help in improvement of the content.
Opinions expressed by DZone contributors are their own.

Comments