A CRUD With MongoDB and Java in One Line of Code
In this quick tutorial, I'll show you how to implement a web CRUD (Create, Read, Update, and Delete) using MongoDB, Spring Boot, and Vaadin.
Join the DZone community and get the full member experience.
Join For FreeIn this quick tutorial, I'll show you how to implement a web CRUD (Create, Read, Update, and Delete) using MongoDB, Spring Boot (version 2.3.4), and Vaadin (version 14.3.7). I assume you have MongoDB, the JDK version 8 or later, Maven, and a Java IDE installed on your computer.
Here's a video version of this tutorial if you prefer:
Step 1: Create a New Spring Boot Project
Go to start.spring.io and create a new project with the following dependencies:
- Vaadin - Java framework for building web apps on Web Components
- Spring Data Mongo DB - Store data in JSON-like documents
- Lombok (optional) - Java annotation library to reduce boilerplate code
Download and extract the ZIP file. The extracted content is a Maven project that you can import into your favorite IDE.
Add the following repository and dependency to your pom.xml file:
x
<repository>
<id>vaadin-addons</id>
<url>https://maven.vaadin.com/vaadin-addons</url>
</repository>
<dependency>
<groupId>org.vaadin.crudui</groupId>
<artifactId>crudui</artifactId>
<version>4.3.1</version>
</dependency>
Step 2: Create a Domain Class
Create a new Student class as follows:
xxxxxxxxxx
import lombok.*;
import org.springframework.data.annotation.Id;
(onlyExplicitlyIncluded = true)
public class Student {
private Integer regNumber;
private String firstName;
private String lastName;
}
Step 3: Create a Repository Interface
Create a new StudentRepository interface as follows:
xxxxxxxxxx
import org.springframework.data.mongodb.repository.MongoRepository;
public interface StudentRepository extends MongoRepository<Student, Integer> {
}
Step 4: Create a Service Class
Create a new StudentService class as follows:
xxxxxxxxxx
import org.springframework.stereotype.Repository;
import org.vaadin.crudui.crud.CrudListener;
import java.util.Collection;
public class StudentService implements CrudListener<Student> {
private final StudentRepository repository;
public StudentService(StudentRepository repository) {
this.repository = repository;
}
public Collection<Student> findAll() {
return repository.findAll();
}
public Student add(Student student) {
return repository.insert(student);
}
public Student update(Student student) {
return repository.save(student);
}
public void delete(Student student) {
repository.delete(student);
}
}
Step 5: Implement a View Class
Create a new class as follows:
xxxxxxxxxx
import com.vaadin.flow.component.orderedlayout.VerticalLayout;
import com.vaadin.flow.router.Route;
import org.vaadin.crudui.crud.impl.GridCrud;
("")
public class StudentsView extends VerticalLayout {
public StudentsView(StudentService service) {
GridCrud<Student> crud = new GridCrud<>(Student.class, service);
add(crud);
setSizeFull();
}
}
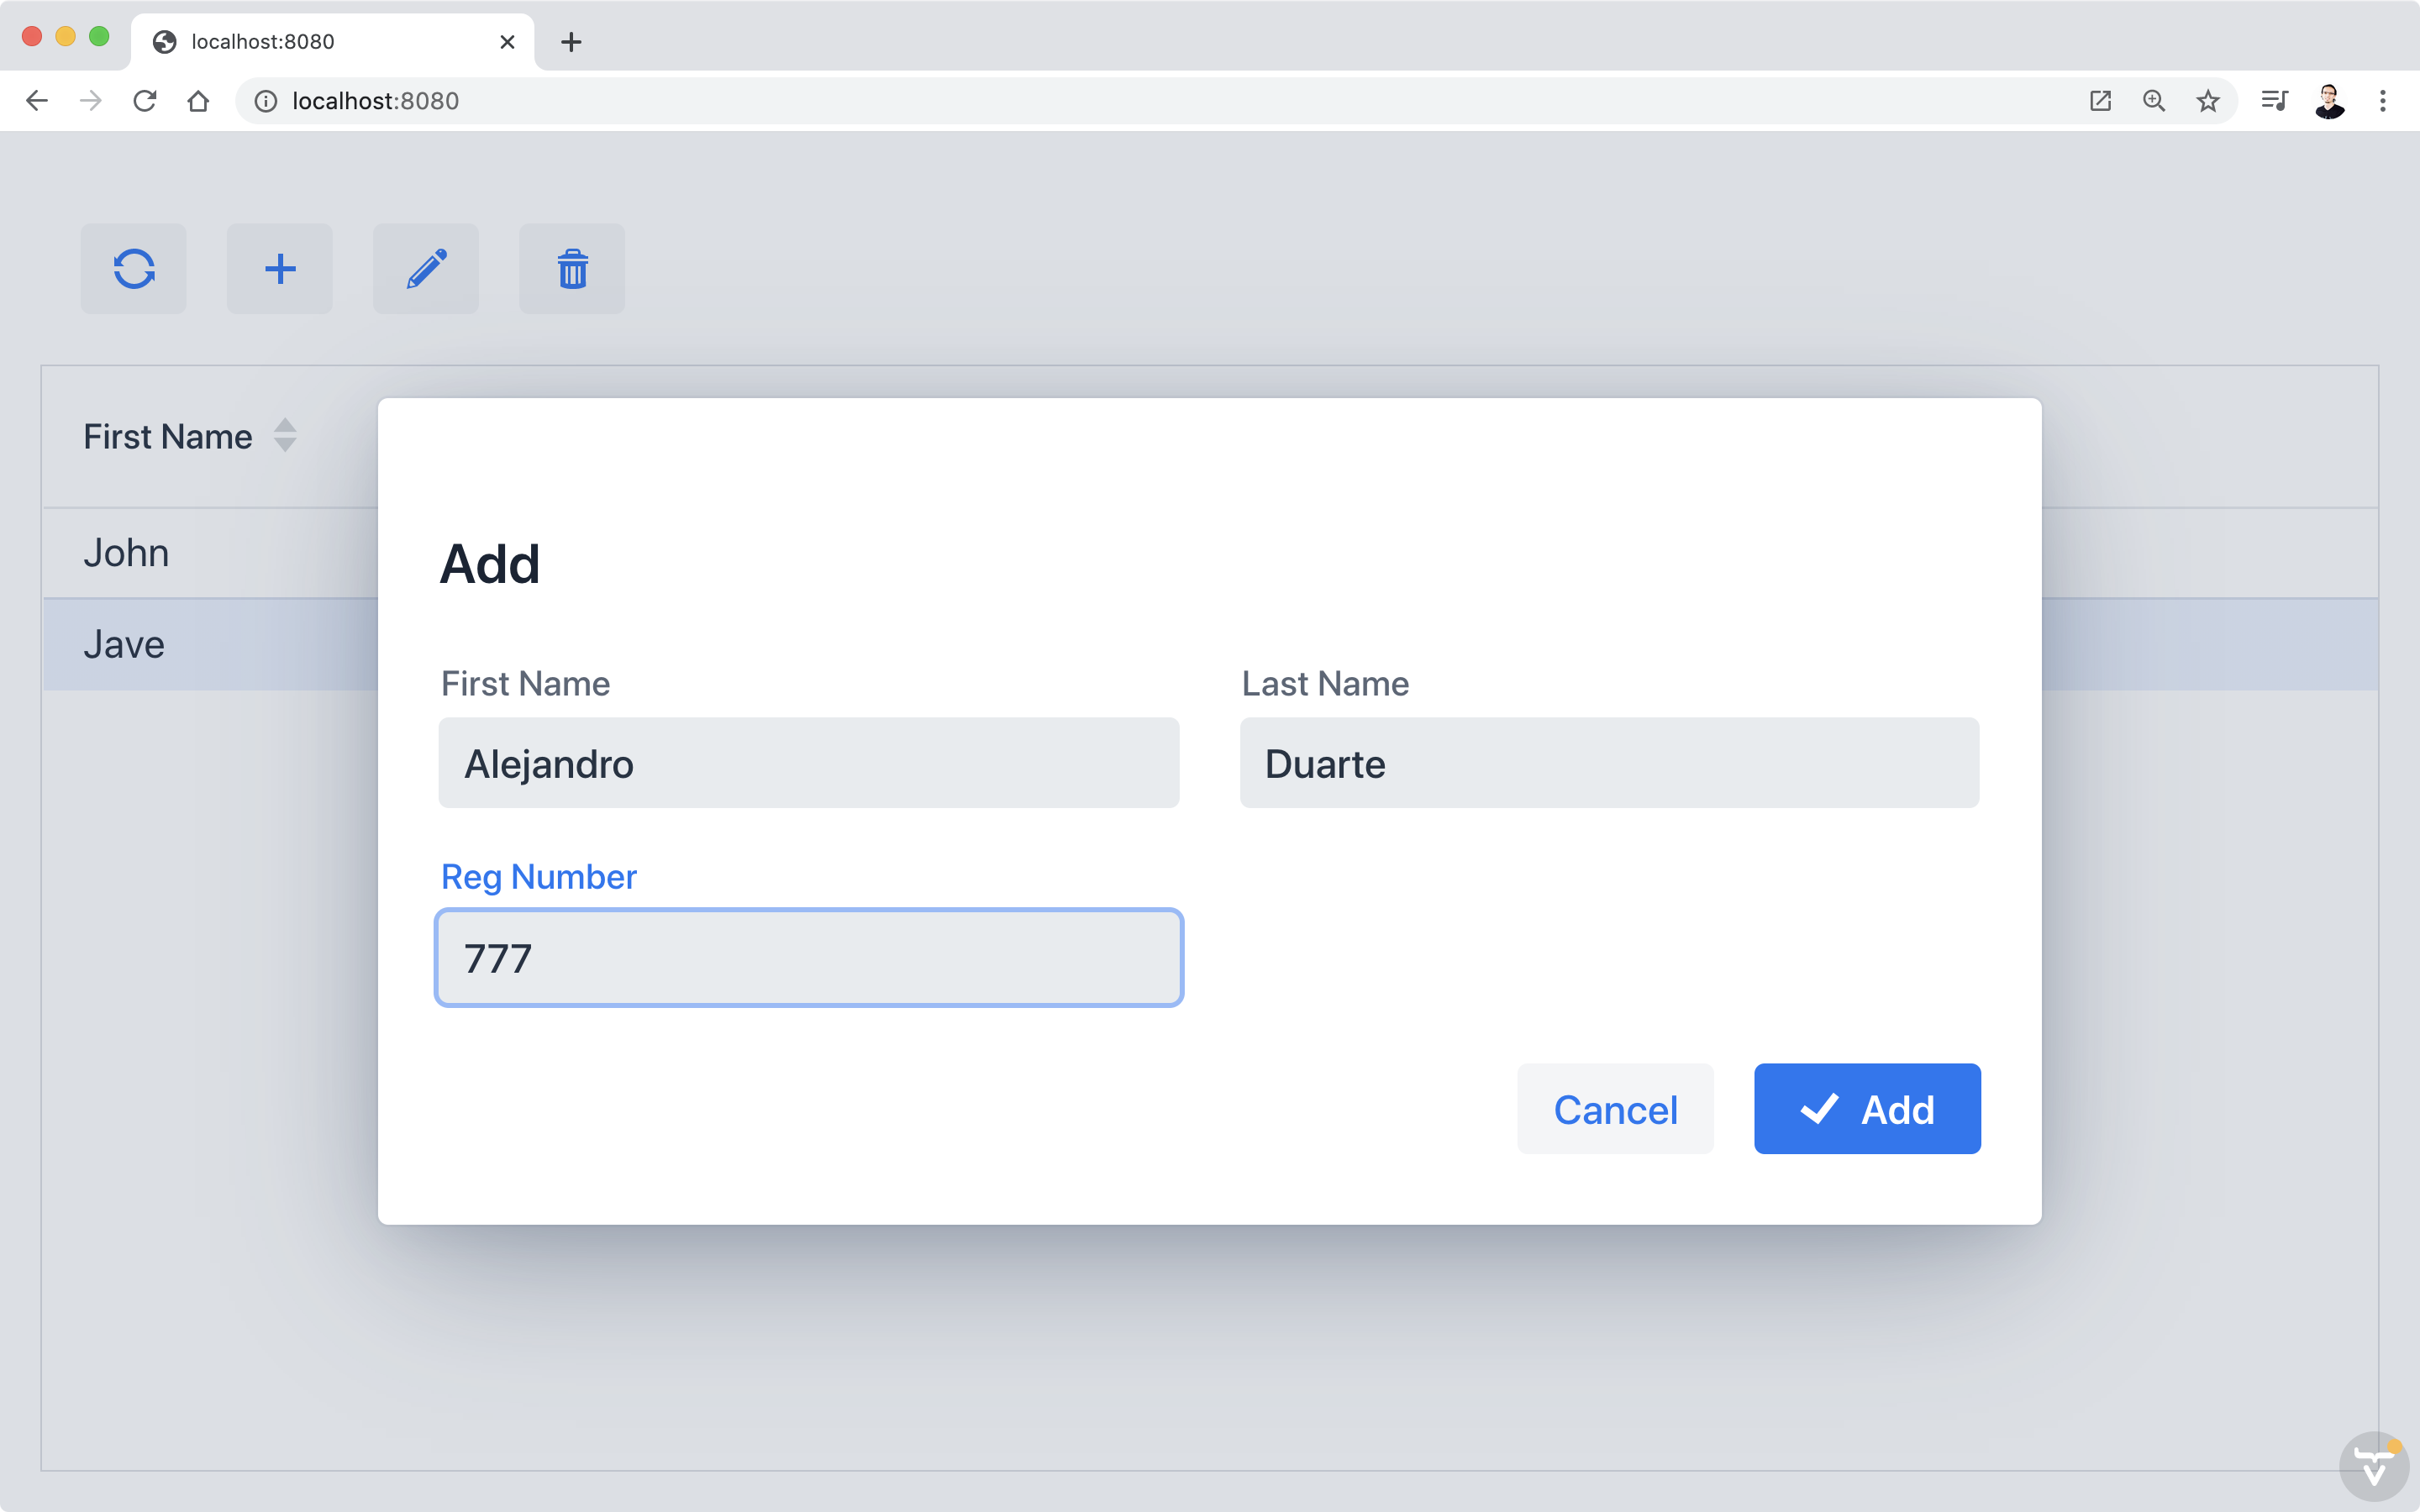
See line 9. With this one line, you are creating the actual CRUD web UI component.
Step 6: Run the Application
Make sure MongoDB is running and start the application as follows:
xxxxxxxxxx
mvn spring-boot:run
Note: The first time you run the application will take more time than subsequent runs.
Go to http://localhost:8080 and try the application:

Next Steps
You can configure the MongoDB connection string in the application.properties file. For example:
xxxxxxxxxx
spring.data.mongodb.uri=mongodb://localhost/test
spring.data.mongodb.username=user
spring.data.mongodb.password=password
You can customize the CRUD component. For example:
xxxxxxxxxx
crud.getCrudFormFactory().setVisibleProperties("firstName", "lastName");
crud.getGrid().setColumns("firstName", "lastName");
There are many more customization options. See the examples at https://vaadin.com/directory/component/crud-ui-add-on.
Opinions expressed by DZone contributors are their own.

Comments